

Introduction: Dual H-Bridge - L298 Breakout Board - Homemade


This is my homemade Dual H-Bridge using the IC L298N.
For control DC motors or step Motors ao other purposes just like you need.
Others projects:
https://www.instructables.com/id/LINUSBot-Line-Follower-Robot/
https://www.instructables.com/id/Basic-Principles/
https://www.instructables.com/id/PINGBot-Explorer-Robot/
https://www.instructables.com/id/3x3x3-LED-Cube-1/
https://www.instructables.com/id/LINUSBot-Line-Follower-Robot-with-PID-control/
Attachments

Step 1: Hardware and Materials


COMPONENTS:
1 x perf board 13x26 holes (3,5 x 7,0 cm)
2 x AK300/3 connector
1 x 8 Header female connector for Arduino
1 x L298N (Multiwatt15)
8 x 1N4001 Diode
2 x 100nF capacitor
2 x 0,47Ohm x 1W Resistor
Wire (green and blue colors)
Step 2: Schematic

This is the basic schematic. It works perfectly.
A more advanced schematic and board for eagle cad, you can download from the link below.
http://www.4shared.com/file/T17oVW-z/PONTE_H_L298N.html
http://www.4shared.com/file/6VdOTgv5/PONTE_H_L298N.html
Step 3: 1st Step - Perfboard, Holes Location


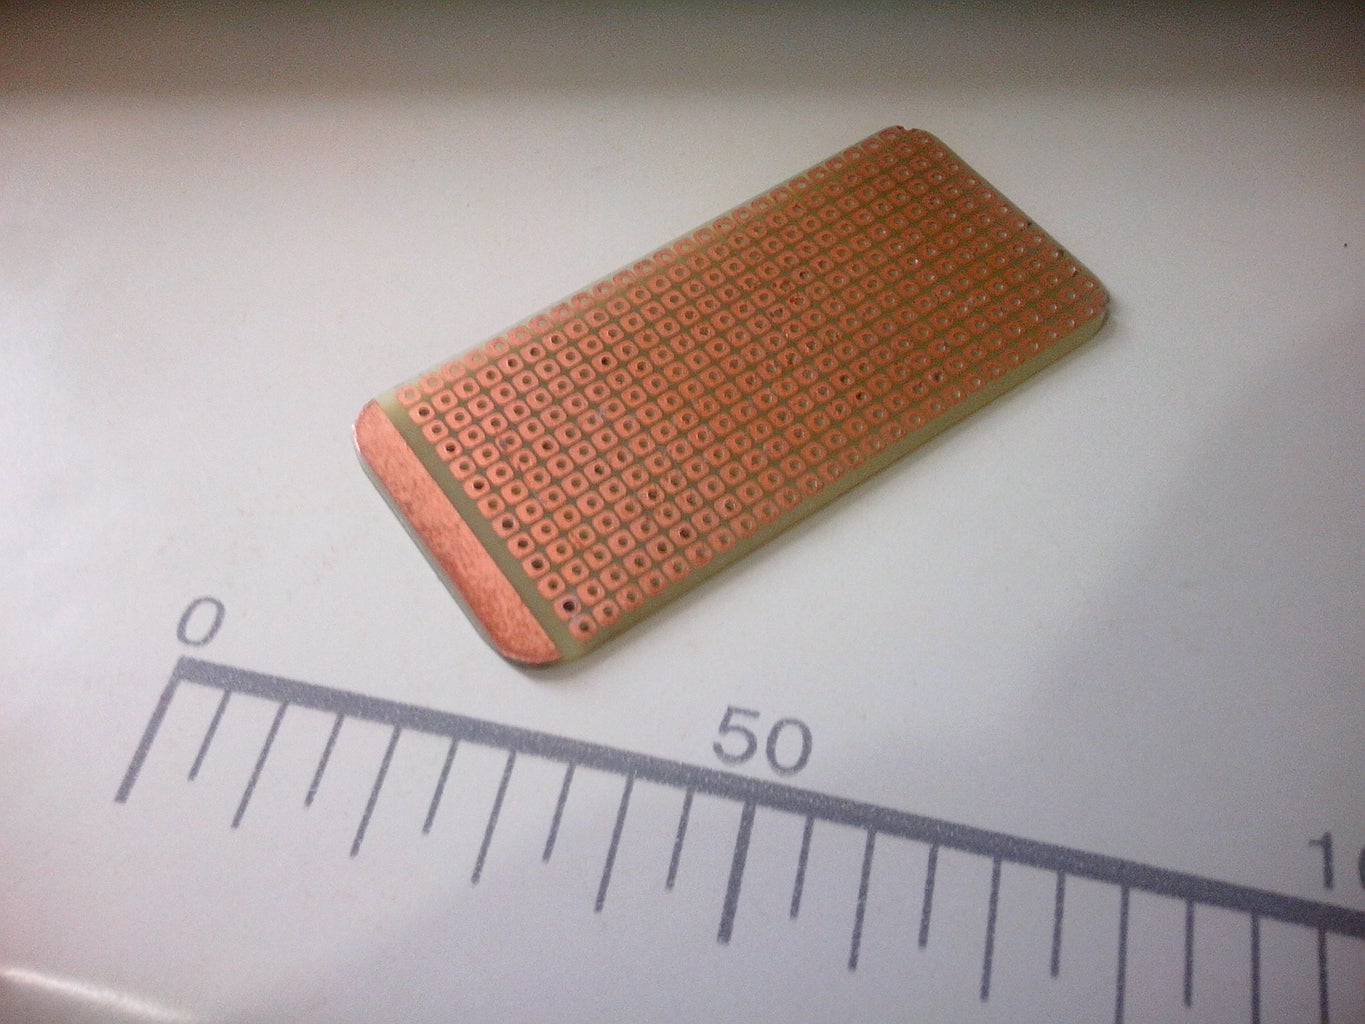
Make a Board with 3,5 x 7,0 cm or 13 x 26 holes.
Locate in this board, all holes that we will use for the components.
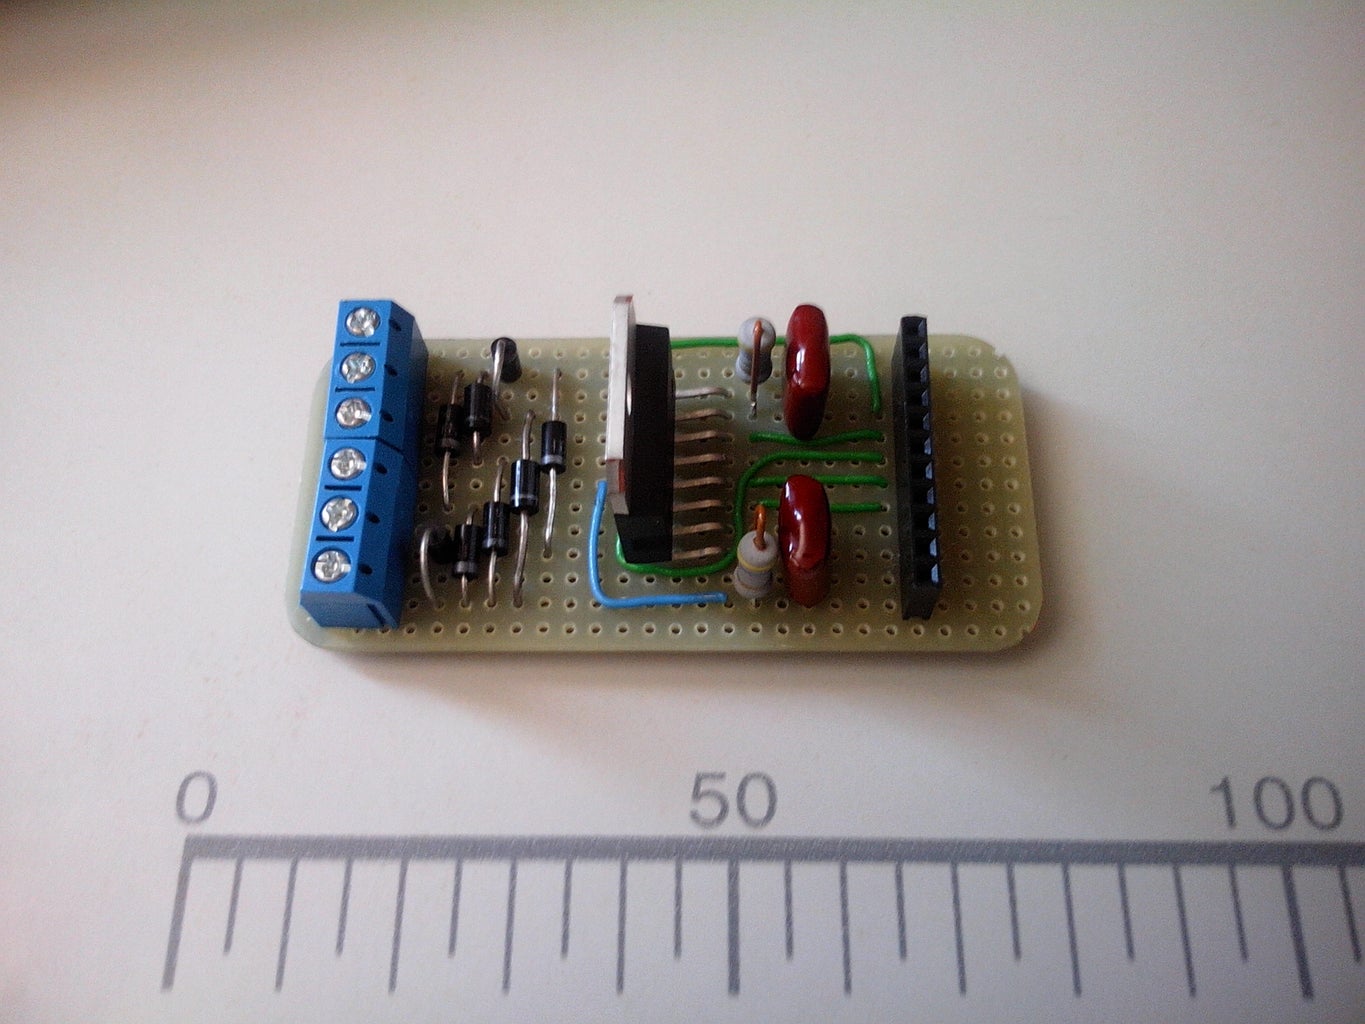
Step 4: 2nd Step - Components


After sanding and cleaning the board, put all components in it according of the diagram above and schematic.
For this, bend components properly.
Do the soldering for each group of components independently, for example:
diodes first and then connectors and then capacitors and resistors and finally the L298N IC; or in what order you want or you are used to do.
Step 5: 3rd Step - Soldering and Wired Tracks


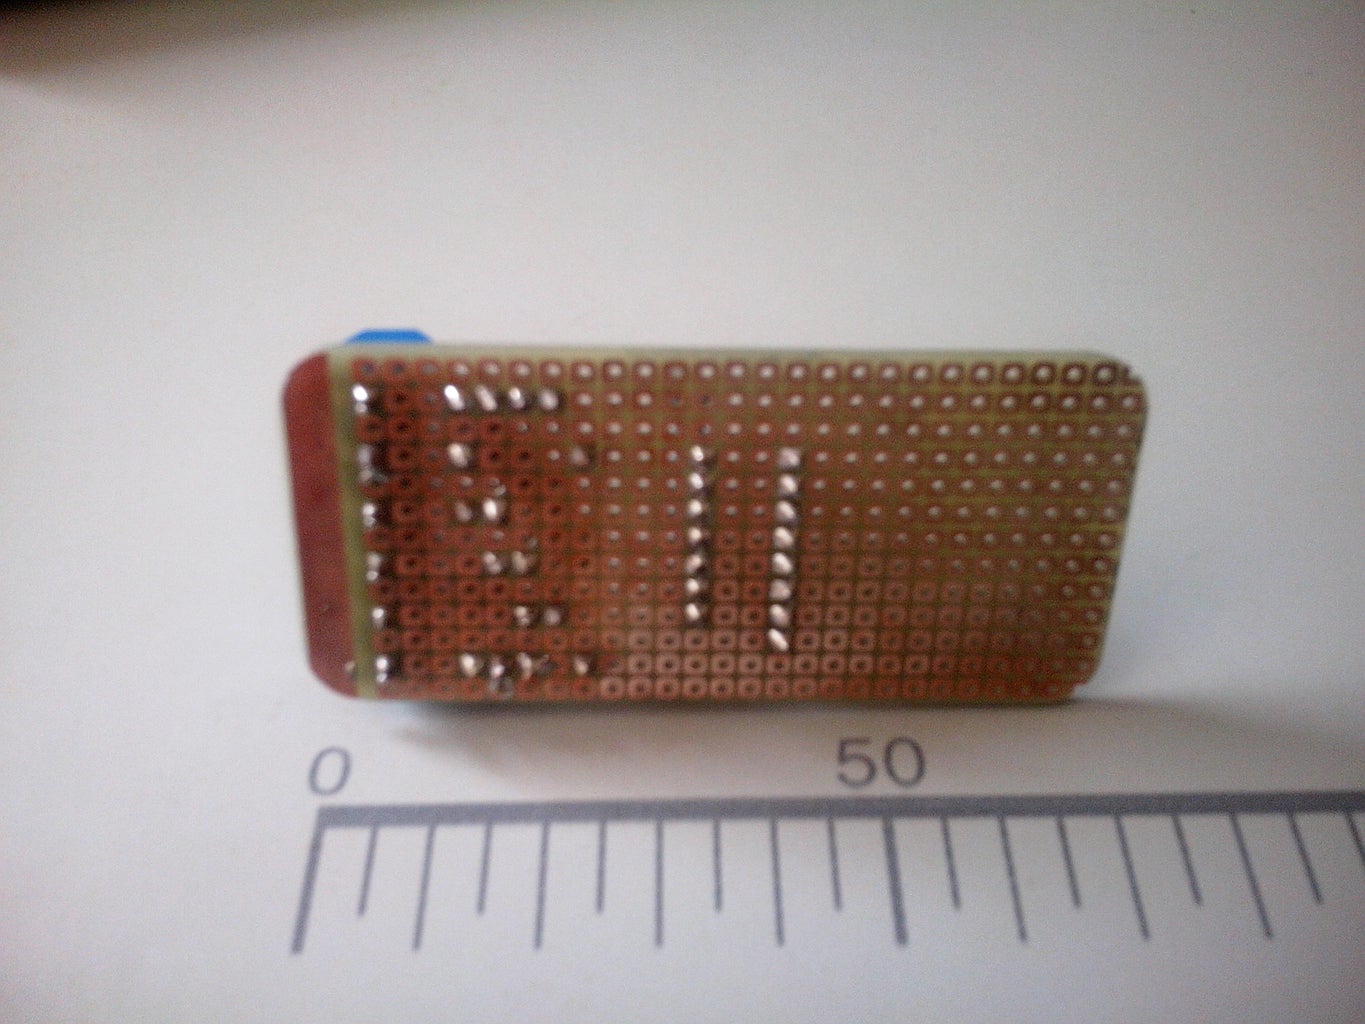


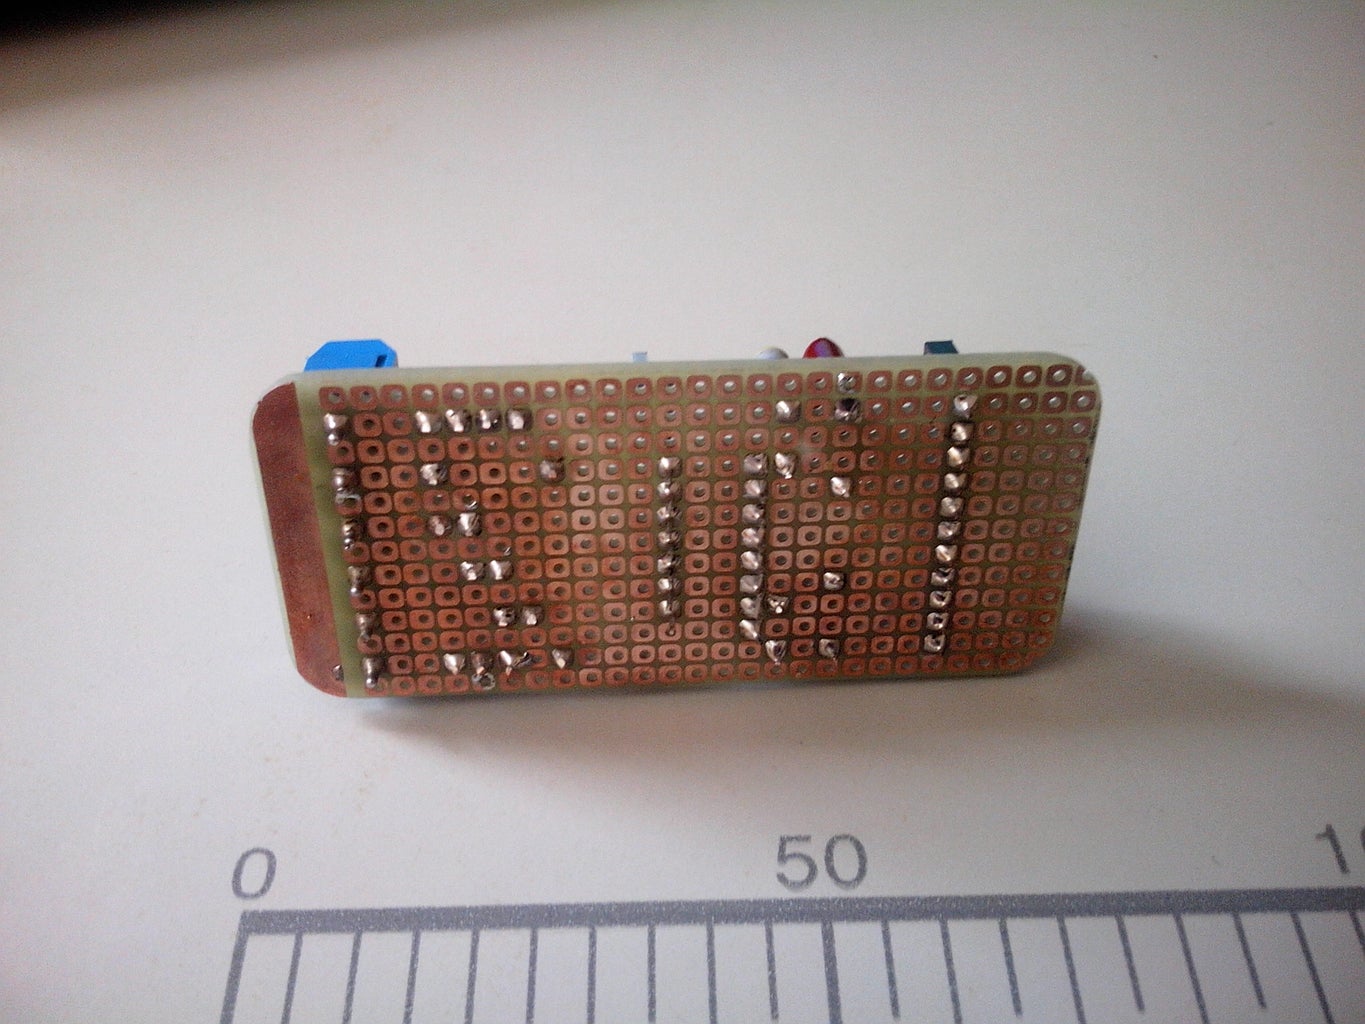


Following the schematic and diagram above, first of all make all soldered tracks in the bottom layer of the board.
After that, solder the jumper wires making the wired tracks.
Note.
Green wires are on the top layer and blue wires are on the bottom layer of the board.
Step 6: 4th Step - Video and Tests

This is my first test of the "Dual H-Bridge" homemade, with the IC-L298N in a Breakout Board.
The cart was controlled by bluetooth (using the "Blue Control" application of the Android market).
Each time we hit in the controls (forward or backward) the DC motor run for 1s, in this way, if we hit twice the motors will run for 2s and so on .
For the left and right, each time we hit the control, the motors will run for 500ms. This temporization can be modified in the program below.
See the entire video for more information; ahh sorry for my English I am studying yet...
http://youtu.be/0conwkmiAoM
/*
#####################################################################################
# File: BlueTooth_Bot_R1.pde
# Micro controller: Arduino UNO ou Teensy++ 2.0
# Language: Wiring / C /Processing /Fritzing / Arduino IDE
#
# Objectives: A bluetooth controlled cart
#
# Funcionamento: Just a simple test of the home L298N breakout Board
#
#
# Author: Marcelo Moraes
# Date: 13/02/13
# Place: Sorocaba - SP - Brazil
#
#####################################################################################
This project contains code to the public domain.
The modification is permitted without notice.
*/
// definição de variáveis, constantes e valores
int inA1 = 10; // Pins for the PONTE-H
int inA2 = 11;
int inB1 = 5;
int inB2 = 6;
// Arduino initialization
void setup(){
// Serial communication initialization
Serial.begin(9600);
// at the beginning motors stopped
set_motors(0,0);
}
// loop principal do programa
void loop(){
if (Serial.available() > 0){// if serial data are available
char varC = Serial.read(); // reading the serial port data
if(varC == 'U'){ // move forward
set_motors(80,75);
delay(1000);
set_motors(0,0);
}
if(varC == 'D'){ // move backward
set_motors(-80,-75);
delay(1000);
set_motors(0,0);
}
if(varC == 'C'){ // stopped
set_motors(0,0);
}
if(varC == 'R'){ // turn right
set_motors(80,-80);
delay(500);
set_motors(0,0);
}
if(varC == 'L'){ // turn left
set_motors(-80,80);
delay(500);
set_motors(0,0);
}
}
}
//FIM DA COMPILAÇÃO
// running motors
void set_motors(int left_speed, int right_speed){
if(right_speed >= 0 && left_speed >= 0){
analogWrite(inA1, 0);
analogWrite(inA2, right_speed);
analogWrite(inB1, 0);
analogWrite(inB2, left_speed);
}
if(right_speed >= 0 && left_speed < 0){
left_speed = -left_speed;
analogWrite(inA1, 0);
analogWrite(inA2, right_speed);
analogWrite(inB1, left_speed);
analogWrite(inB2, 0);
}
if(right_speed < 0 && left_speed >= 0){
right_speed = -right_speed;
analogWrite(inA1, right_speed);
analogWrite(inA2, 0);
analogWrite(inB1, 0);
analogWrite(inB2, left_speed);
}
if(right_speed < 0 && left_speed < 0){
right_speed = -right_speed;
left_speed = -left_speed;
analogWrite(inA1, right_speed);
analogWrite(inA2, 0);
analogWrite(inB1, left_speed);
analogWrite(inB2, 0);
}
}

Participated in the
UP! Contest


