

Introduction: Easy Truck Mods


I am presenting a list of simple modifications. Some are easy, some require special tools, All of them have made me smile. I am not going to hold your hand thru each mod. I am simply sharing information and idea so you may make them your own. I hope you enjoy. Please comment if you have any questions or concerns.
Some experiences may vary. At no time is the author responsible if you void your warranty, or any injury that you incur like dropping a truck on your foot.
Level of satisfaction is directly proportional to the amount of enthusiasm at the start of the project. Restrictions may apply. Some mods not applicable in all states or situations. Instructables does not support or Indorse Ford or it affiliates. Ford is a registered trademark of FORD MOTOR COMPANY. Always wear safety glasses when operating a garage door.
Safety first stupid hurts!
Step 1: Where to Start. Lower Grill Assembly.


I don't know why Ford did not install a lower grill on these. This ones easy. go to Amazon and find one you like, or junk yard. installation easy it is 2 screws.
Also removed lower air dam.
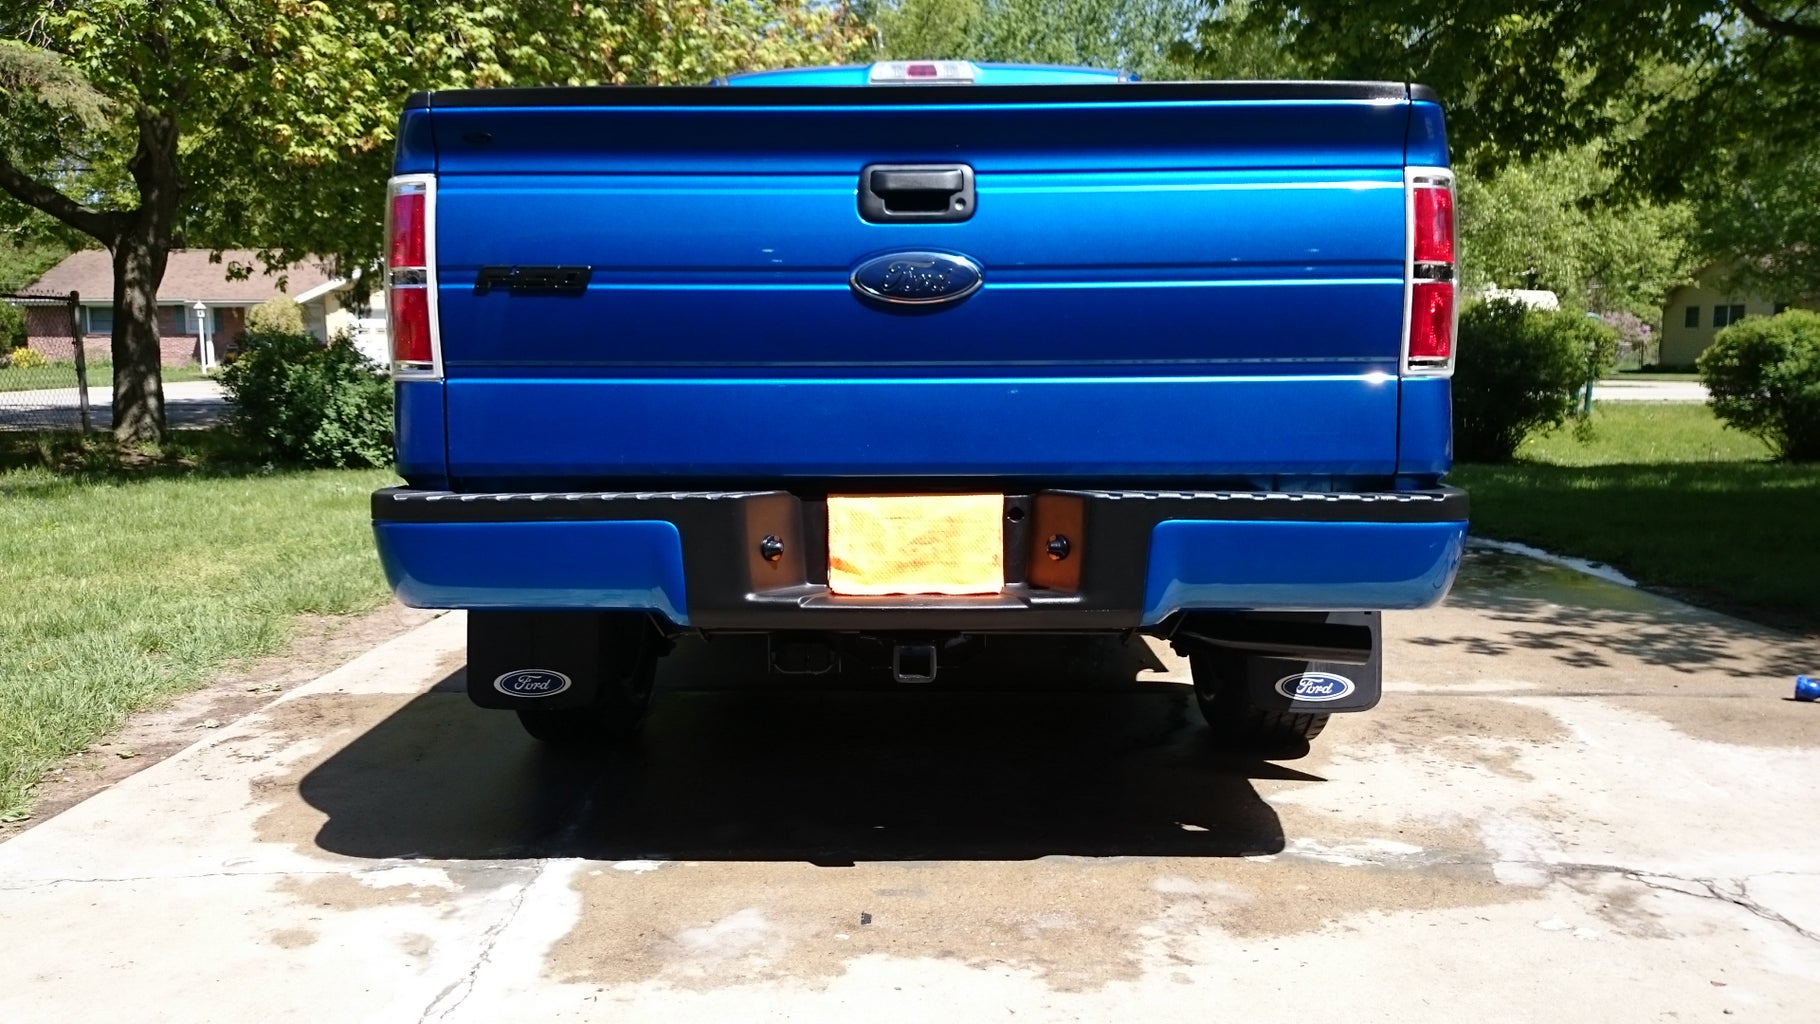
Step 2: Mud Flaps.

There are 2 main styles drill and no drill. and options are unlimited. I went with a heavy rubber fiber composite. there stiff but flexible enough so they don't get ripped off.
These help keep the undercarriage cleaner.
Step 3: Back Seat Organizer & Dog Bed.


Start with 1- 8' foot cider deck board and measure from the floor to the top of your seat minus the 5/4 (1 1/4")for the top board. Measure across from door to door, glue and screw. boom! down position it holds all your stuff and in the up position I can throw a blanket down so my dog has all kinds of room for activity's.
Step 4: Add Style to Your WHIP.


While cleaning the engine bay I found some things that could use some attention. Mainly the valve cover bolts and coil pack bolts. While the hood was up I painted the coil packs and the fuel injector silencers(the foam covers) and did my best to prevent any further corrosion.
Paint I used VHT High heat engine paint, I love this stuff.
Step 5: This One Was Kinda Pricy.


I found this info on the f150 forums. The operation requires 2 things. #1. high heat pipe insulation #2. zip ties. I had to buy both of these items and total cost was around $7.00 USD. but it lowered the air at the vent 10 degrees! that's Fahrenheit people.
Step 6: Spending All This Time Under the Hood I Noticed the Gaping Openings to the Wheel Wells


Firstly Ford sells these, if you just want to buy them and be done. If your creative find a heavy rubber membrane: like shower base liner, pond liner, rubber roofing. Jack up the truck and remove the wheel, cut the rough shape out of card board or what ever you got laying around (pattern) so you don't waste your rubber. got your ruff pattern? ok stick it in there see how it fits. I moved all the wires (on the engine side of the wheel well) that are held to the wheel plastic. I screwed mine some people use auto body pins. then I sprayed the wheel well with rubber stop leak so everything is sealed and has a uniform appearance.
Step 7: It Just Needs a Little Something....


This one most people have to take to a shop as you need a welder. (don't use clamps. Clamps suck!). I have a Magnaflow single in single out. paired with the rest of the stock parts. some people what a louder exhaust so they remove the resonator. I wanted a deep performance tone with no rasp and no obnoxious cab drone. I would recommend this to a friend for sure!
Factory muffler is about 3 feet long, Magnaflow is about 18 inches so I had to add pipe. seeing the new pipe against the old was keeping me awake at night. So I sanded the whole thing and painted the entire exhaust from manifold to tip. (I did not paint the stainless muffler, lets nor be ridiculous)
Using VHT ceramic header paint which is good up to 2000 degrees. semi gloss black. this paint requires a curing process: when the paint is dry it needs to be baked. on the vehicle the can instructs to start and idle for 20 min, cool 20, run 20, cool, then normal driving for 10 done. very happy how it turned out.
Tip: if your painting your pipe take some time and remove the spare tire and heat shield it helps to get the part going over the axle. separating the whole thing from the vehicle is best, but sometimes its a game of returns.
This will increase the life span of your exhaust as well. The ceramic paint is tough.
Step 8: I Cleaned the Rest of the Under Carrage... I Mean I Was Already There.


I got the truck used (10k miles) so to get a head start on the Michigan salt season I did the following.
1. Ran a garden sprinkler under the truck moving often. so the loose material was raised off.
2. Pump sprayer + dawn dish soap + hot water. cover the whole undercarriage. let it sit 10 min then rinsed again.
3. Me, Hose, Creeper, Brush and time. every job boils down to how much time are you willing to spend. for me it was 4-5 house under there brush then rinse repeat. let dry.
4. Not done yet! I wanted a smooth gloss finish making it harder for stuff to stick to the under bits and its easer to clean. So back under the truck with a towel and acetone. wipe down everything your about to paint. (with proper ventilation of course)
5. Pick your color(s). I had an almost full can of blue so..... Blue it is! The entire undercarriage was sprayed gloss black with the exception of the transmission pan and rear differential were painted blue. YAY CONTRAST!
Pro TIP: it is a good idea to remove your spare tire and oil the entire wench assembly. I have had one lock up on me when I needed it, So oil the whole thing, cable to.
Step 9: O I See What You Did There.


I work midnights so I want to know if there's a dirty hobo sleeping in the box of my truck BEFORE I get home. So let there be light... LED light strip light.
And let there be a way to turn it ON and OFF.
16' Water proof LED strip > amazon $15.00
5 pack of switches IN BLUE! $6.00 >amazon too
And because I didn't use it all Let there be light on the floor of the cab. (LED floor accents (FANCY))
The knowledge to fabricate, wire and install this stuff............ Google it!
In the truck bed nicely illumined by a more then adequate amount of custom installed lights is a 3/4" thick 4'X 6' rubber stall mat found at TSC. (or what ever agriculture store you use) they weight about 100 LBS < that's pounds for you learning how to abbreviate units of measure.
OOO pretty lights...
Step 10: Badges, They Tell You Stuff.


I personally don't care for chrome/plastic that looks like chrome accents. So to change them you have 2 options.
1. leave on vehicle, cover the whole vehicle with tape to prevent overspray.
2. Using dental floss (braid 4 strands together) pull it thru the mounting tape. you will most likely hit the alignment pins so pull it from all 4 sides. this separates the badge from the car. Then remove the adhesive from both the car and badge, paint and replace using 3M auto trim tape.
Step 11: More Creature Features We Don't Need But Like.


I had a keyless entry keypad on my last vehicle and it was so handy for running out to the car and... Shoot I forgot my keys beep boop beep click. ok I'm in. but I purchased this truck based on price not options. I was curious if it was possible to add one of these aftermarket and how difficult it would be. AMAZON wins again! $70.00 and shipped to my house stick it to the truck and follow the fairly easy instructions. done now I can lock unlock and set the alarm with the keypad. adding the new keypad is as easy as having all remote keys and the new keypad in the cab. placing a key in the ignition and turning it a couple of times until the vehicle enters program mode then you hit a button on each fob and your done.
Step 12: Optional Stuff Under the Hood.


In this step I am covering 2 things that I did in hopes to further the nice appearance longer. Common window screen(the dog took out of a sliding door) in front of the radiator to keep it free of bugs. lights on the backside of the grill. these light the engine compartment should I need it. and they do a good job I might add. I like these add-ons because neither one is expensive. the hardest part was fishing the wire through the firewall to the switch.
Step 13: The Good the Bad the cosmetic.


I don't care for the look of corroding aluminum. Even though these 2 are just for my own satisfaction I will still share them with you. The ECU is easy to remove I used acetone to clean it and then gave it a light coat of black to keep it looking good. The throttle body was in the same shape however I have a catch can coming so I wanted to see if there were any deposits on the inside. There was a little but nothing a little spray of cleaner couldn't remove. using a soda blaster to clean the body was easy took off all the crap and a rinse (on mist) and a wipe down and she's ready for paint. I wheeled all the surrounding fasteners to finish the area. Other then the inspection and cleaning the deposits this was also cosmetic. Still its hard to argue with the look of the engine bay.
Step 14: THATS IT. What Did You Expect? for This to Go on Forever?


Now take a look at these awesome before and after shots. So which ones are you going to use. Better get to it your not getting anything done sitting there!
Update: After a month of dealing with the regional customer service rep I was told that the rust/corrosion my truck suffered from was not covered under warranty. I hope anyone else in the same situation gets a better deal.
Lesson: take care of your problems no one else cares as much as you do.
Step 15: 2 Months Later Update.


So two months later everything is still holding up. Took the truck on a road trip 1000 miles and everything is running great and clean. Paints not flaking in chipping or cracking.


