

Introduction: Easy No-Sew Vampire Cape


This is the fastest and easiest way to make a vampire cape. No sewing skills needed! Just get fabric, some fusible tape, some ribbon and an iron, and you're ready to go. This cape looks great in any color.
Note: this Instructable was made a while ago, when I had a less-than ideal camera. Also I forgot to take notes back then, so this is sort of a trip down memory lane where I look at pictures and try to interpret what the heck I was doing. Here we go!
Step 1: Materials

Round up the following from a fabric store:
- Stiff fabric like taffeta or heavy satin: length = your height + 8 - 12", more or less
- Heat & Bond Fusible tape 1/2" wide (the kind with a paper backing you have to peel off)
- Ribbon 1" wide
- Iron
Step 2: Take Measurements

These are your crucial measurements:
- From shoulders down to floor
- Height of the collar (how far you want the cape to stick up above the shoulders
Step 3: Mark and Cut Fabric


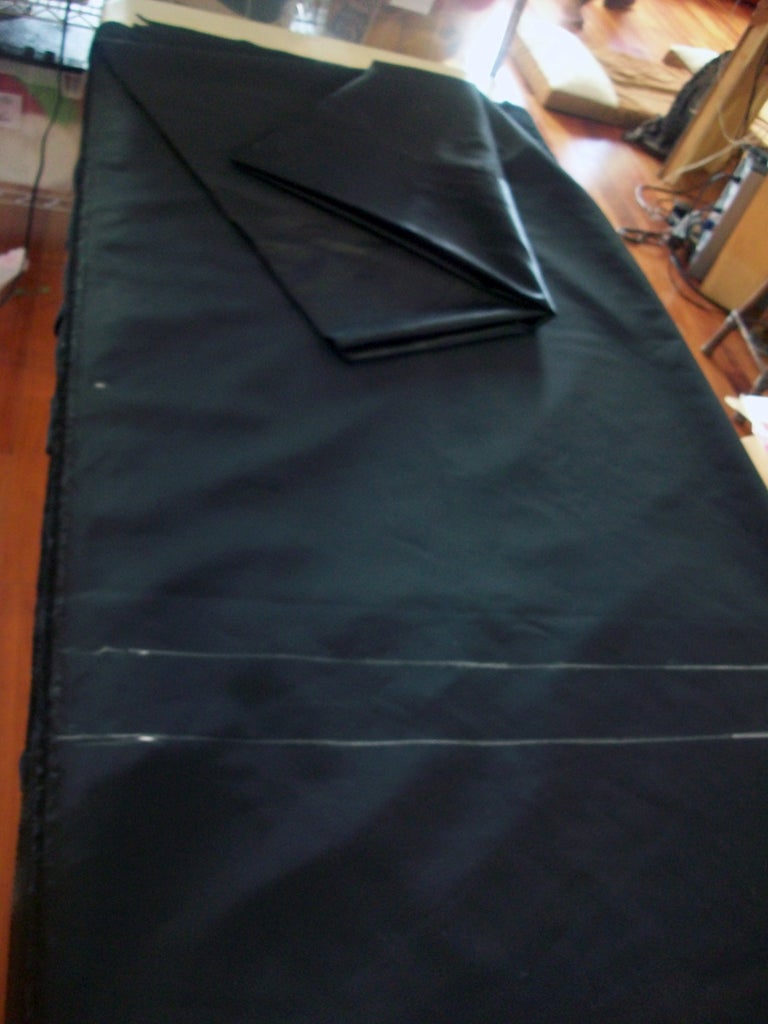
Cut the raw edge of the fabric (the width) so it's straight.
Next, we're going to measure and mark the collar.
The second image shows marks 1", 3" and 20" in from the cut edge.
The space between 1" and 3" is going to become the channel for the ribbon - where the ribbon will slide through along the neck line.
The 20" is twice the height we wanted the collar to be. When we fold the fabric over to fuse it, we will align the cut edge with this line.
Step 4: Fuse on Tape


Next we want to apply the fusible tape to the two lines we made for each side of the ribbon casing (1" and 3" away from the edge)
Follow the directions on the package to fuse the tape to the fabric.
Undo the paper backing from the other side of the fusible tape. Fold the fabric so the edge meets the other line you drew (20" down in this case).
Use the iron to fuse along the tape lines, creating two "seams" for the ribbon casing.
After you've sealed the fabric together, turn over and press from the right side, just to ensure a firm bond.
Step 5: Hem


Mark your hem across the bottom of your fabric. I wanted a one inch hem, so on the wrong side of the fabric I marked a line 2 1/2" from the edge. And this is why:
Turn up raw edge 1/2" and press.
Turn up folded edge to meet the line you drew. Now you have a one inch hem!
Use the fusible tape to secure the hem.
Step 6: Ribbon!


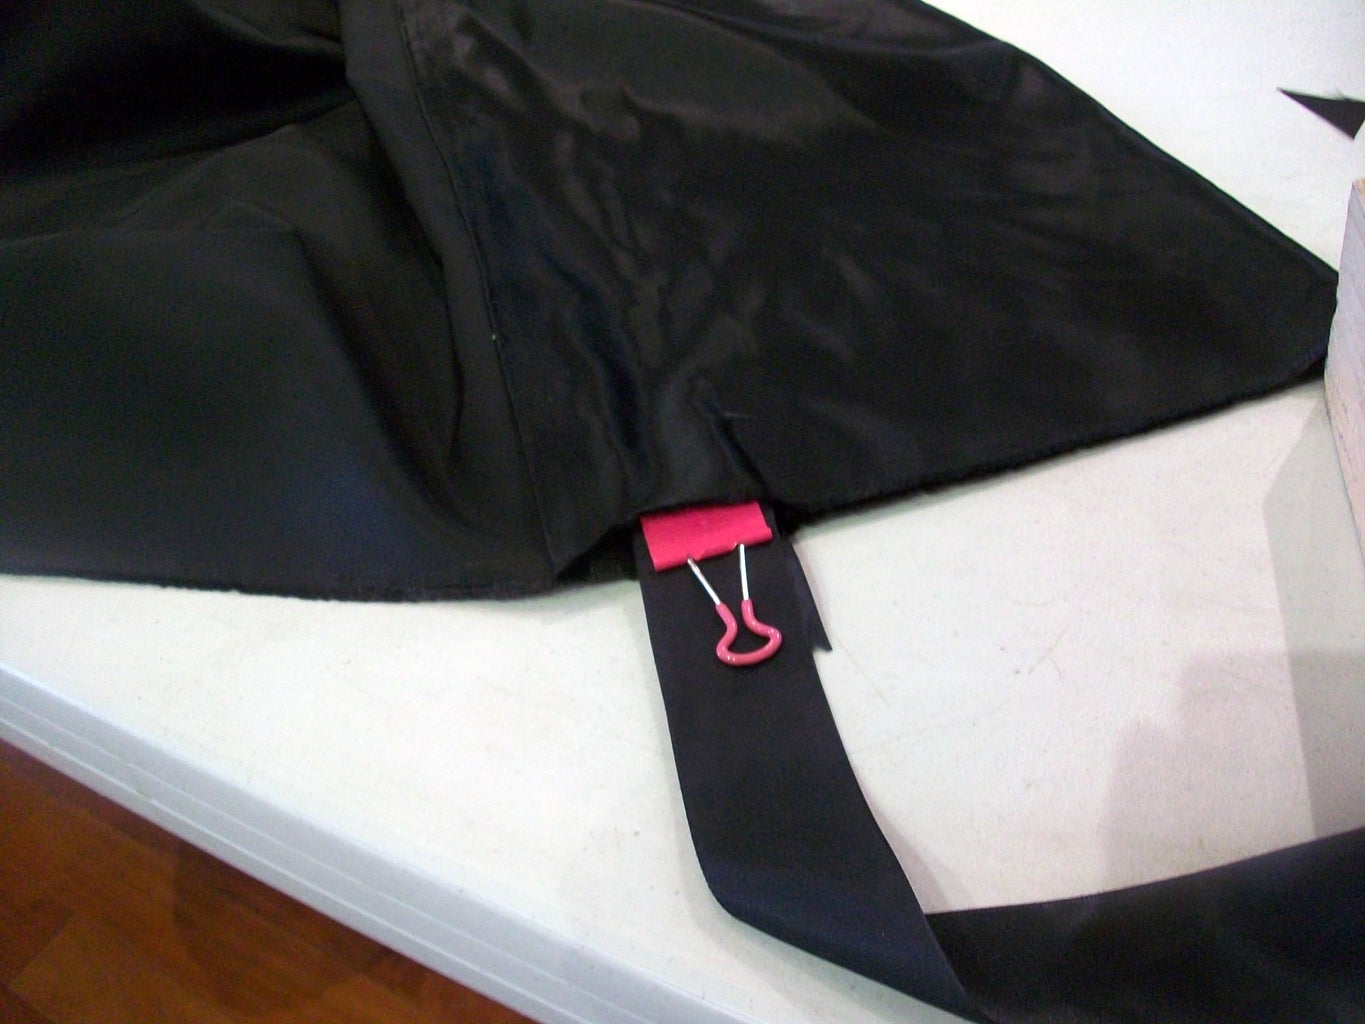

Cut the edges of your ribbon at angles so they won't fray.
Use a small binder clip or a large safety pin on one end of the ribbon to help you push it through the channel you made.
Gather up the cape along the ribbon and tie it on. Add some fangs and you're done!


