

Introduction: Easy Paper Kite


A very easy-to-make kite. This is a great, fun craft for people of all ages, especially children. Also, this kite is extremely portable because of its small size. (It fits in a file folder!)
Step 1: Gather Materials


To make this kite, you will need:
--Typing Paper, Tissue Paper, or any other lightweight paper material 8 1/2 by 11 inch
--A pair of Scissors
--A sheet of Plastic (plastic file folders work best)
--Ruler or something with a straight edge
--Hot Glue Gun
--String
--Hole Puncher
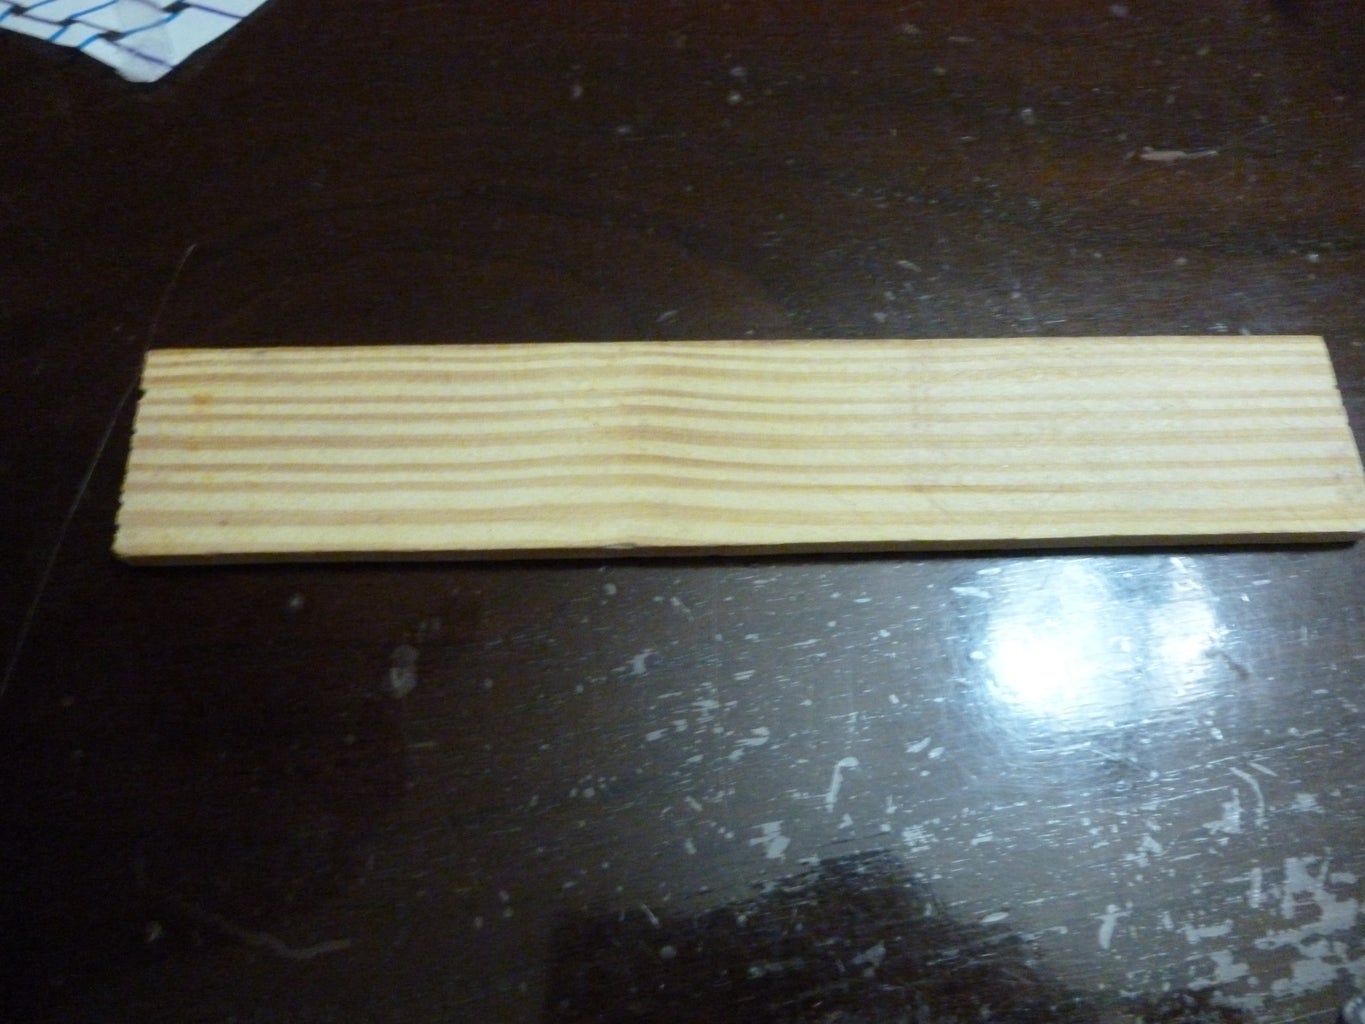
--Wood for rolling up kite string
Optional: markers, crayons, or colored pencils
Step 2: Measure/Cut Out Kite


First, get out your 8 1/2 by 11 inch sheet of paper and a ruler. On both 11" sides, measure out 7 inches from the bottom of the paper and mark with a pencil. Then, on both of the 8" sides, measure out halfway (4.25 inches) and mark with a pencil. After that, connect the marks in a diagonal pattern (see picture). Cut out along the lines you have just made. You should now have a piece of paper that resembles a small kite.
*NOTE* Save your corner scraps for later.
Step 3: Decorate!!! (optional)


Now, here comes an extremely fun step! Get out your arts supplies, because we're decorating out kite! Let your creative juices flow and draw whatever you want on your kite. Just stray from painting your kite; paint makes the kite heavier and it won't fly as well.
When I did my kite, I chose to draw a pattern out of markers that made my kit look like it was woven out of fabric. I also decided not to draw on both sides. This is because the marker shows through to the other side, and additional coloring is not needed. If you feel like decorating on both sides, that is perfectly fine!
Step 4: Cutting Struts & Punching Holes in Struts


Once you have your kite looking fabulous, now you can move on to the more fundamental parts of the kite.
To begin, get out your scissors and sheet of plastic. Cut out two strips of plastic, each about 1/4 inches wide. You can either measure the length/width of the kite before you cut (one strip should be 8.5 inches, one strip should be 11 inches) or you can compare them to your kite, and cut off the unneeded sections after you have the strip. They should fit across your kite in a cross shape.
Now, lay them across your kite. Look at where the horizontal (across) strip overlaps with the vertical (up and down) strip. Starting at the horizontal strip, measure about 1-2 inches above onto the vertical strip. Mark that spot with a marker dot. Then, go down from the horizontal strip and mark with a dot also. Now, take your hole puncher and punch out the dots on your vertical strip. Using a pencil, punch a hole in the paper where the holes on the vertical strip lines up.
Finally, find the very bottom of your vertical strip and punch a hole in it. This is where the kite's tail will hang. Punch a hole in the kite where the strip lines up with it.
Step 5: Glue on Struts

After you have your holes punched in the struts, you can now work on attaching them to your kite.
First, retrieve your hot glue gun. Hot glue guns can be dangerous, so be VERY CAREFUL when using them. If you are inexperienced with hot glue guns, please seek help.
Gluing: Place a glob of glue in each corner of your kite and glue your struts in the cross shape. Make sure not to cover the hole at the bottom of your kite.
Step 6: Add Kite String


Now that you have your struts on the kite, you can add the kite string.
First, find one end of the string. Then thread the string, starting from the side of the kite without struts, through the paper and then the middle hole on the vertical strut that is about in the middle of your kite. Then, thread the string over your horizontal strut and out through the strut and paper hole near the top of the kite. Your string should now enter and exit on the side without the struts. Take the end, and leaving a large triangle of extra string, tie the knot (see picture).
Now, find the other end of the string. Using your hot glue gun, glue that end to your wood handle somewhere in the center. Make sure the string is secure, and wrap the string around the wood neatly.
Step 7: Add on Tail and Tail "Feathers"


Now, take a small length of separate string ( about 1 1/2 to 2 feet long) and tie it around the hole at the very bottom of your kite. Make sure you loop it through both the plastic, and the paper hole (both at very bottom). Check to make sure it is tied securely.
Once you have your tail on the kite, now you can add the tail "feathers." These will make the wind catch on the kite and it will fly better. Using your corner scraps from cutting out your initial kite, separately twist the papers in the middle. You should now have 3 or 4 bow-tie shaped paper pieces. Using your tail string, one by one tie on the feathers using the string. Tie them in the middle. You should not need any extra string other then your tail.
If you have an excessive amount of extra string hanging from your tail, cut off a bit, just make sure to keep a little.
Step 8: Go Out and Fly!

Now that you have finished your kite, go out and fly it! This kite should work if done properly. Make sure it is a very windy day and you have lots of string on your kite.

Finalist in the
Kite Contest


