

Introduction: Easy Picture Frame From Pallet Wood


This is a ridiculously simple, quick-and-dirty picture frame made from pallet wood.
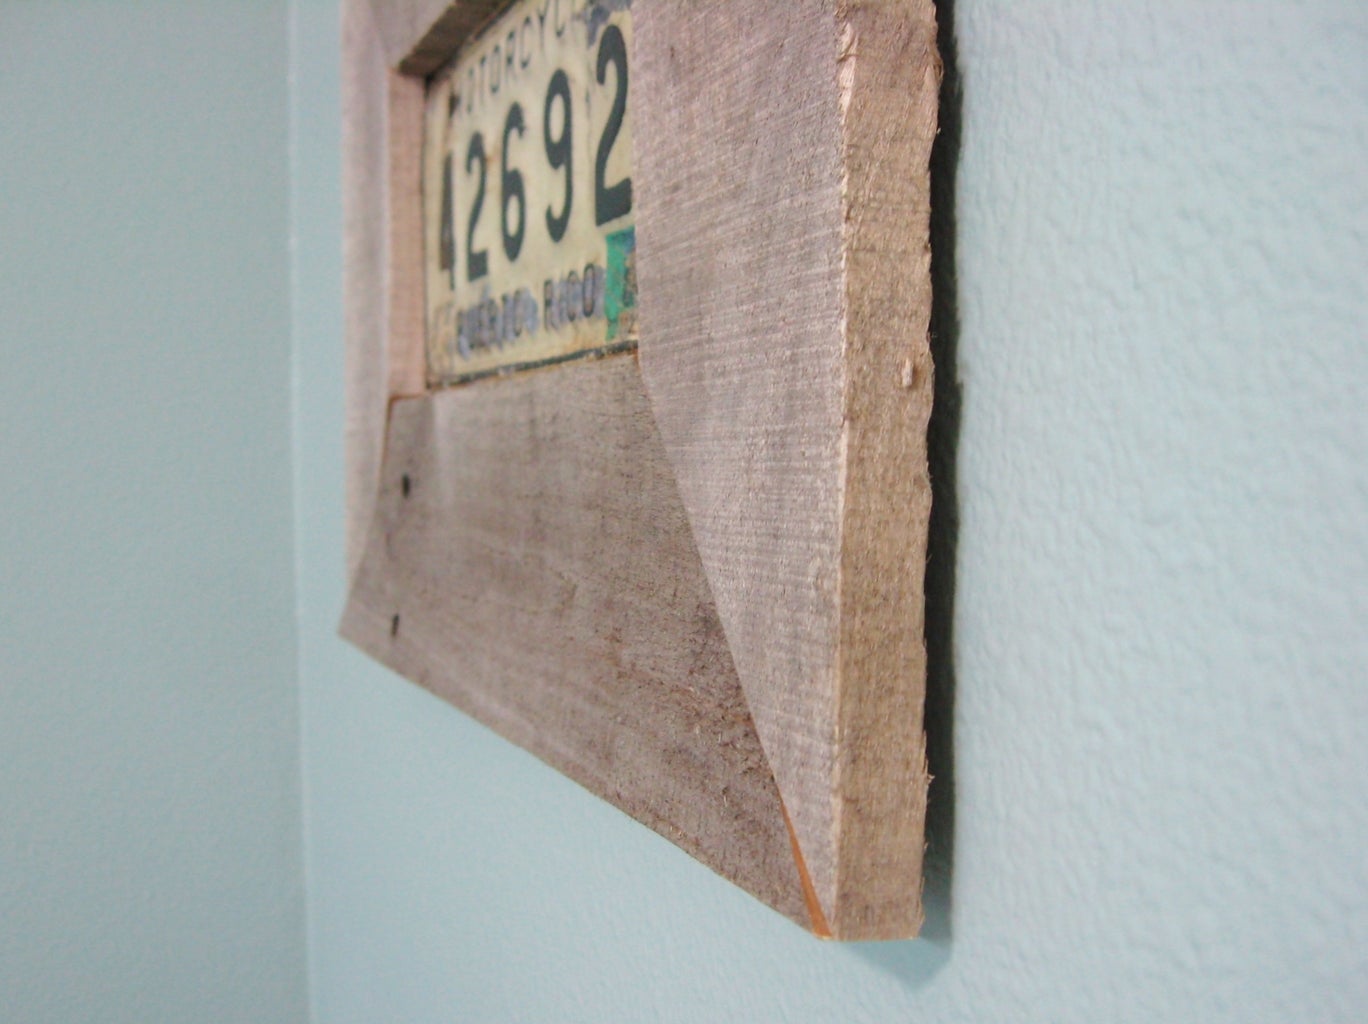
I built it to display this old motorcycle license plate, but the same approach could be used to make a frame for just about anything.
You only need a few basic tools to make this. However, a 3D printer or laser engraver could come in handy if you want something stylish to rest your beverage on while you work. That's completely optional, or course.
This is not a traditional picture frame in any sense other than general appearance. But it's just about perfect for framing up some ratty old thing that you think is too cool and unique to throw away.
I hope you make one! Let me know if you do.
Thanks for taking a look.
Step 1: Materials


You will need a couple of pallet slats (or any other wood, really). I chose to use some rough old pallet slats because I thought they would compliment the license plate nicely.
You will also need some kind of flat material for a backing piece which will hold everything together. I used a scrap piece of 1/4" MDF.
Thin plywood or even sturdy cardboard would also work great. The only requirement is that this backing piece be a couple inches bigger all around than what you want the open display area of the frame to be, and smaller than the overall finished frame.
The pallet slats I used were very clean. If you have pallet wood that is dirty, give it a good scrub with water and a stiff brush and allow it to dry thoroughly before proceeding.
Step 2: Attach License Plate to Board, or Mark Display Area

As I noted, this isn't a traditional frame--so it can't be used to hold a pane of glass or anything that needs to stay pressed in. It can only display items you can affix to the display area.
For mine, I just attached the license plate to the center of board with copious amounts of hot glue, which is more than adequate for all parts of this project. Plus, it is cheap and quick.
If you want to leave the display area open at this point, just use a ruler to measure and mark the desired boundaries making sure all the corners are 90 degrees.
Step 3: Cut Frame Pieces


Lay a wood slat along one side of the display area (along a side of the license plate in my case), and make marks on the wood slat to correspond with the edges of this area.
Use a framing ("speed") square or other suitable 45-degree-marking device* to extend each mark out 45 degrees. Make sure you leave enough room to the right or left of the first piece to also mark and cut out additional pieces. In my case, each slat only provided two sides of the frame, one long and one short.
Cut out the first piece using any kind of saw.
Measure, mark, and cut out the next piece. Repeat and repeat.
*In a pinch, just fold one corner of a sheet of office paper across diagonally to create a right triangle. Then use this as a 45-degree guide.
Step 4: Attach Frame Sides

Glue frame pieces to board with ample amounts of hot glue, matching inside edges of frame to boundary lines of display area.
Little gaps and imperfections are perfectly acceptable.
Step 5: Add Extra Glue

I added a bead of hot glue around the outside edge of the back board where it meets the frame pieces, just as an extra measure.
Step 6: Drill Hole for the Hanging Nail


You could attach a frame-hanging bracket to the back.
Or for a simpler method, just mark the center point along the back side of the top rail of the frame and drill a hole into it about 1/2" deep. I used a forstner bit, but any kind will work as long as you are careful not to drill all the way through to the front. Take it slow and easy.
Step 7: Finish If Desired

To make the coloring of the wood and license plate stand out just a little, I sprayed everything with a couple coats of semi-gloss lacquer.
I did not sand the frame at all, or even remove any slivers or fibers that were starting to flake off. That's all part of the character I wanted to leave intact.
Step 8: Hang and Admire!

Use a single nail to the hang frame on the wall.
If it doesn't hang straight on its own, use a couple little blobs of poster putty on the lower corners to hold it firmly against the wall in level position.
That's it!

Participated in the
Vintage Contest


