Introduction: Face Tracking Gun


This project is an expansion from the laser trip wire gun project shown here -
https://www.instructables.com/id/Building-a-Sentry-Gun-with-Laser-Trip-Wire-System-/?ALLSTEPS
The only difference is that the gun will not be triggered by laser but by a face.
Basically, this project is combining face tracking and the laser trip wire gun, thus, a face tracking gun.
The algorithm used for face tracking is similar to the one done by techbitar - https://www.instructables.com/id/Face-detection-and-tracking-with-Arduino-and-OpenC/?ALLSTEPS
In order to implement face tracking, openCV is used. OpenCV(open source computer vision) is a library of programming functions for real time computer vision. Their library can be found : http://opencv.willowgarage.com/wiki/ .
Step 1:

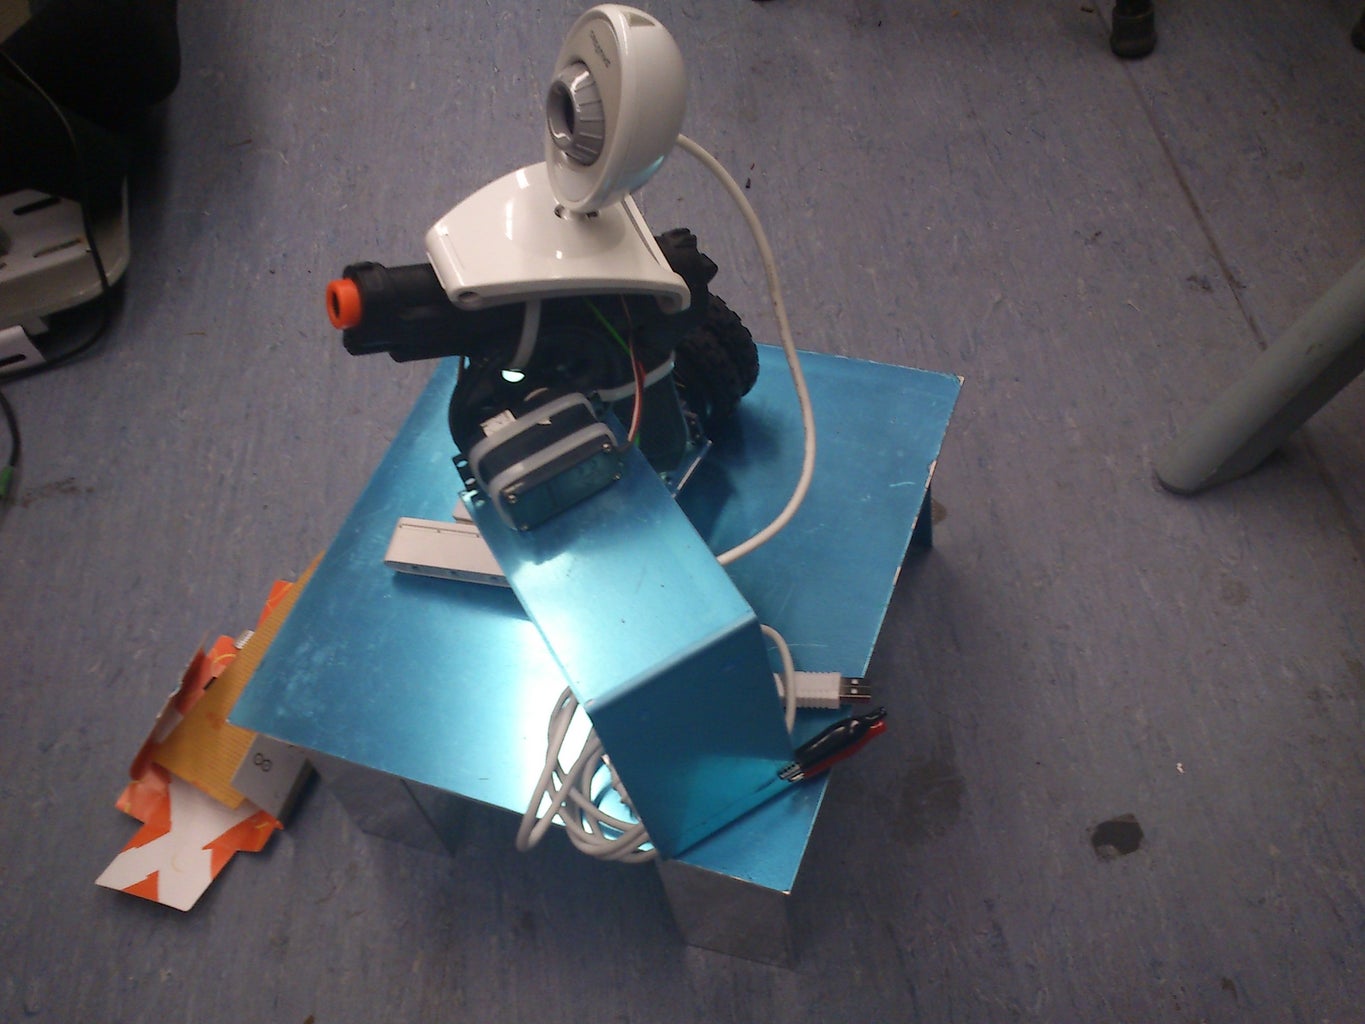
Firstly, mount the webcam on the gun. I used a cable tie to tie them together.
Step 2: Setting Up Microsoft Visual C++ for OpenCV
Before setting up, I will be writing this guide based on the fact that i am using a 32 bit window operating system. Not sure if it works for the 64 bit but, feel free to try.
First, download OpenCV from http://sourceforge.net/projects/opencvlibrary/ . Extract it to C:\ root directory. I would recommend renaming it to OpenCV2.4.0 as I will be setting paths according to it. After doing that, we have to set the path in windows environment variables to OpenCV's bin directory. In order to do that, go to Control Panel – System and Security – System – Advanced System Settings – Environment Variables. Under "System Variables", look for "Path". Double click it and add “;C:\OpenCV2.4.0\build\x86\vc10\bin”.
ps If you can see the semicolon at the start, you're not dreaming. You need to put it in as well. That one thing caused me lots of problem before.
Secondly, download visual studio if you do not already have it from http://www.microsoft.com/en-us/download/details.aspx?id=12752 .
HO HO HO . . . .
We are SUUPER ready to create a project. ahem, sry i love OP too much.
So go to visual studio and click on "New Project". Select win32 console application and enter the name of your project. A window will pop up, click next and select "Empty Project" under additional options and click finish. On your solution explorer, right click Source Files --> Add --> New Item. Select C++ File and enter your name and click add.
Now go to My Computer and open “C:\OpenCV2.4.0\samples\c” and open facedetect.cpp . Copy the code and paste it to your newly created C++ file. You will see that there are a bunch of red lines because Visual studio is not able to locate the functions and libraries yet. So to do that, go to Project---> Properties(Alt + F7). Here, we should select All Configurations from Configuration drop box. Then select C/C++ --> General --> Additional Include Directories and add “C:\OpenCV2.4.0\build\include”. Next, select Linker --> General --> Additional Library Directories and add “C:\OpenCV2.4.0\build\x86\vc10\lib”. After that, select Linker --> Input--> Additional Dependencies and add necessary library file names there.
Some examples: opencv_calib3d240.lib, opencv_contrib240.lib, opencv_core240.lib, opencv_features2d240.lib, opencv_flann240.lib
opencv_gpu240.lib, opencv_haartraining_engine.lib, opencv_highgui240.lib, opencv_imgproc240.lib, opencv_legacy240.lib, opencv_ml240.lib, opencv_objdetect240.lib, opencv_ts240.lib, opencv_video240.lib
These are the release versions of lib files, if you add “d” suffix to the filename it becomes the debug version, e.g. opencv_core240.lib – release version, opencv_core240d.lib – debug version. We have just chosen All Configurations, so after adding necessary lib files, we should change the configuration to debug and add “d” suffix to the lib files.
Note that these are not all the library files available to you. To see all of them, go to "C:\OpenCV2.4.0\build\x86\vc10\lib".
Next go to http://threadingbuildingblocks.org/ver.php?fid=171 and download tbb30_20110427oss_win.zip .
After downloading and unzipping it, change the directory name from something like “tbb30_20110427oss” to “tbb”. Then go to My Computer and “C:\OpenCV2.4.0\build\common”. There is another tbb directory, rename it as “tbb_old” for backup. Then copy newly downloaded and renamed tbb directory to this “C:\OpenCV2.4.0\build\common” location.
We also need to add new tbb location’s bin directory to path in environment variables. So, go to Control Panel --> System and Security --> System --> Advanced System Settings --> Environment Variables and find Path in System Variables section, then add “;C:\OpenCV2.4.0\build\common\tbb\bin\ia32\vc10".
Step 3: Software Needed
OpenCV v2.4.0 : http://sourceforge.net/projects/opencvlibrary/files/opencv-win/2.4.0/
Serial C++ Library for Win32 (by Thierry Schneider) : http://www.tetraedre.ch/advanced/serial.php
Code for arduino: http://snipt.org/vvfe0
C++ code for face tracking : http://snipt.org/vvff1
Step 4: