

Introduction: Festool MFT Mutlifunction Table : Make Your Own


Whether you like it or not, the Festool brand makes handy tools that works pretty well. Most criticism cames from the price tag. Some people says it worth the price and some desagree. An intersting element of the Festool system is the MFT table (MFT for multifunction table), actualy in version 3. It is both a workbench and an precision tool. You can accurately do a lot on it : assembly, cutting, drilling, make grooves, rabbets, and all you usualy do on a standard workbench. But at >600€ for the dry table, >100€ for the sacrificial table top spare part, and > 100€ for a pair of clamps, a lot of people can't afford it for such a hobby thing. So do I.
But is it possible to DIY your own ? Well, even if your workshop is pretty well equiped, it's not that easy, but definitely yes, you can. Any individual could make a table and fix rails, so I will not cover these subjects. I will focus on two fields that can bring success to your work :
- A set of jigs to drill accurately your table top
- A set of inexpensive DIY clamps to enjoy your multifunction table.
Of course, anything I publish is free and open source. You can download the plans or the printable files, find the sources at the end of this instructable.
Let's get started !
Step 1: Drill Your MFT Alike Table Top Accurately !


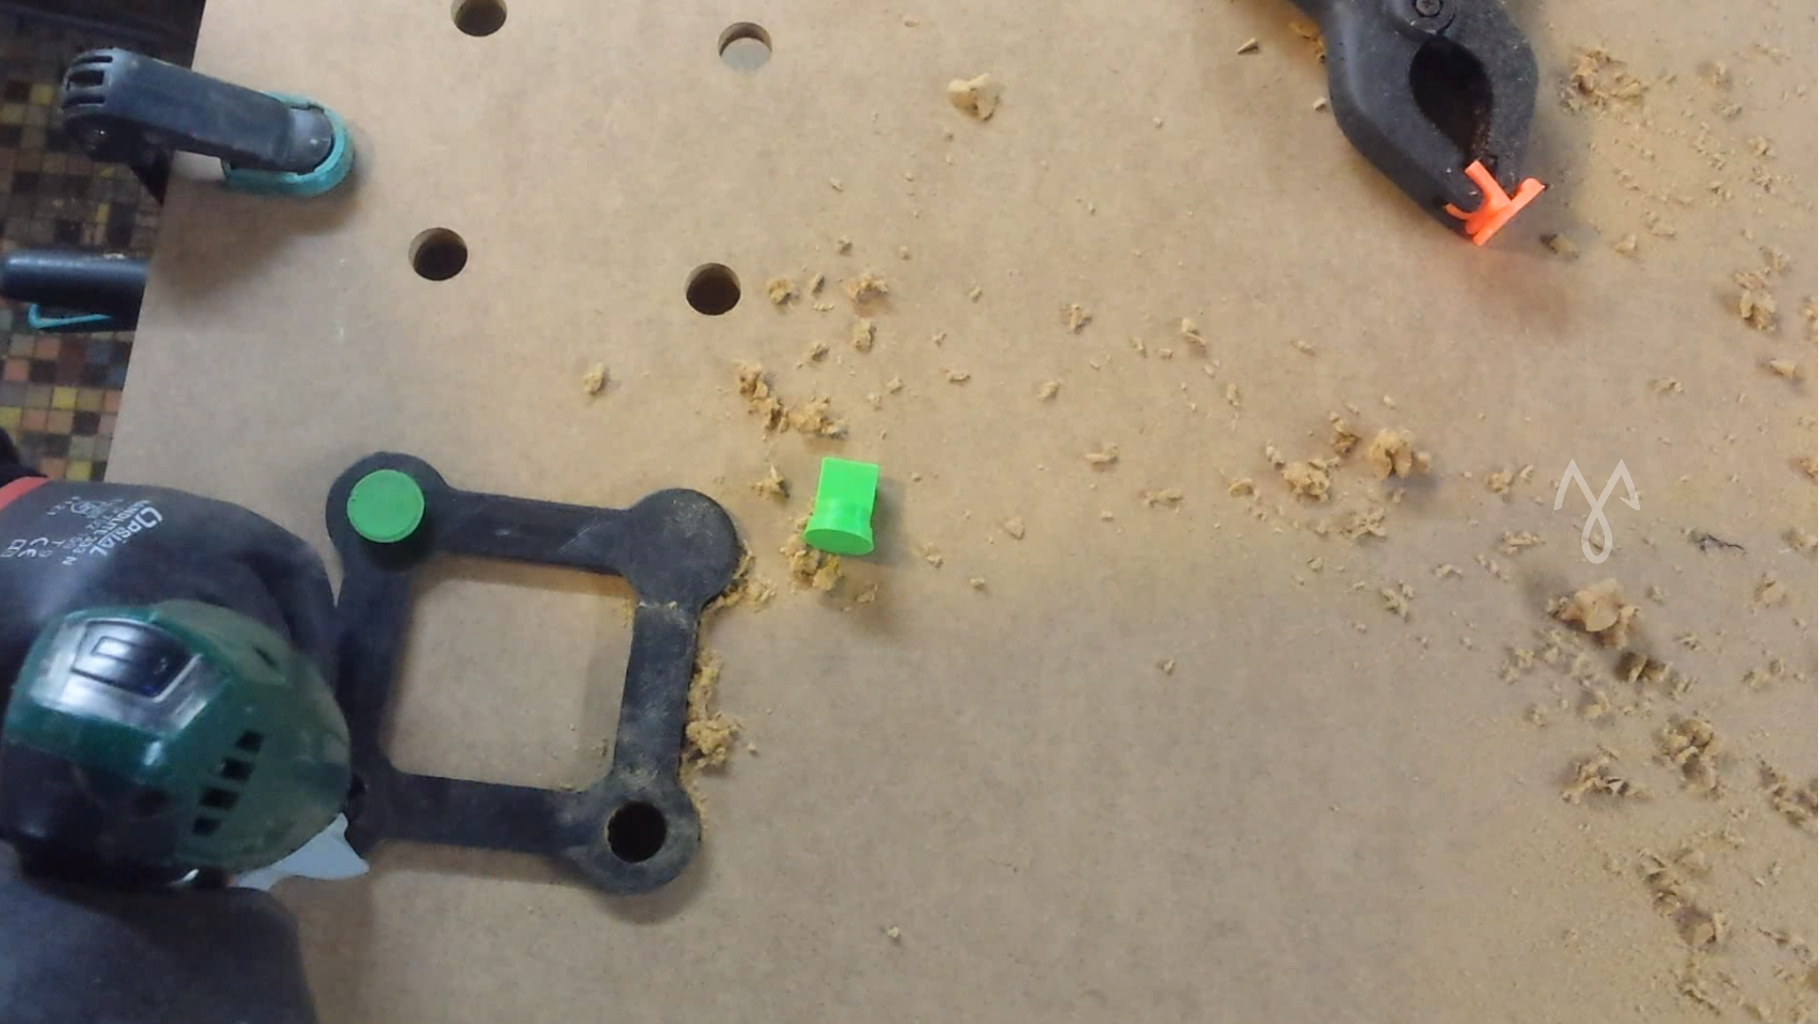
As said earlier, the MFT table is a precision tool. The CNC machined holes are dead square and spaced. The holes measures 20mm in diameter and are spared along a 96mm grid. I'm lucky enough to own a pretty well equipped workshop, but, it's not that easy to drill accurately that holes. You'd rather mark and measure each center point, pre-drill the centers, and even with a rail mounted router, you don't want your hand to shake. You miss any of your 77 holes (if you stick on the MFT3 dimensions), and your table top is no accurate. So it will be a long and stressful process anyways.
Some people make some jigs, mostly drilled rows, but it do not simplify the process and the jig itself needs time and accuracy. Anyway you need to measure at the start and at last at each row. So I thought of a small square, easy to build, which can be self aligned all over the surface, from the edge to the center. Each hole you drill becomes a reference to get one step further. The process is pretty simple, and you will understand in secconds on the how to video. Check it out !
Step 2: Now the Cheap and Trusty Clamping System !


Several weeks ago I watched the excellent job of Marius Hornberger and his clamp system for his Xcarve CNC. Unfortunately, the Inventable module (15mm holes each 75mm) is not suitable or scalable for the Festool's module. So I had to redesign it. But working on it, it appears I could push it one step further.
Marius Hornberger excellent Xcarve clamping system.
I devided the MFT module by 3 and I reported the measurements on 3 side of each clamp or bench dogs. So with a quick rotation, you're able to clamp any thickness. And when you combine lever clamps and bench dog, you can clamp anything of any shape, if it's reasonably flat, of course. See the how to video for further information.
This clamping system is realy cheap whatever you print it or make it out of wood. You need few meters of filament or sheet material offcuts, and pieces of pipe or dowels.
Step 3: Sources
The sources are available for free @Thingiverse. I don't publish it here, because it's more convenient to manage eventual updates at the same place, so you will always get the up to date version :
The Festool MFT system accurate drilling jig sources.
The Festool MFT DIY clamping system sources.
You can find there :
- The bill of materials
- The plans in PDF format
- The printable STL files
Enjoy !
You guys have a nice day and see you on next instructable !
Jean (from France).

Participated in the
Remix Contest 2016

Participated in the
Build a Tool Contest 2017


