

Introduction: Fully 3D Printed BB-8


I decided to make a fully 3D printed BB-8 for my desk at work. I wanted it to be somewhat animated so I decided to print some gears and add a crank for some movement.
If you like this project please vote for me in the top right corner of this page. Thank you!
Step 1: Design


I will add all of the files at the end of this instructable that I used to make this project. What I wanted to show here was the orientation of some of the critical components. I have tried to print some of the parts in different orientations and had some issues with either gear meshing or fit/ function.
I used Simplify3D with the 3D printer to slice and create some supports where I needed them. This is the best software I have used so far and I have used a few in the past.
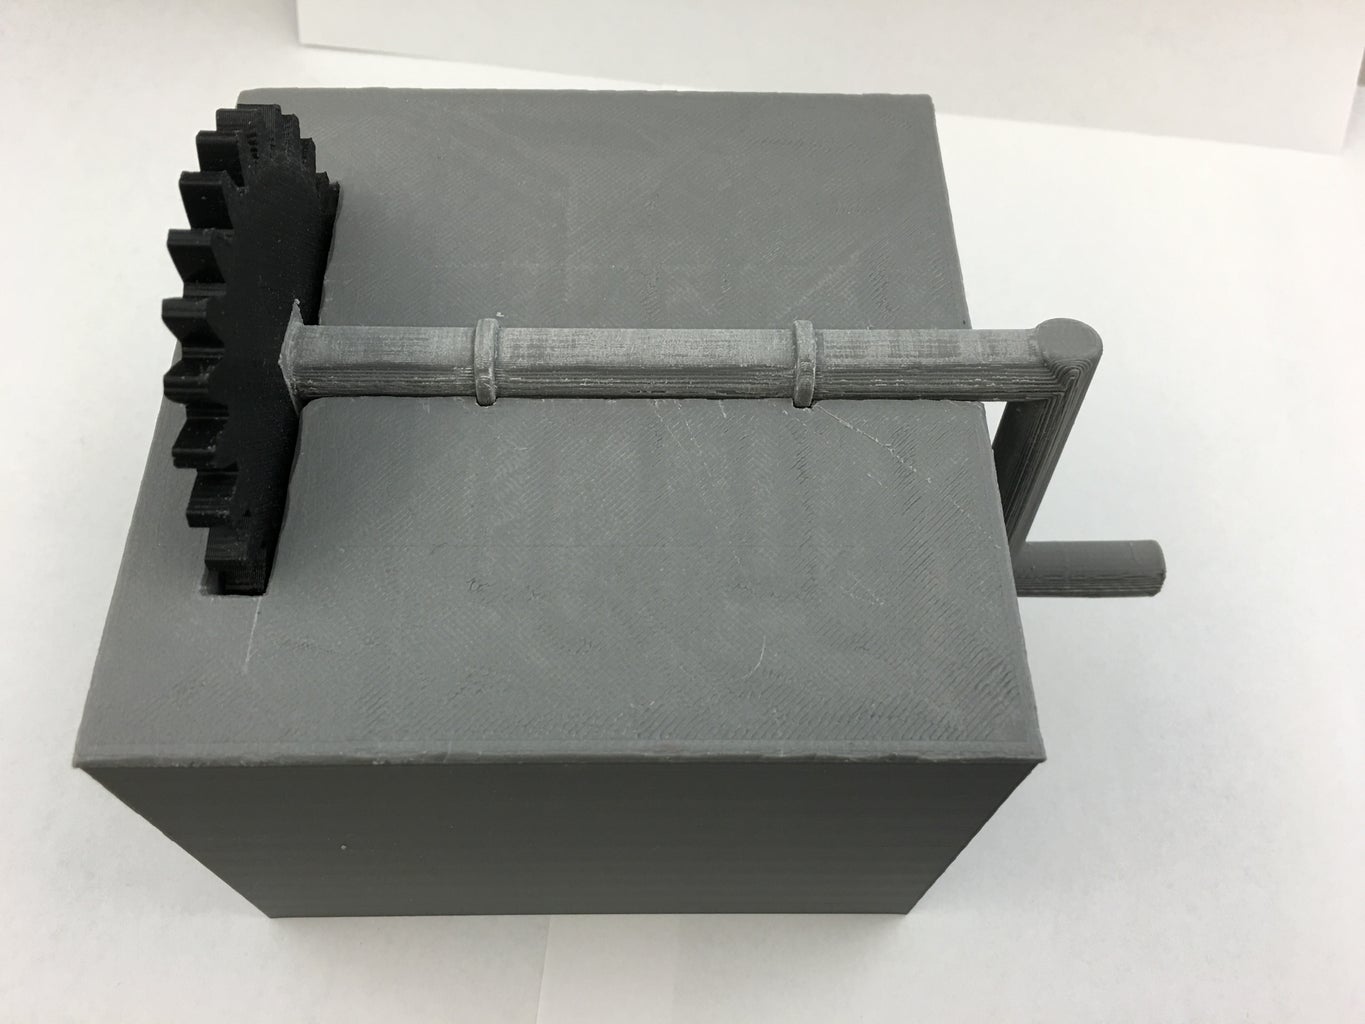
The main ball (base) is about 3.75" in diameter and the head being about 2.4". The overall base I designed to be this tall to accommodate the crank and have room for your hand to still turn it without scraping your fingers on the table.
You can see from the initial concept sketch that I was going to use an electric motor in this design but decided to go with a 100% 3D printed option instead.
Step 2: Printed Parts


The photos here show most of the parts needed for this project. The only parts I didn't get photos were the upper portions of the base but I will show those in following steps. I decided to design the body in a way that the rings were separated from the body so that I could paint them easier and they will hold the sphere together during assembly.
This project only consists of the following parts to printed:
- Head top
- Head Bottom
- Internal Magnet Rod
- Body (gear half)
- Body (Solid half)
- Rings
- 25T Spur Gear
- Top Base Left
- Top Base Right
- Bottom Base
Step 3: Dry Fit


Before painting and final assembly I wanted to first do a dry fit to make sure everything fit properly.
I bought neodymium magnets from Hobby Lobby and Home Depot that were 1/4" in diameter for both the body and head magnets. I used 20 magnets inside the body stacked up 5 in each hole, and another 16 inside the head stacked up 4 in each hole. I realize that if I use taller magnets it will be better as stacking magnets lose some magnetism but I used what I had available. The gap between the head and the internal magnets really is crucial to how many magnets you need as even a small gap creates great loss of magnetism. You might need to adjust the number of magnets you use depending on your fitting of the parts but also remember the more magnets you put into the head the heavier it is and it wants to topple over.
I started the assembly with gluing the magnets into the Internal Magnet Rod and into the bottom of the head. This is so if it falls or the magnets get happy they wont all jump around. After that I fed the magnet rod through the hole in the body half with the gear on it and attached the back support onto the magnet rod with the triangular piece on the back support facing up along with the top of the disk on the magnet rod. Then I put the other half of the body together and it holds together as you place the rings around the body. Once all the rings are on the gear on the body can be inserted between the two halves of the Top Base. I taped these together then put the crank through the center of the other gear and place this assembly in the bottom base. Then the top base can be taped to the bottom base and the back support needs to be taped to the top base.
Now it should look like the last photo and ready to crank to see if it works and the head stays on the body as the crank is turned.
Step 4: Painting


Once I was happy with how everything worked it was time to take it back apart to paint it all.
First thing is to Sand, Sand, Sand...
Make sure the body with the rings on it is as smooth as you can get it. The head is not as important and the base I did not sand. The crank and the gears were sanded to make sure things were meshing well. Try to sand until you get the printer lines out if you can.
IMPORTANT! When you take the rings back off after sanding use a white
marker or something to mark the orientation of each ring in relationship to the body. This is because you just sanded the body and want everything to go back where it was so it is smooth. I marked on the bottom of the rings and also where the rings sit on the body then put a small piece of tape over the marks on the body so you don't paint over them.
Once everything is sanded its time to prime everything. Again I did not paint the base or the internals. I used a 2 in 1 primer that helped fill in any imperfections. I did about 3-4 light coats of this on everything that was to be painted. The body and head need to be painted white and I used a Krylon Fusion brand that was rated for plastic. The rings need to be painted orange and I found that Rustolium Ultra Cover for plastic to be very close to BB-8s orange color. Again I sprayed light coats and about 4-5 coats of each.
I gave everything at least 24hrs to set up and harden before I went any further. Once it is all dry the body can be assembled. It's starting to look like BB-8 now.
As far as the painting of the panels on the inside of the rings I printed out the PDF of what the images look like on each panel. Make sure you print this at 70% and it should match up pretty good with the body design. I used adhesive back paper from Walmart to make sure the details stuck down and paint didn't get under the details. I took an razor knife and cut out all of the silver parts then cut out the circles and taped them to the body. Once all 6 circles are taped on there make sure everything else that you don't want silver is taped. Then I used Rustolium Metallic paint on this. I also used a compass and drew a ring on top of the head and where the two halves of the head meet. I just estimated where the things were on the head by images online.
That is about it for taping and painting the body. As far as the head goes it is time to add the orange paint. I taped everything off on the top portion of the head. Then I used a pencil and drew some squares around the bottom ring and used the compass again and made a ring that goes almost all around the head except where the radar lens is. Then I used the same orange as the body.
Now the creative part. I used a Sharpie Paint Pen that I got at Michael's to freehand the remaining details on the head. You can find all kinds of images online of these details. I also outlined all of the silver panels on the body and added the panel lines and rivet circles. Please take your time doing this. I went a little fast to get it done and it looks a little cartoonish.
When all of the details were done and dry, I literally took some dirt and grease and rubbed it all around the body and head to give it a weathered look. I didn't do too much but it definitely gave it more definition. I then used Rustolium 2X clear coat and put light coats on and probably did about 4-5 on the head and maybe about 8 on the body to get it nice and smooth.
Step 5: Final Assembly


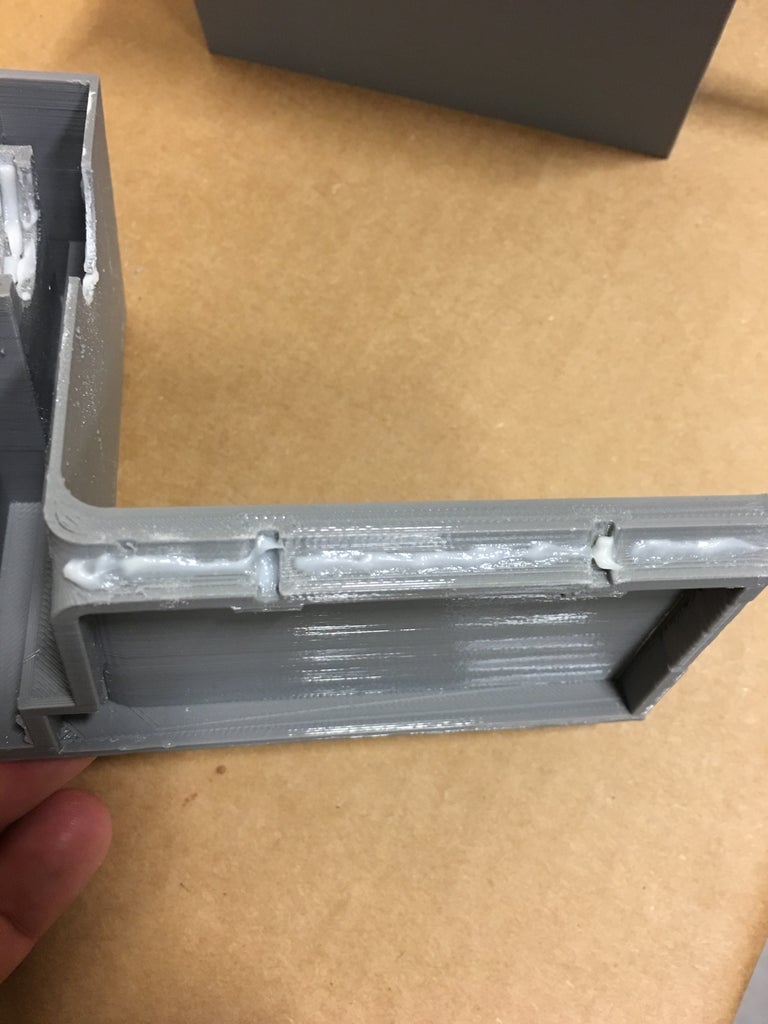


Before final assembly I wanted to use some type of lubricant because the plastic on plastic binds up and is noisy. I found some garage door lubricant I had laying around but I'm sure you could use almost anything that is a paste like lubricant. I would not use a liquid. I applied it to any surface I thought might touch another surface. I then assembled the whole thing like described in the dry fitting step but this time I used super glue to keep all of the parts together. I started with just super glue in a few spots just to get everything together then went back and glued it more solid once I was confident it was working good. if you used ABS for printing your parts you can just use Acetone (aka. finger nail polish remover) to weld these parts together.
You can try the head on top of the body and see if it is smooth enough for good operation. If not I found that if you add the thinnest layer of felt to the bottom of the head that it helps a lot. I cut out a ring and placed it on the bottom as seen in the photos. If you think the felt is too thick you can take your razor knife and slice the height down a bit.
Step 6: Files

Here are all of the files used for this project.
You need 1 of all of the parts except the rings which you need 6.
That's It!
Hope you have fun building this one.
If you like this project PLEASE vote for me in the top right corner.
Thank You!
Attachments


Runner Up in the
3D Printing Contest 2016

Participated in the
Space Contest 2016


