

Introduction: GETTING STARTED WITH ARDUINO #2


HEYYA!!!!!!! Again i am here to teach you about the Arduino basics.Hope you read my previous instructable. If you did'nt check out this GETTING STARTED WITH ARDUINO #1. So in this instructables i am going to teach about digitalread serial. This instructables help to establish serial communication between your Arduino and your computer over USB.Again I am telling this tutorials is purely dedicated to Arduino beginners.So as I normally do in my previous tutorial i will explain what a Arduino is :
Arduino uno :-
Arduino is a pocket size computer that are used to control to control the physical world which cannot be performed by your desktop.It takes input from your input device such as sensors,switches and many more accordingly it controls the output device such as motors....etc The other application of Arduino is : -
-Programmable light displays that respond to music or human interaction
- Robots that use information from sensors to navigate or perform other tasks
- Unique, customisable controllers and interfaces for music, gaming, and more
- Connecting real world objects to the Internet (twitter is especially popular)
- Anything interactive
- Automating and prototyping
vroom vrooom!!!!!! let's gear up
Step 1: COMPONENTS REQUIRED:-

The components required for building up the project are :-
- arduino
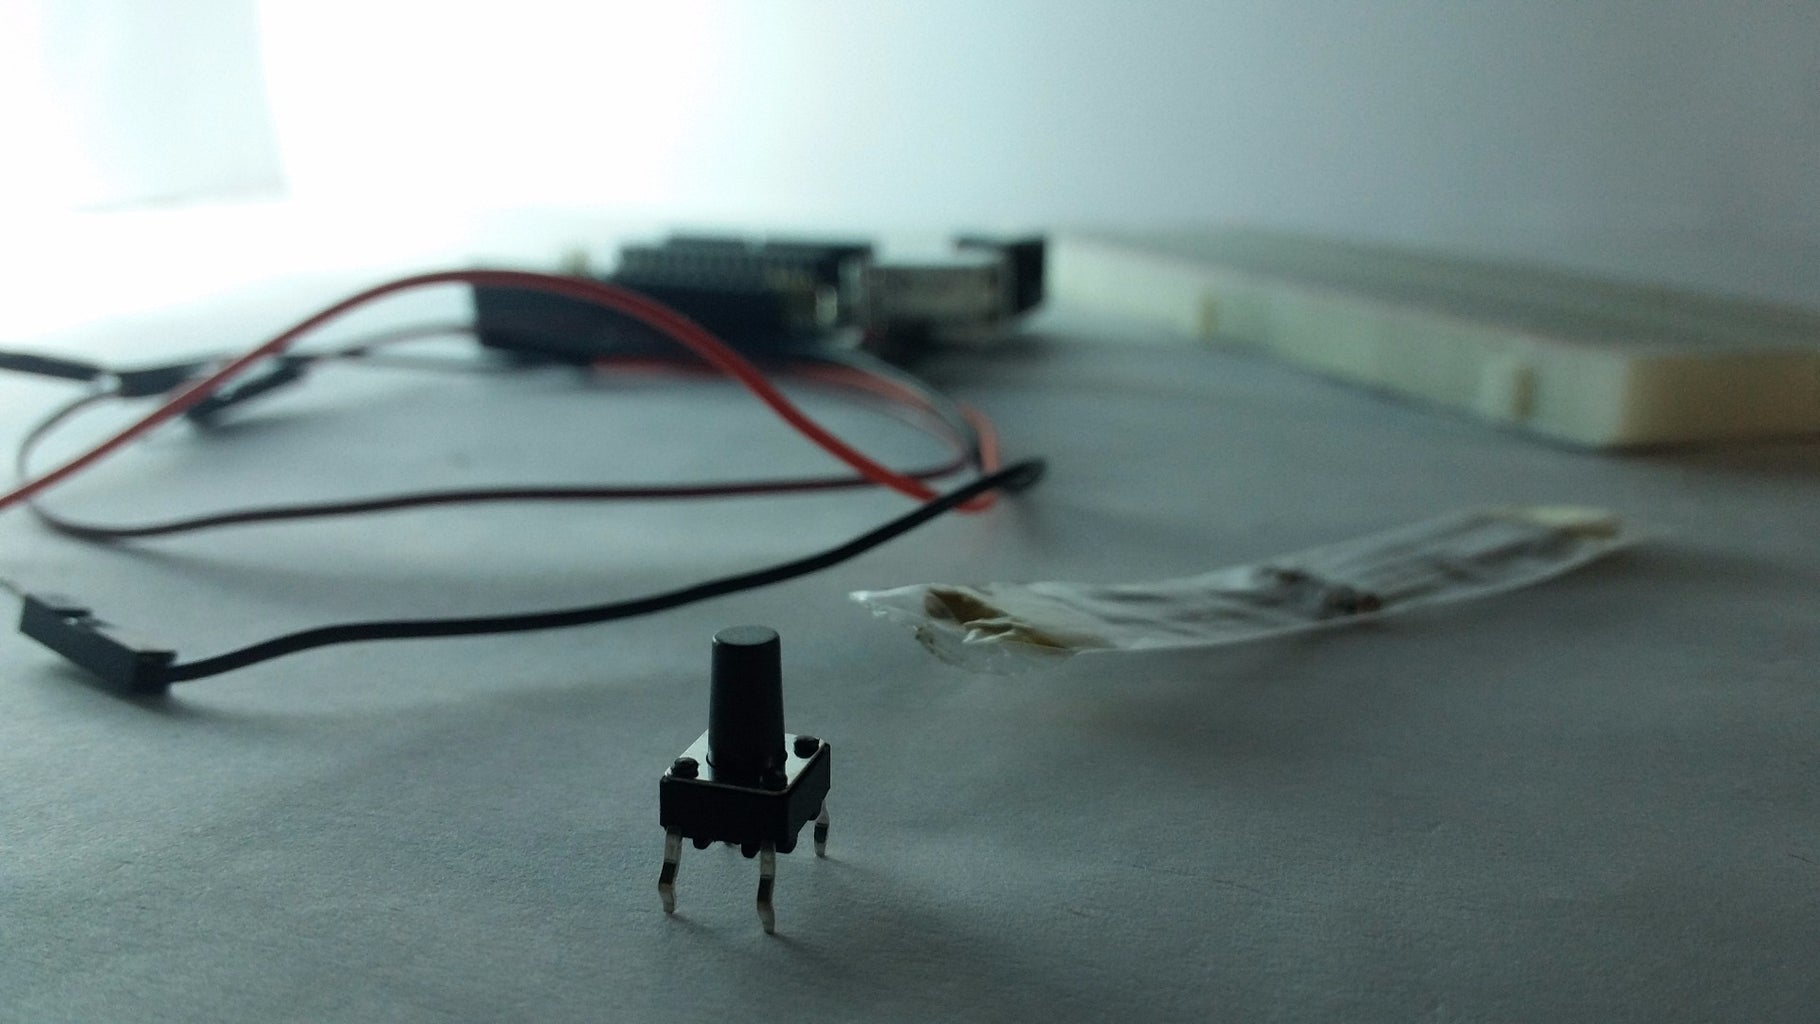
- pushbutton
- jumper wire
- breadboard
after collecting your components build your circuit.
Step 2: CIRCUIT CONSTRUTION :-


The construction of this circuit is very simple. it just takes few steps to complete the circuit :-
a pushbutton is four terminal device device
step 1 : fix the button to the breadboard.
- one of the terminal is connected to the digital pin of arduino.
- other terminal is connected to the one end of the resistor.the other end is connected to the negative supply of the breadboard.
- then other teminal is connected to the positive supply of the breadboard. this pin should be adjacent to that of terminal connected to the ground
- fourth terminal is remain unconnected
now it's time for coding.
Step 3: CODING:-


I think you are familiar with the words used in the previous instructable.So let's get started now.
step 1 : int pushbotton = 2 ;
int = this means integer in c program which is used to assign value i.e whole number but we can't assign decimal value.
pushbutton : this is just a variable which is not a constant.It's your wish to name it
2 = digital pin to which the led is connected
step 2 : void main()
When we write void main(). It means that this main() program will not return value. And if we write int main(). It means this program will return an integer type value.
step 3 : pinMode(2 , OUTPUT)
PinMode : this function is used to declare the pin whether as output or input.
example PinMode(2 , OUTPUT) this command is indicatind that 2nd pin of Arduino is consider as the OUTPUT.
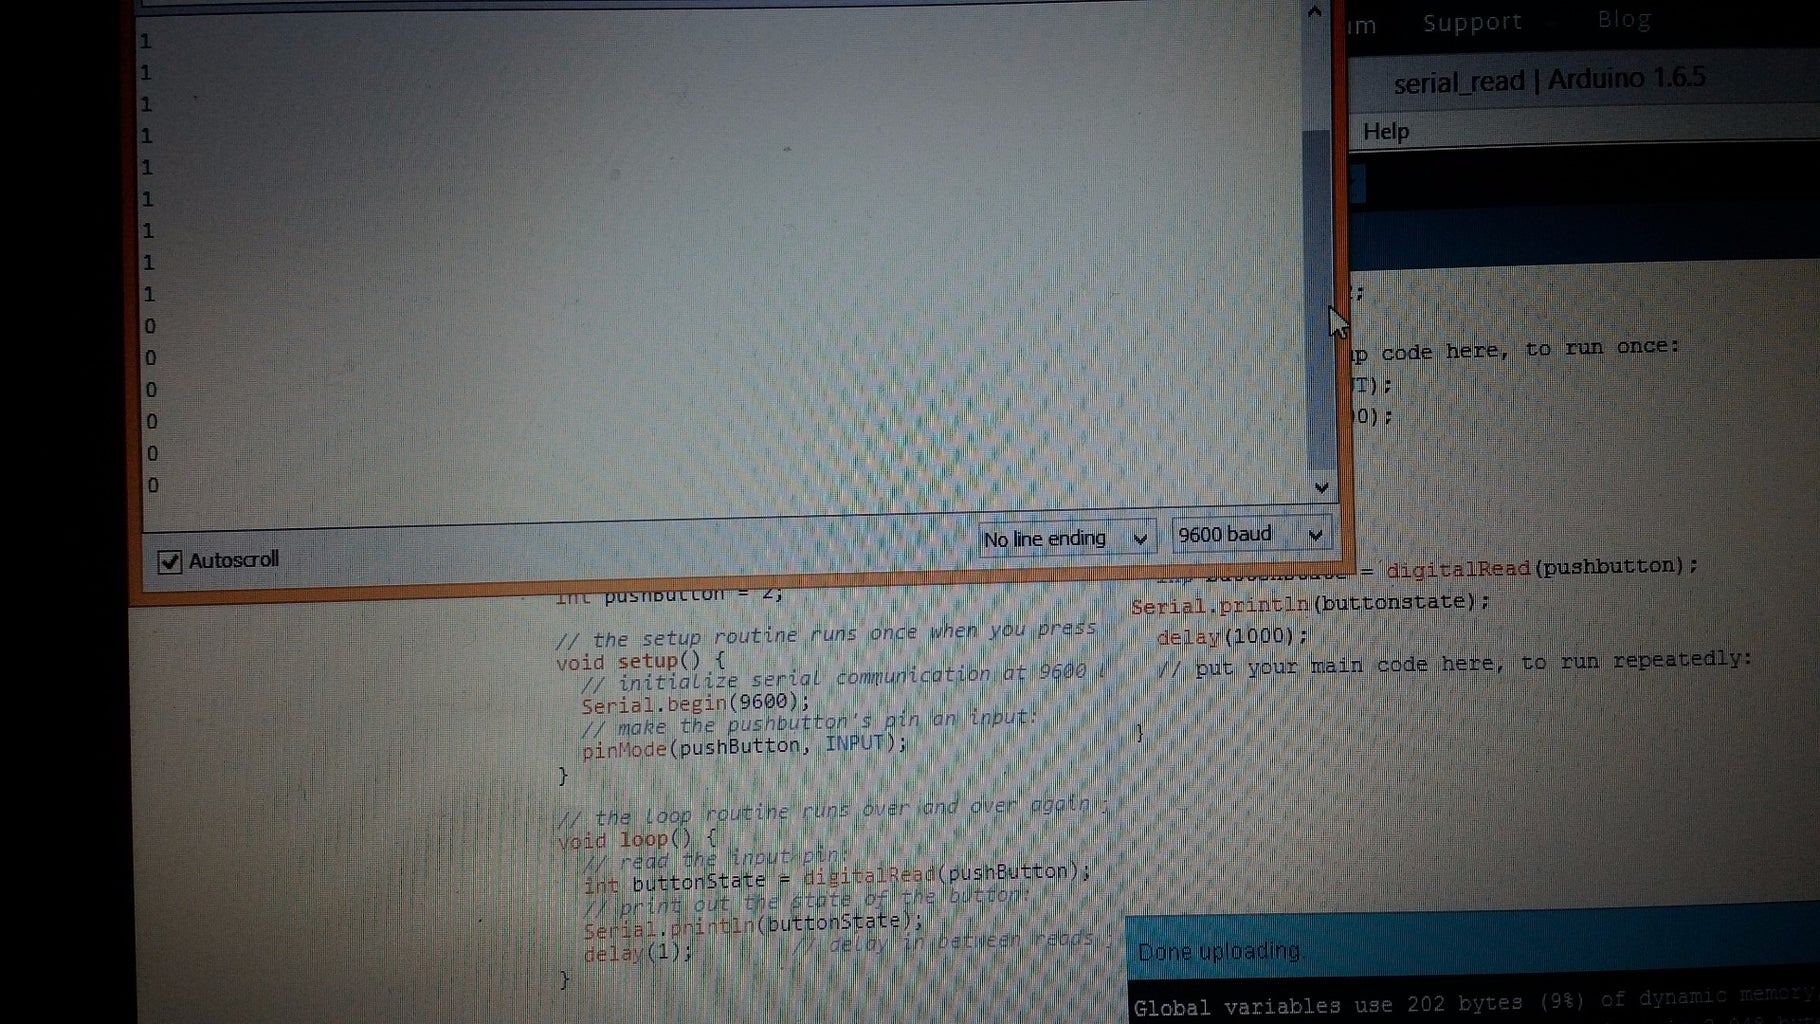
step 4 : serial.begin(9600) which means to transact data from arduino to computer at 9600bytes per sec
step 5 : int pushbutton = digitalread(pushbutton)
this command means to read the state of the button which whether is it high or low (0 or 1)
step 6 : serial.println(buttonstate)
this command print whether the buttonstate is high or low. if we keep on pressing button it will get printed 1 on the serial monitor if not it will print 0.
if you could'nt follow any command comment below. i ll b please to help you.catch you with another tutorial.


