

Introduction: Getting Started With ArduBlock


This is an introduction to the ArduBlock graphical programming language. It is a great way to learn the basics of programming and also to quickly write a test program if you are a more experienced user.
Supplies:
- Arduino board
- 10KΩ Resistor
- Momentary on button
- Computer with Arduino IDE and ArduBlock installed
I will demonstrate with two programs.
Step 1: Build the First Circuit
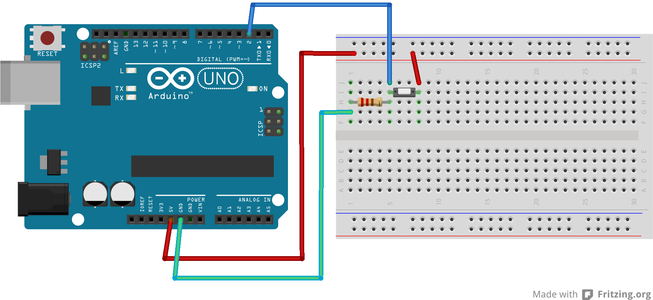
The first circuit is simple...
Step 2: Code the First Circuit

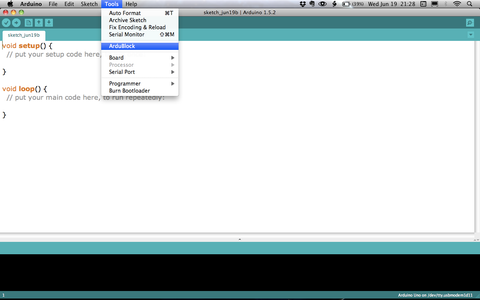
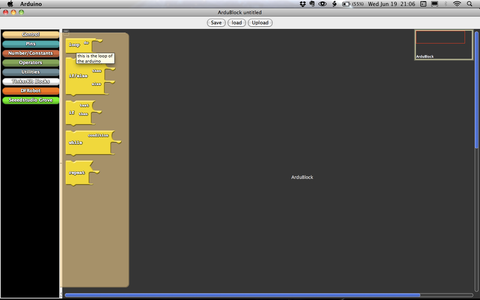

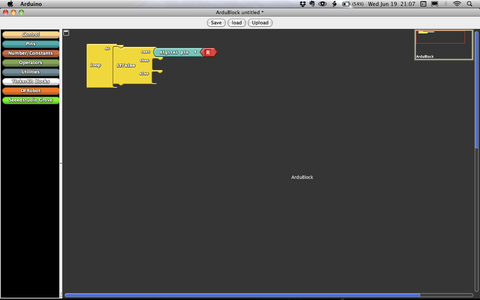

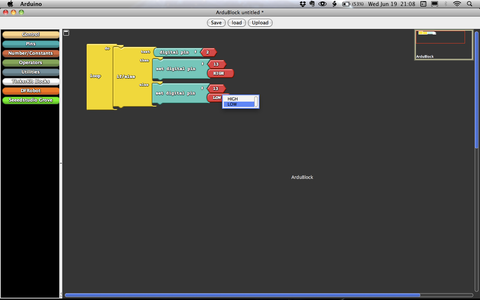


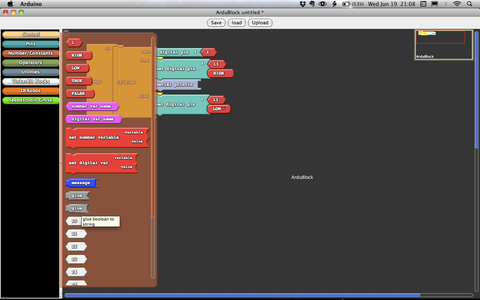


Here is the step-by-step to create the ArduBlock code to turn on the built-in LED (wired to pin 13) when a button (pin 2) is pressed.
NOTE: You can add a delay to the end of the loop so that the serial output will not be so fast (you can find a delay block in the "Utilities" toolbox on the sidebar).
Uploading is simple: Just plug the Arduino into the computer, click the "Upload" button, and ArduBlock will generate the Arduino code neccessary. You can then see the serial output by clicking the "Serial Monitor" button in the Arduino IDE
Step 3: Try It!
I don't have a good camera, but I did test this circuit and it works!
GOING FURTHER:
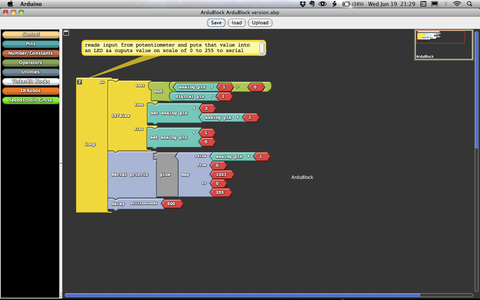
I have created a program to get input from a potentiometer and dim an LED... I haven't tested it yet. See if you can figure out a circuit to make this work.
See the picture below for the code.

Participated in the
Arduino Contest


