

Introduction: Getting Started With Intel Edison - Python Programming


This guide is for all you python programmers who have always wondered ,what is the best way to get into “IoT”(Internet of Things) , now since you've made it to this page, buy yourself an Intel Edison from Amazon or an online store like Adafruit.com or Sparkfun.com and follow this guide.
In addition if you own a Raspberry Pi and want to do some serious Internet of Things projects with the Intel Edison, this guide is for you and by the end of this ible you’ll see how easy the transition from the Pi world is.
As part of this guide you'll learn how to
- Blink a LED, which is the Hello World! equivalent from the software programming world(if you own a Pi and have written a couple of python programs try and spot the differences.)
- Read an analog sensor,for this we will use a potentiometer.
- Setting up SSH so that you don't have to be connected via a USB cable, which means you can run python programs and do other house keeping on the Edison over WiFi, from anywhere in the house! Isn't that awesome..
- And finally run a python program that you wrote on you Macbook and transferred to the Edison using an FTP client like Filezilla.
Notes:
In my case I am using a Mac, but if you are using a windows machine follow the link for the Microsoft equivalent.For Windows you will have to install Drivers and use Putty instead of the Terminal in Mac.
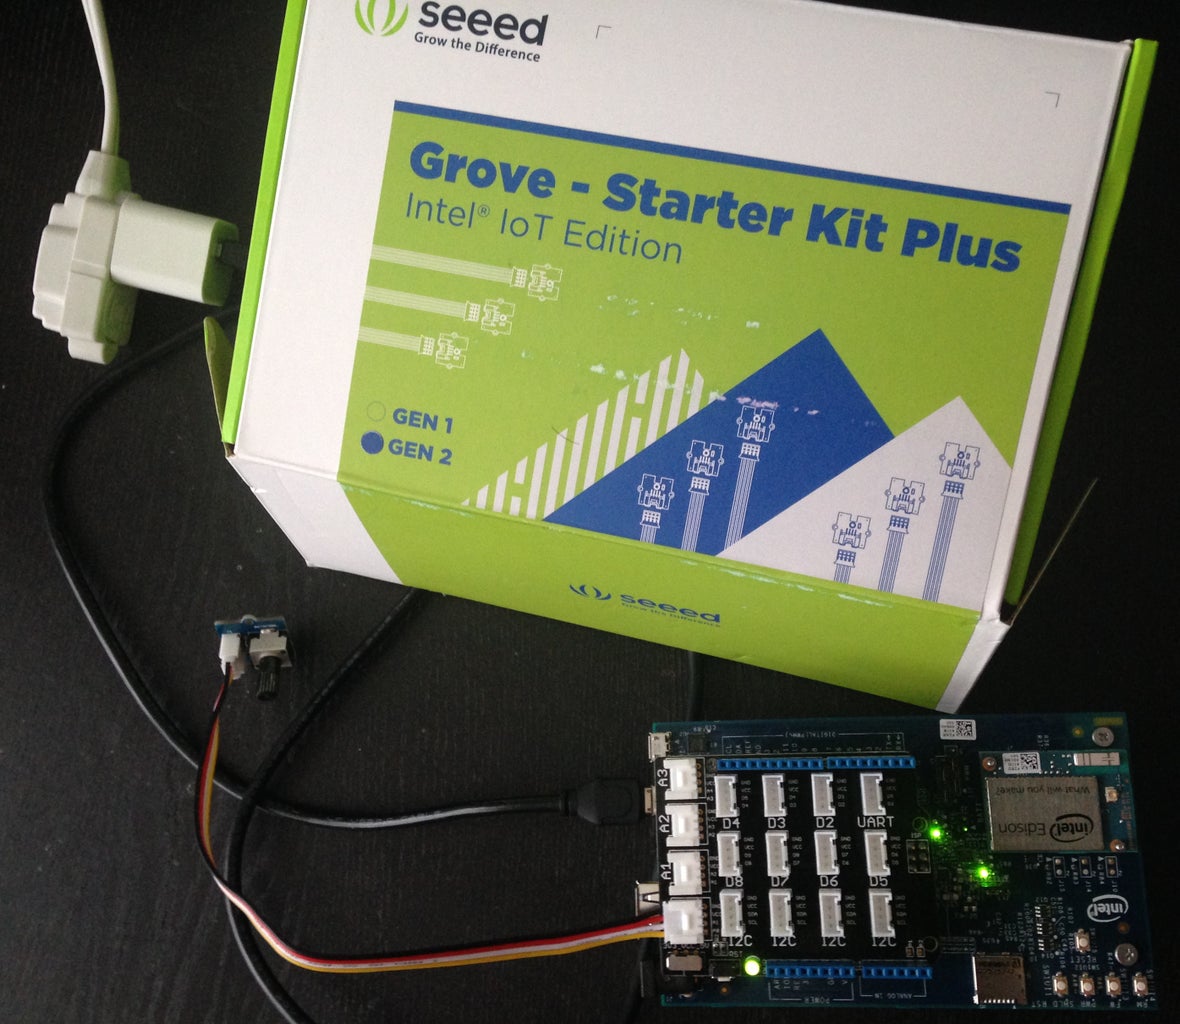
If you don’t have the electronic component at home, that is a LED, Potentiometer, Breadboard and jumper wire, try and get electronic starter kit from any of the websites above or at your local Radioshack. In my case I am using Seed studio Grove Starter Kit Plus - Intel IoT Edition for Intel Galileo Gen 2, which has a few more sensors that you can use for various IOT projects.
In addition you'll need 2 Micro B to Type A USB cables , the same ones that are used to charge most Android phones.
Step 1: Add the Intel Edison to the Expansion Board

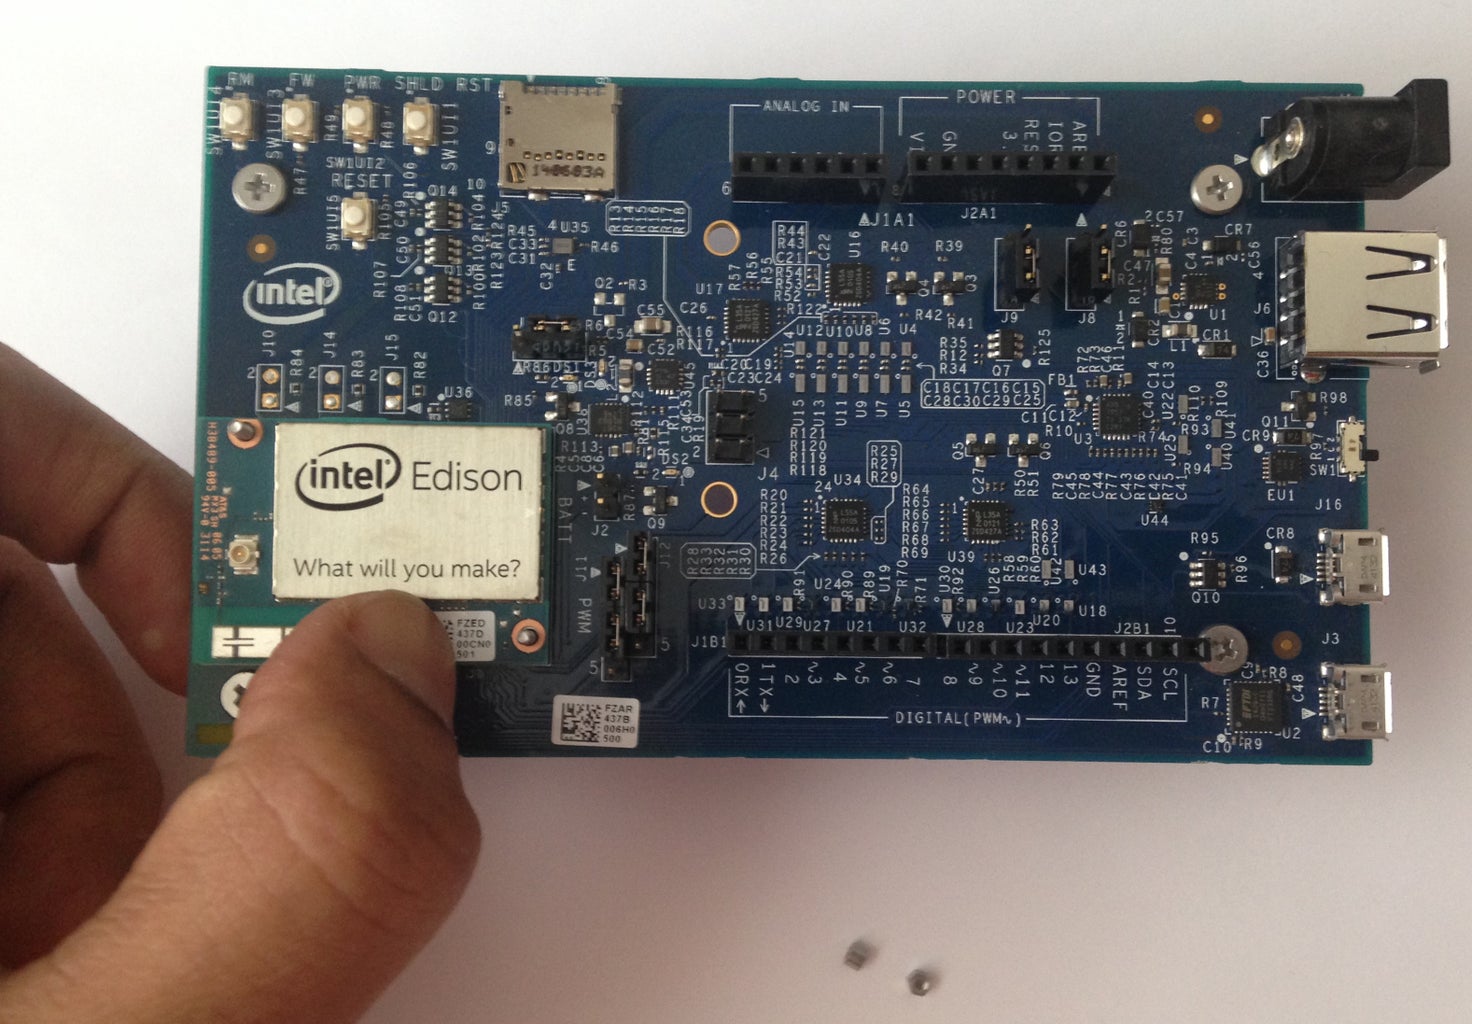
Unbox the Intel Edison from the package and the anti static bag.
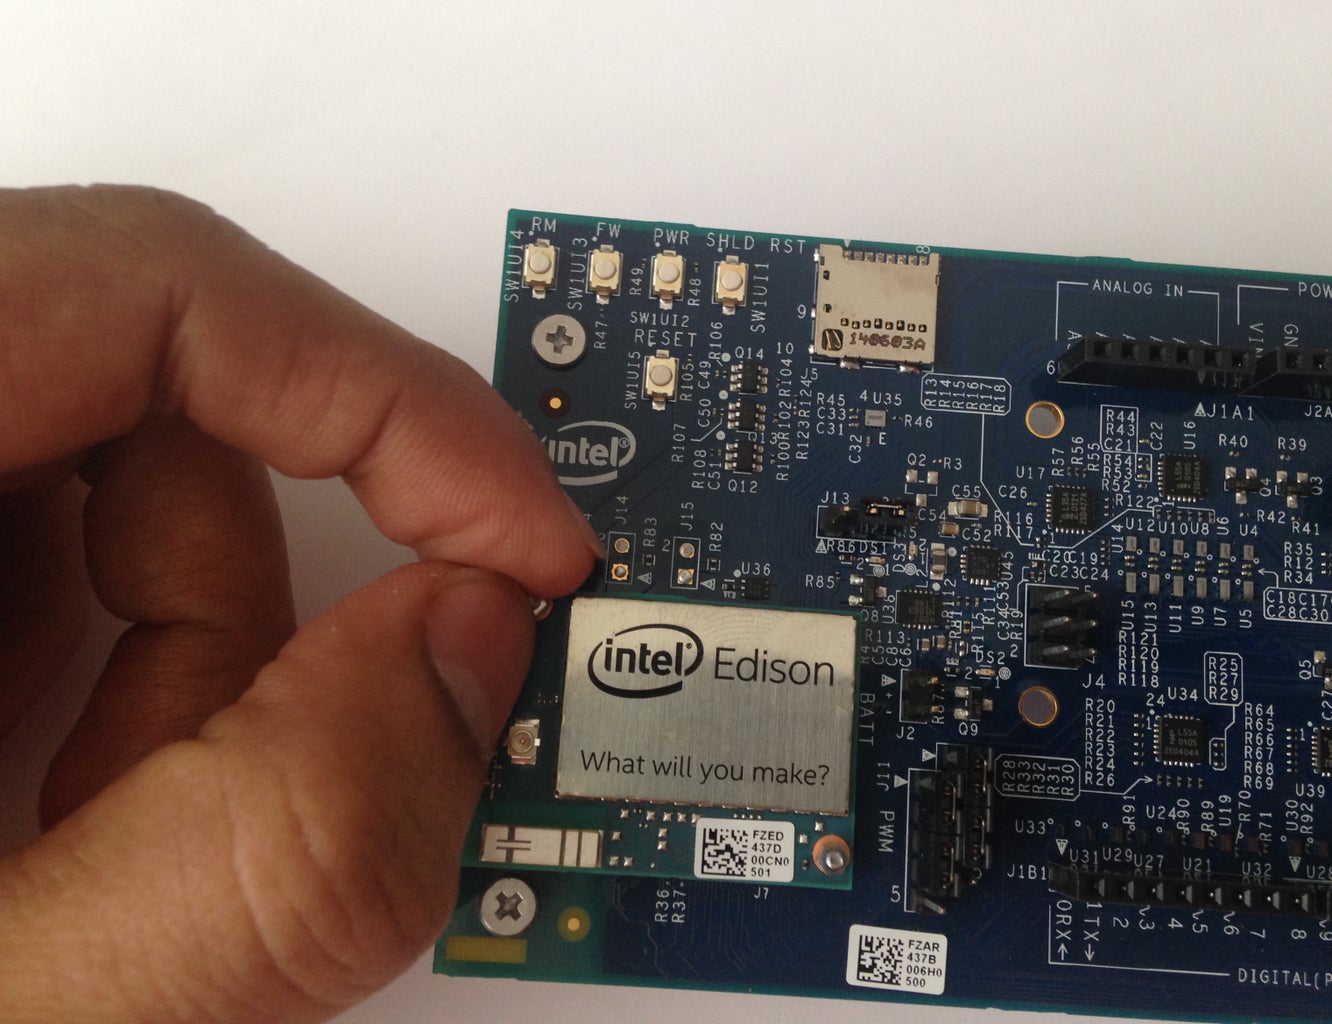
Add the 4 pegs to raise the expansion board off the table and snap the Edison in the slot as shown in the picture above,you should here a click sound.
Add the nuts to the screws which came with the package as shown in the picture above.
Note:
For more details about the Edison refer to the following pdf
Step 2: Download the Latest Yocto Image

Follow the link below and download the latest version of Yocto image to your Mac.
http://www.intel.com/support/edison/sb/CS-035180.h...
Note :
In my case the name of the zip file downloaded is edison-image-rel1-maint-rel1-ww42-14.zip, this could change based on when you are going through this ible.
Step 3: Connect Intel Edison to Your Mac and Unzip the Yotco Image to Edison Drive


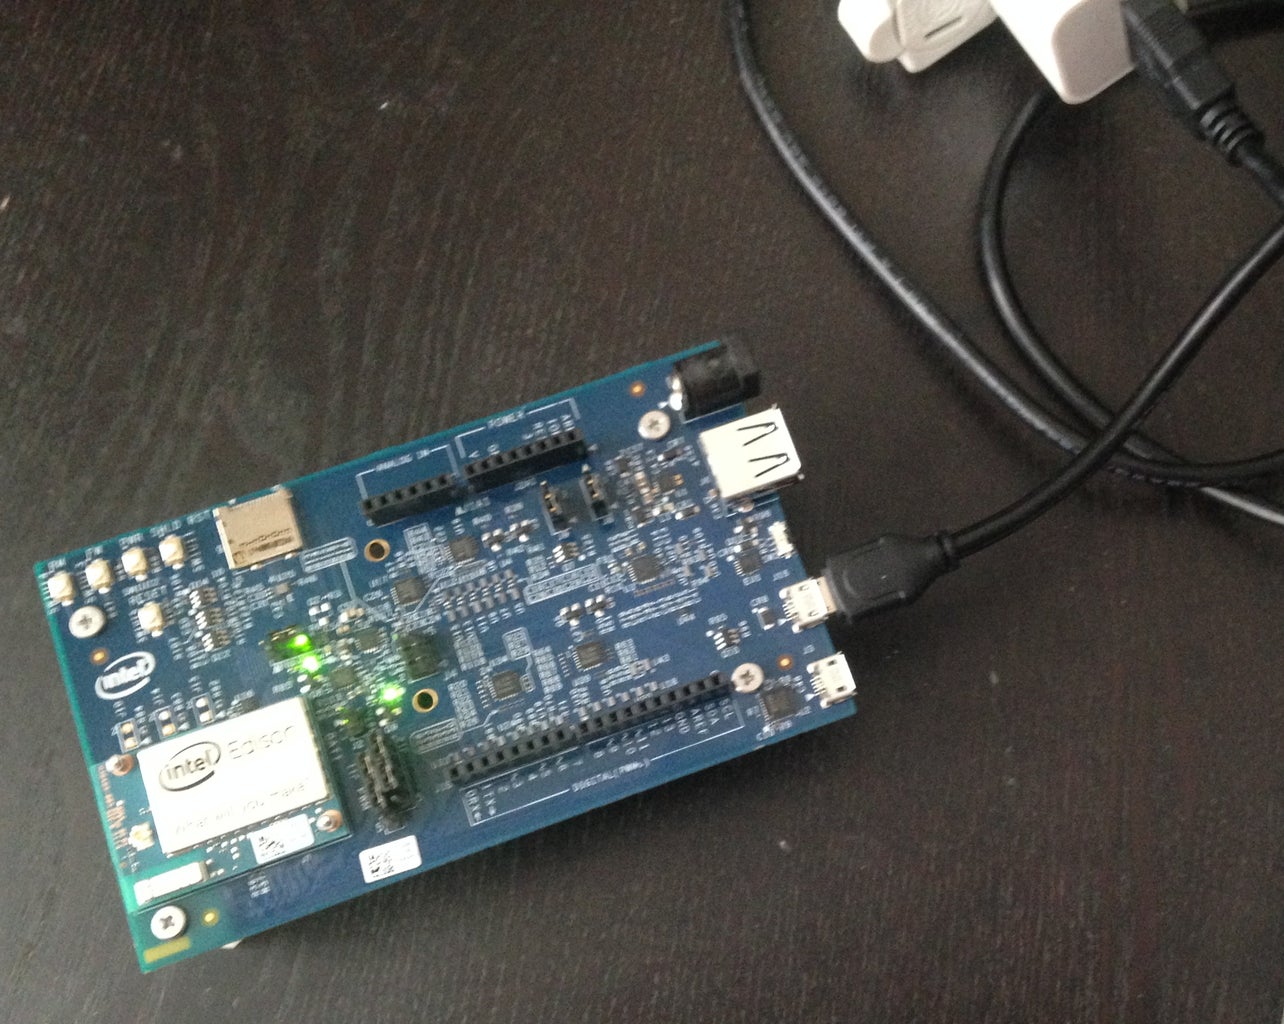
Now connect the micro USB cable to the USB port which is closer to the switch, as shown in the picture above.
And connect the other end of the USB cable to your Mac, once this is done you should see a Edison drive in the left of your Finder window. (this is similar to when you connect a flash drive or an external hardisk to your Mac).If you click on the drive it should be empty.
Finally unzip the file into the Edison Drive
Click on the Edison drive to validate that the files for the Yocto images are copied as shown in the third screenshot above.
Click on the Eject button in the Finder window which is at the side of the Edison disk.
UPDATE as of May 6th 2015 : There is more efficient way of flashing Yacto image on the Intel Edison using the Flash Tool Lite, please refer to the link below for more details
https://software.intel.com/en-us/articles/flash-to...
The advantage of using this Flash Tool Lite is the extra space, close to about ~900MB in the root partition. This space is handy, if you plan on installing a lot of packages/modules or use the space to store picture from a webcam(instead of using a SD card), as I have done in another instructable I wrote, which you can find at
Step 4: Disconnect and Reconnect the USB Cable

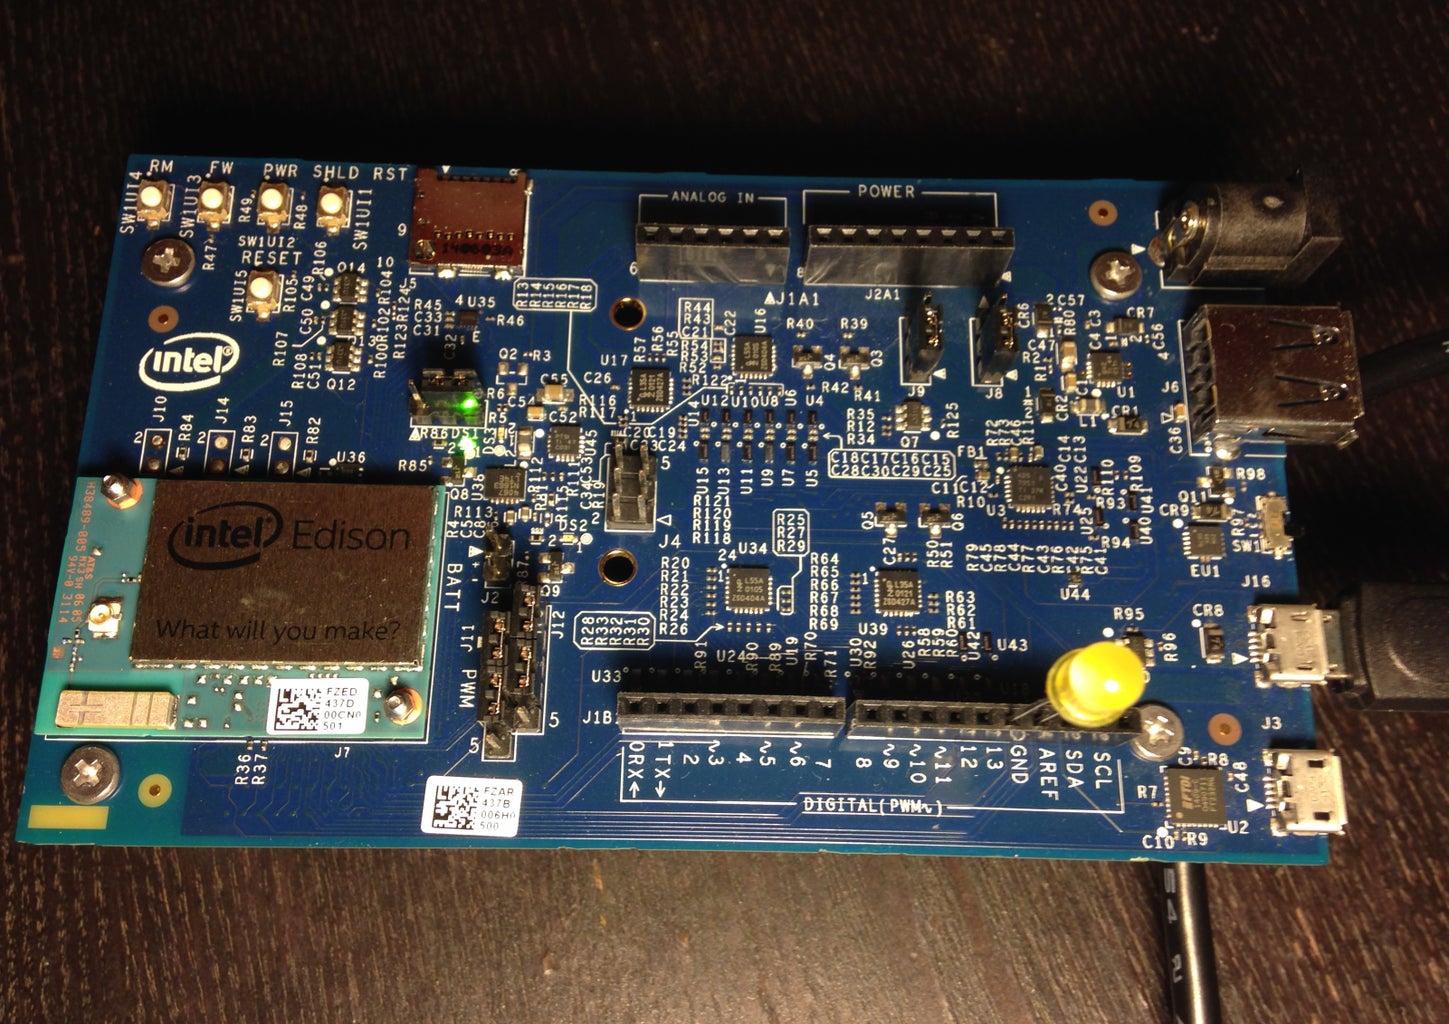
Disconnect the USB cable and connect the USB cable as shown in the picture above,
- basically connect the lower most USB port to the cable that will be connected to your computer. This is the Serial over USB port.
- And connect another micro USB cable to the port which is closer to the switch. In this scenario this port will be used to power up the Intel Edison and the expansion board.
Note :
Lowermost USB port is used as a Serial terminal
Other USB port which is close to the switch can be used for multiple functions , that is
- to power up the Edison
- access as Storage device like we did in the previous step
- to upload Arduino sketches, for more details refer to Plant monitoring and care ible
Step 5: Connect to the Serial Console From Terminal

Now on your Mac open the Terminal App
- Type in the following command ls /dev/tty.*
Validate to check if you see something similar to /dev/tty.usbserial-AXXXXXXX as shown in the image above, in my case it is /dev/tty.usbserial-A402IDIL.
Note: If your device is not in the list, verify that your board is powered up and check your connection as shown in the previous step
To get into the Edison via the Serial port use the following command screen/dev/tty.usbserial-A
and then hit the Tab key, this will populate the complete device name
then type 115200 –L , the final command should be( in my case screen /dev/tty.usbserial-A402IDIL 115200 –L) as shown in the picture above
After typing in the command hit Enter twice
Step 6: Login and Run a Quick Test for Python

Once you type the screen command in the previous step hit the Enter key and you should see a prompt to login
Type root and hit Enter
Note: to enter the command line of the Edison, you don't need a password, but you can setup one if you need to SSH into the Edison, which is detailed in step 9 and 10.
Run a quick test to check if Python is installed , type python
And once you have the prompts >>> type 2+2 and validate the output is returned
To exist out of the python prompt use exit()
Step 7: Change the Name

To change the name of you Edison at the command line type configure_edison --name and hit the Enter key
You should see a screen as shown in the screenshot above, here you will have the option to type the NEW name for Edison , in my case I choose "edisonhub"
Then type "Y" to confirm
Note: This step is optional, but if your like me, then you like to give meaningful names to things!
Step 8: Connect to Your Wifi Router at Home


The Intel Edison has an Wifi chip on-board,so take advantage of it! if you have have a WiFi router at home..
To configure the Wifi on the Edison, type in the following command configure_edison --wifi and hit the enter key
It takes about 10 seconds for the Edison to scan for Wifi networks and list them as shown in the screen shot above.
Type the number which matches with you WiFi router name , in my case "Androidpod" is my network name which corresponds to 40 in the list
Type in your password, and once done make a note IP address and web url which in my case is http://edisonhub.local/.
Bookmark the URL above as you will need this to know your IP address to SSH in.
Step 9: Setting Up SSH - Setup a Password for the Edison Board

If you plan on having it easy ! and have your Edison plugged in one conner of your house and not have to connect the USB cable to the Serial Port every time, using SSH to get into you Intel Edison is a great idea.
To use SSH with the latest version of the Yatco image(edison-image-rel1-maint-rel1-ww42-14.zip) you need to setup a password.
To create a password, at the command line type in configure_edison --password
At the prompt type in the new password and type it again to confirm as shown in the image above.
Note : If you have an earlier version of the Yacto image you may not have to set a password to SSH .
Step 10: Setting Up SSH - Reboot the SSH Into the Edison


Now,shutdown your Edison to disconnect the USB cable from your laptop and Lowermost Serial USB port on the expansion board, type the command shutdown -h -P now you should see a screen as shown in the screen shot above.
Now disconnect the USB cable that is connected to the wall adapter and reconnect it again to power up the Edison.
Go to the URL http://edisonhub.local/ which you made a note of in the previous step, and make a note of the IP address.
Launch a new Terminal window on you Mac
And run the following command ssh root@edisonhub.local
or use the IP addressssh root@192.168.1.9
Enter you password that you had setup a couple of steps ago and is you see "root@edisonhub:~# " prompt your SSH setup is complete . And yeah! you can use your Edison from any where in the house.
Congratulations your setup is 90% complete, it is now time to take a BREAK , get to the kitchen and make yourself a cup of Coffee/Tea to celebrate!!
Step 11: Blinking the LED Using Python


Now connect a LED as shown in the picture above to pin #13 on the Edison expansion board, that is connect long end of the LED to ping number 13 and the short end to ground.
At the Edison command prompt type python
And type in the following lines in bold on the python command line
>>> import mraa
>>> led = mraa.Gpio(13)
>>> led.dir(mraa.DIR_OUT)
0
>>> led.write(1)
0 - at this point you should see the LED glow
>>> led.write(0)
0 - now the LED be turned off
>>>exit()
mraa aka libmraa in the code above, is a C/C++ library with bindings to javascript & python to interface with the IO on Galileo, Edison & other platforms, with a structured and sane API where port names/numbering matches the board that you are on. Use of libmraa does not tie you to specific hardware with board detection done at runtime you can create portable code that will work across the supported platforms.
For more info and documention on mraa follow the link
Step 12: Using SFTP - Installing FTP Cilent Aka FileZilla


Now Download and install FileZilla using the link https://filezilla-project.org/download.php?type=cl...
Click on the FileZilla shortcut to open the program, and go to File -> Site Manger -->Click on the New Site button and enter details shown in the screenshot.
Then click Ok.
Step 13: Using SFTP- Uploading the Python Program to the Edison
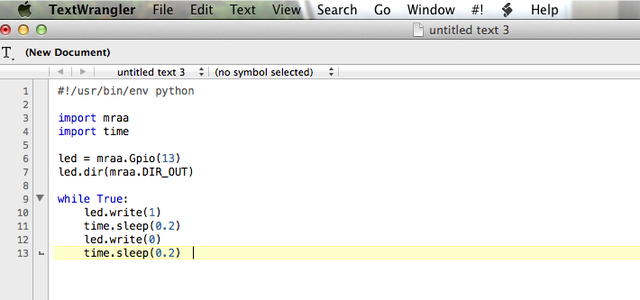


Now let do something a little complex, write a python program that will continuously blink the LED connected to pin #13, type the python code below into your favorite text editor , in my case i am using TextWrangler as shown in the screen shot above.
#!/usr/bin/env python

import mraa
import time

led = mraa.Gpio(13)
led.dir(mraa.DIR_OUT)

while True:
    led.write(1)
    time.sleep(0.2)
    led.write(0)
    time.sleep(0.2)
Save the file to you Mac and make a note of the path you have saved it to , in my case i named my file "blinkLED.py" and saved it in a folder called "PythonPrograms"
Now to transfer the file blinkLED.py from your Mac to the Intel Edison, on your left where it says local Site which is you Mac as shown in the screen shot above, navigate to the folder, which in my case is the blinkLED.py program, stored in PythonPrograms folder.
Right click on the file and click upload as shown in the second screen shot above.
Once the transfer is complete, which should take about a second you should see the blinkLED.py on the Remote side which is root folder on the Edison.
Step 14: Running the BlinkLED.py Program on the Edison

In the terminal where you have SSH'ed in, go to the directory that you uploaded the python program, that is /home/root directory.
Type cd /home/root
Then to check if the file is present by using the list command - type ls
Now to run the python program type python blinkLED.py
you should see the LED blink as shown in the video above.
Once you are bored of seeing the LED blink use ctrl+C to exit out of the program
And then before moving on to the next step, shutdown the Edison using
shutdown -h -P now
Step 15: Reading an Values of the POT


Connect the Potentiometer which will act as an analog input to the A0 pin of the Edison, in my case I am using the Grove- starter kit plus Gen 2 which has a shield that I have attached on top. And use a jumper cable to connect from potentiometer to the A0 pin of the shield.
Type the python code below into your favorite text editor , in my case i am using TextWrangler and save the file as readingAnaloy.py.
#!/usr/bin/env python

import mraa
import syspot = mraa.Aio(0)   while 1:
    potVal = float(pot.read())
    print potVal
Upload readingAnaloy.py file to the Edison, using a FTP client FileZilla as shown in the third screenshot .
Note: Observe in the second screenshot the IP address of the Edison has changed to 192.168.1.4 when you use the URL http://edisonhub.local/ , this is because I wrote this part of the ible in the morning when most of my laptop/tablets at home are off and the WiFi router at home via the DHCP protocol served me tha above IP.
Now open a new Terminal window and SSH into the Edison using the command - ssh root@edisonhub.local
Enter the password
And navigate to folder in which the file was FTP'ed using the command - cd /home/root
List the files using ls
And you should find both the readingAnalog.py
Then finally run the python program using python readingAnalog.py
Now turn the knob on the potentiometer and observe the values change as shown in the video above.
If you have followed along and reached this point, CONGRATULATIONS !! you are now ready to explore and build on these basics and make some COOL IoT projects with Intel Edison using Python programming.


