

Introduction: Halloween Mausoleum From Styrofoam

This is a prop built for my daughters haunted house at her school. We used styrofoam to create the mausoleum.
Step 1: Materials & Tools
Materials:
2 x 8 Blue Styrofoam for side pillars
4 x 8 Styrofoam for Capstone
Spraypaint
Latex Paint
Black Acrylic Craft Paint
Water
Foam Adhesive
Sandpaper
Decorative Moulding
Tools:
Saw
Dremel Tool with Router Attachment
Paintbrushes
Hot Wire Foam Cutter
Step 2: Cut Styrofoam

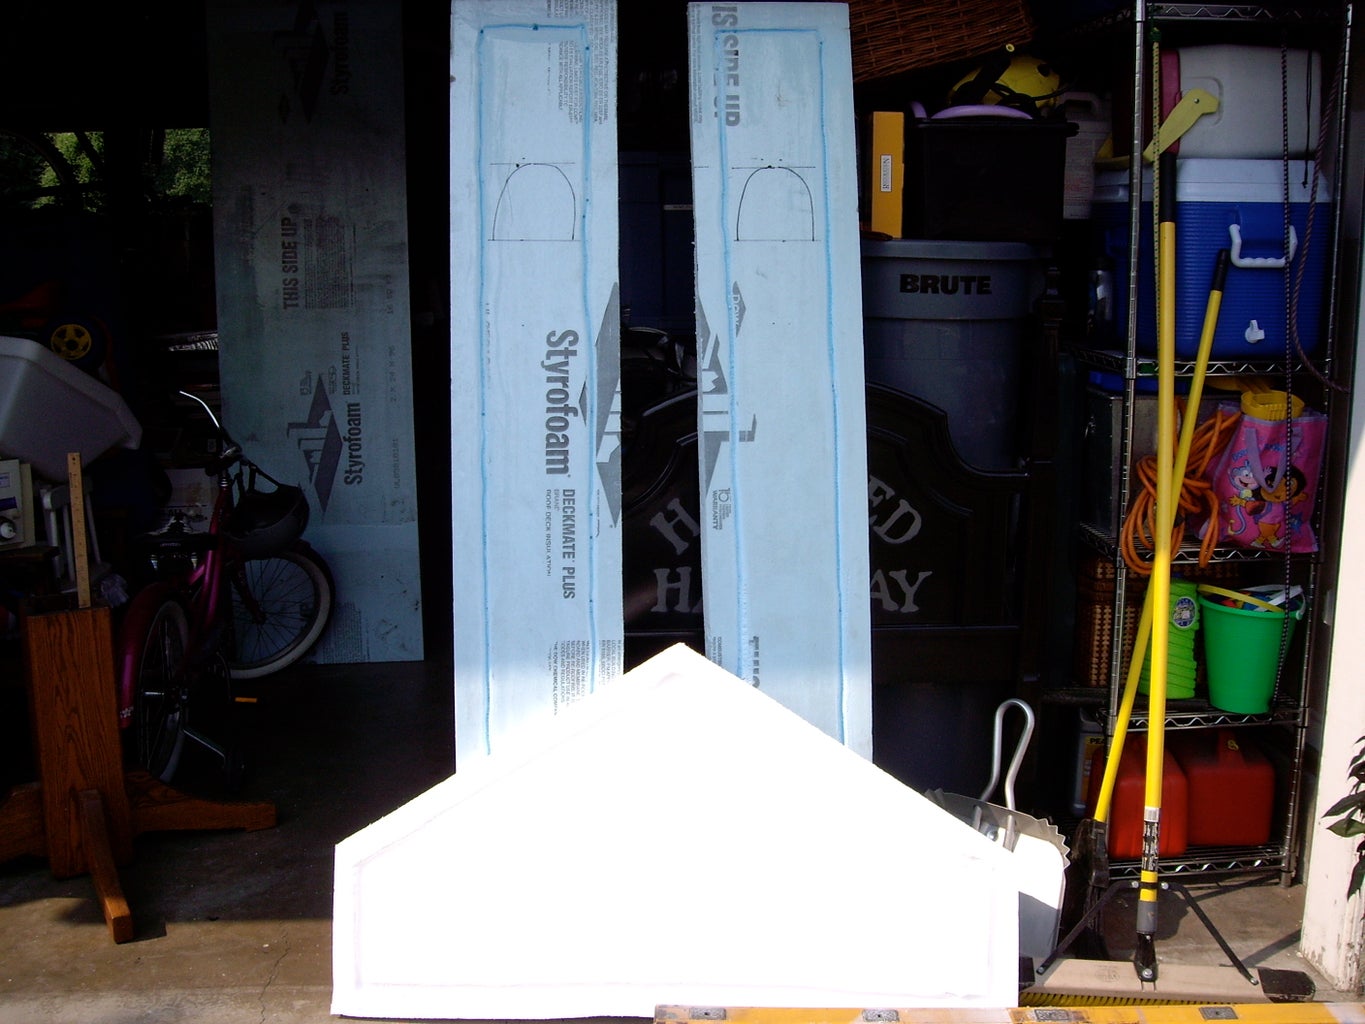
I cut the blue foam into two pieces measuring 6 feet by 1 feet wide each. i cut another piece out of white styrofoam to make a triangular capstone. I prefer working with the blue styrofoam. It is easier to cut and shape and stronger overall than the white stuff.
Step 3: Routing

Using the Dremel tool with router attachment, we made a channel along the edges of the styrofoam pieces. I also cut out two alcoves and backed them with leftover pieces from the capstone.
Step 4: Weathering


Each piece was sprayed with spray paint. The spray paint melts the styrofoam and creates texture. I used the hot wire foam cutter to make the crack in the capstone. I used sandpaper to roughen up the edges and the channels.
Step 5: Painting

I painted the pieces with offwhite latex paint. While it was still wet i painted the routed channels with the black craft paint. The black paint was watered down to help it look more like a stain. I let it dry and then painted it with a gray latex paint. While this was wet i used the watered down black paint as a wash to antique it more. Then i added the wood moulding to simulate a decorative element.
Step 6: Final Look

Here is the final mausoleum with battery operated lights in the niches. We added spanish moss to the mausoleum later. We also added the foamcore gate that we had from an earlier project.
Step 7: Attached to Our Door

After the carnival we added it to our front porch decorations.


