

Introduction: Hanging Canopy!


So there was a 1st birthday in November that I wanted to create something for. The little girl in question is gorgeous, loves colours and loves hiding in and under everything. So I went on a mission to make her a canopy that could be easily cleaned and updated progressively as she grows up. The next steps detail my process for creating this canopy. Please read through and consider your space and patience before attempting this project as it does require some fiddly sewing skills, not difficult but rather slow and cumbersome with the Velcro at times.
Please let me know of any spelling or sewing errors. Also feel free to ask any questions about the project.
Mini Update: I wanted to say a quick thank you for all the views and favourites! As well as add in a thank you for Michael who was my extra help on this project!
Step 1: Where It All Started!!!


This is a recognition page, where I have drawn all my ideas from and a minor discussion of what I did and didn't like about each and how that has influenced my decisions and design process...
I really liked the Simplicity pattern, but for my purpose, that was for a present for a 1 year old. I felt that this would be too delicate, that said, I do really like the detailing around the top and will be trying to work some of the prettiness into my design.
The McCall's pattern looks really great!! It offers a range of customisation options and is more geared towards play and being kid friendly... but still, you cannot really wash it, or pull it apart in any way for cleaning and repairs.
The spotlight canopy has the advantage of being a free pattern but still wasn't quite what I was looking for and still wasn't easily washable!
I also did a few searched and found some awesome canopies on Etsy and some truly inspiring images on Google.
Step 2: Design Process + Materials


These are my design drawings... as well as a list of needed materials!
Depending on the size of the hoop you use and personal preference, you can adjust the widths and heights of the pattern panel... I wanted this particular one to make a rainbow, so I based the panel size around having 7 panels with a slight gap between each when hanging or with a panels width opening if they were all hung side-by-side.
Materials
- Hula hoop (I'm in Australia and got mine from Coola Hoop, who were fantastic and allowed for name customisation and have more colours and combinations than you care to try and decide between)
- 225 mm metal quilting hoop.
- Fabric, enough for each of your panels (2.6 meters x 0.8 meters in each colour/pattern).
- Matching cotton thread for sewing.
- 3 meters of (each side) sew on Velcro in which ever colour that best suits your fabrics (if you change panel size you will need to adapt this; it is 2cm less that the width of the finished panel x the number of panels you have plus a bit extra for making tabs at the top).
- 14 Buttons, all the same, or odd, or matching your fabric (optional, decorative rather than functional. NB: I ran out of time so didn't end up sewing mine on).
- Fine chain to hang the canopy.
- Keyring loop for final hanging.
- Pattern paper, tissue paper or newspaper to draw your pattern on!
Equipment
- Sewing machine
- Fine and Denim machine needles
- Hand needles
- Pins
- Scissors
- Chalk
- Pliers
- Iron + ironing board
- Pens + paper
- Tape measure
Depending on your coordination you may also need a set of extra hands along the way, I certainly did!
Step 3: Cutting Fabric!
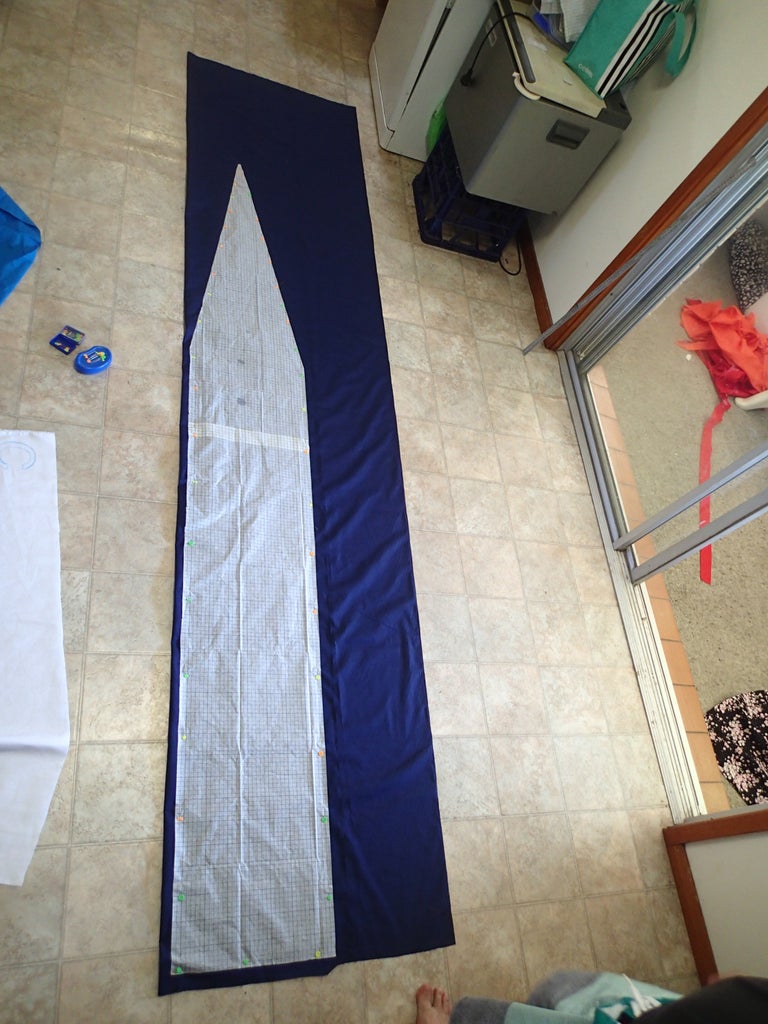
To make this process quicker and more tidy, I recommend cutting both sides of a panel at the same time.
- Find a floor space large enough to lay your fabric flat, fold it over a little more than the width of the pattern.
- Place the pattern on the fabric and line it up.
- Carefully pin the pattern to the fabric, starting at one end and smoothing fabric and pattern as you go.
- Once pinned have a good look at it, if you are happy grab the scissors.
- Cut slowly, the two layers will mean there is a chance of slipping and ending up with two different edges if you rush.
- Repeat for each panel you need.
Step 4: Velcro!


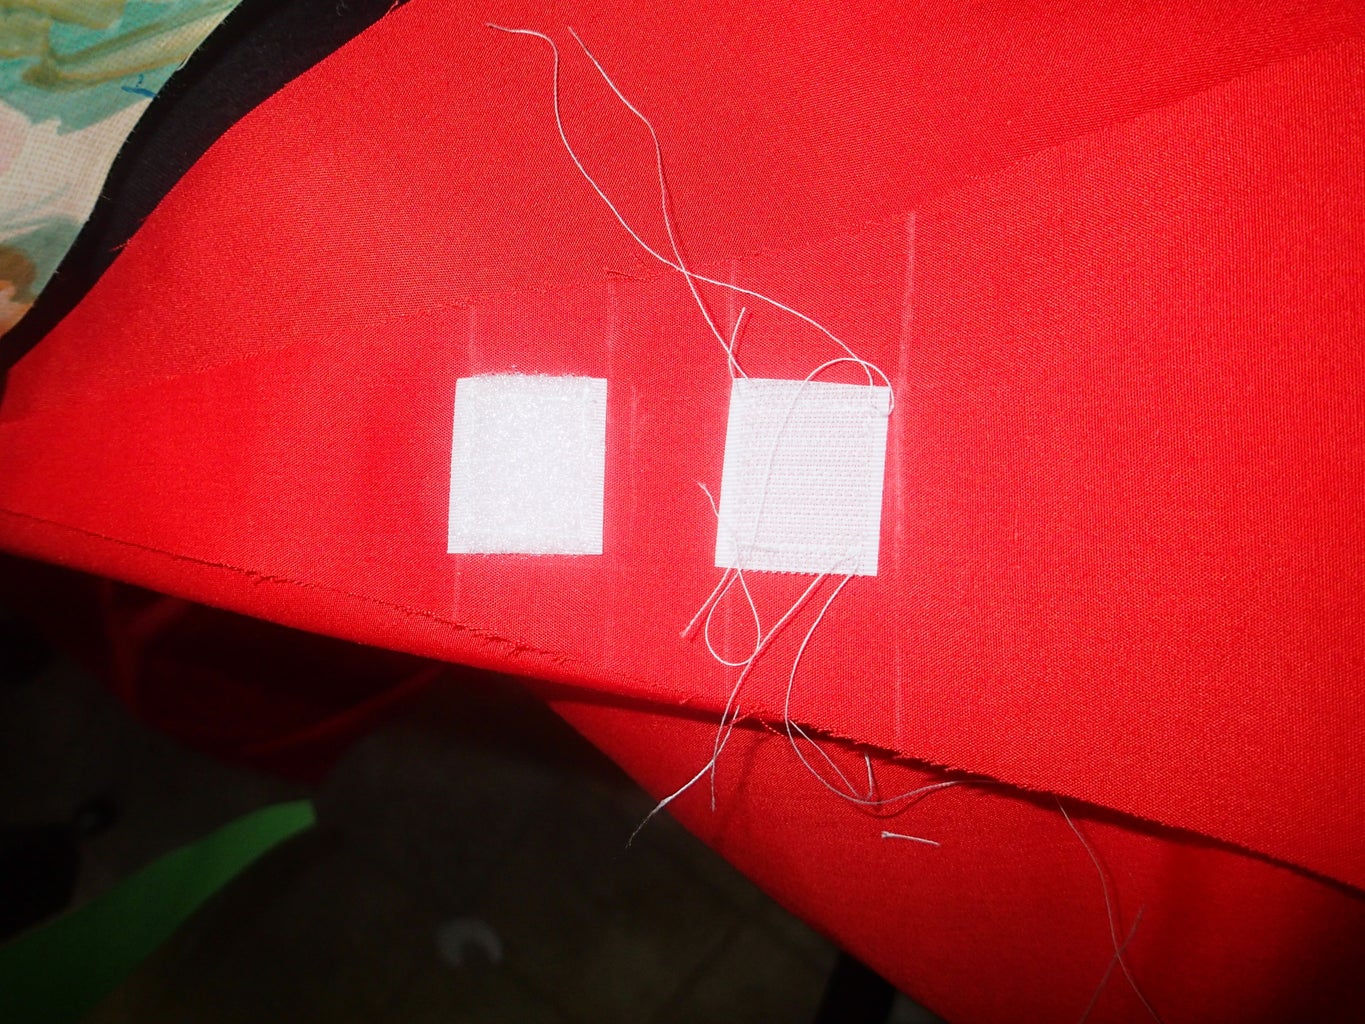
Line up and pin/sew on the Velcro...
- Work out where your panel needs to wrap around the hula hoop. This is where the triangle part of the panel straightens out into the rectangle.
- Measure around the hoop so you know how much space needs to be between your velcro strips...mine was 8cm so it fit comfortably across the width of the panel.
- Chalk in where your velcro will go... the two long strips (2cm less than the width of the finished panel) and the two squares for the top metal hoop. These obviously go on opposite panels.
- Pin the velcro to the fabric, over pin a lot as velcro loves to slide around when sewing.
- Sew slowly and carefully, using a denim needle and a small straight stitch. Follow the edge of your velcro around all 4 sides finishing where you started.
- Using a hand needle thread all tails through to the back of the fabric (the opposite side to the velcro).
- Tie all tails off in pairs and clip to about 1cm long.
Step 5: Panel by Panel...there Is Progress


- Lay panel face to face, velcro sides facing in.
- Pin the two sides together starting from the point.
- Fold from the point so that the panel will sit in your lap while using the sewing machine. This should be something like a concertina so that the fabric feeds nicely without stabbing you with pins while you sew.
Step 6: Ironing, Fiddliness and More Ironing...


This is probably the slowest and most frustrating part of the entire process.
- Trim the point of the triangle so it will be tidier and flatter once turned right side out.
- Turn one panel right side out.
- Use of knitting needle or skewer to gently work the point of the triangle through completely.
- Lay out on ironing board and very slowly and carefully begin to iron.
- Using your fingers wriggle the seam right to the edge so that you can see the stitching just.
- Iron this flat so that it stays in place, working 4-6cm along at a time.
- Work carefully around the Velcro so as not to melt it and damage your iron.
- Once you have ironed bit by bit all down both sides of your panel run your iron quickly over the rest of the panel to remove any creases.
- Take a break between panels so you don't go crazy!
Step 7: Hemming All Panels.

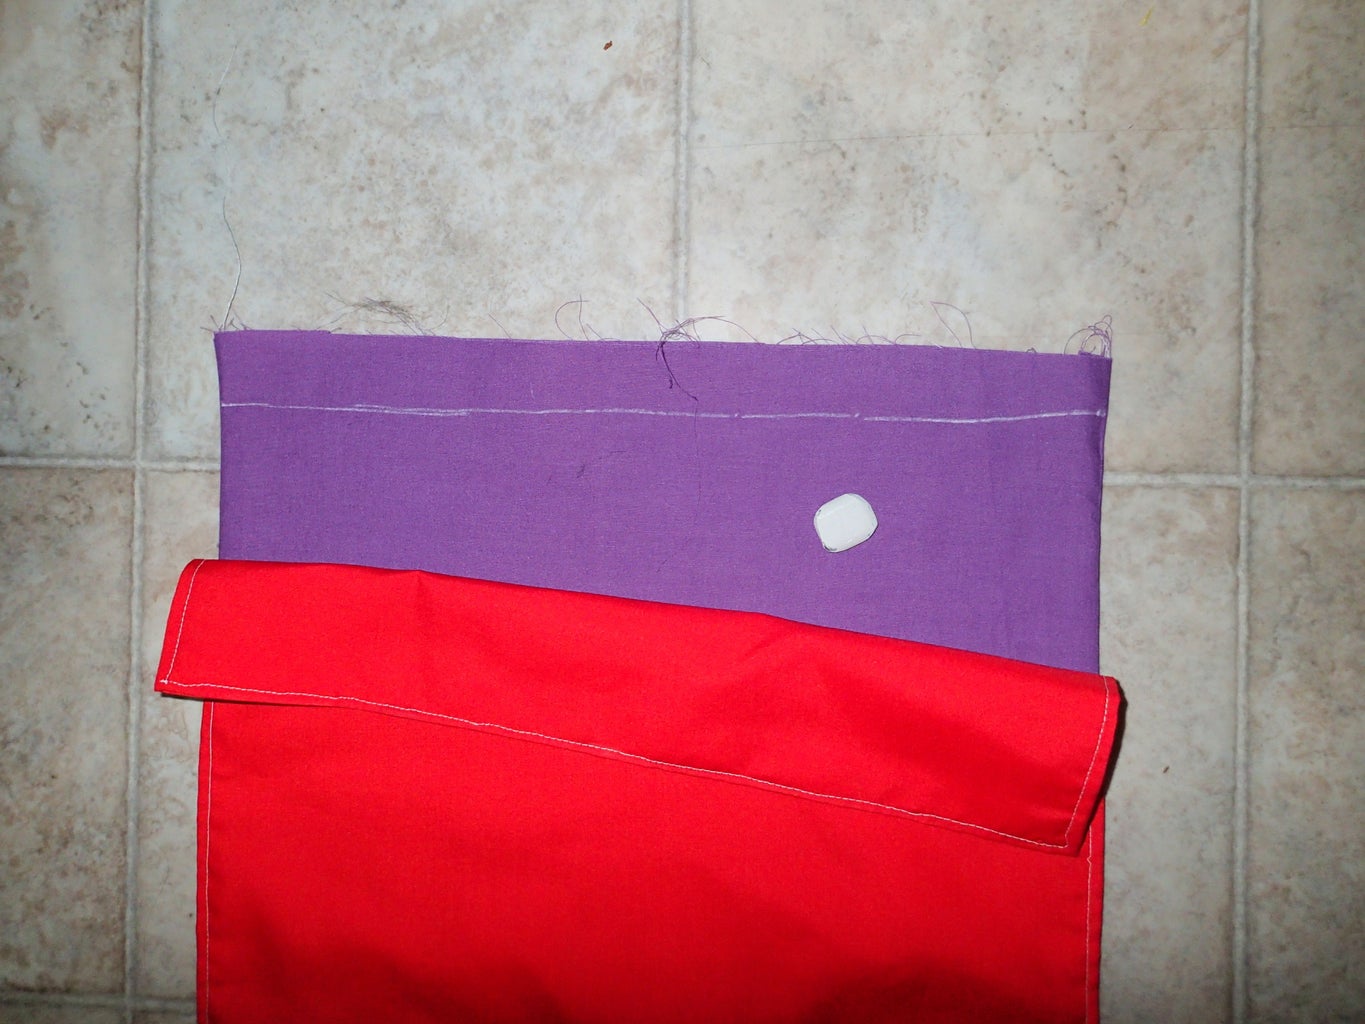


Nearly Done! Take your neatest, tidiest and most square looking panel, this is the one you will use as your standard.
Instructions for First Panel:
- Lay panel flat on the floor, so there are no bumps or creases in the fabric.
- From your bottom Velcro line, that is where the panel is rectangular just before it becomes a triangle, and measure your desired length + seam allowance and mark this with chalk.
- Once you are sure of your measurements and markings cut off any excess fabric past your seam allowance.
- Pin seam allowance inside and iron so it stays.
- Start sewing across the bottom of the panel, first securing the open end. Continue around the rest of the panel, top stitching at an equal distance from the edge. Use the side of your machine foot or a marking on your feed plate so that each panel with have the same distance between the edge and top stitching.
- Hand thread tails all to one side then tie off (double or triple knot) and trim as close to the fabric as possible.
- Ta da... One panel is done, this is now your master panel.
Instructions for all following panels:
- Lay your next panel on the floor, smooth it so there are no bumps or crease.
- Carefully lay your master panel over the top, making sure to line it up as squarely as possible with the next panel.
- Chalk across the bottom of your master panel onto the next panel, this will be the finished length.
- Repeat from step 3-6 above.
- Repeat for all remaining panels, always measuring off your master panel
Sewing tip - Top Stitching
I'm terrible at explaining exactly how to to most sewing techniques, so here is a YouTube video that I found that explains top stitching very simply.
Step 8: Hanging


Now it's time to create the hanging section for the top. For this you need he quilting hoop, chain and key ring as well as a tape-measure and pliers.
- Establish how long each length of chain needs to be (I measured the first one then counted the links for the other two).
- Bend the chain open at the correct length x 3.
- Bend one end of the chain closed over the quilting hoop and the other end closed over the key ring.
- Lay the pieces flat as you work so that you know that they wont be tangled when you are done.
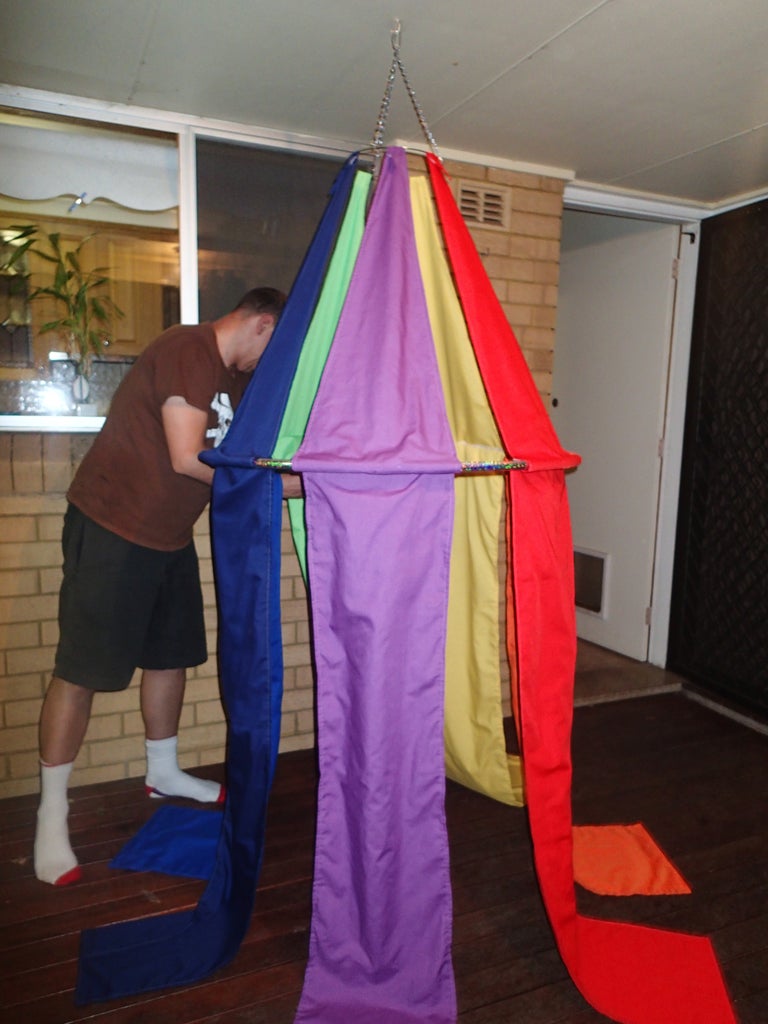
Step 9: Assembly

Final stages... putting it all together, this takes a little trial and error as to the easiest way.
- Lay the hula hoop on the floor with the quilting hoop in the middle.
- One at a time, attach the panels to the quilting hoop and hula hoop.
- Once they are all attached raise and hang!
- Admire your work, and be proud of what you have achieved!
Step 10: Finished Canopy


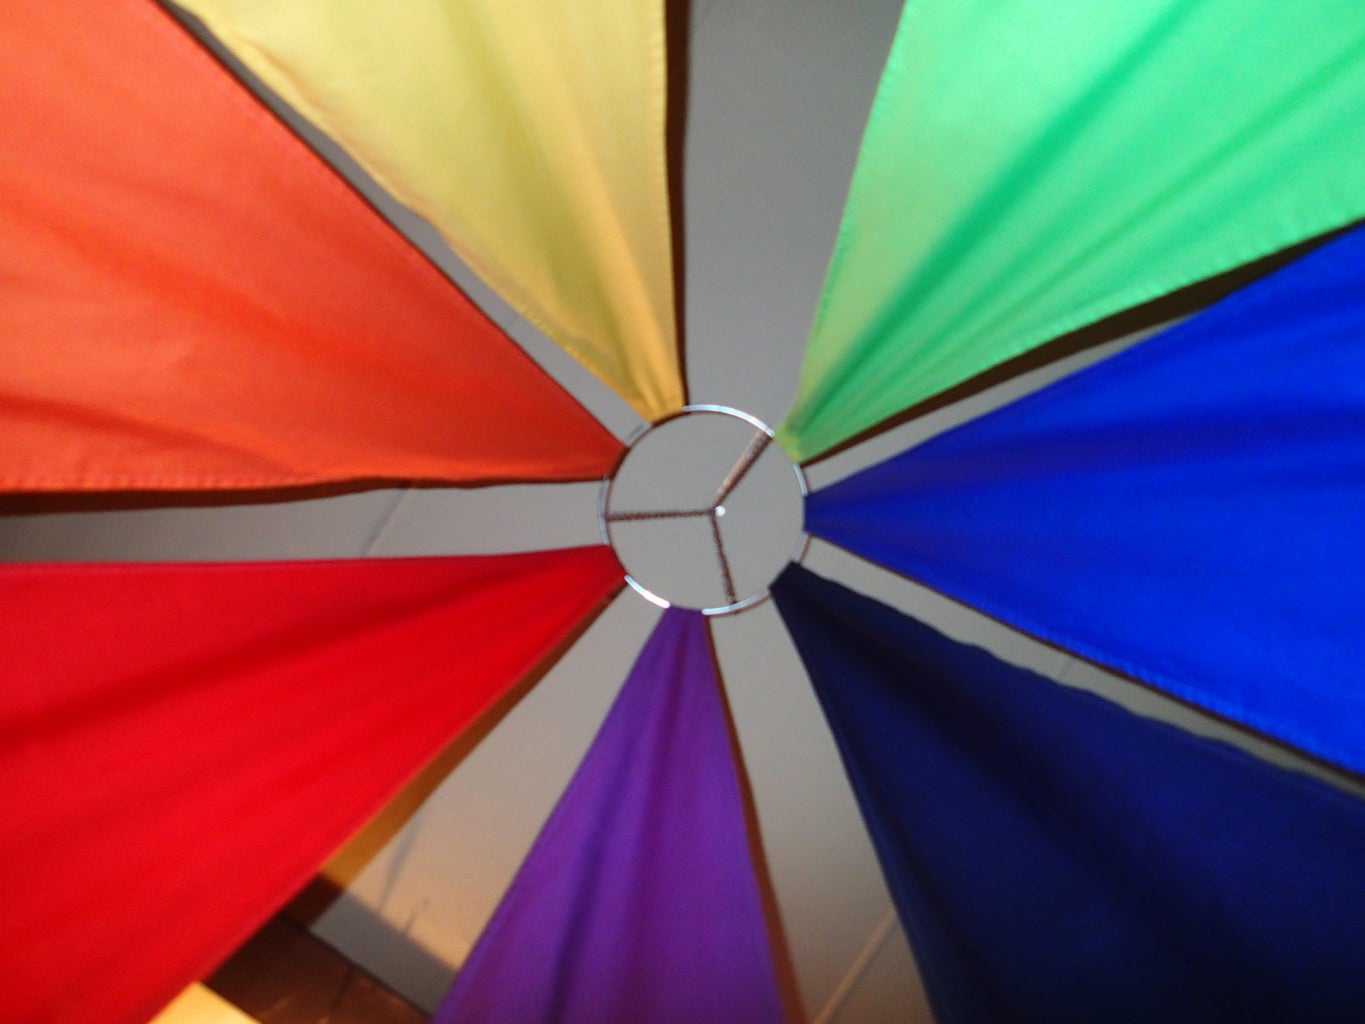


I am sorry I don't have any photos in day light, or where the canopy is hanging without touching the floor. I am working on getting pictures of it living in its new home.


