

Introduction: Heat Treating Knives


The purpose of heat treating is to bring steel to a hardened state. The correct hardness depends on the application of the steel being treated. Knives need to be hard enough to hold an sharp edge through continuous mechanical abrasion, yet be soft (flexible) enough to stand up to forceful use without breaking.
Equipment and tools:
- Visegrip pliers or tongs
- small forge or charcoal fire of sufficient heat (search for forge or smelting instructables)
- fire proof quench container with lid (I used an old cookie tin)
- quenching medium such as used motor oil
- BC fire extinguisher (the kind that puts out grease and oil fires)
- Heat resistant gloves and face shield.
- kitchen oven
- fireproof material for regulator block (I used aluminum tube)
Materials:
- one mild or high carbon steel knife blank (forged or stock removal)
The quenching method I decided to use for this knife was the “edge quench”. I learned this method from $50 Knife Shop by Wayne Goddard. Instead of dropping the heated knife into the quenching medium tip first, submerging the entire knife, the edge quench involves submerging one third to one half of the blade's width (cutting edge first) into the quenching medium. A regulator block is used to hold the blade at the correct depth. The quenching medium I used was old motor oil. After the blade has been quenched, its hardness is still not suitable for usage. In its hard and brittle state, the quenched blade will shatter like glass if dropped, it must be tempered before it is put to use. Tempering involves heating the blade to a non-critical temperature (350 – 450 F) to slightly soften the steel (I used a kitchen oven). A tempered blade will hold a sharp edge and still retain strength and flexibility.
Step 1: Surface and Edge Preparation


The heat treating method is the same for knives made from forging, or stock removal. Whatever method you used,the final bevel should be on the blade and the surface should be brought to the desired finish. This was one of my first forged blades and I found the hammer markings appealing, so I did not polish the blade to a mirror shine, but I used a file to cut the bevel and a rough stone (100 – 200 grit) to get it fairly smooth, and as even as possible. Remember, once it is hardened, it will be much more difficult to remove material via filing and sanding. The edge is the thinnest part of the blade, and therefore more prone to cracking during the quench. Use a strip of 150 grit sand paper to dull the edge and reduce the chance of cracks or warping in the edge.
Step 2: Normalizing


Normalizing involves bringing the unhardened blade to critical temperature a few times to stabilize the structure of the steel. A normalized blade is more resistant to warping during the quench, although some degree of warping is unavoidable.
Heat the blade evenly and touch it to a magnet to test its temperature. Steel becomes non-magnetic at critical temperatures, so torch it, test it against the magnet, and let it cool to room temperature three times to normalize it.
Step 3: Quench Setup


I used this aluminum tube for the regulator block. You won't be able to see past the surface of the oil, so I used nails to indicate the position and direction of the block below the oil.
The quenching container MUST BE FIREPROOF! Do not use plastic Tupperware! It is also a good idea to have an airtight lid for the container to smother flames. I filled the container with water and marked the water level with a red marker (see photo) where the the blade rested one third to one half its depth under the water's surface on the regulator block.
In order for the oil to provide the right qualities for quenching, it needs to be warmed. Wayne Goddard says that cold oil “is not wet enough”. $50 Knife Shop suggests the oil should be 90 – 140F , but I just used my finger to judge when the oil became bath-water warm. I used a hotplate set on LOW HEAT. Heat the quench container filled with water first to get an idea of what heat to use for the oil.
Step 4:


Before you even start up the forge for the quench, prepare your work area by laying out all the tools and equipment you will need for the process. Make sure you have your container lid and a few sets of pliers. Make sure you have a BC fire extinguisher (the kind that puts out grease/oil fires) nearby. Mentally rehearse all of the steps you need to make.
The most important detail is that the knife enters the oil at or above critical temperature. The sequence I use is to heat the blade until it becomes non magnetic, then stick it back into the forge and push/pull the blade's full length through the heat once more, making sure the piece is evenly colored. When the blade comes out of the forge, you should move it into the oil slowly enough not to splash oil, and quickly enough not to lose significant heat. Be prompt about it.
Dunk the hot blade into the oil, onto the regulator block for approximately 15 seconds.
After the 15 seconds, submerge the entire blade into the oil beside the block.
Note: The reason the regulator block is used instead of simply filling the container with enough oil that the blade rests 1/3 to ½ its width against the bottom of the container is so that the blade can be fully submerged after the edge hardening. Laying the blade on its side without a regulator block to fully submerge it risks warping due to one side of the blade being cooled faster than the other.
When the bubbling and hissing of the oil subsides (around 45 seconds, time is not critical here) pull the blade out and allow it to cool in open air. Put the lid back on your quenching container to smother any flames.
Step 5: The File Test
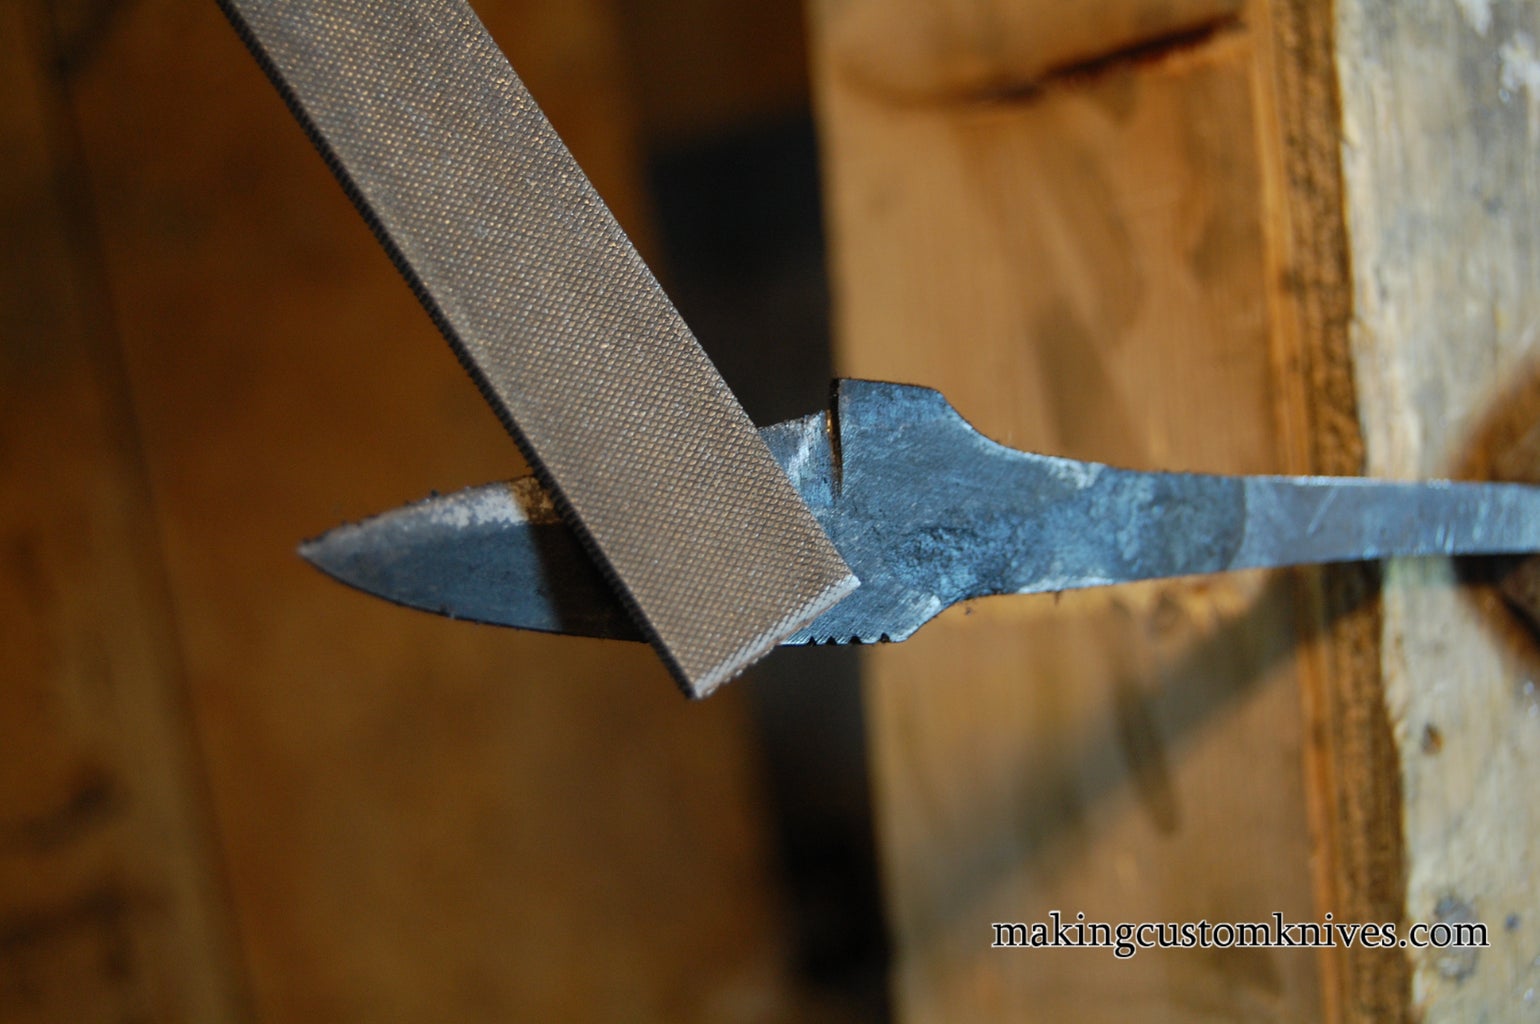
Take the quenched blade to your bench when it is cooled. Rest a file on the bevel of the blade and move it back and forth, up and down the length. If all went well, the file should feel glassy as it slides across the bevel. Compare the file's “bite” on the bevel to the unhardened area on the tang. There should be a noticeable difference in the file's exchange with the steel.
Step 6: Tempering


A Note on Tempering: Every article I have read on tempering gives a notice to knife makers who choose to use their kitchen's conventional oven for tempering. Every piece of literature related to backyard knife making I could find gives a foreboding note about angry women coming after you for smoking up their kitchens by leaving motor oil covered steel scraps in the oven.
Some suggest buying a toaster oven for the sole purpose of knife tempering. I just scrub the hardened blade in water with dish soap and then hit it with a wire brush attachment in a power drill and then another soapy water scrub. This seems to get off the majority of the oil, and I have never noticed a smokey smell. Be sure to dry the blade before it goes in the oven. Recommendations for tempering temperatures vary, If you know precisely what type of steel you are using, search online for the correct temperature. The knives I have made are what I assume to be mild steel, coming from sources like hedge clippers and lawnmower blades. With my lack of metallurgy expertise admitted, I temper at 400F.
Cook your blade for one hour, allow it to cool to room temp, and return it to the oven for another hour.
After 3 one hour cycles, the tempering is complete. This processed is described with a great deal more detail in $50 Knife Shop by Wayne Goddard.
Step 7: Finishing the Blade

During the heat treating process, the surface of the steel was likely marred by scale buildup and oil residue, so it will be necessary to re-finish the blade to the desired level of quality. I used the roughest stone I have (100 – 200 grit stone from the hardware store) to put the edge back on the blade. From here, work your way up through your stones to achieve the desired edge.


