

Introduction: Homemade Snickers Candy Bar Recipe

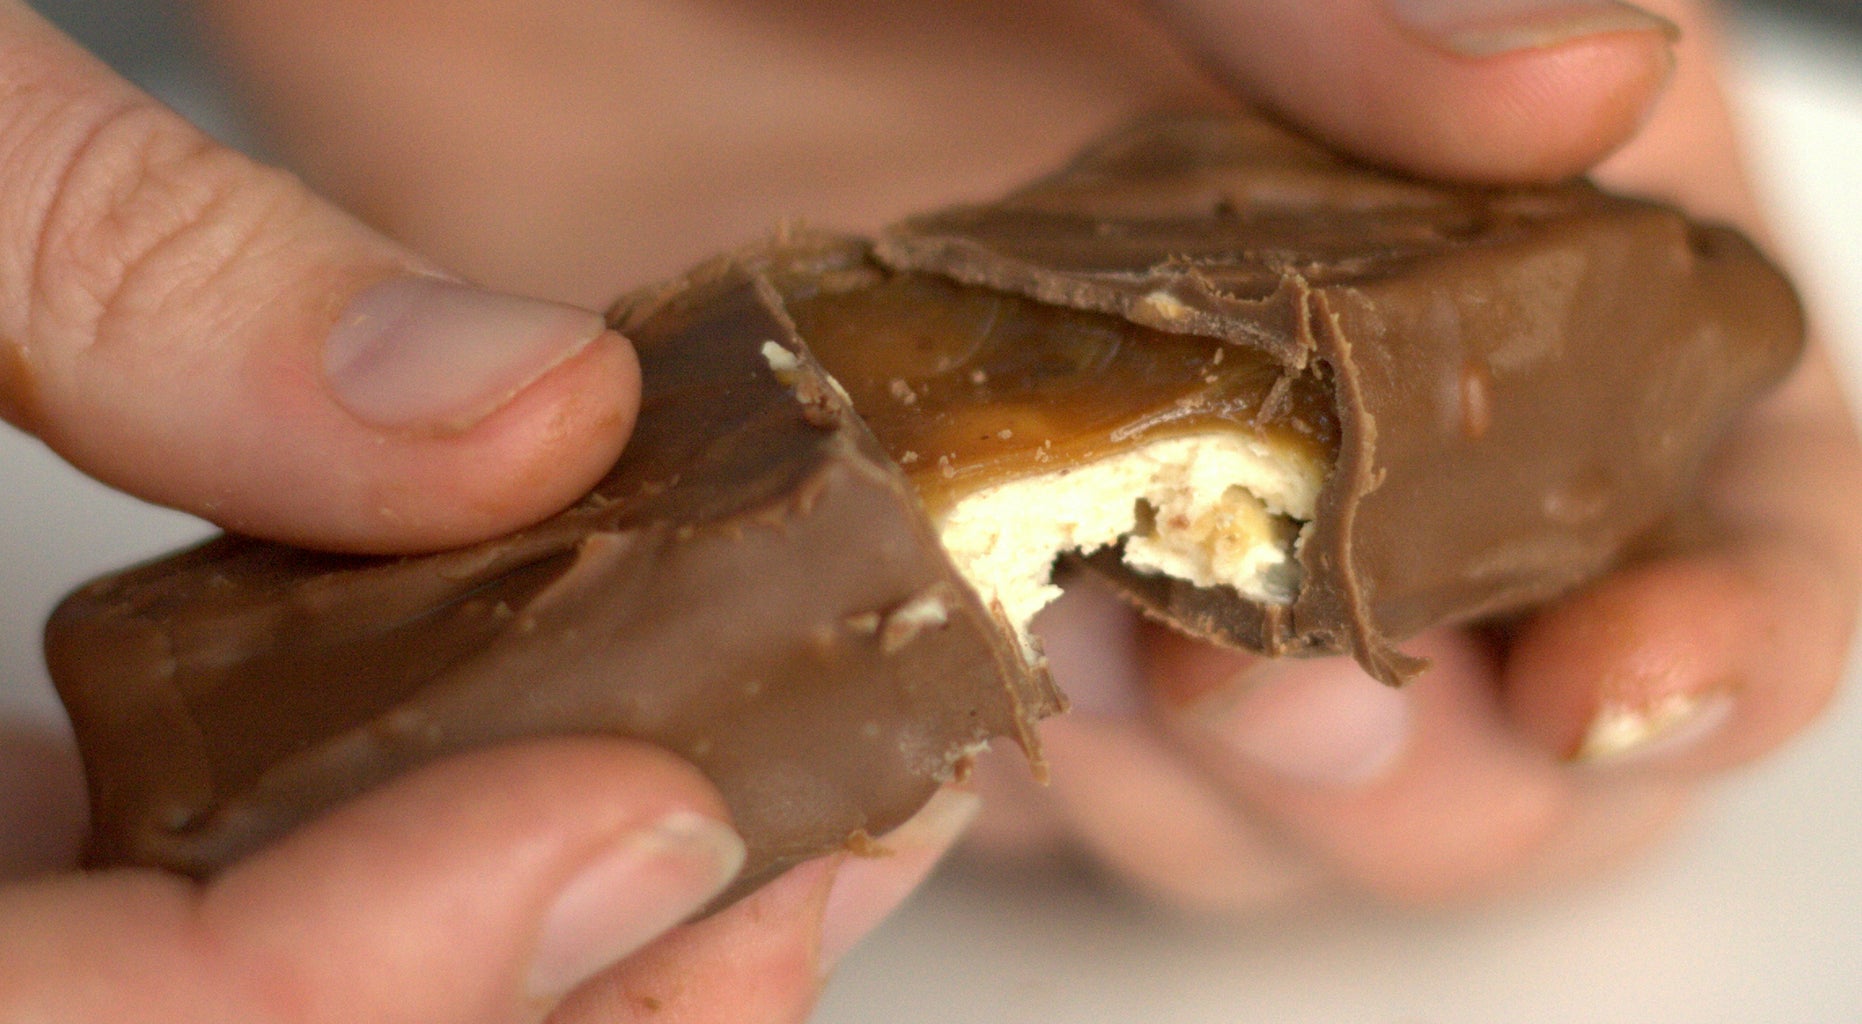


Snickers candy bars are awesome, but I wanted to try making them at home without all the stabilizers and additives necessary for a mass-market, shelf-stable candy bar*. This recipe is super-easy, and makes a full pan of delicious homemade Snickers candy bars!
Beware, they're extremely good, and as I said, the recipe makes LOTS. Be sure to have a crowd to eat these treats, or the self-control to put them in the freezer for longer-term storage! My testers report that these candy bars taste even better frozen.
*Yes, I know this version still uses ingredients that contain some stabilizers and additives - they make it taste most like a true Snickers bar. Feel free to substitute homemade peanut butter, marshmallows, etc to fit your preferences.
Step 1: Gather Materials and Ingredients


I'm giving these ingredients by both weight and volume where relevant. Weighing is much easier, but if you don't have a digital kitchen scale yet* the volume measurements will do.
Ingredients:
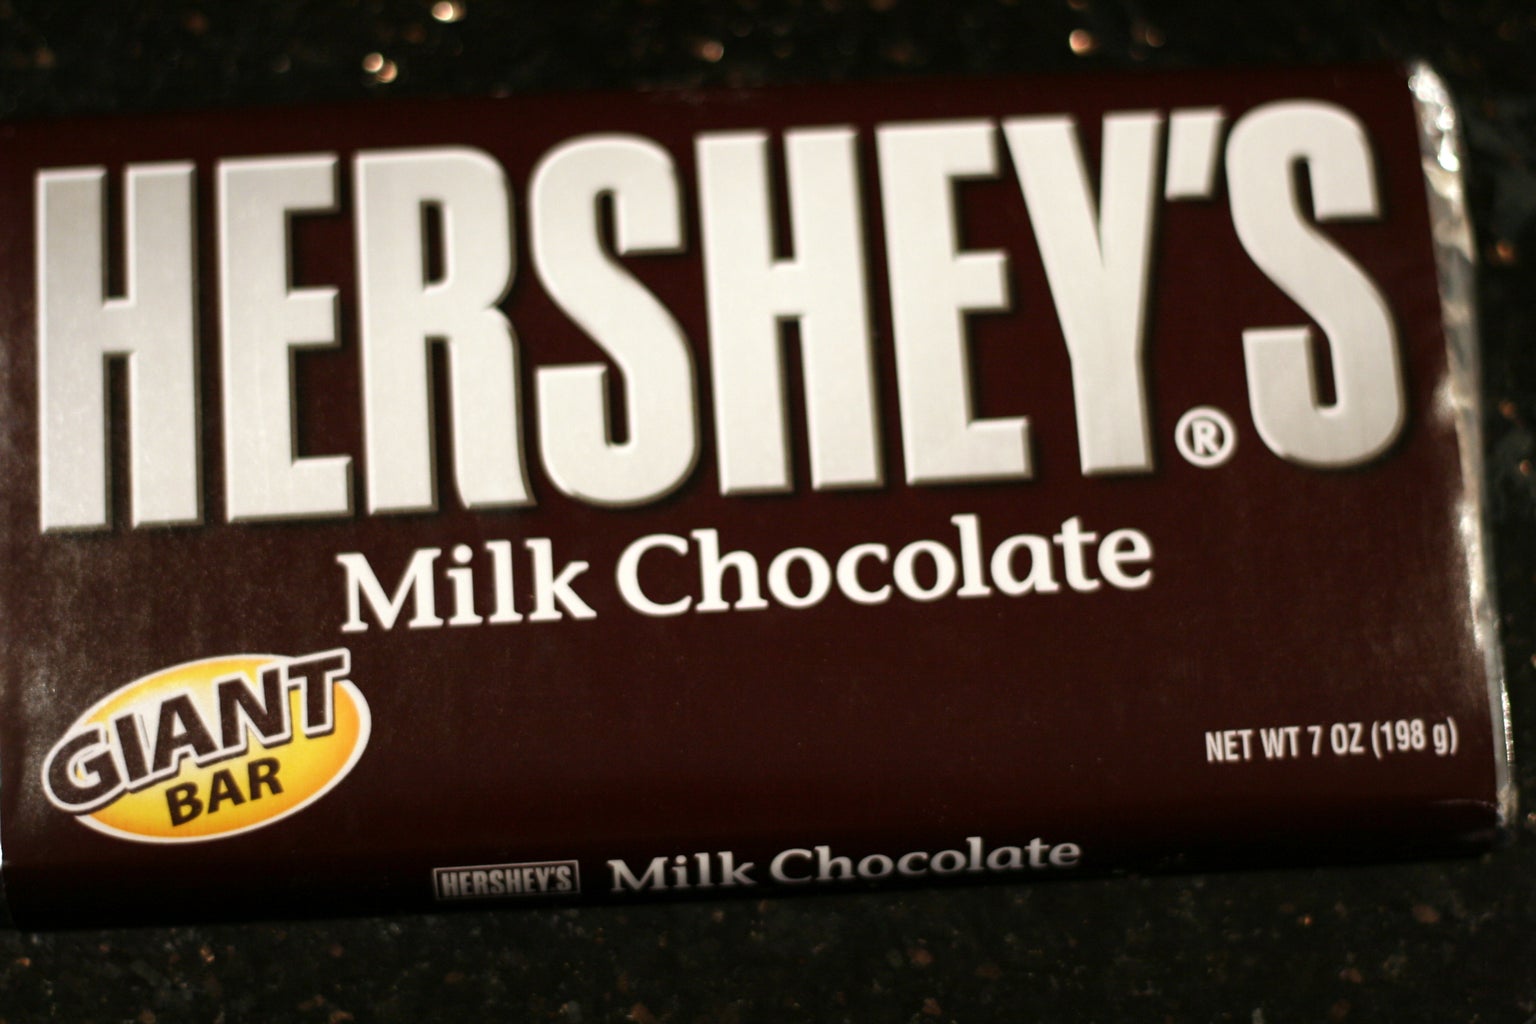
14 oz milk chocolate (about 2 cups chips, or coarsely chopped bar) divided in half
3.5 oz (1/2 cup) butterscotch chips, divided in half
192 g (3/4 cup) creamy peanut butter, divided into 3 parts (1/4 cup, 64g each)
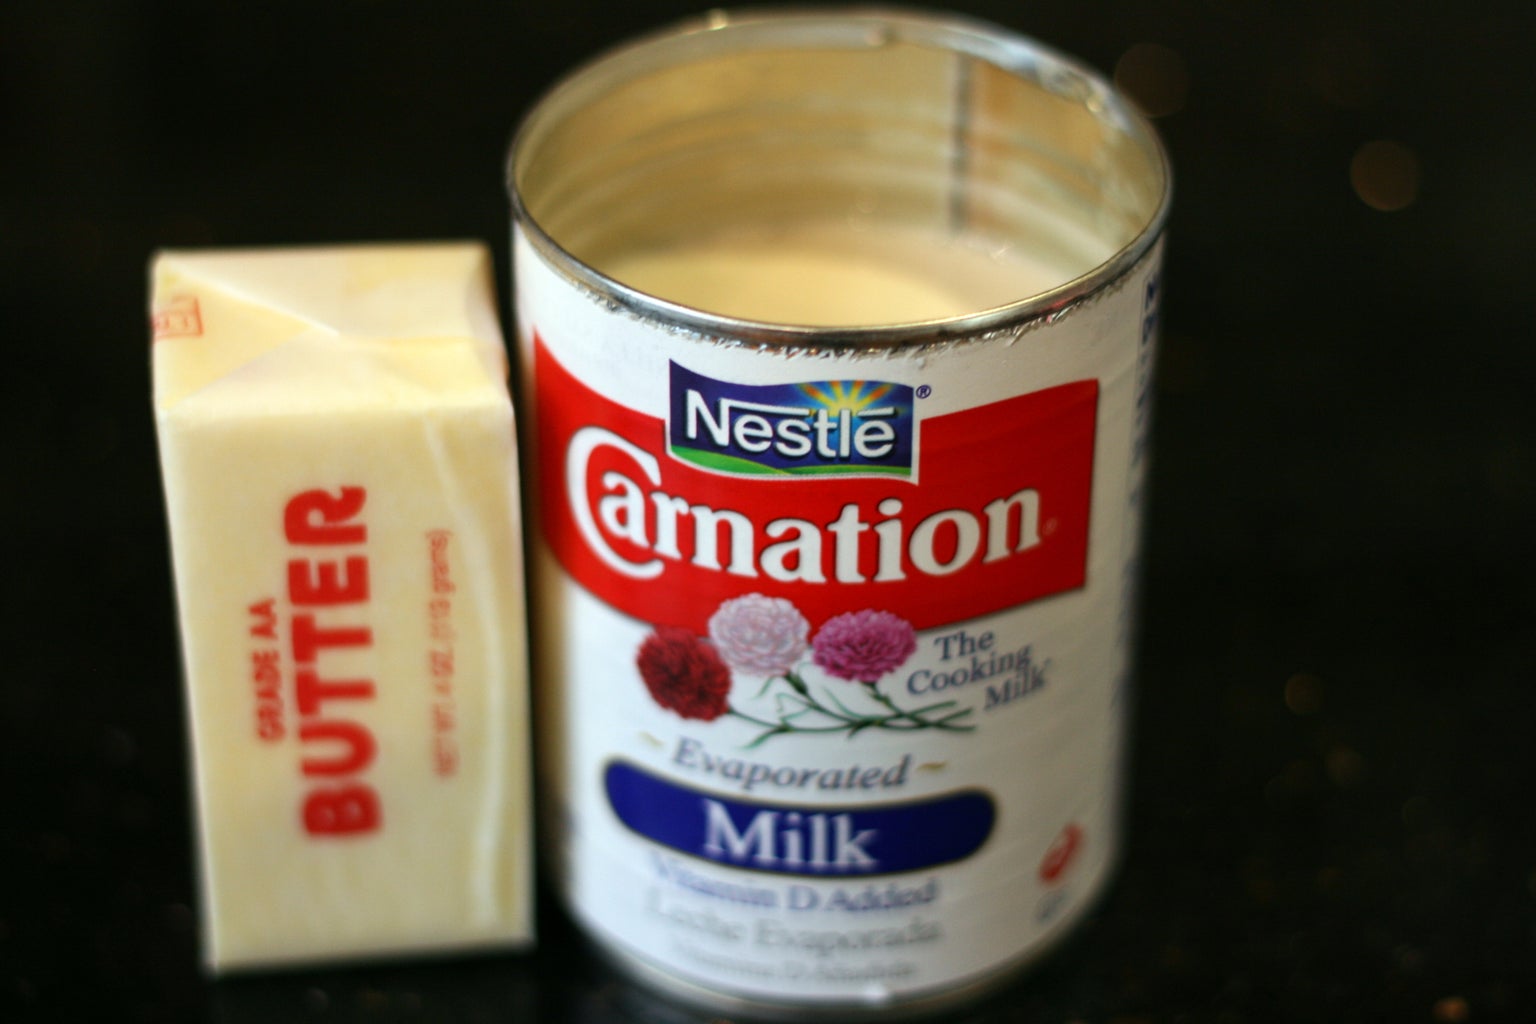
5.5 tablespoons butter (divided: 4 Tbsp and 1.5 Tbsp)
1 cup sugar
1/2 cup evaporated milk, divided in half
156 g (1.5 cups) marshmallow fluff
1 teaspoon vanilla
1.5 cups salted peanuts, chopped (or substitute nuts of your choice)
1 pound chewy caramels
Optional: (if coating the sides of your bars)
7oz milk chocolate
1.75 oz butterscotch chips
64g creamy peanut butter
Materials:
one 9x13 pan
waxed paper or plastic wrap
microwave-safe bowl
small (1 quart) pot
heat-proof spatula
sharp knife
cutting board
microwave
stove
*No really, you should get a kitchen scale NOW! They're cheap, and make baking so much easier. You can get an excellent scale from Amazon for about $25.
Step 2: Cost Estimate
Per request from the comments, here's a rough cost estimate based on my purchase prices. Most of these came from stores near my office in downtown SF, so you can probably do better!
Milk Chocolate: 2x$2.50 = $5
Butterscotch chips: $2.50/bag, used 1/4 = $0.63
Peanut butter: $3.50/jar, used <1/3 = $1.10
Butter: $2.99/lb, used <1/4 = $0.70
Evap milk: $1.29, used 1/3 = $0.43
Sugar: no idea, call it $0.25
Vanilla: ditto, call it $0.10
Peanuts: $1.50
Caramels: $1.50/pkg, used 3, $4.50
-----------------------------------------------------------------
Total purchased excluding sugar/vanilla: $21.28
Fractional cost estimate: $14.21
So, about $15/pan.
Step 3: Prepare Pan
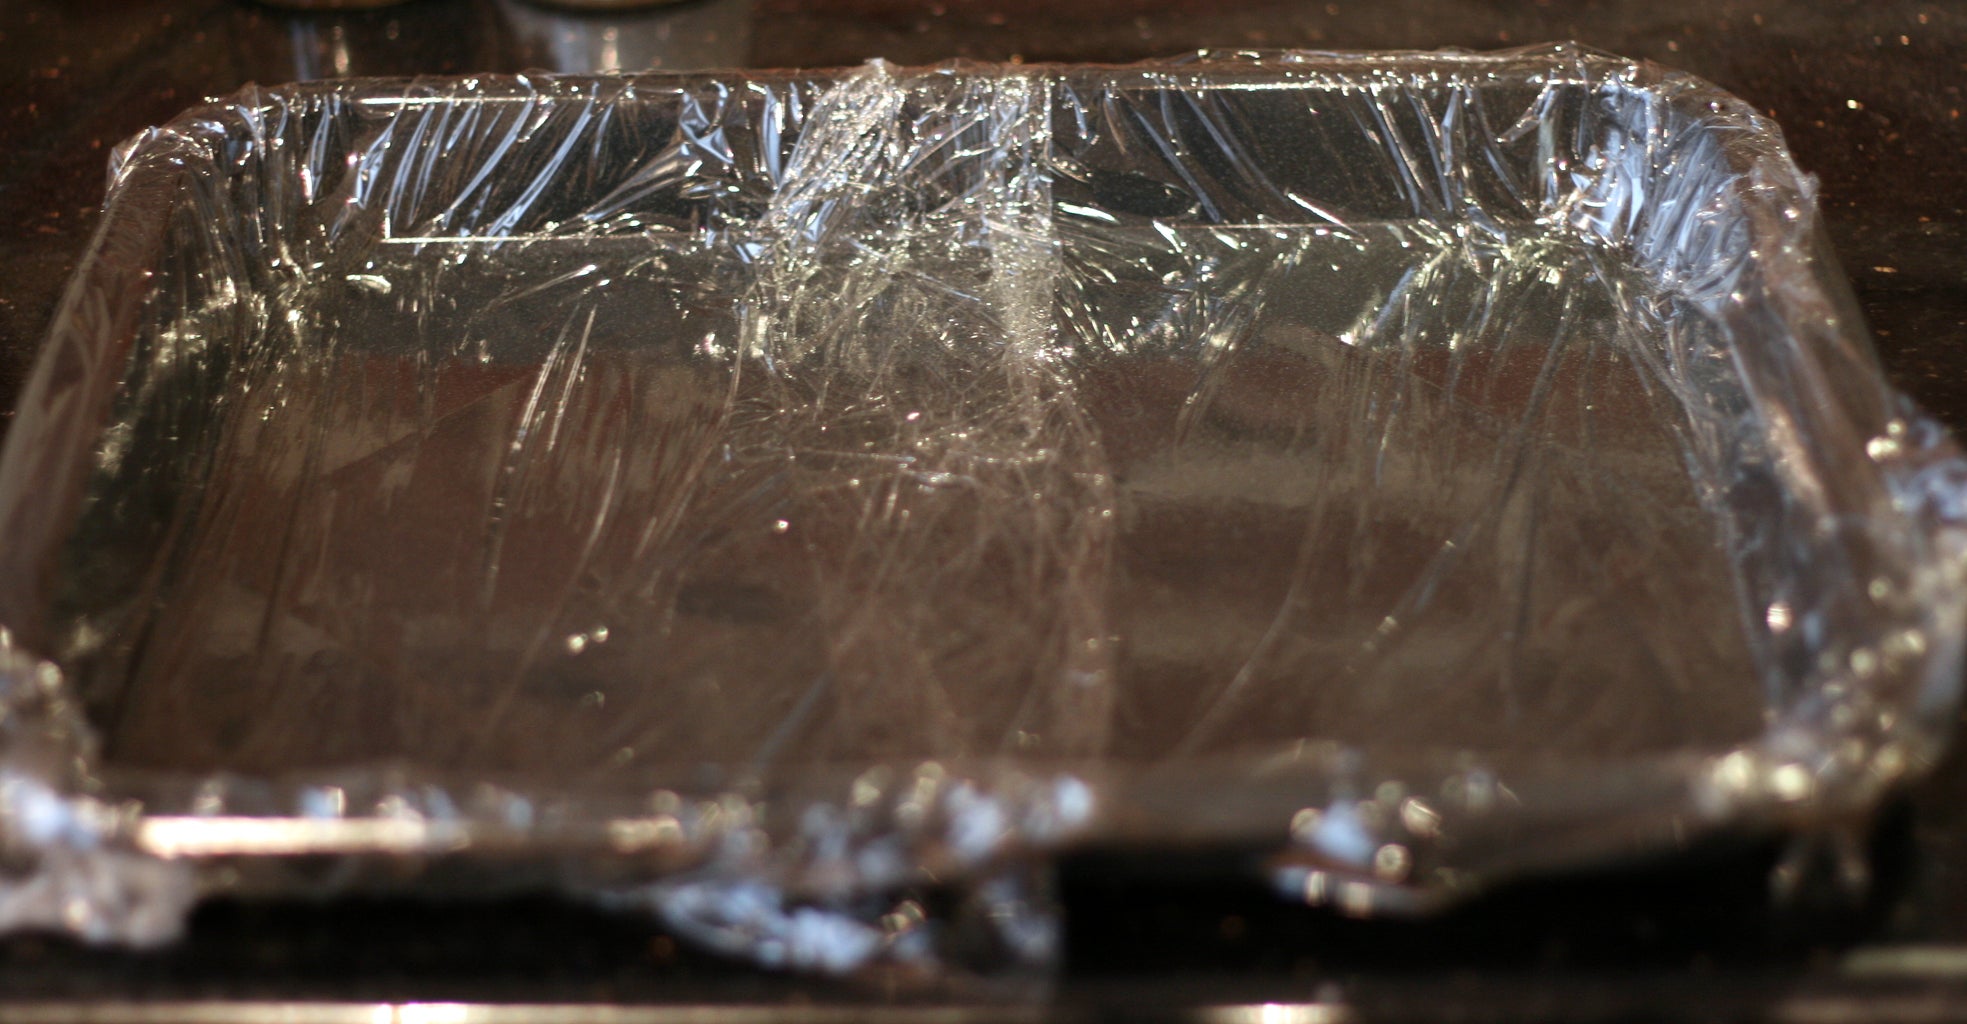
Line your pan with waxed paper or plastic wrap, making sure there's plenty of extra draped over the sides and ends of the pan. This will make it easier (or possible!) to remove the Snickers bars when you're done.
Step 4: Bottom Chocolate Layer


- Combine 7 oz chocolate, 1.75 oz butterscotch, and 64 g peanut butter in a microwave-safe bowl.
- Heat in 20-second increments, stirring each time, until all ingredients melt together smoothly. This may take several minutes, but don't rush the process - burned chocolate means you have to start over!
- Pour into your pan, and spread in an even layer.
- Stick the pan in the fridge or freezer to set.
Step 5: Nougat Layer


- Combine 4 Tbsp butter, 1 cup sugar, and 1/4 cup evaporated milk in small heavy-bottomed pot.
- Heat on low until the mixture melts, mixes, and starts to bubble. Stir as necessary.
- Remove from heat, and add 1 teaspoon vanilla, 64 g peanut butter, and 1.5 cups marshmallow fluff.
- Stir until all ingredients are melted and smoothly combined, then let it cool slightly.
- Pour into your pan on top of the chocolate, and spread in an even layer.
- Stick the pan back into the freezer to set.
Note: I accidentally (don't ask) added the peanuts into the nougat layer, which is not the canonical Snickers format and breaks up the nougat's mouth feel. While you can do it as pictured, I recommend following my written instructions for better results.
Step 6: Caramel and Peanut Layer


- Combine 1/4 cup evaporated milk, 1.5 Tablespoons butter, and pound of caramels in the (cleaned) small pot.
- Heat on low, stirring frequently, until the caramels have melted into the milk and butter. Be careful not to burn the caramel - it can stick if you're not careful! (I toasted mine slightly, which turned out to be just fine. Check out the pics below to see how I created a thicker pot bottom.)
- Allow to cool until it's not going to burn you.
- Coarsely chop the 1.5 cup peanuts, and stir into the caramel.
- Pour caramel/peanut mixture into your pan, and spread in an even layer.
- Stick the pan back in the freezer to set.
Note: I accidentally (don't ask) added the peanuts into the nougat layer, which is not the canonical Snickers format and breaks up the nougat's mouth feel. While you can do it as pictured, I recommend following my written instructions for better results.
Step 7: Top Chocolate Layer
- Melt 7 oz milk chocolate, 1.75 oz butterscotch chips, and 64g peanut butter as described in Step 4.
- Pour into your pan, and spread in an even layer on top of the caramel.
- Stick the pan back in the freezer to set.
Step 8: Chop Into Bars


- Remove pan from the freezer, and lift up the waxed paper or plastic to remove the frozen block of tasty treats.
- Deposit your block on a cutting board.
- Use a sharp, heavy kitchen knife to cut the rough edges offf your block, making the edges nice and square and tidy. (Yes, eating the detritus is absolutely required.)
- Cut strips across your block. These should be the desired width of your finished Snickers bars. I recommend about 2cm, or somewhere between 3/4"-1".
- Return the block to the freezer as needed to resolidify, as it cuts much more tidily when firmly frozen.
- Cut across your strips, setting the length of your finished Snickers bars. My studies have shown that squares are a good size for snacking, but you may choose to go for a more traditional full candy bar size depending on who you're planning to feed them to!
Step 9: Dip Edges (optional)


This step doesn't really change the flavor, but will cover the cut edges and make your candy bars look properly finished.
- Melt 7 oz milk chocolate, 1.75 oz butterscotch chips, and 64g peanut butter as described in Step 4.
- Grab a square (or rectangle) of candy bar block, and dip each edge in the melted chocolate mixture.
- If you want to get really fancy, drizzle a bit of chocolate on top to even out the coating.
- Set on waxed paper to dry and set - as usual, this will be much faster and more effective in the fridge or freeer.
Notes:
I also tried applying the chocolate to the edges with a knife, just as if I were frosting a cake. This was both annoying and messy! Just dip, it's much easier.
Step 10: Store and Serve
Your Snickers bars will keep for quite a while if frozen - just layer them between waxed paper in a sealed plastic container. Beware storing them at room temperature too long, especially during the summer, as the chocolate has a rather low melting temperature.
But don't worry, these won't last long! The hard part is not eating the whole pan yourself.
Serve frozen:
Served fresh out of the freezer, they taste awesome! Since they lack the stabilizers and waxes used to keep commercial candy bars shelf-stable, they're a bit soft at room temperature. This means the texture is fantastic when they're frozen - the chocolate is crunchy but not rock-hard, and the caramel and nougat are nicely chewy. It's half-way between a regular Snickers bar and Snickers ice cream bars. Everyone in the Instructables office preferred this serving style!
Serve at room temp:
This is a great option if you want nice gooey caramel, or are serving these Snickers as party buffet finger food. Since the chocolate will get a bit tacky, I recommend serving squares of candy bar in individual muffin cup liners - it's a great way to keep portions separated and fingers clean.
Keep an eye on the room temperature - if it's too hot, the chocolate may become too melty to handle! If this seems likely, you can place your muffin cup liners on a metal baking sheet set atop a bed of ice. The bit of additional chill should keep your chcoolate in good shape. If this is for a summertime barbecue, plan to swap in new ice as needed, and keep the bars in the shade. If you're really concerned, consider melting an ounce or two of food-grade wax (paraffin, sold near canning supplies) into each batch of chocolate mixture to raise the melting point and give it more solidity.


