

Introduction: How I Make Cool Metal Inlays


Have you been trying to figure out how to make your woodworking really stand out? Yeah, me too...
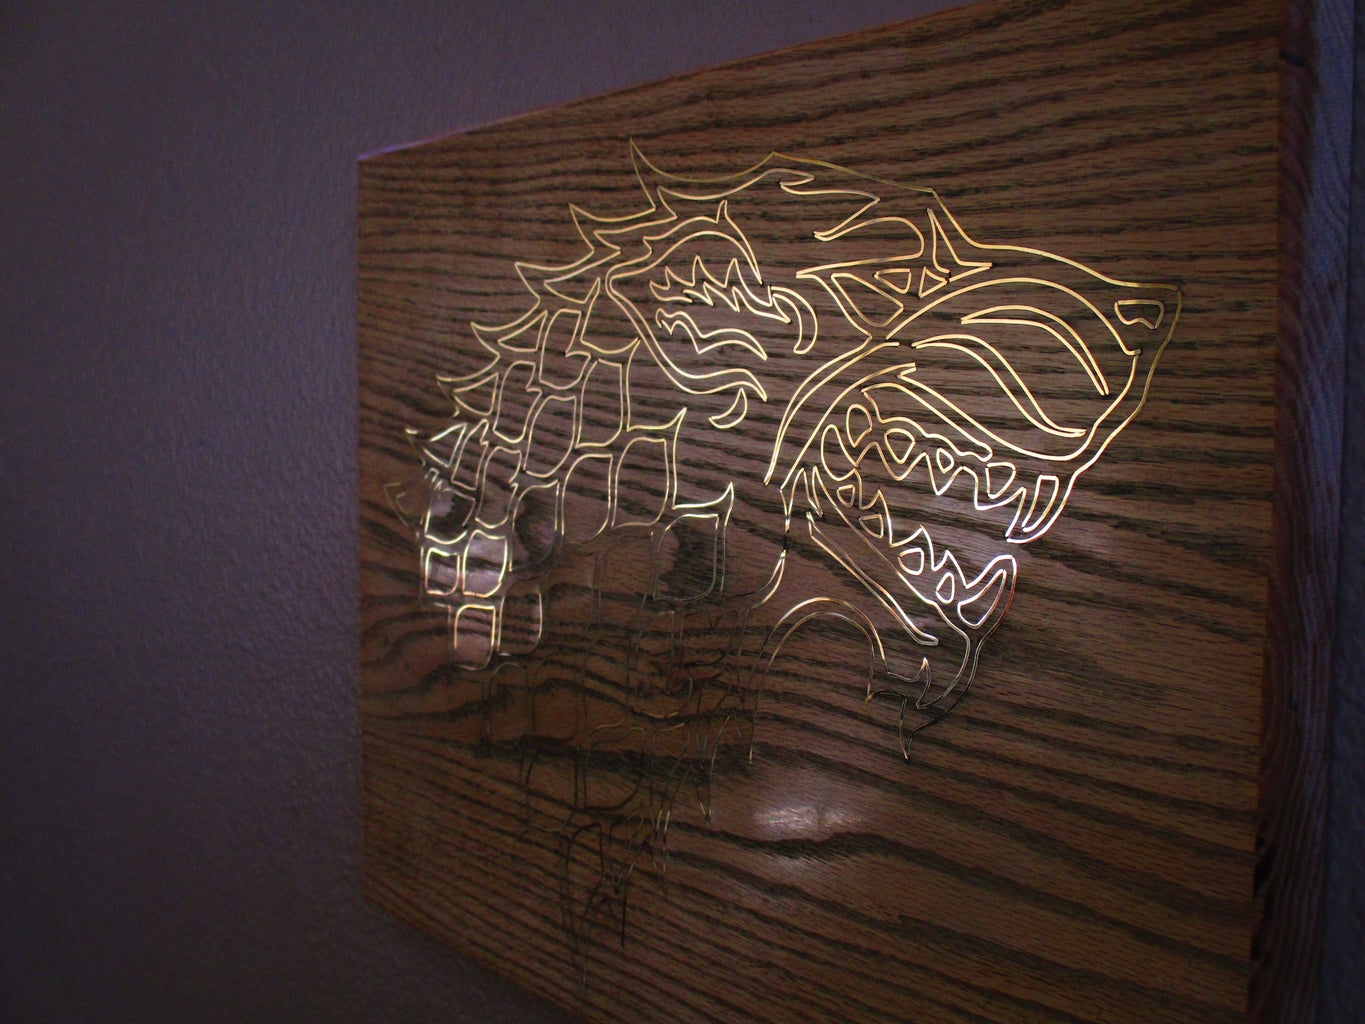
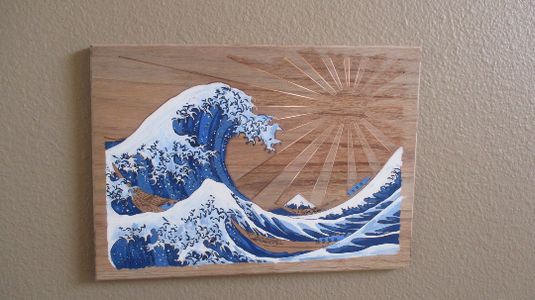
Luckily for both of us, inlays are a great way to set your work apart in a crowded market full of carpenters. Or maybe you just want to make a kick-ass wedding present... Either way, follow these instructions and you'll be sure to make something bad-ass. In this instructable, I'll be sharing with you how to make shiny metal inlays with copper and brass wire. With enough talent, creativity, and practice, people will be thinking you stole your pieces from vault in Asgard! This is my first instructable to hold onto your pants, kids!
Step 1: Things You May Need

It is worth pointing out that the key in making clean looking inlays is precision. This is why you want various pliers with different head shapes and a rolling mill. In the coming steps, I'll talk about some workarounds if these tools are hard to come by for you.
Here is a list of what I use:
Hard wood (oak for example)
A rolling mill
Copper/brass wire (the gauge I use varies but start with 14 gauge)
A heat source like a torch or stove (anything that will get your metal red hot)
Various pliers (I recommend using jeweler's pliers as it is more forgiving on the metal)
Various wire cutters (flush cutters are my favorite)
A file (I use the one on my multi-tool)
A tiny hammer
Lots of super glue
Sander and sandpaper
Polishing accessories
And exactly one metric ton of patience
Step 2: A Note About Hardwood

Use hardwood only.
I can already hear some of you saying "But it may crack when you're just pounding the metal in."
And you're right. It will crack if you're just pounding the metal in. But we're making our inlays look bad-ass, remember? This requires that we use skill.
It will not crack if you do the following:
a) match the size of your wire to the void you cut (that is the space that your inlay will be filling)
b) cut a clean, uniform void into your wood
c) anneal your metal (that is what your torch it for)
d) tap the wire in with a tiny hammer
I will absolutely do my best to explain the finer details when we get to them. But please understand that there is no teacher like experience. You will probably mess up the first couple times but that's what makers do, right? There is no better teacher than experience.
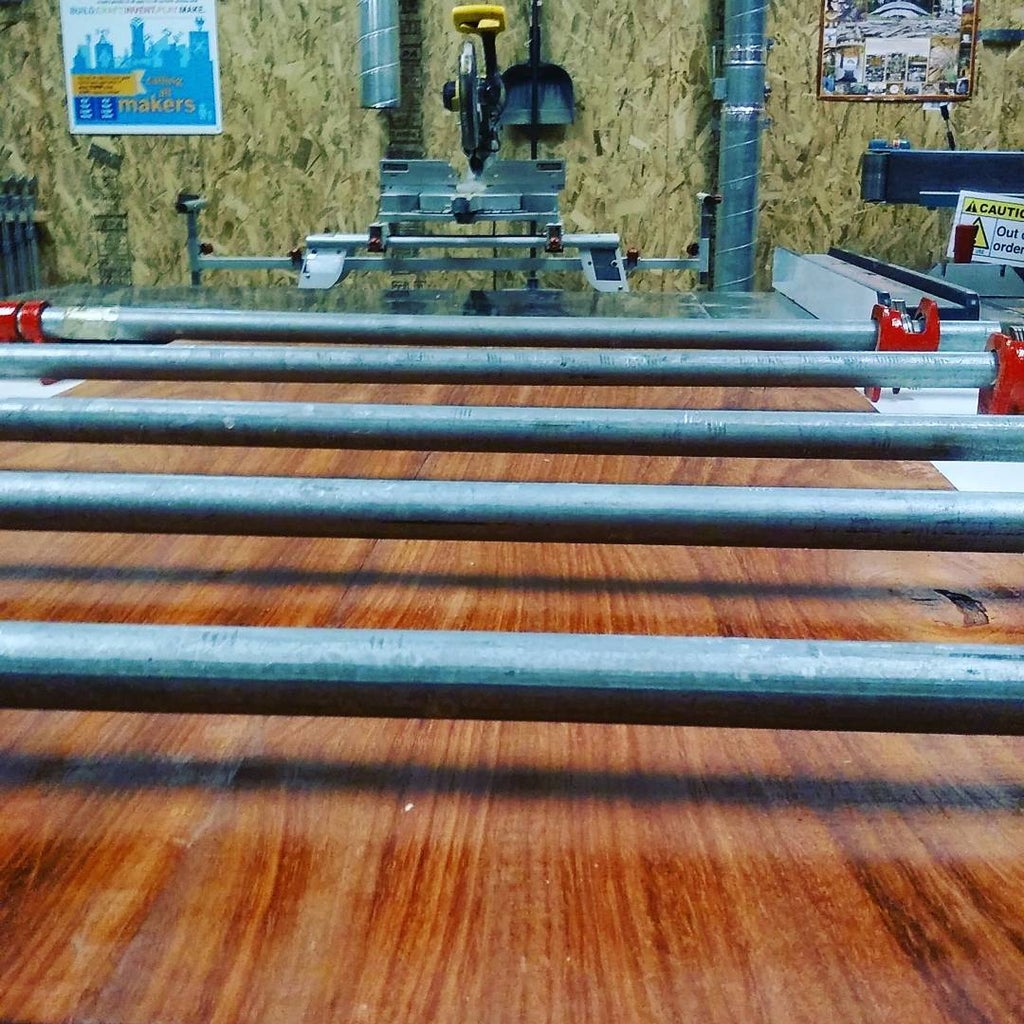
Step 3: Make a Void in the Wood


There are several ways to cut your void.
I use vector based software and a laser cutter, but it is entirely possible to do this any number of ways. But in my opinion, laser cutters are as precise as it gets (plus they're freakin lasers!) so that's why I've gravitated towards them.
Not many of us have access to a laser cutter so I recommend using a rotary tool with a bit the same size as your desired void width. I'll include a couple pictures from when I didn't use a laser cutter. I encourage you to experiment, make jigs, or make friends who have the tools you need.
...Or you make a pantograph. I have not tried this method but this is probably the next best thing to a laser cutter or cnc router. Also it is very affordable to make. Check this link out to see what I mean:
Also, subscribe to this guy if you like woodworking and cool jigs.
Step 4: Prepare Your Wire


Using your mill (or a hammer), get your wire to the desired thickness.
"What is the desired thickness" I hear you say. Allow me to answer:
The desired thickness is when you can push your wire into your inlay by hand. But not easily.That is the best way I can put it. You'll have to experiment a bit to see what I mean.
After you have gotten the wire to the right thickness, you should anneal the wire, especially if you have to hammer it to size. Annealing for our purposes here means heating it up to red hot and letting the metal cool. This makes the wire soft enough to manipulate into your void without cracking your wood.
First, I roll my wire to size using my mill. Then I take a length of the rolled wire, coil it up, and heat it with my propane torch. After I get the wire red hot, I dunk it in some water and voila! Soft, easy to work with metal.
Step 5: Apply One Metric Ton of Patience


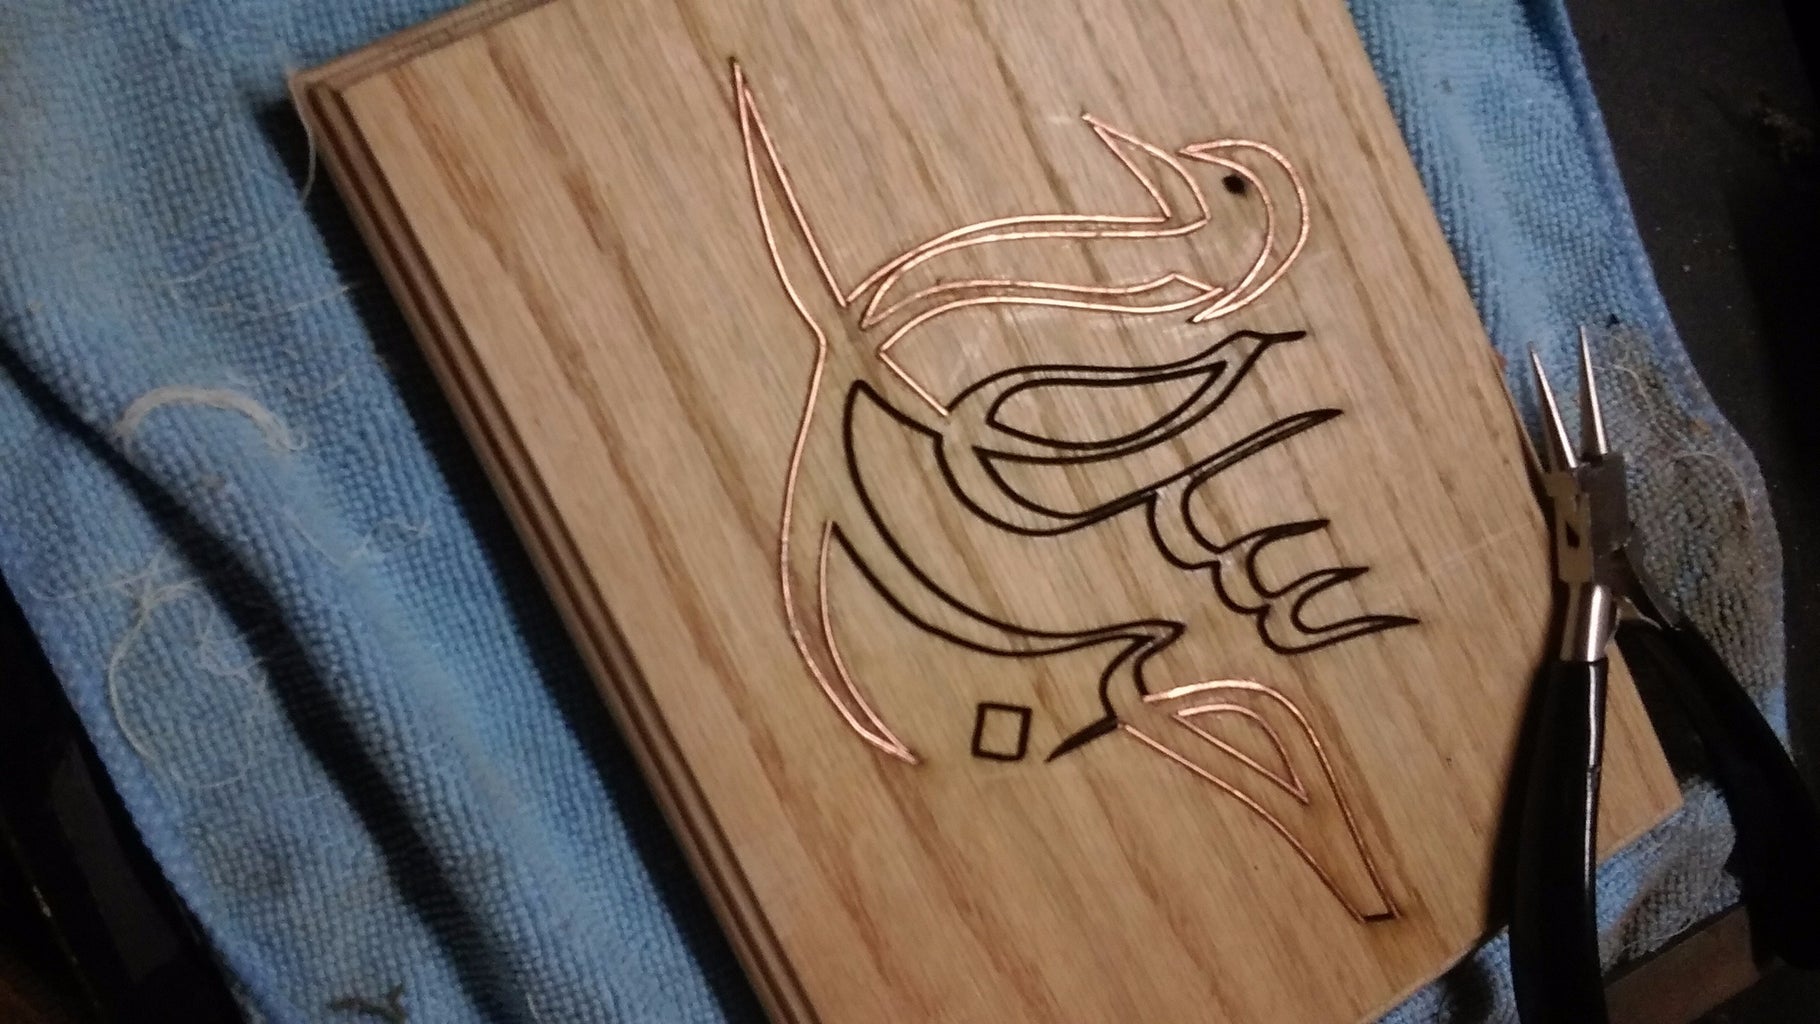

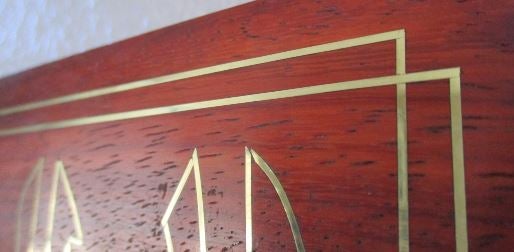
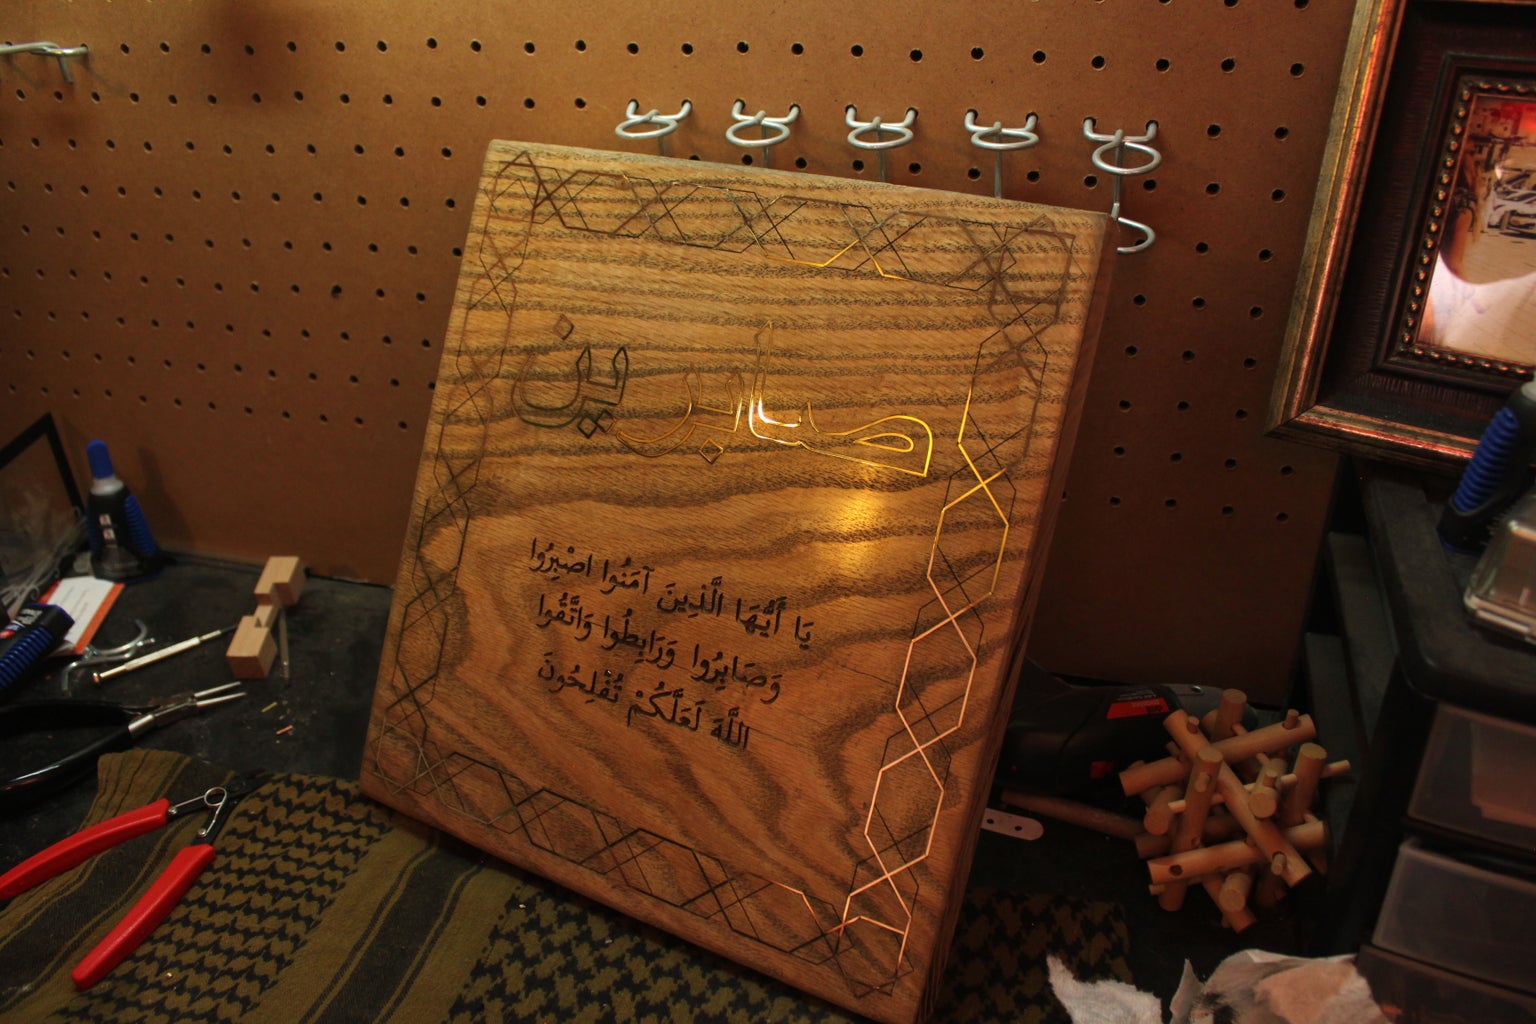
This is easily the most time consuming step, depending on your design. Straight lines are very easy to inlay and won't take you long at all. Curves are rewarding but very time consuming. Keep this in mind when choosing your design.
Your inlay should not be one continuous wire around sharp corners. There are a couple reasons for this:
1) It is really difficult (impossible) to get sharp corners by bending wire
2) Sanding (the next step) will cause the metal to expand. Having multiple metal pieces instead of just one long connected piece provides room for expansion. Otherwise, the metal will bend up and out of the void, ruining your work.
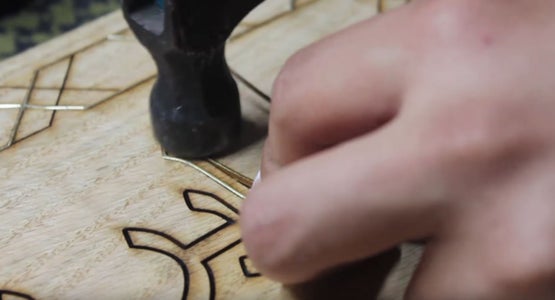
Lay a bead of superglue into the void that you are about to inlay. If it is a small portion, lay the bead along the entire length (small = 1 - 3 inches). But it the portion is long, lay a bead intermittently. The wire inlay is also being held in with friction so there is no need to go overboard with the glue.
Be sure to use jeweler's pliers on this step. Anything with teeth will damage your already soft metal. For curves, bend your wire to shape first, then set the inlay. Light taps with your hammer should be enough to get the inlay set into the void. Do not hammer it in all the way. This is important for the next step. Hammer it in 3 quarters of the way.
Be mindful of how the wire cutters effect the ends of your wire. The flush cutters work great for me here. Just make sure you orient them to suit your needs. Use the file to shape the ends of your wire if you need to. If the tapping sound bothers you, try putting a piece of cloth under the workpiece. This will help dampen the noise.
Just to be safe, give the glue a day to set completely before moving on to the next step. This is where a lot of trial and error comes into play so don't be to hard on yourself. Mistakes are where learning happens.
Step 6: Sand Sand Sand and Polish


We can move onto sanding once all the metal is in.
Please don't use a belt sander. You'll probably ruin your piece that way. Use a random orbit sander. It's slower but that is the point here.
You need to keep sanding until you get the metal flush with the wood. Use your sense of touch to gauge this.
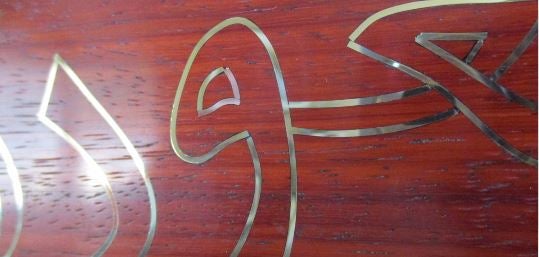
Once you have it flush, gradually use higher and higher grit sandpaper using a palm sander or just a block and sandpaper. I go all the way up to 2000 grit but that is because I like a near mirror finish.
Speaking of mirror finishes, rub n brite and a polishing cloth for jewelry is what I use for my final polish. Polishing this way make the pieces look like they're glow-in-the-dark. You'll see what I mean when you try it.
Step 7: Show It Off!


What you do with you piece at this point is completely up to you.
Sell them. GIve them away. Show them off in your living room.
Whatever you want, really.
Use my video in the intro as a guide if any of my instructions don't cut it for you. Be sure to check out my instagram if you like seeing pieces like these: https://www.instagram.com/jkinlays
I'll try to put some new pieces up on etsy too: https://www.etsy.com/shop/JKinlays

Third Prize in the
Woodworking Contest 2017


