

Introduction: How to Build a Racing Quadcopter


Hello, today I will teach how to build a racing quadcopter!
What is a quadcopter?
A quadcopter is multi-rotor copter with four arms, each of which have a motor and a propeller at their ends. Quadcopters are similar to helicopters in some ways, though their lift and thrust comes from four propellers, rather than just one. Control of vehicle motion is achieved by altering the pitch and/or rotation rate of one or more rotor discs, thereby changing its torque load and thrust/lift characteristics.
What is a "racing quadcopter"?
Quadcopters are very useful and have many different types, for instance quadcopters can be made for filming and lifting cameras or built for doing mid air acrobatics. Well a racing quadcopter is a quadcopter meant to go fast. Extremely fast. Racing quadcopters can also be entered in competitions where they are put into different classes, the most popular is the 250 size.
Are they expensive or hard to make?
It depends, a typical cheap quadcopter will cost you about $120 - $200. However a more expensive quadcopter could easily cost you around $1000. Anyone with some previous electronic background should have no problem building on.
If you don't want to risk building one, message me or comment below. I can build you a reliable drone for a reasonable price!
Step 1: Watch the Video!

Dont forget to like comment and subscribe for more!
Step 2: What Do I Need?

- 4x 1806 motors, My motors were extremely fast at 2400kv,
- 4x 12a ESC
- 1 RC transmitter and receiver
- 1 Flight controller (Flip 32, Naze 32) You can even use an Intel board!
- 1 Lipo battery (3c)
- 250 Quadcopter frame
- Wires
- Computer with Clean Flight
- Assorted tools
Optional
- Fpv Camera
- Fpv transmitter and receiver
Step 3: Frame


Now its time to start!
Start by rough building you frame and attaching motors to the arms of the quadcopter.
When you are done, You should end up like the last picture.
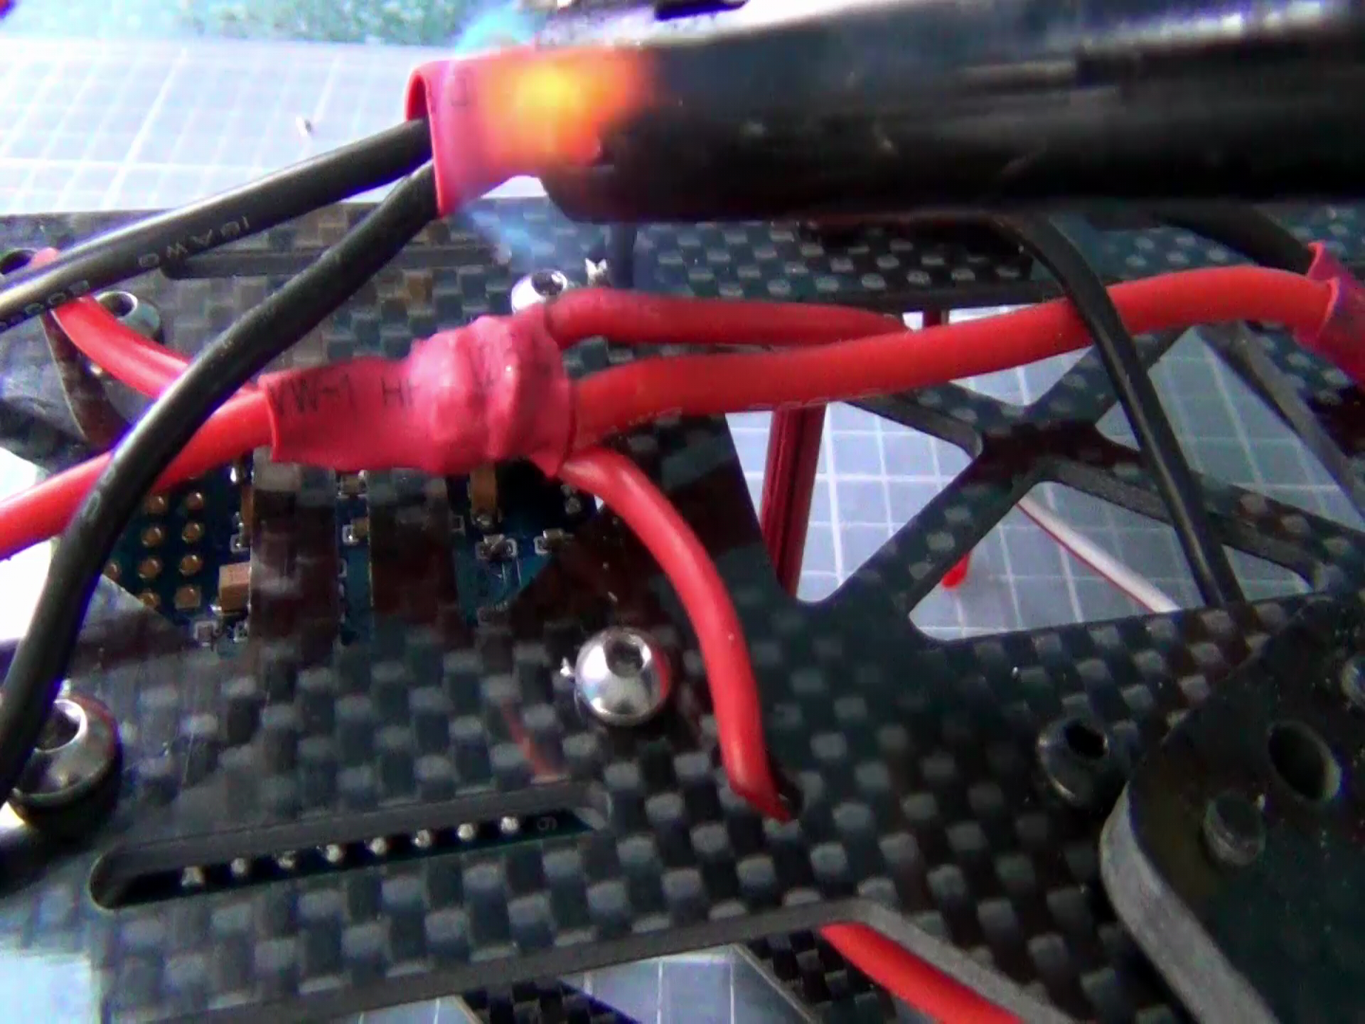
Step 4: Solder on ESC


Now trim away excess wires and attach the motors to the esc's by soldering them.
I recommend using flux to stick the wires, because I did not (see pictures) and my soldering ended up terrible, I had to restart later and solder them again.
Hold the esc in place with a ziptie
Step 5: Program Flight Controller


Now its time to program the flight controller
Flash the board using cleanflight, and make sure all the settings are correct. Its very difficult to explain this process in writing but Its not that hard, If you are still stuck there are hundreds of tutorials on YouTube.
Step 6: Wiring


This is where things might get confusing.
I have added a diagram (not mine) that helped me when I made my quadcopter, Ignore the part about the leds
Notice how two wires have been reversed. This switches the motors direction on the quadcopter in order to lift it into the air.
Step 7: Testing and Debugging


Now its time to test and debug the quadcopter.
using the assorted tools on clean flight, check everything is working
Most important:
- Reciever
- Motors
- Mode
Step 8: Add Battery


Now simply plug in your battery and let the flight controller calibrate itself for about a minute.
Most people put their battery inside the middle of the quadcopter, however I dont like to. I like to keep the more sensitive electronics inside the frame for when you crash (Yes, you will end up crashing at some point). Also I like to believe that it makes it faster, but that has not been proven yet.
Step 9: You're Done!


You're done with you quadcopter! Go and fly it!
Some tips
- Most transmitters have a motor lock and unlock
- Fly in open fields
- Use a Lipo alarm
- Charge Lipo in Lipo safe
- Be careful
Thats it go and fly your quadcopter!
Please vote for this instructable in the many contests!
Remember If you dont want to build one. Message me, I can build you a reliable and cheap quadcopter!

Participated in the
Epilog Contest VII


