

Introduction: How to Make a Python Puppet

Making your own python puppet is easy. Just follow these 66 simple steps and you’ll soon be entertaining and delighting audiences.
Our puppets name is Guido. You can see him in action at http://www.thehelloworldprogram.com.
Here’s what you’ll need:
green fleece, ½ yd. (if your fabric store will cut less than a yard, get ½; otherwise make more puppets with the excess!)
yellow fleece, 1 ft.
black fleece, 1 ft.
1/2” foam sheeting, ½ yd.
red felt, 1 sheet
stiffened white felt, 1 sheet
black felt, 1 sheet
ping pong balls, 2 (or more if you’re prone to accidents)
green thread
fabric glue or other very strong adhesive
pattern
scissors
sewing machine (or a needle and the patience to stitch it by hand)
sewing pins
marker or tracing chalk
Velcro, small piece
I recommend reading through the instructions first because you might decide you want to do things differently.
You can purchase the patterns here: https://gumroad.com/l/python-puppet
Cut the pattern out along the heavy black edges. Some of the pieces need to be joined together to make bigger pieces. For example, “Back Pattern #1” needs to be joined to “Back Pattern #2”. The pieces clearly state which edges need to be joined together. You’ll figure it out. You can tape the pieces together or, if you’re wild and crazy like us, you can just set them on the fabric next to one another for tracing.
Step 1: Tracing the Back Pattern


Now you’re going to trace the pattern. If you want yours to look like ours, it’s important to trace the correct colors. The only piece that is yellow is the Chest Pattern. The only piece that is black is the Mouth Pattern. Everything else is green. But don’t let me discourage you from striking out on your own. Your python can be any color you want. In fact, our prototypes for this puppet were all blue because I thought the blue fleece at the fabric store was really pretty. Make a pink python, send me a pic, and we’ll post it on the site. Promise.
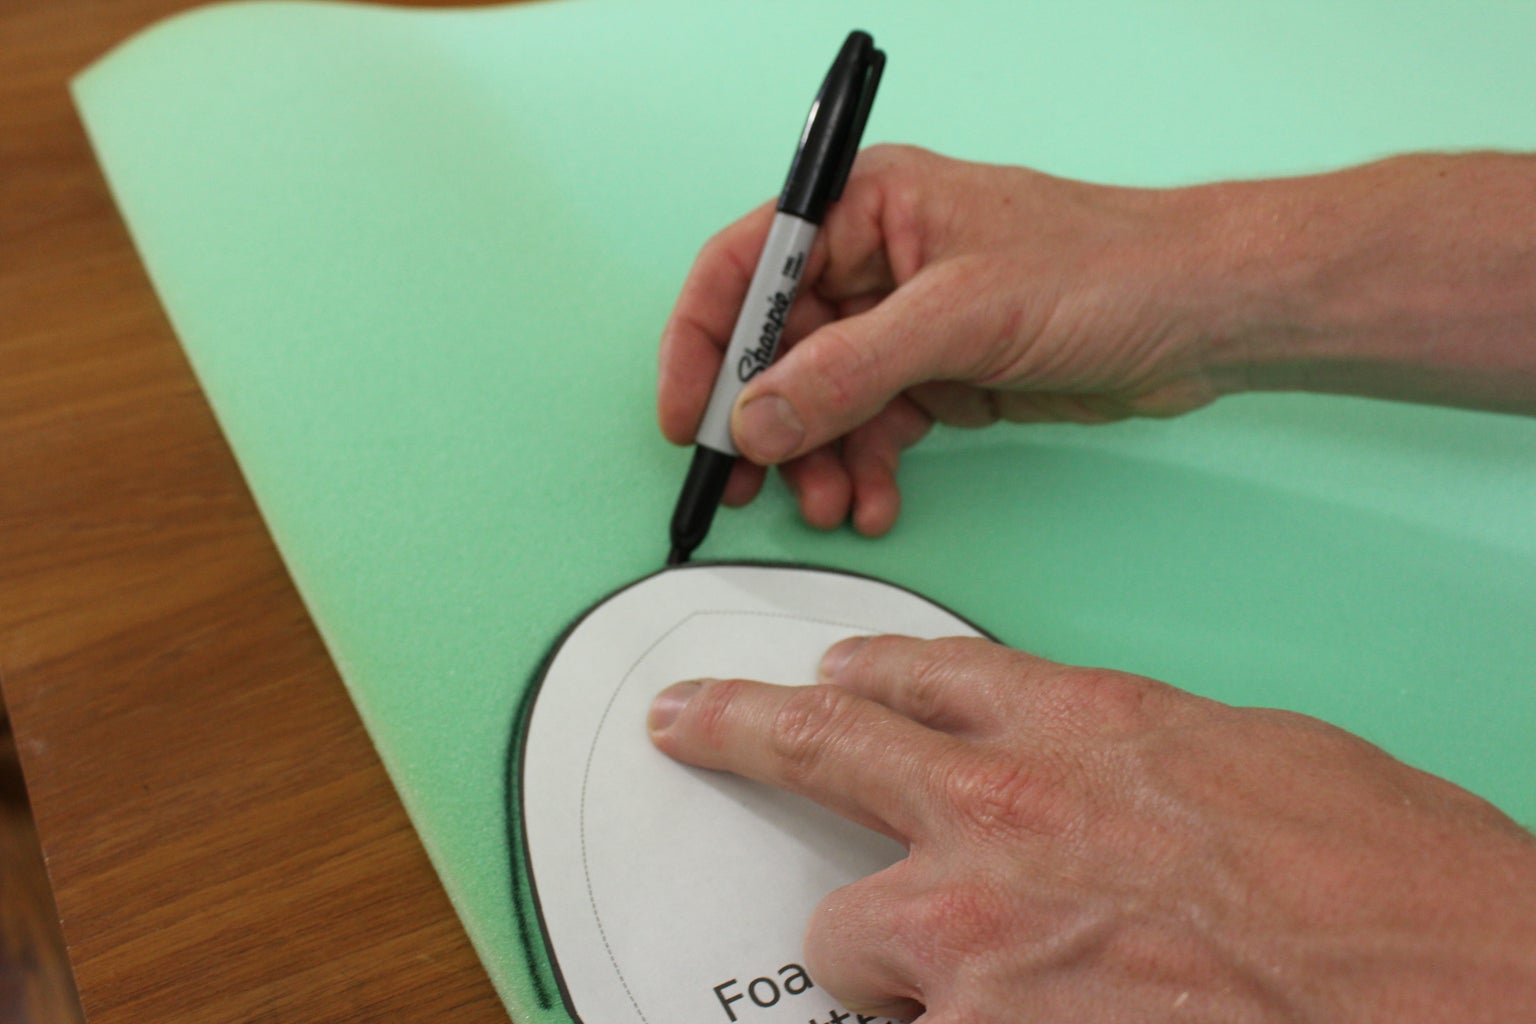
Let’s start with the Back Pattern. Trace the pieces on your fleece. I recommend tracing on the “back” side of your fabric. Not all fleece is made the same, so you may not have a difference between sides. But if one side is more textured and fleecey, trace on the other, flatter side. That way all of your tracing lines will be hidden inside the puppet when you sew it. You don’t have to use a marker. Chalk or pencil work fine, too. But if you do use a marker, be sure to get a lot of ink on your fingers like I did.
Step 2: Cutting the Back Pattern


Now you’re going to cut it out. The pattern that is. Any scissors will do, but we prefer the fancy sewing type and we repeat: don’t cut anything but fabric with your fancy sewing scissors and if you ever catch someone cutting anything but fabric with your fancy sewing scissors ban them from your sewing kit for life. But do so nicely.
Step 3: The Head, Tracing and Cutting


Now the Head Pattern. No need to join it to anything, but we are going to trace it twice.
Trace the pattern then flip the pattern over. This is important if your fleece is more textured on one side and if you are using a marker. You want the textures to be displayed on the outside and you want the ink(if you’re using a marker) to be hidden on the inside. Also, see how I positioned the patterns so close to one another? That’s to conserve fabric for future puppets.
Then cut the two head pieces.
Step 4: The Chest, Tracing and Cutting


That’s it for the green fabric. Next we trace and cut the Chest Pattern on the yellow fleece. As before, be sure to join the two patterns before tracing and cutting.
Step 5: The Mouth


Now onto the Mouth Pattern. We’re using black fabric and a black marker, so you might not think it’s going to work. But check out the pictures.
Cut out the mouth.
Step 6: The Foam Piece for the Mouth


Next is the Foam Mouth Pattern. This is pretty important as this piece is what lends structure to your puppets mouth. Without the foam, your python will have a smooshy face. You could use something like cardboard or plastic, but those things aren’t as much fun to work with.
Trace and cut out foam mouth pattern.
Step 7: The Tongue and the Teeth


Then trace and cut out the tongue and the teeth.
Step 8: Sewing

Now we begin to sew. We used a machine, but it’s not absolutely necessary. If you don’t know how to sew, it’s not hard to learn. If you have access to a machine and a mature individual to teach you, politely insist on lessons. We aren’t going to teach you to sew here for two reasons, 1) it’s beyond the scope of this tutorial; 2) we don’t actually know what we’re doing. If you don’t have access to a machine, you can still make this puppet by hand. It will take a little longer but you’ll grow so much during the process.
Step 9: Sewing the Chest


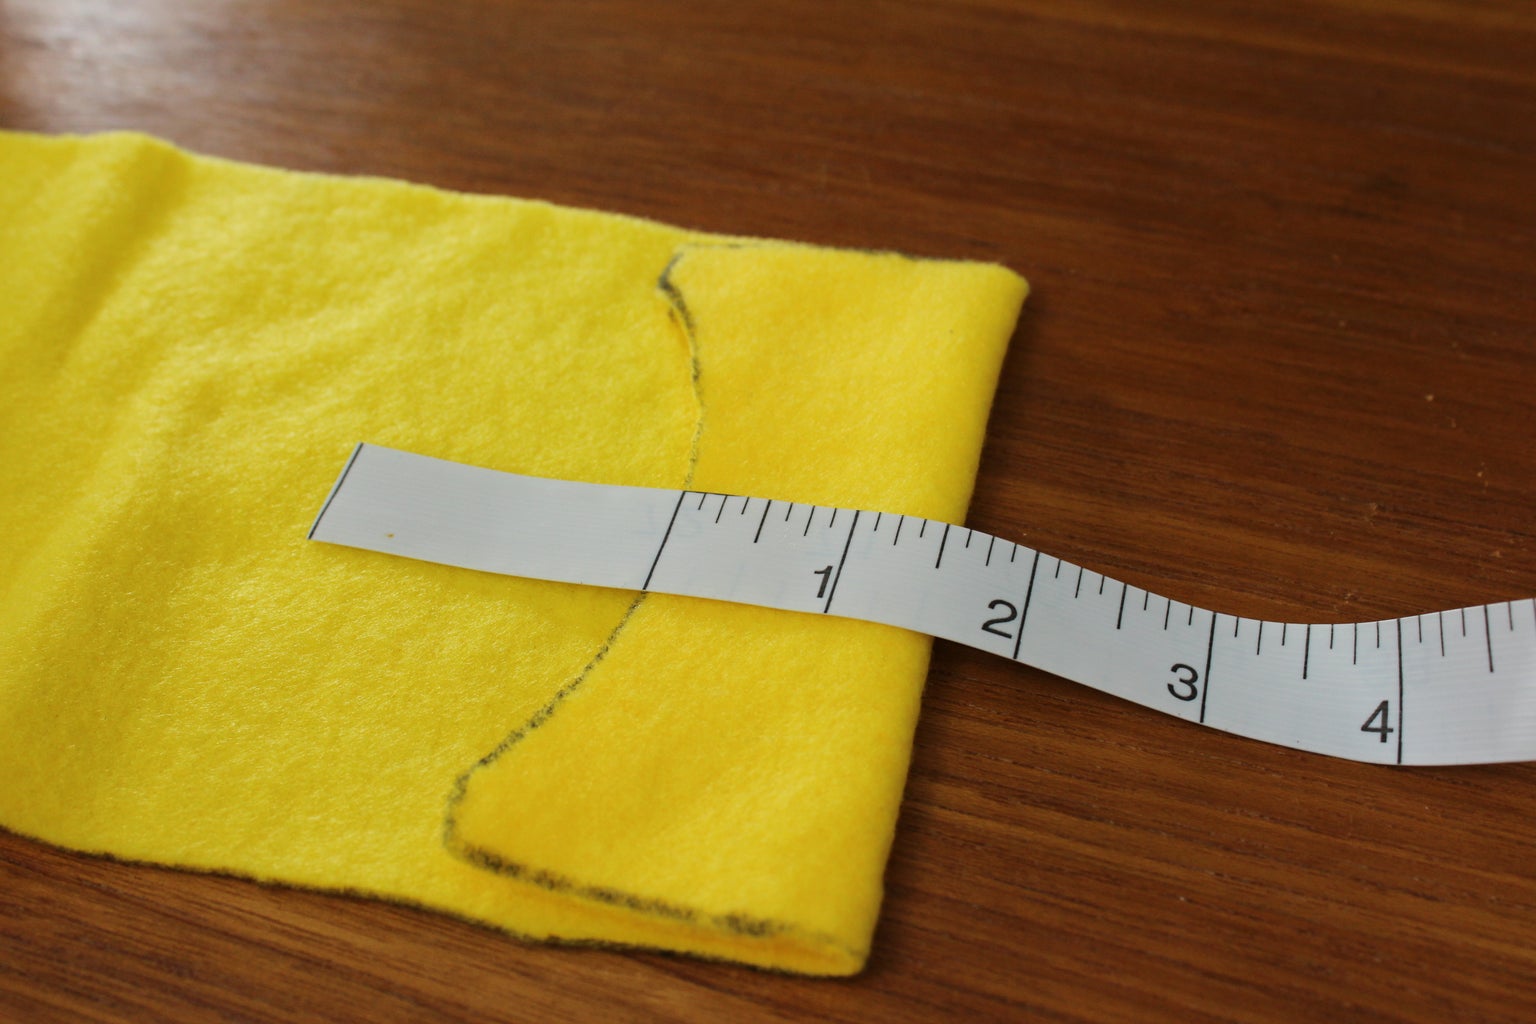


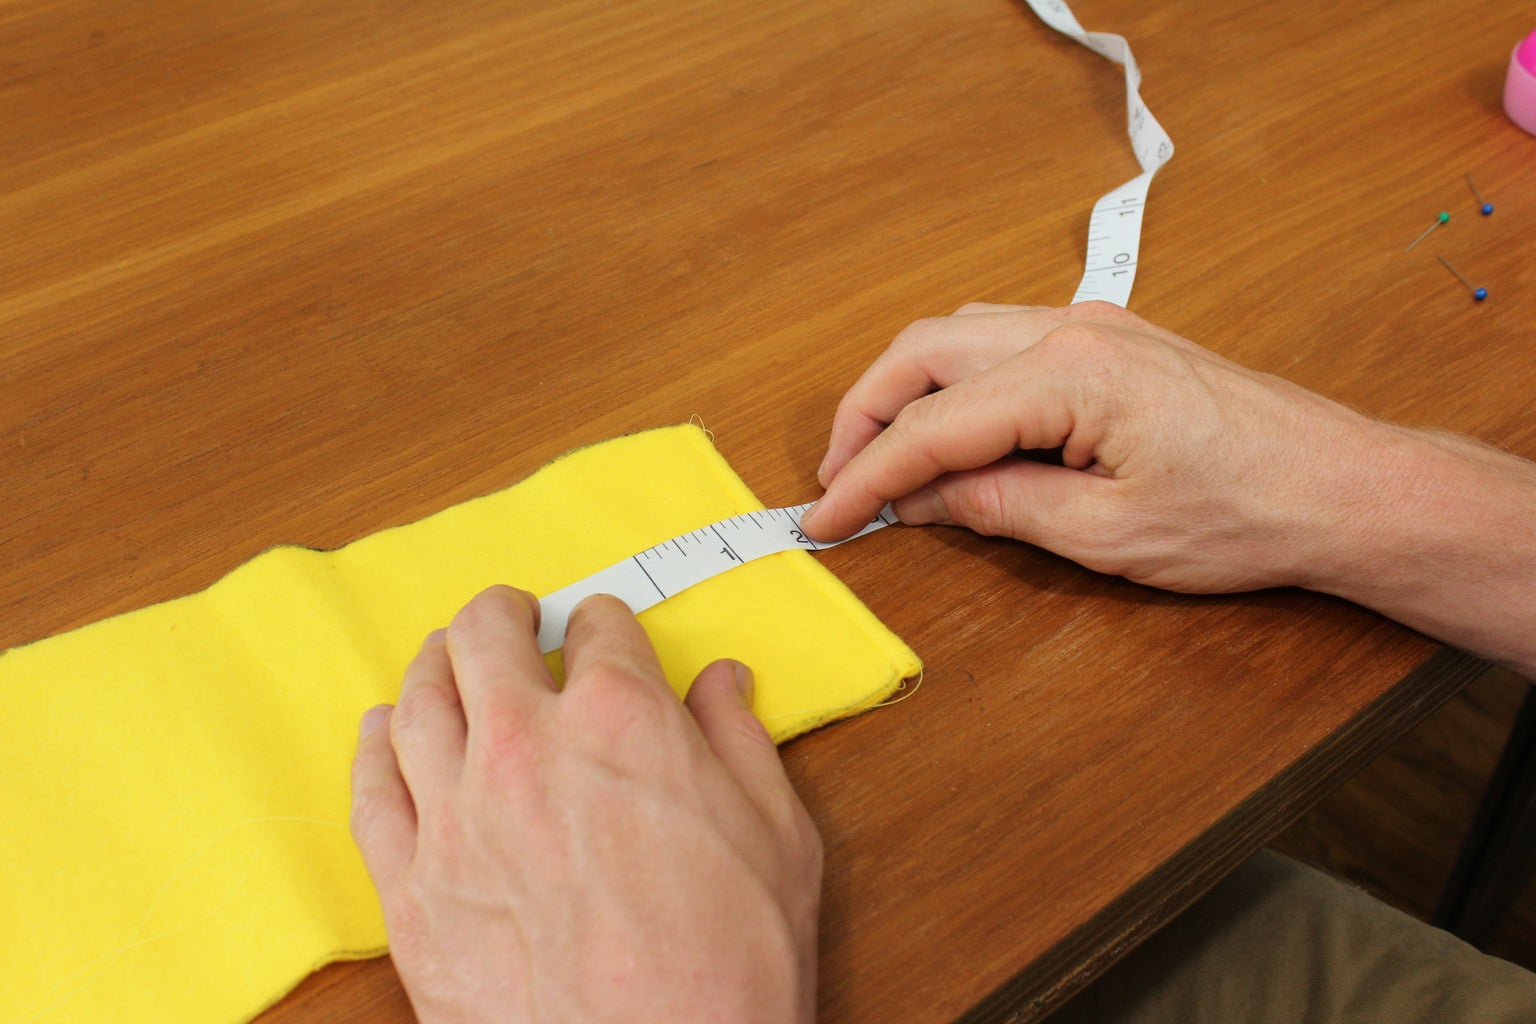


We’ll start by sewing the Chest. It’s not particularly difficult to sew and you don’t have to be precise so it’s a good place to stretch your sewing muscles. This is where you’re going to need your measuring tape.
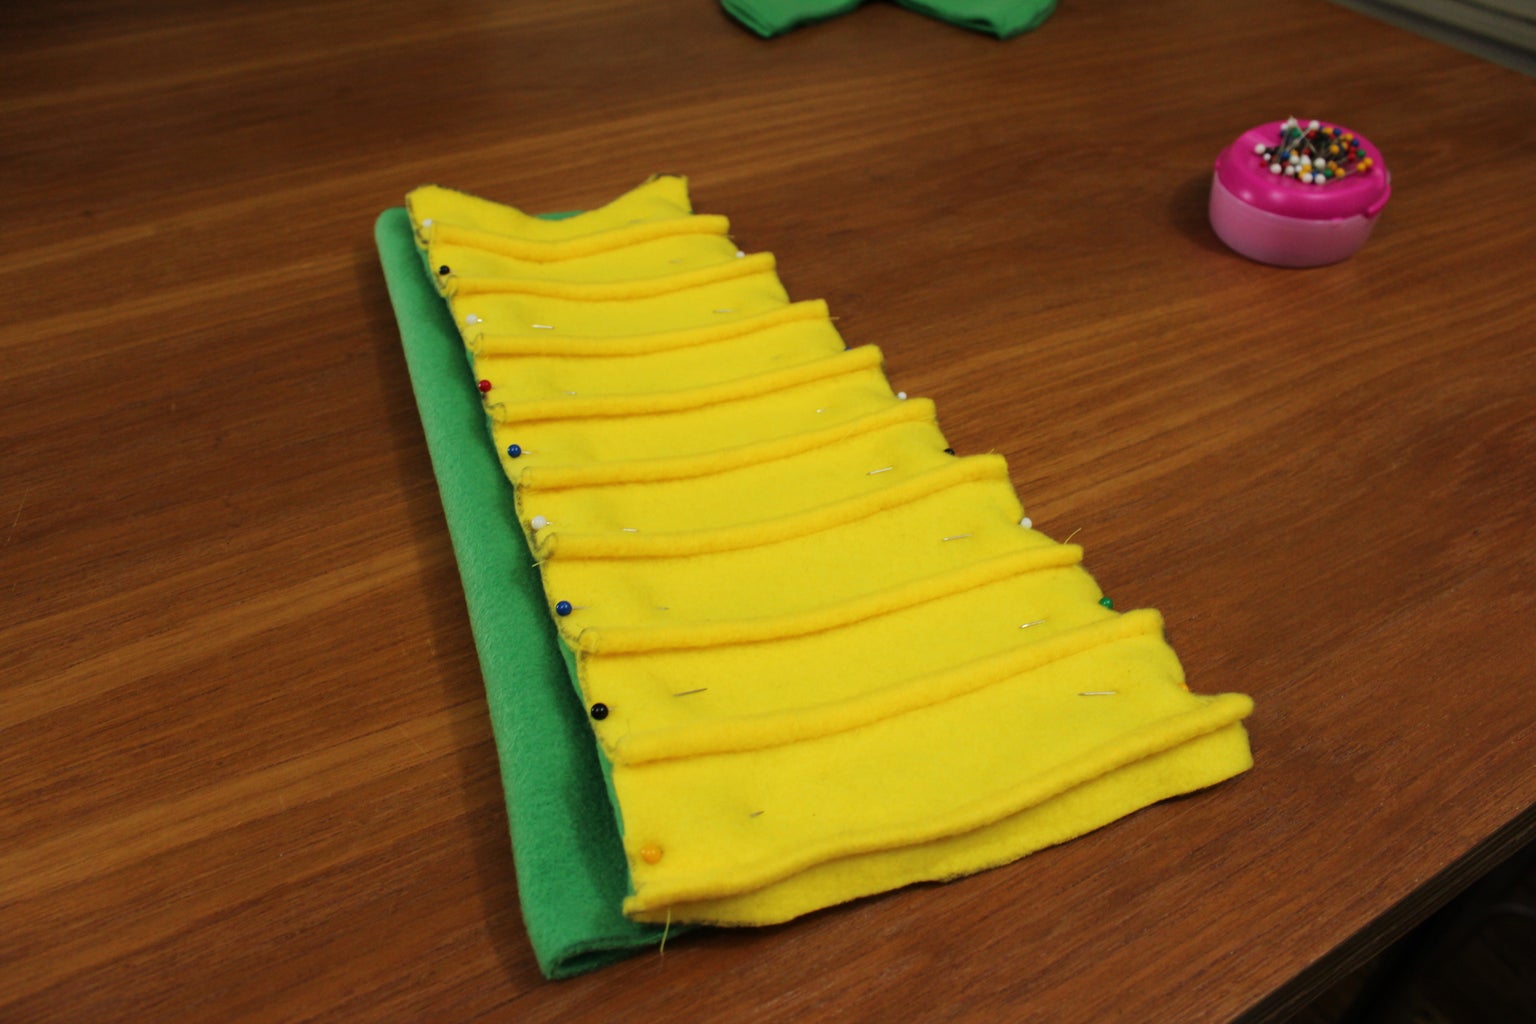
Our goal in sewing the chest is to achieve that snaky, ribbed look. We’re going to do this by folding and sewing the chest piece repeatedly. We used 1.5” as our standard folding measurement. So, as in the photograph, fold the top portion of your chest piece over 1.5”. You don’t have to be exact.
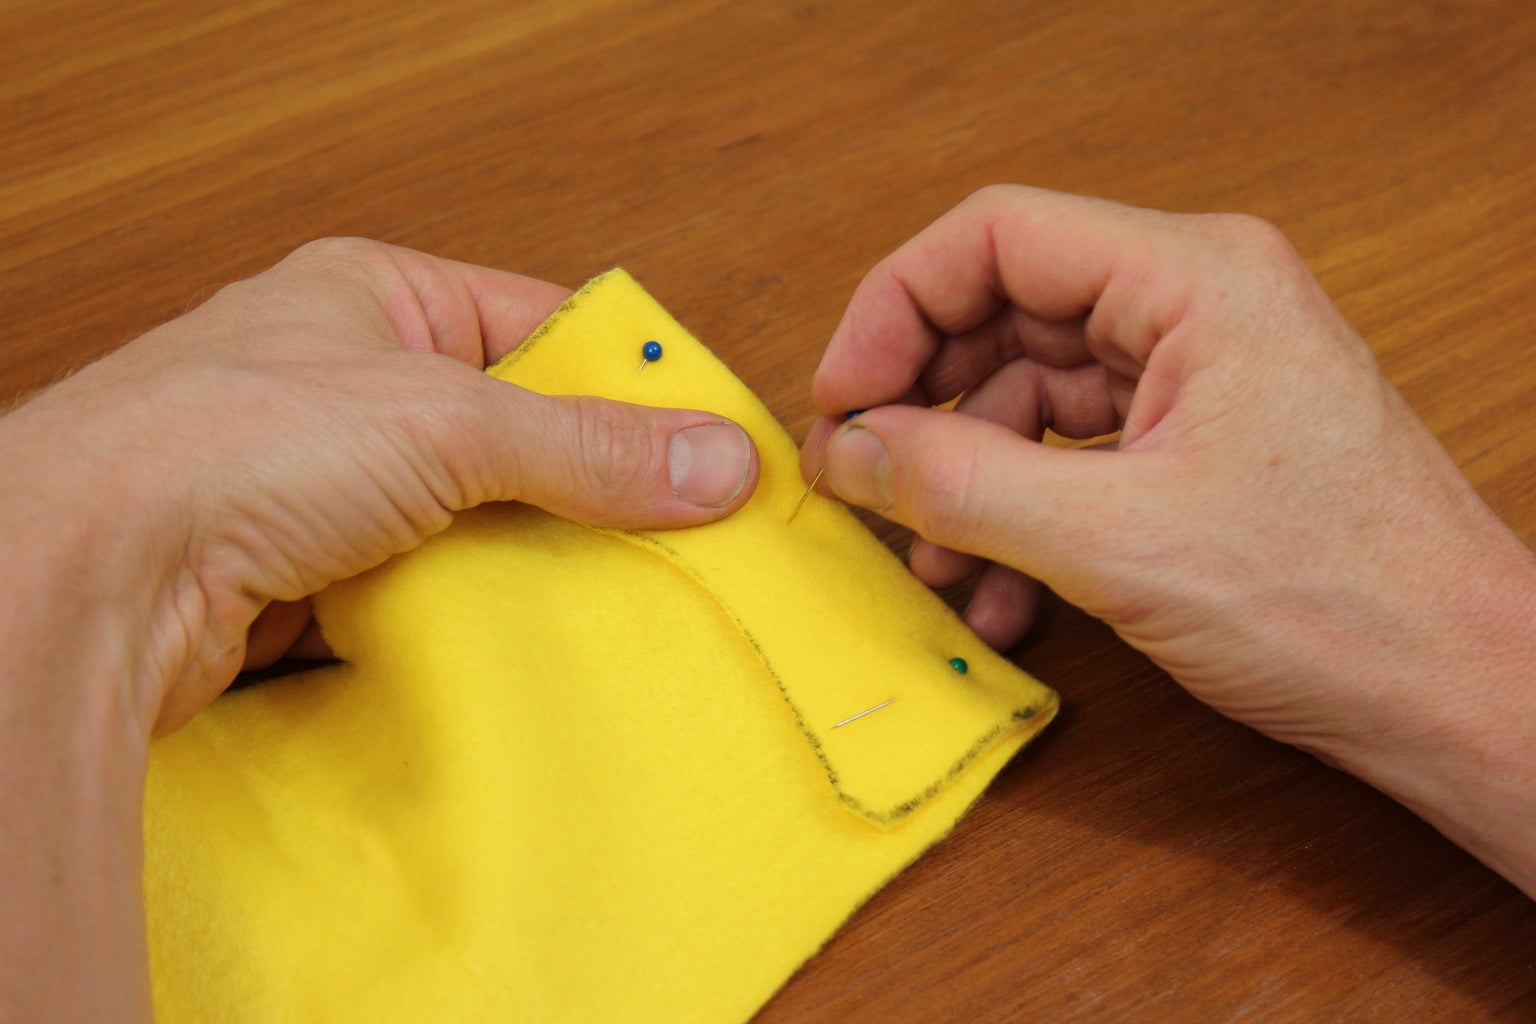
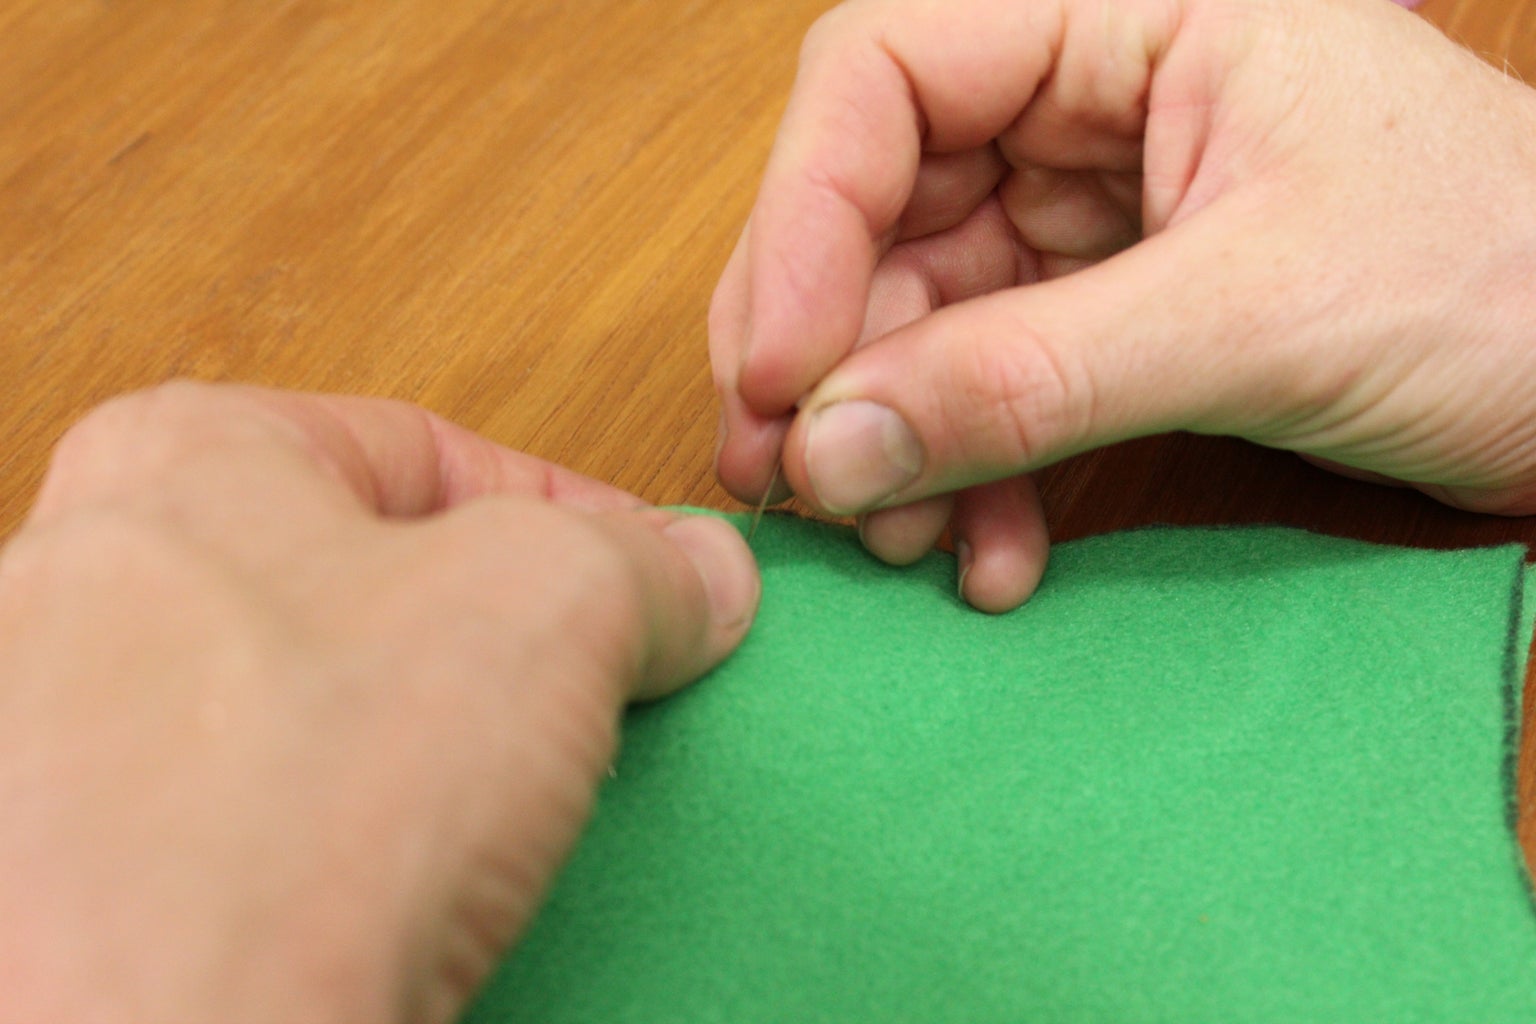
Now pin it down. We don’t want that unruly fleece moving about on us while we’re sewing.
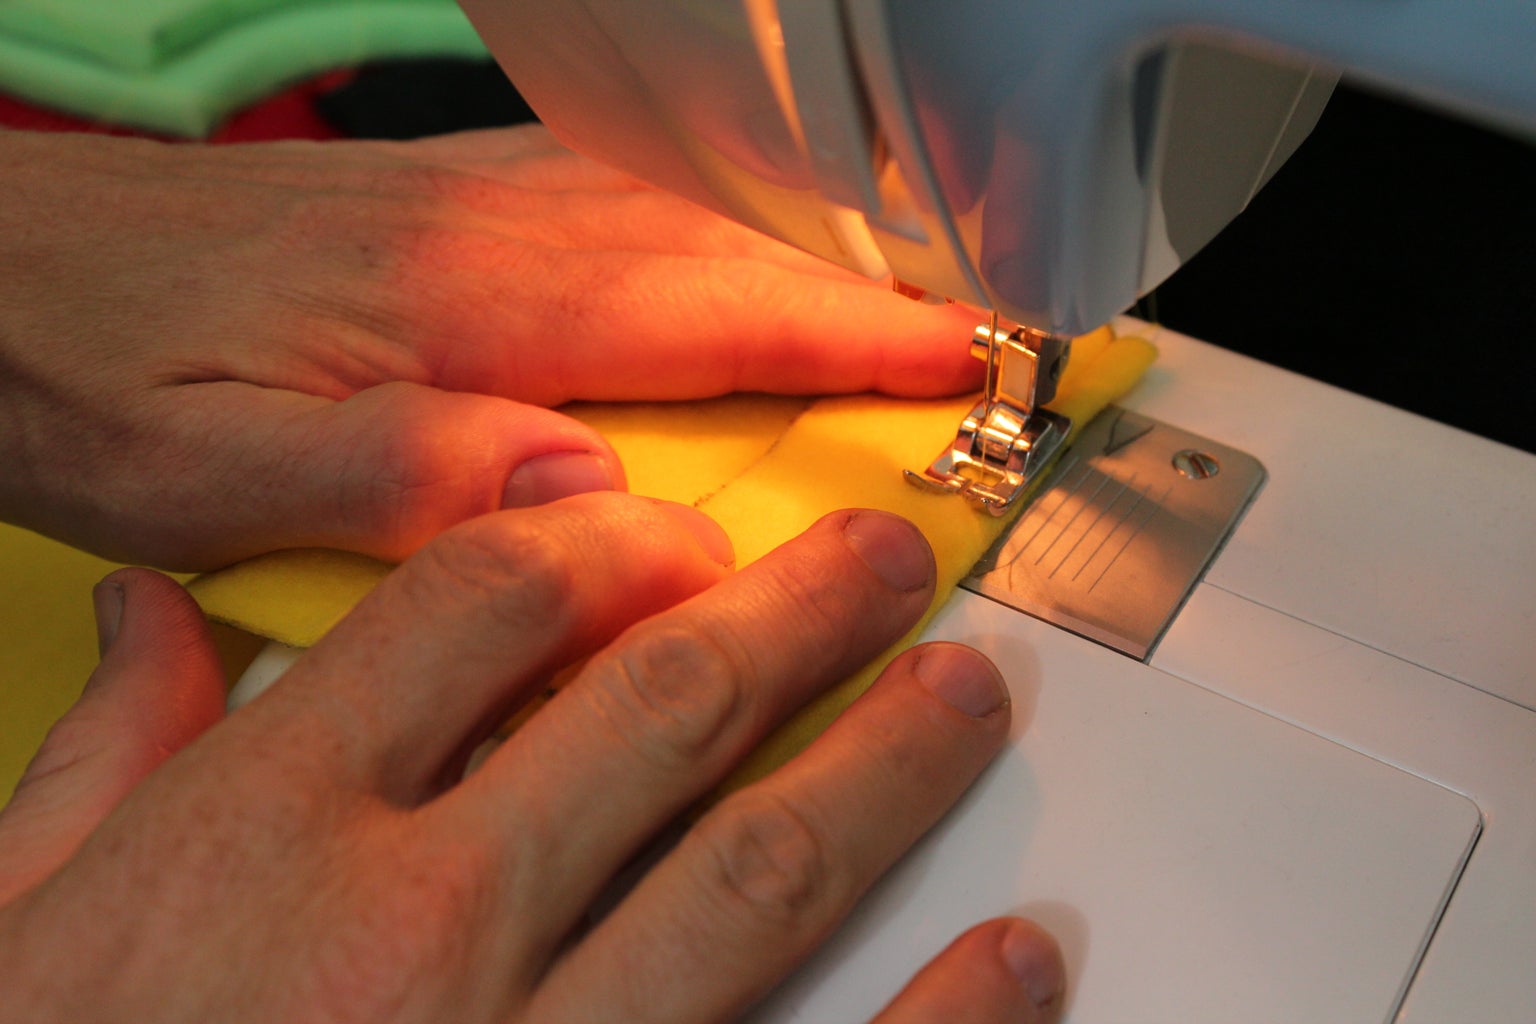
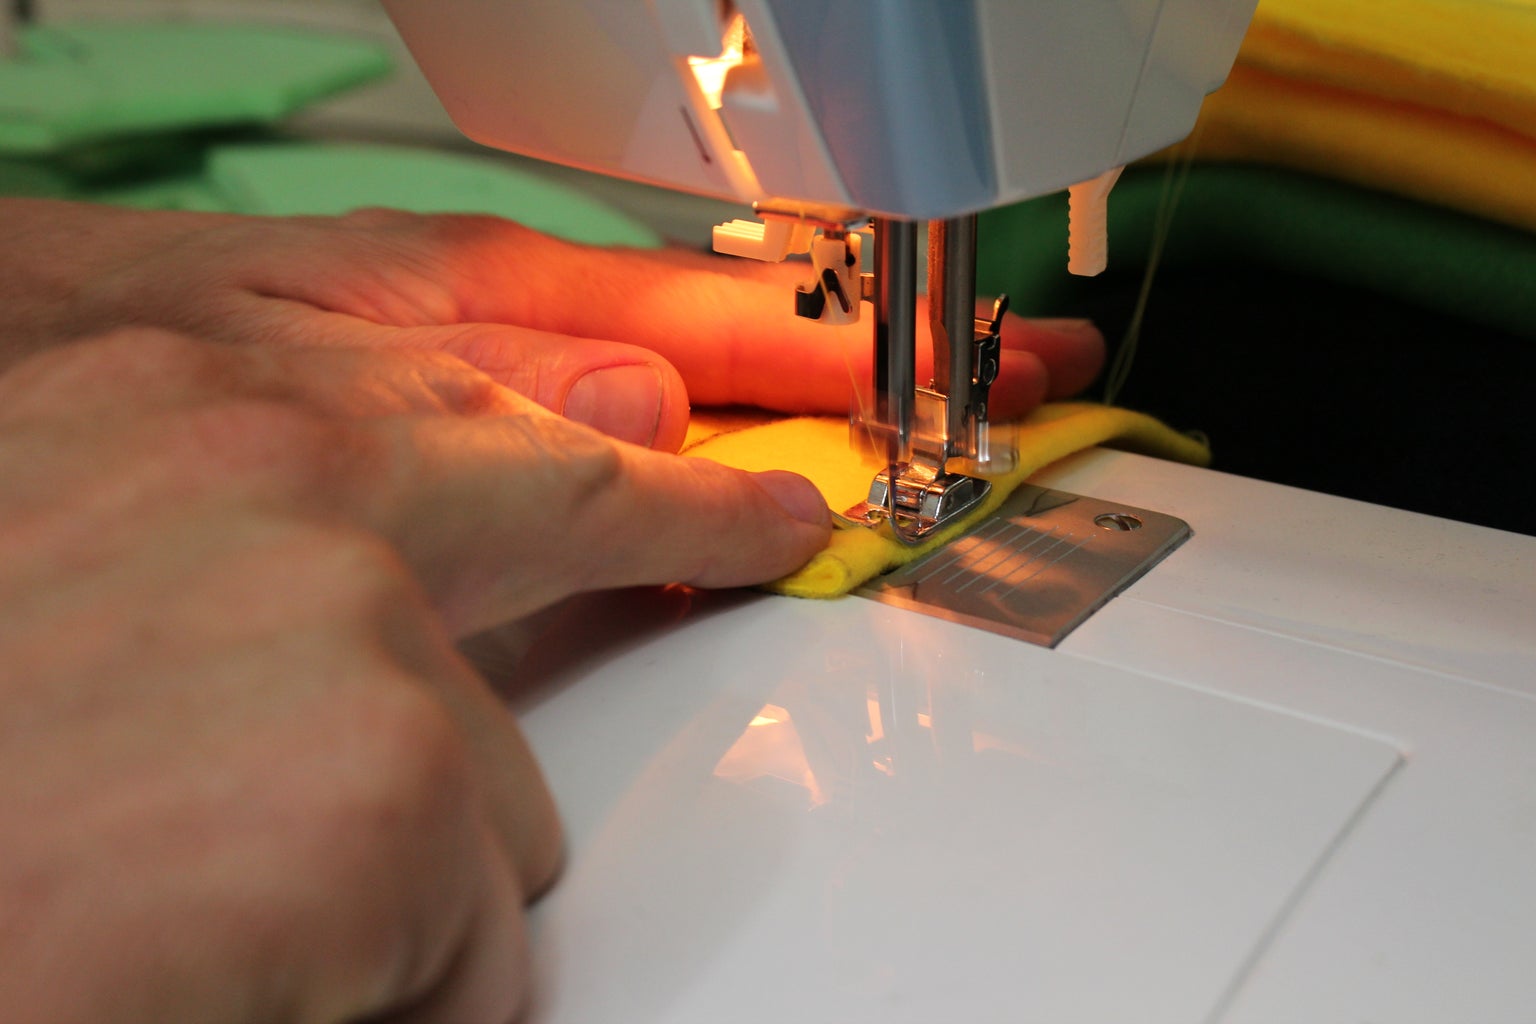
Sew along the fold, with or without a machine.
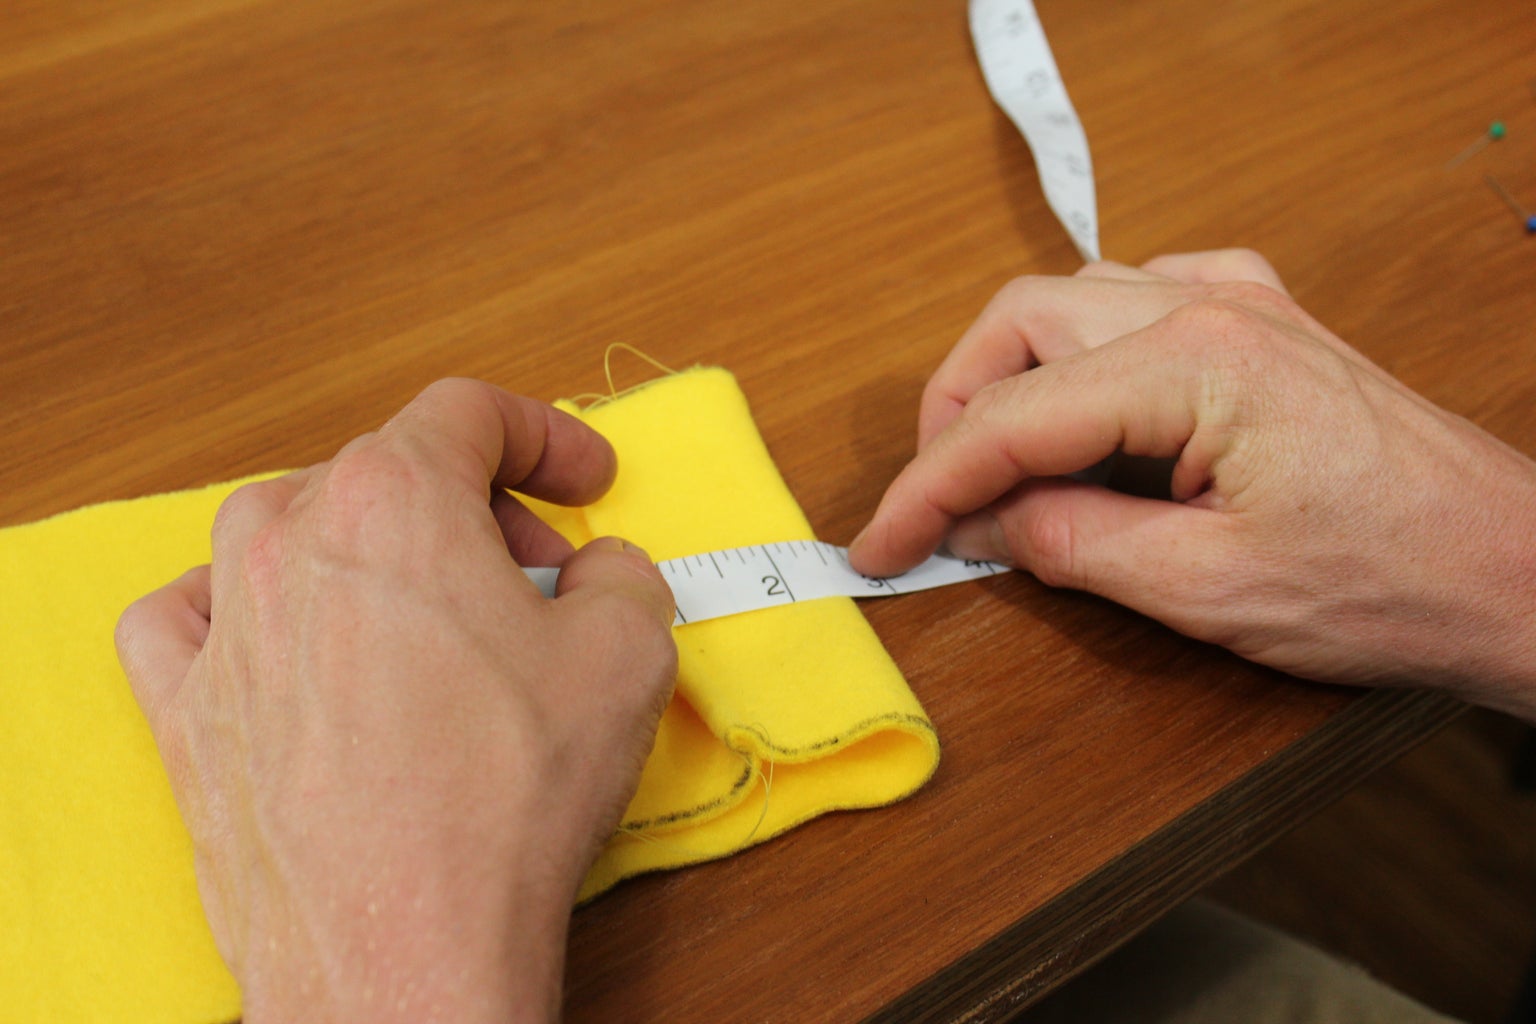
Then fold the chest piece again, measuring approximately 1.5” from the seam you just sewed.
Pin it down like frog in a lab(sorry, Kermit). And sew.
Do it again. Measure 1.5” from the last seam, pin, then sew. Repeat.
Step 10: Sewing the Head

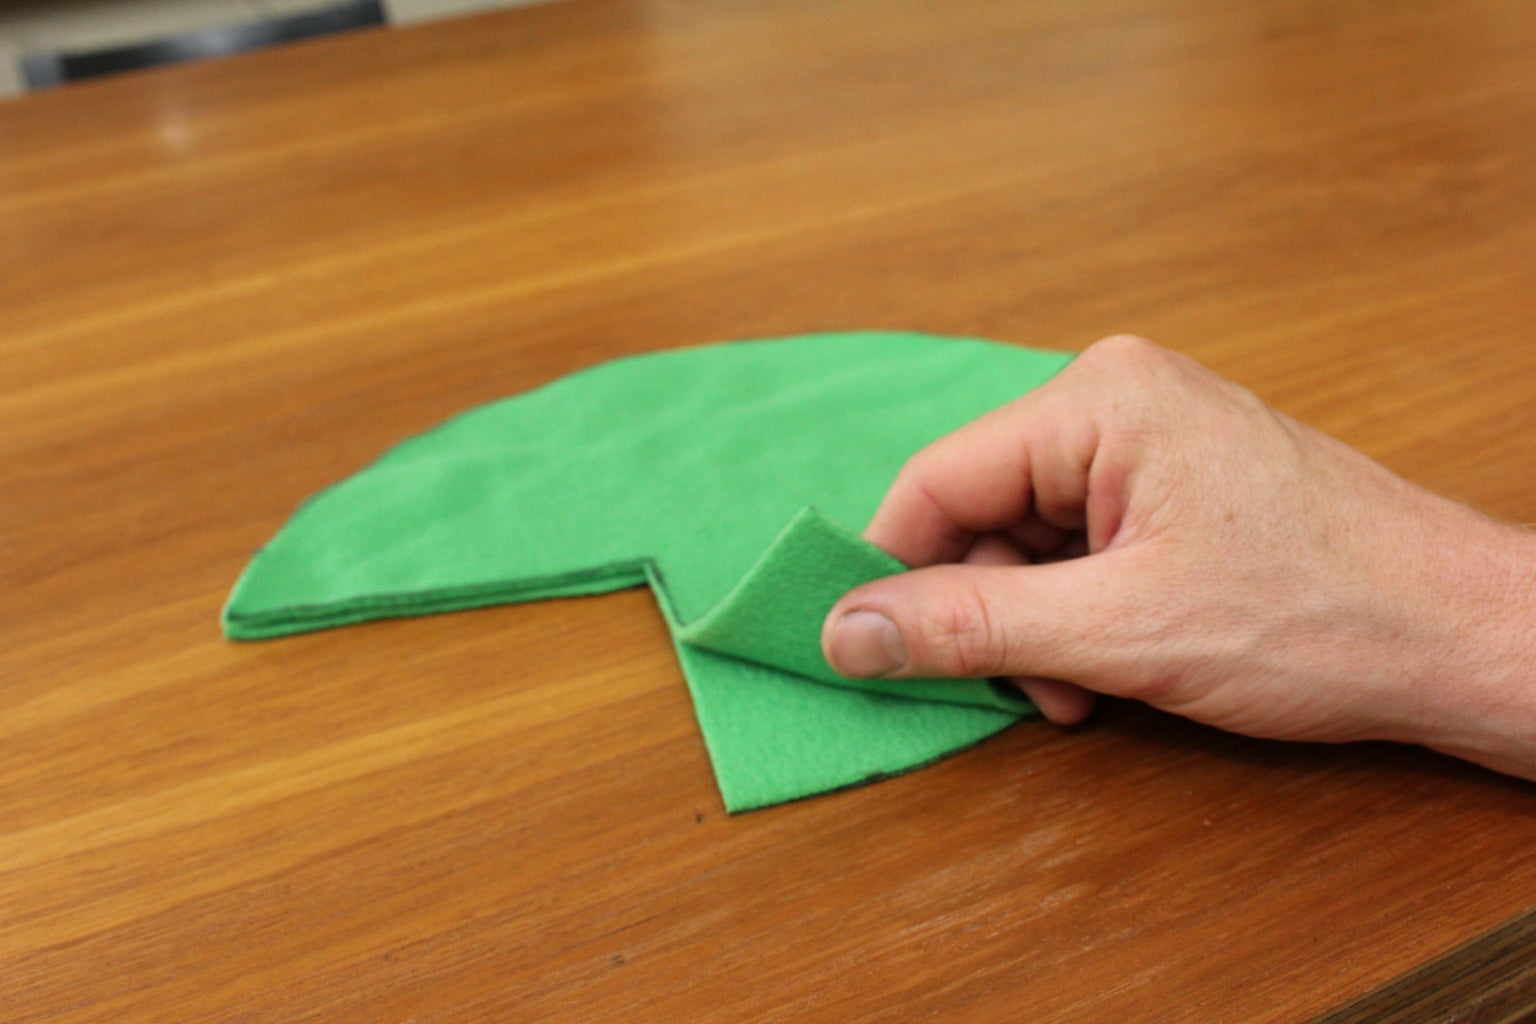


Now for the head. If your fleece is more textured on one side be sure to sandwich the two textures together. Mmm, fleece sandwich. Just like Mom used to make.
Pin it together. This is very important. You don’t want it to slip around on you while you’re sewing otherwise your puppets head will be lumpy and lopsided. Which isn’t necessarily a bad thing.
Ready to sew.
Step 11: Sewing the Chest Together


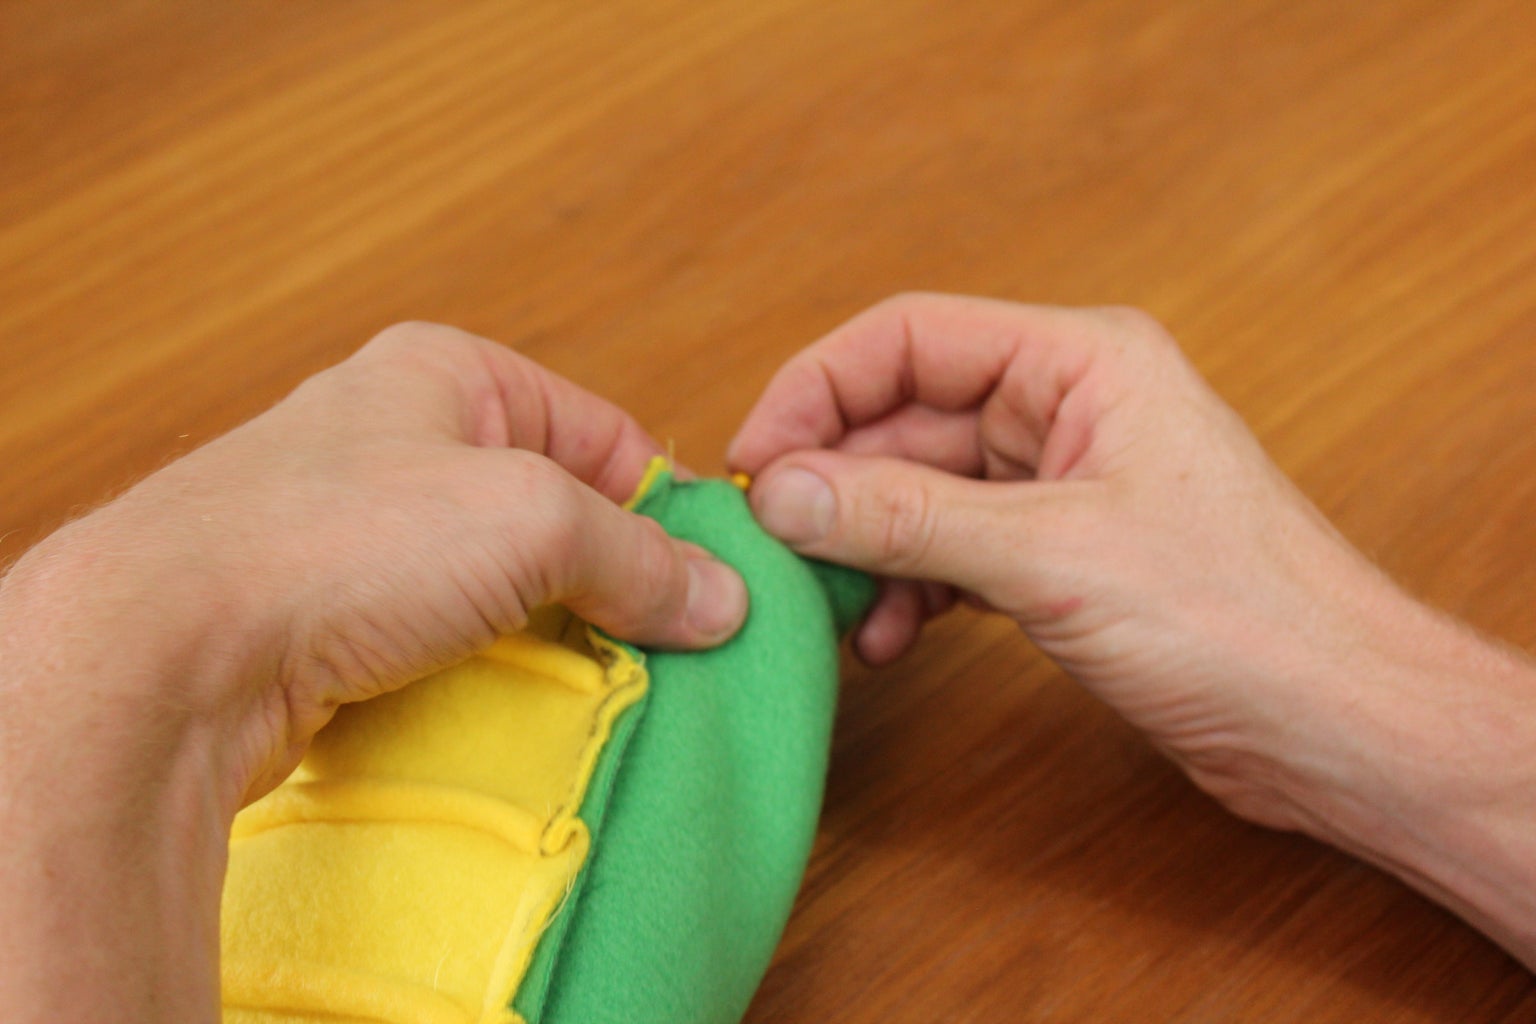
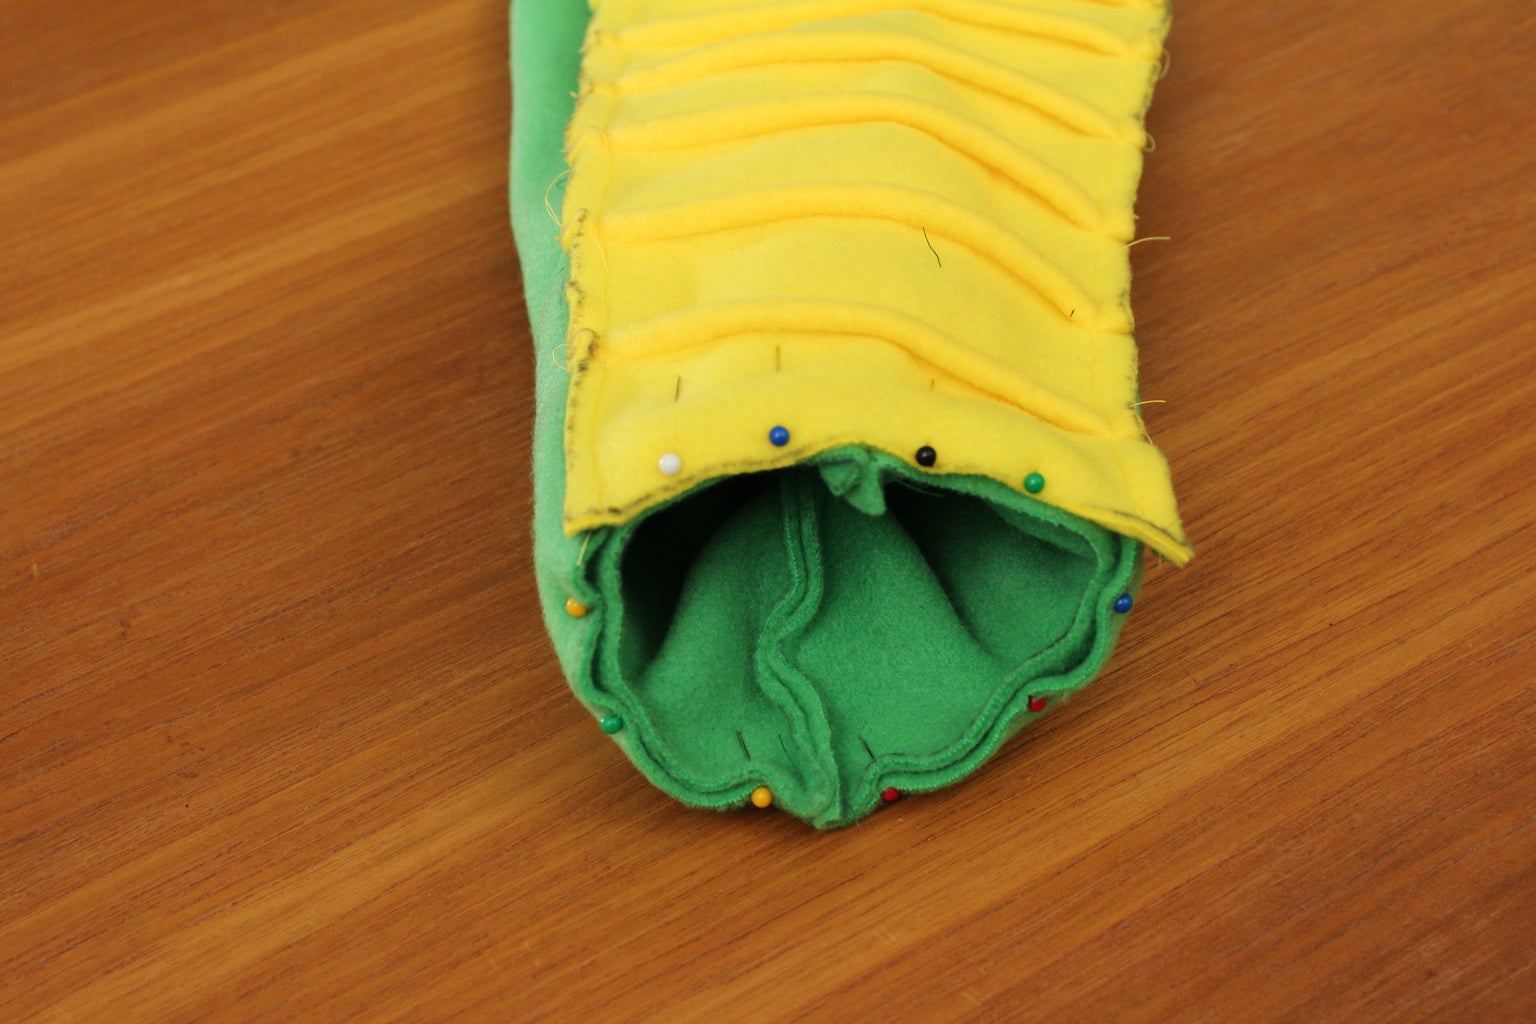
Okay? Okay! Now we’re going to sew the chest to the back thus completing the body.
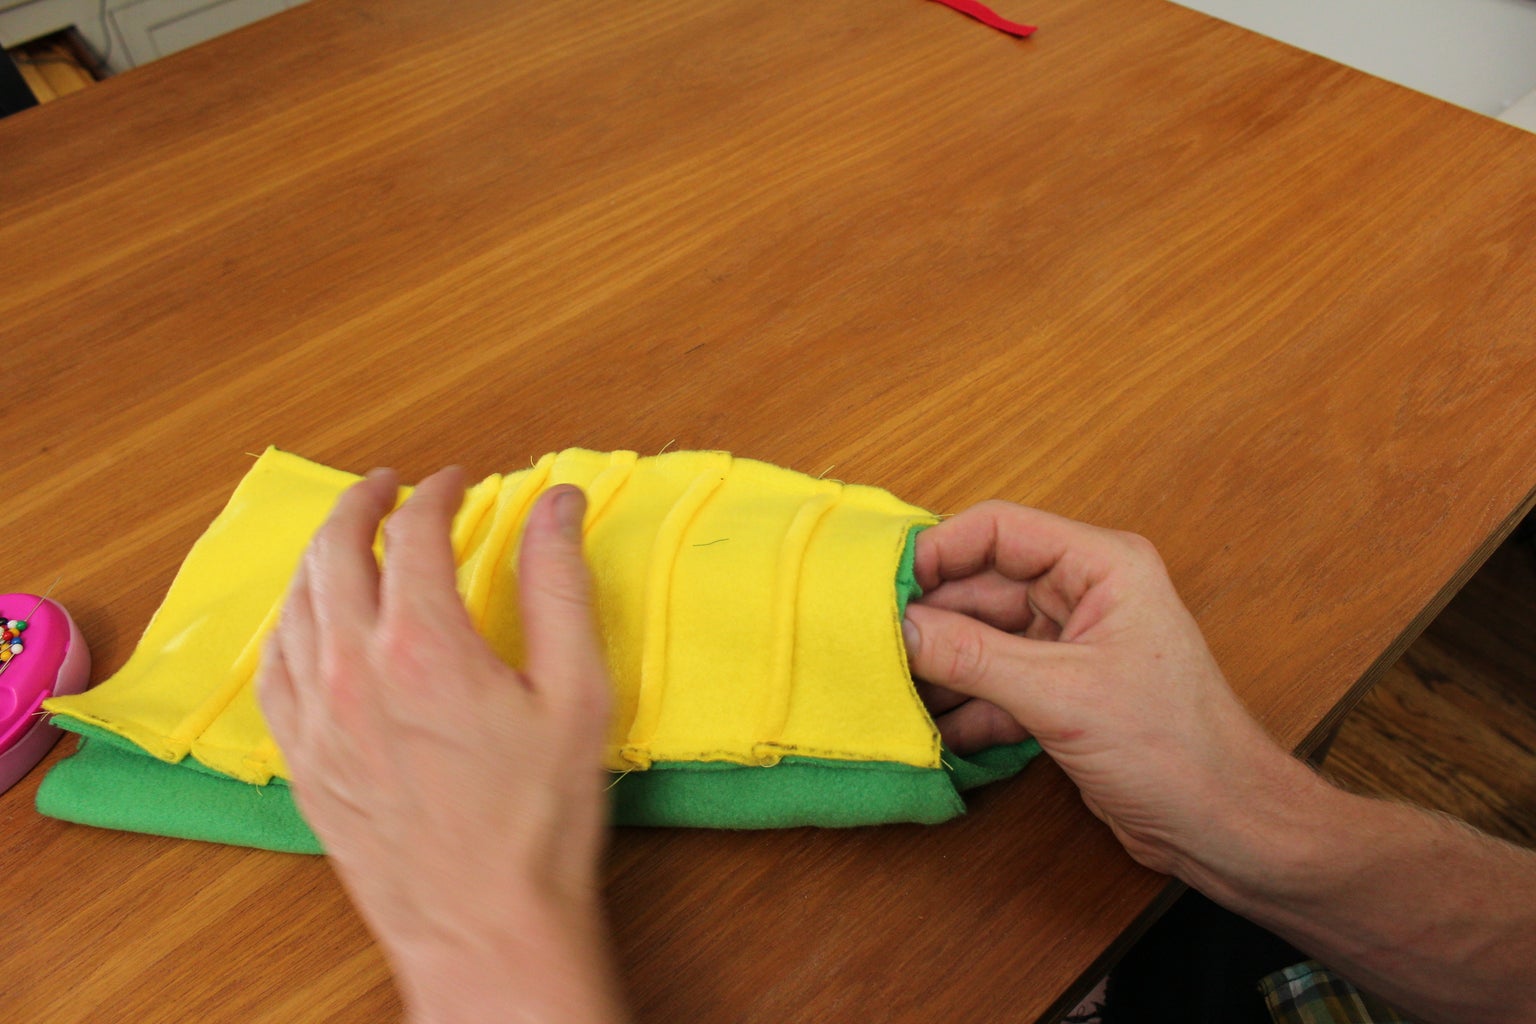
Pin one side.
The body isn’t going to lie flat as the back piece is slightly larger than the chest piece. Fold it over enough so that your remaining edges line up.
Then pin them together.
And run it through the sewing machine.
Step 12: Sewing the Head and the Mouth


Now onto the mouth. This part can be a bit tricky, but I know you can do it.
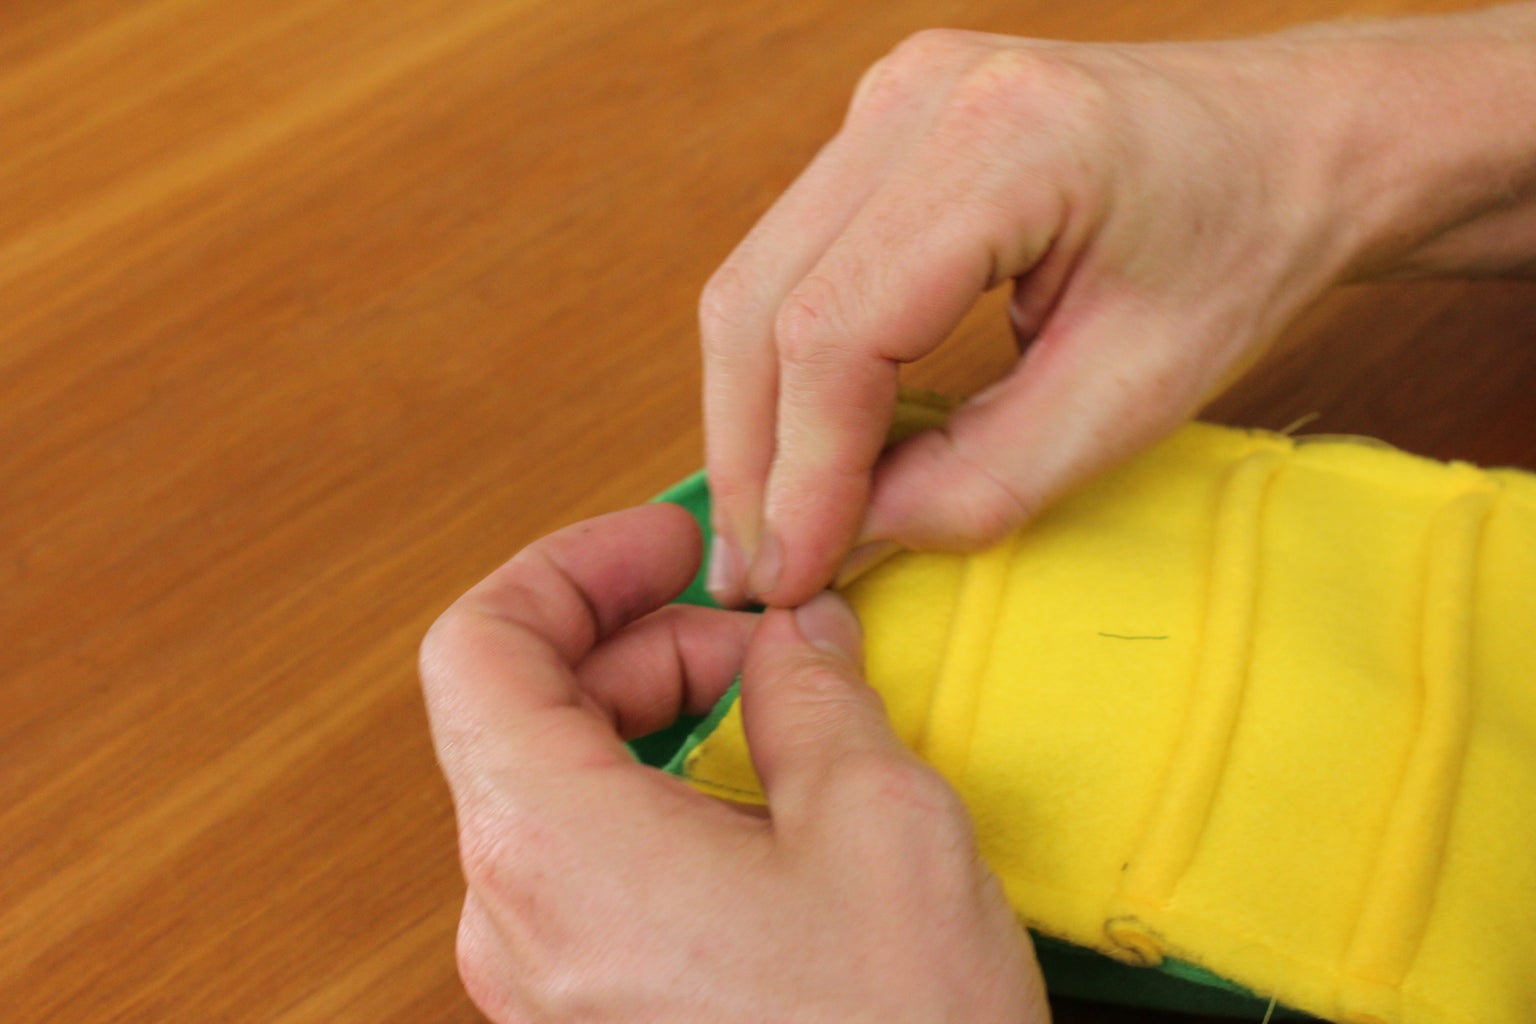
The mouth pattern is a footballish ovoid. Spread the mouth opening of the head open. Then take one of the pointy ends of the football and match it up with the center, top seam of the head, or the upper lip and nose. Put one or two pins in to hold this.
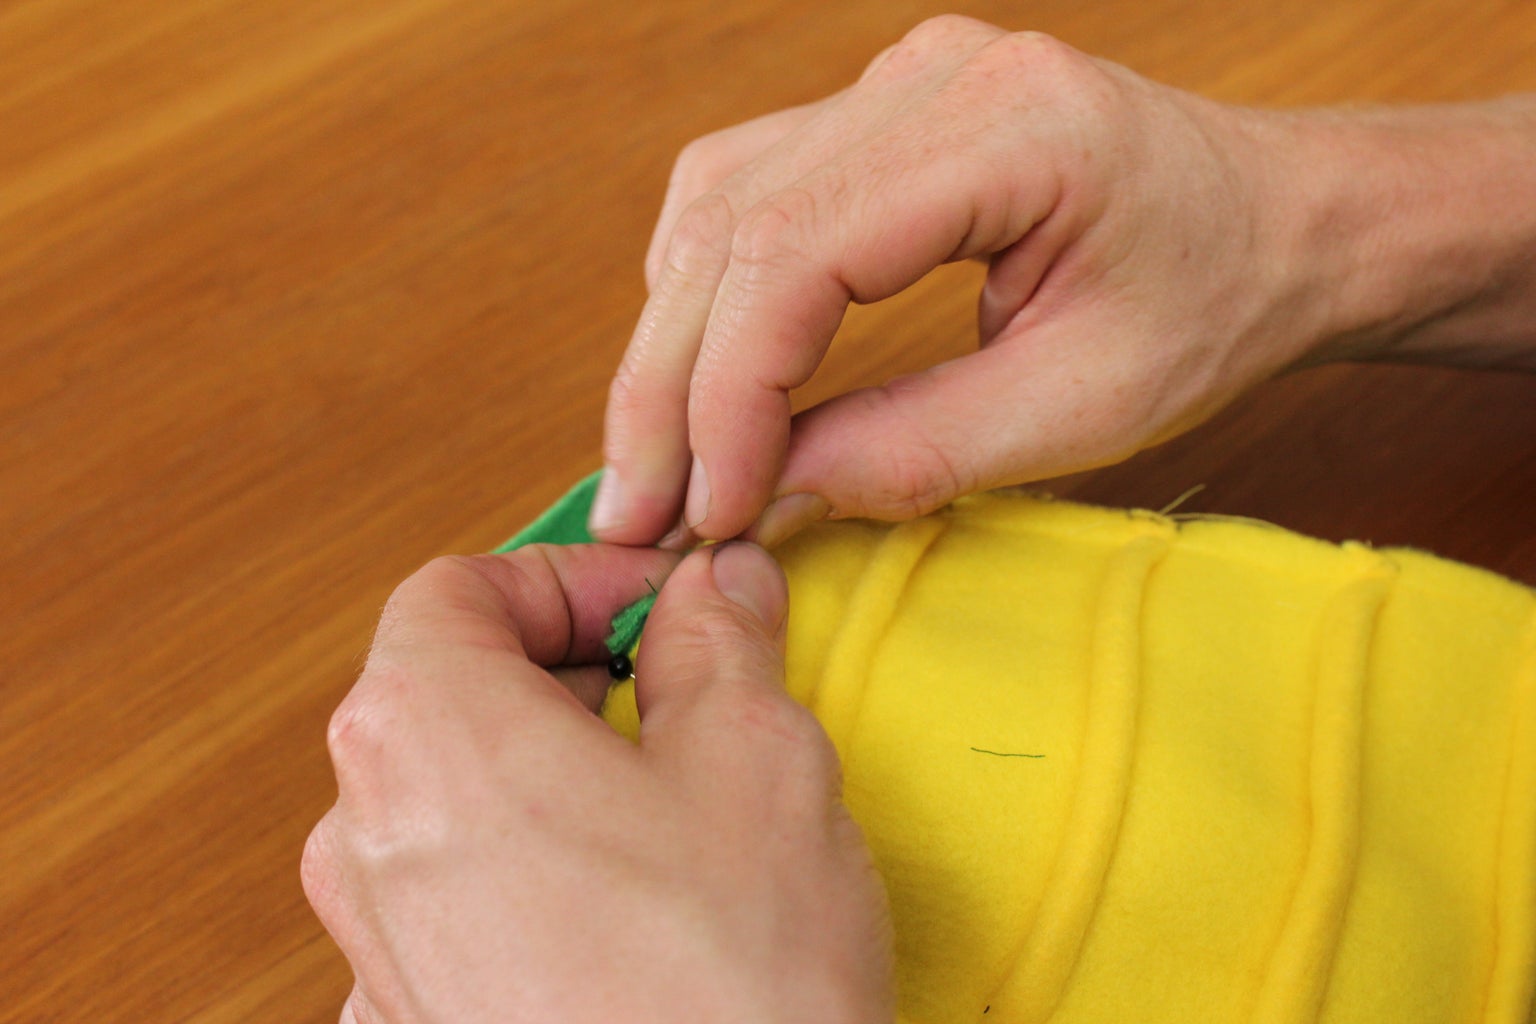
Now for a tooth. We measured our tooth placement 1.5” from the corner of the mouth. But where you want your teeth is up to you. Insert one of your tooth rectangles in between the head and the mouth fleece. Put as much of the rectangle inside the mouth as possible. This will give you more to work with when you turn your puppet right-side-out.
Pin the tooth in place. It’s much easier to sew if you pierce it through all three layers: head, tooth, and mouth. It’s also easier to sew if you place your pin further from the edge. This way you won’t have to pull the pin while you run the piece through your sewing machine. If you have the room, use two or more pins.
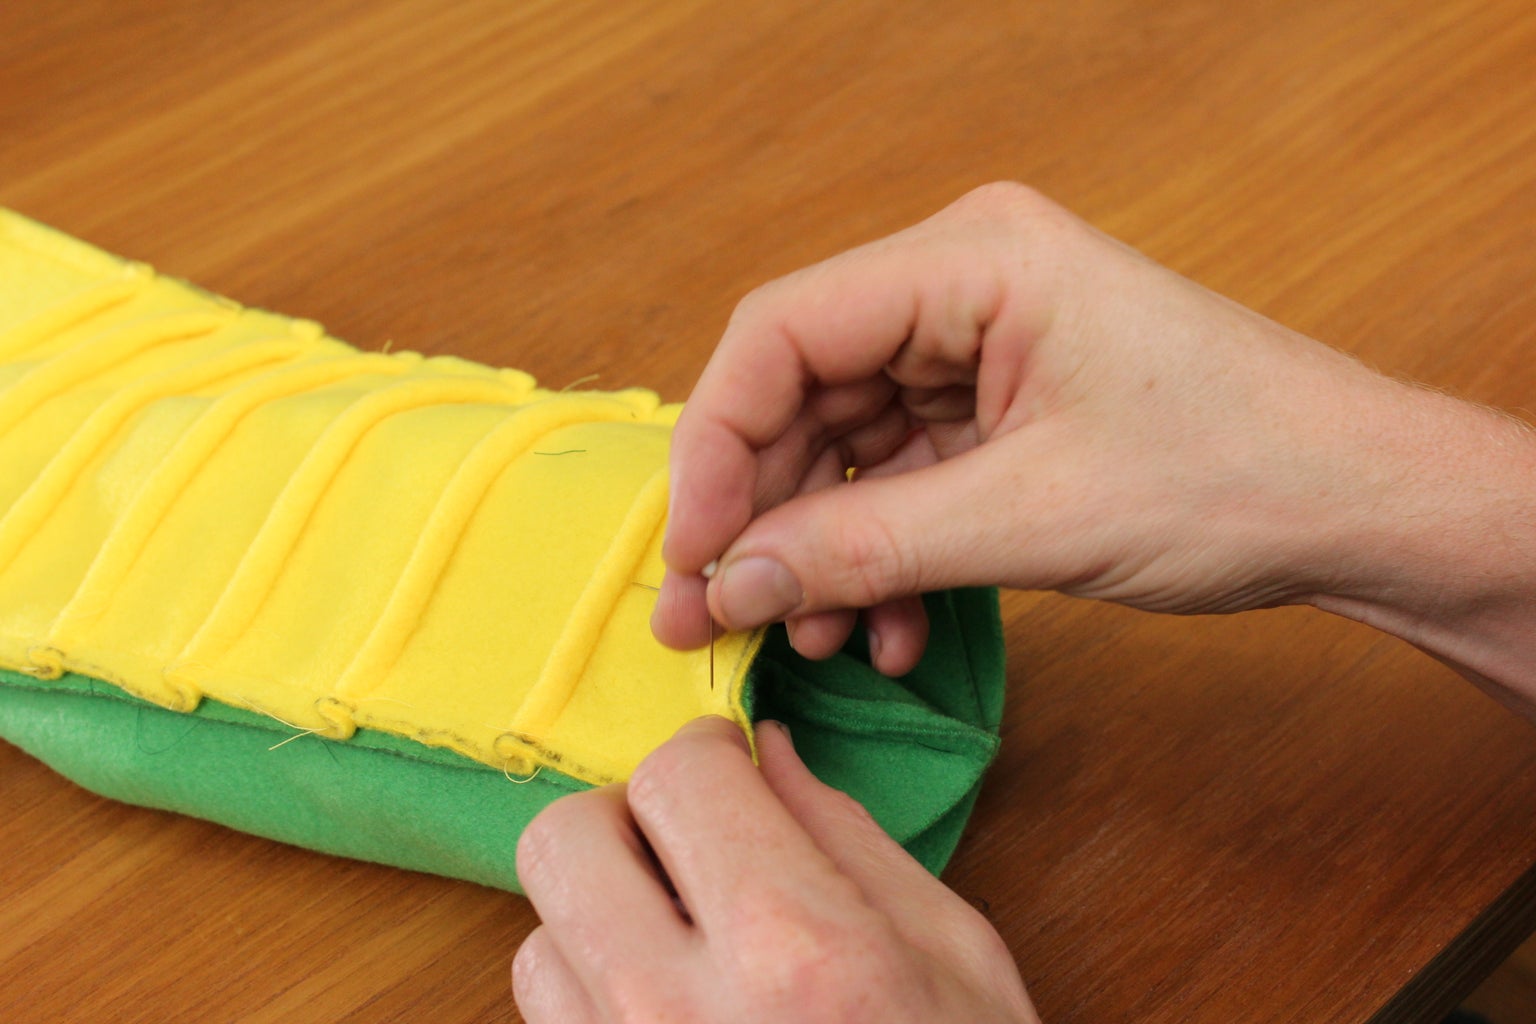
Continue pinning the head and mouth together. Work your way around one side of the mouth toward the center, bottom seam or lower lip.
On to the other side of the mouth. Same process as before.
Let’s sew it up!
Words of advice: take it slow sewing the head and the mouth together. It’s easy to get off course here and if you do your puppet will look funny and not good funny. I start at one of the pointy ends and sew around to the other pointy end, then cut the thread, reorient the piece, and sew the other side the same way. When I finish that, I run another stitch perpendicular to the center seam, across the upper and bottom lips. This is to round off the stitch and provide extra strength. This additional stitch is not necessary, but something you may want to consider if you think you’re going to use the puppet a lot. It will be much more difficult to repair in the future.
After stitching, your head should look something like this. Don’t worry. It will look much better once we turn it inside-out. Did you already do that?
Step 13: Attaching the Head to the Body


If you haven’t already, turn your head inside out. The puppet head, silly.
Well, it looks like a sick beaver with those blocky teeth. But we’ll fix that soon enough. In this step we’re going to sew the head to the body.
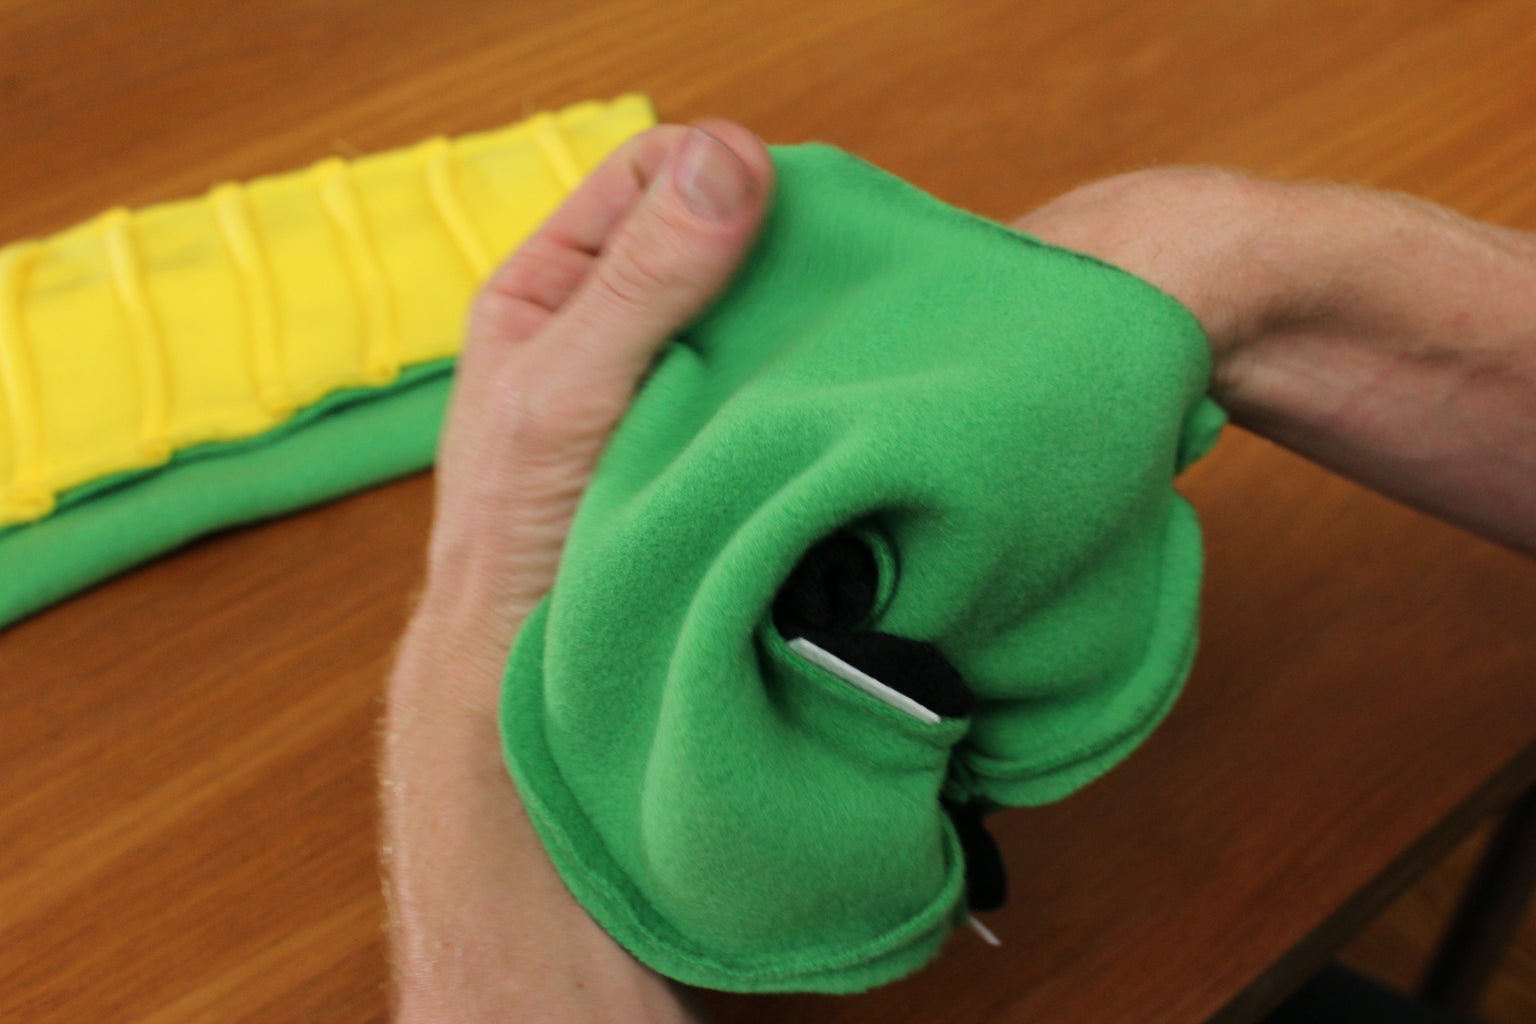
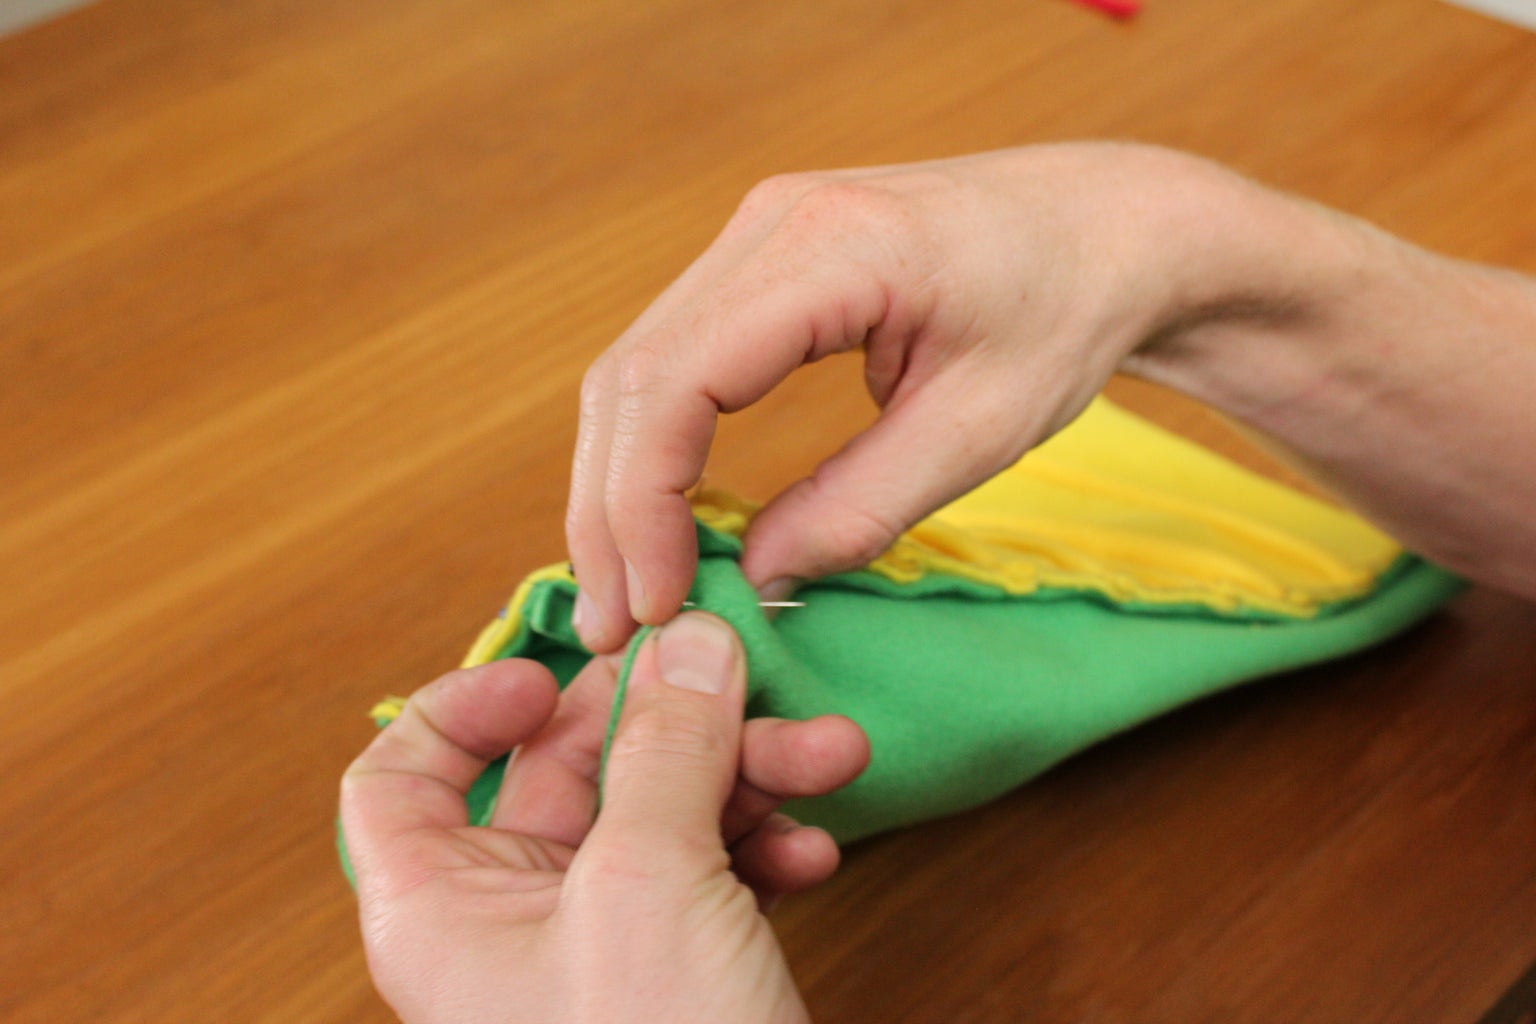
With the head right-side out and the body inside-out stuff the head into the neck-hole of the body so that the head is facing the chest.
Then pin the head to the body, as shown, and stitch it together.
Once it’s sewn together you can reach inside and pull the head out of the body, inside-out. The sewing is done. But don’t turn your puppet right-side-out yet. We still have more to do while it’s inside-out.
Step 14: Gluing the Mouth Together


This is where we put the finishing touches on the puppet. It’s also where things start to get dangerous. You’re going to work with super strong glues and very sharp cutting tools. If you’re not skilled in those things, you might want to ask someone for help. The first dangerous thing we’re going to use is the glue. We use contact cement because it’s super strong. It’s also nasty stuff. If you use something like contact cement, make sure to do this in the garage, on the porch or outside where you have plenty of ventilation. And wear gloves. Otherwise fabric glue is a good choice. You can use hot glue, but it won’t hold up as long and will be lumpy. Whatever you choose, please be careful.
First we’re going to glue the foam mouth piece to the inside of the mouth of the puppet. On the pattern there is a slightly smaller, off-center oval. Imagine those lines are on the foam. That’s where you want to apply glue and where you want to adhere the puppet by its mouth. It’s important to position the nose of the puppet correctly, where the foam padding is wider. This creates the upper lip. You can do it the other way if you want a pouty bottom lip. With your puppet inside-out and your glue applied, press the mouth to the foam as shown here, remembering to leave an extra width of foam at the nose.
When the glue is dry, turn your puppet right-side out.
Step 15: Your Puppet Goes to the Dentist


Next we’re going to do some dentistry. Using your super sharp sewing scissors, trim the rectangular teeth down to super sharp triangles.
Step 16: Snake Eyes!


Now the eyes. Use the cheapest ping pong balls you can find. You want the cheap balls because the plastic is usually thicker and the seam is very obvious which makes it easy for cutting. This is where things get dangerous again. Just looking at these pictures makes me nervous. And that was me doing the cutting. Using a very sharp utility knife or craft blade, carefully cut one of your ping pong balls in half, along its seam.
There’s no easy way to attach the eyes. I measured an inch from the center seam and eye-balled (pun intended) the placement forward and back on the head.
I then pinned around each ping pong ball, creating a pen (a pin pen!) to mark out the placement of each eye.
Next I pushed the eye deep into the fleece to leave an outline.
Then I applied glue to the inside edge of this circular outline and quickly adhered the ping pong ball half. It’s important to keep your glue inside the circle. If any gets outside you will be able to see it on your puppet which will look like eye boogers.
Step 17: The End

The last few steps are very simple and not dangerous. First, cut out two small circles for pupils and glue them to the ping pong balls.
We attached our tongue to the mouth with Velcro. So the next thing to do is glue a small piece of Velcro to the lower, center of the inside of the mouth. Then glue the other side of the Velcro to the base of the tongue. This way you can choose to have the tongue hanging out or not or easily replace it in the future.
Trace and cut the optional foam head patterns and stuff them up inside the head, one on each side. This pads out the head and gives the puppet some shape other than your hand.
That’s it! You just made a puppet. Easy peasy, right? Send us a pic of your python and we’ll post it in our gallery. And be sure to visit our site: http://www.thehelloworldprogram.com to see more of this puppet.


