

Introduction: How to Make Post It Notes


Post it notes are nice to have, but in my opinion they are a luxury I do not want to spend money on. I decided to make my own. I remember seeing an article on yahoo or one of the news type web pages a few months ago about how to make your own. When the Office Supply contest was posted, I thought this might be a good thing to share. I really wanted to make my own glue but could not find anything about how to make repositionable glue. This tutorial is how to make your own Post it pads.
Step 1: Supplies
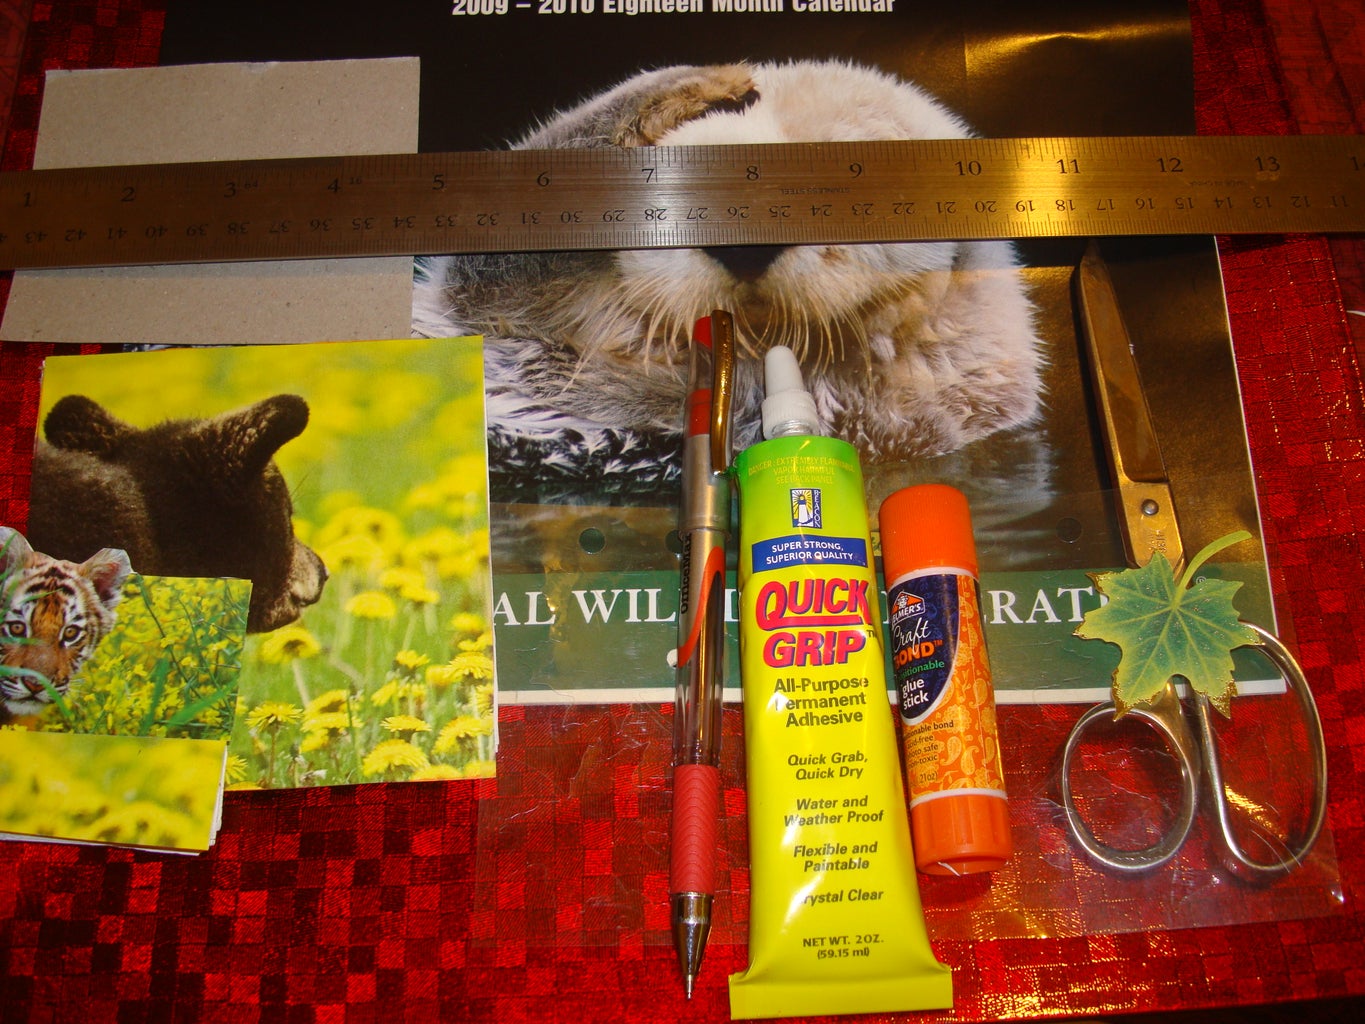

- Scrap paper
- Glue
- Repositionable glue sticks by Elmer's
- Cardboard scraps
- Calendar or magazine pages
- Ruler
- Pen
- Scissors ( a paper cutter would be very helpful.)
- If you want a post it pad that will stick to a metal surface you could add a magnet to the back of the pad.
Step 2: Marking the Paper


- Determine what size of post it notes you want.
- Draw cutting lines.
- Cut out the squares.
Step 3: Glue Pages Together


- Apply the glue stick to one page you cut out (at the top of the page.)
- Line up another page apply the glue stick to the top of the page.
- Stick it on the previous page.
- Repeat until all the pages form a post it pad.
It is important to line the pages up evenly for a professional look.
Step 4: Marking and Cutting the Back


- Mark your lines on the cardboard to go on the back of each post it note pads.
- I made 2 and 4 inch post it pads.
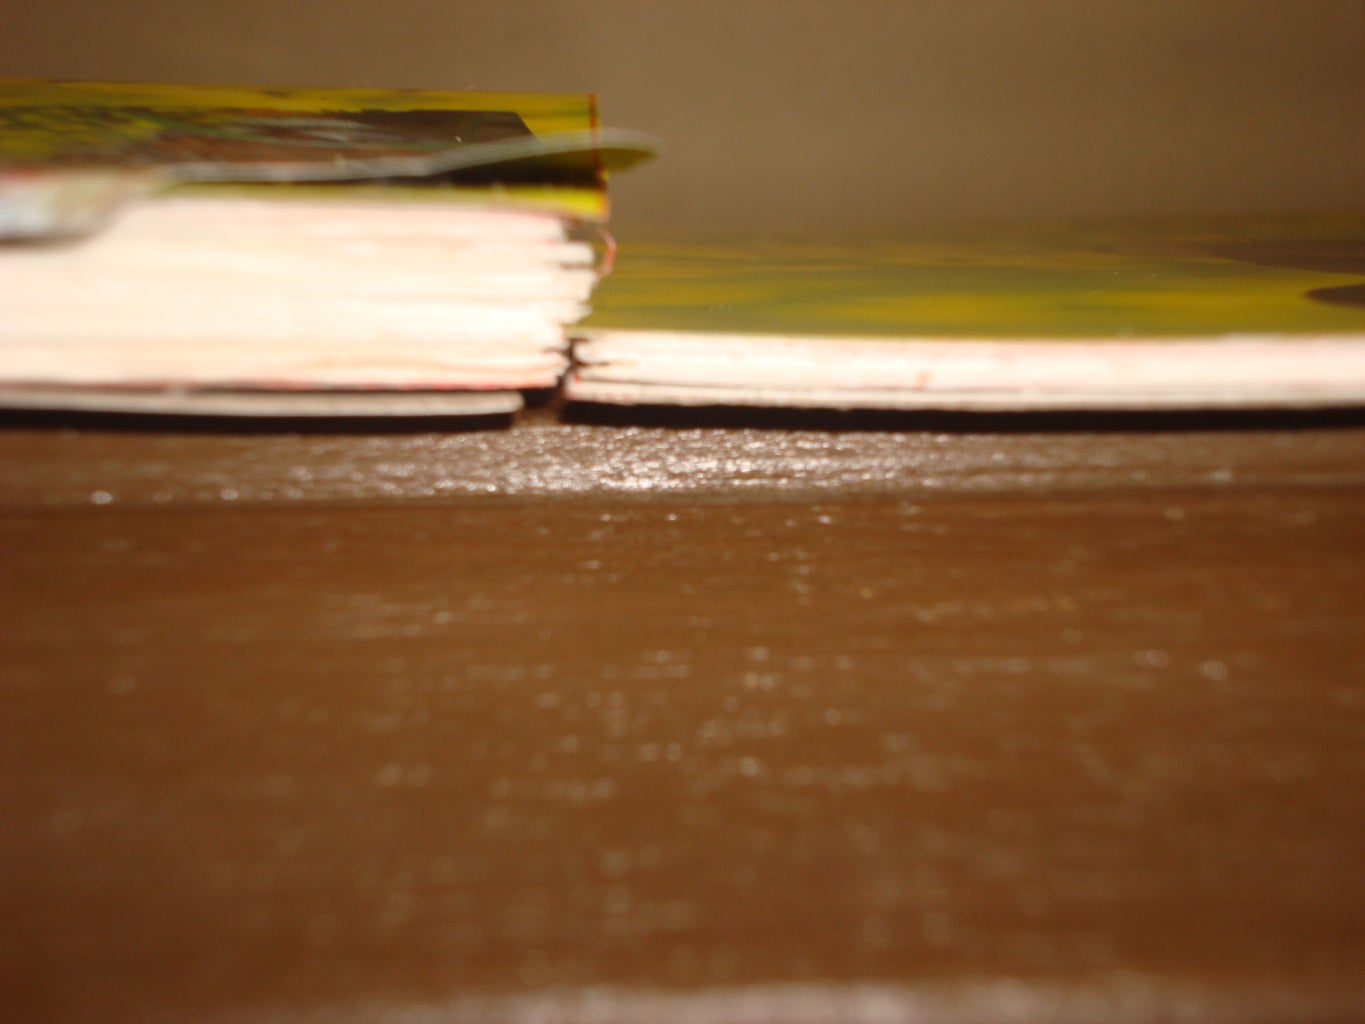
Step 5: Glue the Cardboard


- Apply glue to the cardboard cutouts using the regular glue.
- Stick the post it pad over the cardboard and press to stick.
Step 6: Embellishment


- Cut out a page from the calendar or magazine for the top of the post it pads.
- Apply the glue stick to the back of the picture at the top.
- Stick it to the front of the post it pads.
- Apply the glue stick to the back edge of all the pages.
Step 7:
I thought these turned out very nice. I have a friend that exchanges gifts at her family reunion every year for Christmas and she is always trying to think of something to make for the guys. I think she will love this idea. Post it notes can be expensive over time. Everyone needs scrap paper to write on. It will be useful to keep a glue stick at your desk so you can easily stick a piece of paper when ever you might need to.
The most time consuming part of making these were cutting out the paper. The rest did not take very long at all. Colored paper would have made them a little nicer in my opinion. Brown paper would look awesome tied with a raffia bow or something. When I was searching on how to make your own glue I found this article about spiders that I thought was interesting: http://www.sciencedaily.com/releases/2004/04/040426054407.htm .
Thank you for stopping by and have a nice weekend!
Sunshiine

Participated in the
The Mad Science Fair

Participated in the
Hack It! Challenge


