

Introduction: How to Make a Bat Rack

I did this fun home project for our high school baseball team. Turned out really well!
Step 1: Go Buy Your Supplies
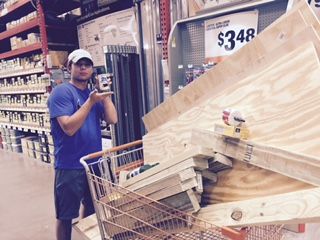
I went to Home Depot to get my supplies. To make this bat rack you will need to get: 4 2x6s, 4 2x4s, a box of wood screws, 8 metal hole arbors, a 3-inch hole dozer, a power drill, and 4 cans of spray paint. It cost me roughly 150 dollars. I got 1 of the 2x4s cut into half. I got the rest of the 2x4s cut into quarters. I also cut one of the 2x6s in half to use as sides.
Step 2: Building the Base


I took the halves of the 2x4 and 2 of the quarters of the 2x4, and I made the base in a rectangular shape. I included this in my design because I wanted to keep the bottom of the bat rack off the ground. I then took a 2x6 and screwed it on the top of the base.
Step 3: Building the Supports


I built the four corner supports out of the quarters of the 2x4s. I screwed them together using the metal arbors. 2 on each support. I marked them off 1 inch from the sides to accomadate for the side boards. I then used 2 more of the 2x4s to make middle supports. I screwed them to the base the same way as I did the corner supports with metal arbors.
Step 4: Putting on the Side Boards

I used two 2x6s and the halves of the 2x6 to make the sides. I placed the sides on and screwed them down to the supports.
Step 5: Making the Bat Holes


I used the 3-inch hole dozer to trace 18 circles around a 2x6. They are arranged in 3 rows of six. I then put the hole dozer on the drill and made the holes. I then screwed the board on top of the box.
Attachments

Step 6: Adding the Finishing Touches


I finished the bat rack off with three coats of hunter green spray paint. Real fun build for any baseball enthusiast.

Participated in the
Backyard Contest


