

Introduction: How to Find Shark Teeth


Do you live near the beach? Love the outdoors? Are your kids full of energy? Do you want to get them outside to explore, learn and get some fresh air? Maybe you're looking for some fun on a budget? Are you individual with a thirst to learn hands on? Or do you simply love to hunt for objects, live for the quest? If you answered "yes" to any of these questions, then looking for sharks teeth may be a great adventure for you.
Recently my wife, kids and I have been spending a lot of time at the beaches near our home looking for "black gold. " Shark teeth fossils are in abundance at nearly every beach I have been to in Northeast Florida. There are definitely some that are better than others, but if I look hard enough I can usually find a handful of sharks teeth to add to our collection at any beach. This Instructable will go over the basics of finding sharks teeth and how to get the whole family involved. So lets start searching!
Note: This is my largest Instructable to date and I have added many notes of the pictures throughout. The notes on the pictures only show up on a computer when you click on the image to view it (They don't seem to show up on mobile devices). Just want to make sure no one missed out!
Step 1: Exploring the Science Behind the Teeth!


Sharks are majestic predators of the deep that have fascinated the masses for time untold. Believe me, I am hooked on finding out more about them. That being said I am by no means a paleontologist, but I have done a decent amount of research to increase my knowledge on the subject of finding shark teeth and answering the 5 W's (who, what, when, where and why) about shark teeth. Here are some answers to many frequently asked questions regarding shark teeth.
Who do the teeth belong to?
The shark teeth that we are finding and collecting are not the sparkling white teeth you would extract from a modern living shark, but beautiful, glossy black or brown fossilized teeth of their ancient ancestors. These teeth are 10,000 years and older and have been hardened with the test of time. As a whole Shark teeth have changed very little over the years with very few differences between the different geological eras and periods. This makes identifying the age of the teeth hard to do without knowledge of where they had been found.
What species did the teeth come from?
Identifying the species of shark that a particular tooth came from can be tedious, but fun. There are dichotomous keys, diagrams, and guides written to help to determine which tooth belongs to which shark. Some of these quick reference guides may also give a rough estimate of age, but it is just an estimate. Most are written based on the physical descriptions of the tooth, but the geological era and/or period are also important key factors in determining the specific species and age bracket. Some guides are written for specific search areas for just this reason. Pictured above are a couple of the guides I use to identify teeth in my collection.
When were these teeth deposited? How old are the teeth I find?
The easiest way to find out how old the teeth are is to look at the sediment layers where they were found. Above are the geological sediment maps of Florida. One is the whole state, and the second is of the northeast area where I focus my searching. A Google search for geological sediment map of your area will provide you with a map. Note: Sharks themselves are not very good indicators of age, because shark evolution as a whole is a slow process. Many of the species found in today's oceans have been around for millions of years. A better indicator, if geological maps are not available, are other fossils fond in the area such as invertebrates, reptiles, mammals, and birds. But that would require you to find the other fossils, do more research to determine the species as well as their geological age, and then compare the information to the shark fossil record for the area. Maps are WAY easier.
Why are there so many fossilized teeth?
The first reason there are so many fossilized teeth is that there are simply so many shark teeth, it’s bound to be one of the most common fossils. The reason for all those shark teeth is that sharks have multiple rows of teeth that are constantly being shed to maintain their razor sharp bite. EACH individual shark can shed more than 30,000 teeth in its lifetime. Multiply that 30,000+ teeth by every shark of every species that has ever lived over the past tens of millions of years, and you get a staggering amount of teeth that can be fossilized! Of course, not every tooth is lucky enough to fall to the seafloor and be swiftly buried in the sediment. Those teeth that are not lucky enough to be safely ensconced in the sediment will be broken down by either weathering/abrasion or decay from oxidation and bacteria. This leads to the second reason there are so many teeth. The teeth are made of dentin, which is harder and denser than bone. This allows more time for the teeth to be protected in the sediment before eroding away. Those teeth that were sheltered in the sediment slowly became fossilized over several thousand years. These are the teeth that are found along beaches, in muddy stream beds, and buried within sedimentary rock.
Why are these teeth black?
Since these teeth are fossilized, they no longer look like teeth freshly extracted from a living shark's mouth. The color of the fossilized teeth is dependent upon the minerals that were present when the tooth was lost. As the teeth would settle into the surrounding sediments and permineralization would occur. Water would seep through sediments picking up minerals before flowing over the teeth. Those minerals would then be deposited into the porous structure of the teeth, forming a fossil. Colors of teeth will vary based on the minerals deposited in the teeth and how they react with trace amounts of oxygen.
Why do we find mostly teeth and not much more of the shark?
Sharks are cartilaginous fish, meaning that most of their skeleton is cartilage rather than bone. Cartilage does not mineralize as well as bone and therefore breaks down faster than bone. This makes it much harder for cartilage to fossilize. For this reason, There are very few fossilized skeletons of sharks, but they do exist. The denser the cartilage was, the more likely it was to be fossilized. Examples of other shark fossils are the shark's vertebrae, jaws, dermal ossicles, fin spikes, rostal nodes, and even feces (or coprolites)! Later in this Instructable you will see what fossilized feces and vertebrae look like.
Where are fossils found?
Fossils can be found in sedimentary rocks or unconsolidated sediments, which are loose materials ranging from clay to sand to gravel. In Florida, many of these sediments have not been around nearly long enough to compress into solid (sedimentary) rock, so they are still loosely packed. Sea levels were much higher in the past and what is now Florida was once covered by sea water. Sharks inhabited those waters and subsequently deposited large amounts of teeth there. The teeth settled into the sea bottom, and the fossilization process started. Later, changes in climates caused the sea levels to fall, exposing the sea floor and creating what we now call Florida. The unconsolidated sediments that were originally deposited on the sea floor long ago may now be exposed. Within those exposed sediments or sedimentary rocks, lay the fossilized shark teeth found today. This sedimentary layer can easily be located on beaches in most of Florida. Also knowing where specific sediments are based on age will help pinpoint the areas to start exploring. The geological map of Florida is a great reference to locate this information.
Where can you find out more?
Please check out these very well written and informative webpages!
Sources:
http://www.flmnh.ufl.edu/vertpaleo/fossilspeciesho...
http://www.flmnh.ufl.edu/vertpaleo/fossilspeciesCa...
http://www.fossilguy.com/gallery/vert/fish-shark/r...
http://www.fossilguy.com/topics/shark-teeth-colors...
http://paleobiology.si.edu
http://ocean.si.edu/sharks
Step 2: Where to Go?


First, I would like to say that shark teeth are not found exclusively at the beach. Since the ocean used to be further inland, you can also find larger, older teeth buried deep in the soil, especially along creek beds. In this Instructable I will be addressing how to find the teeth along beaches without tools or implements.
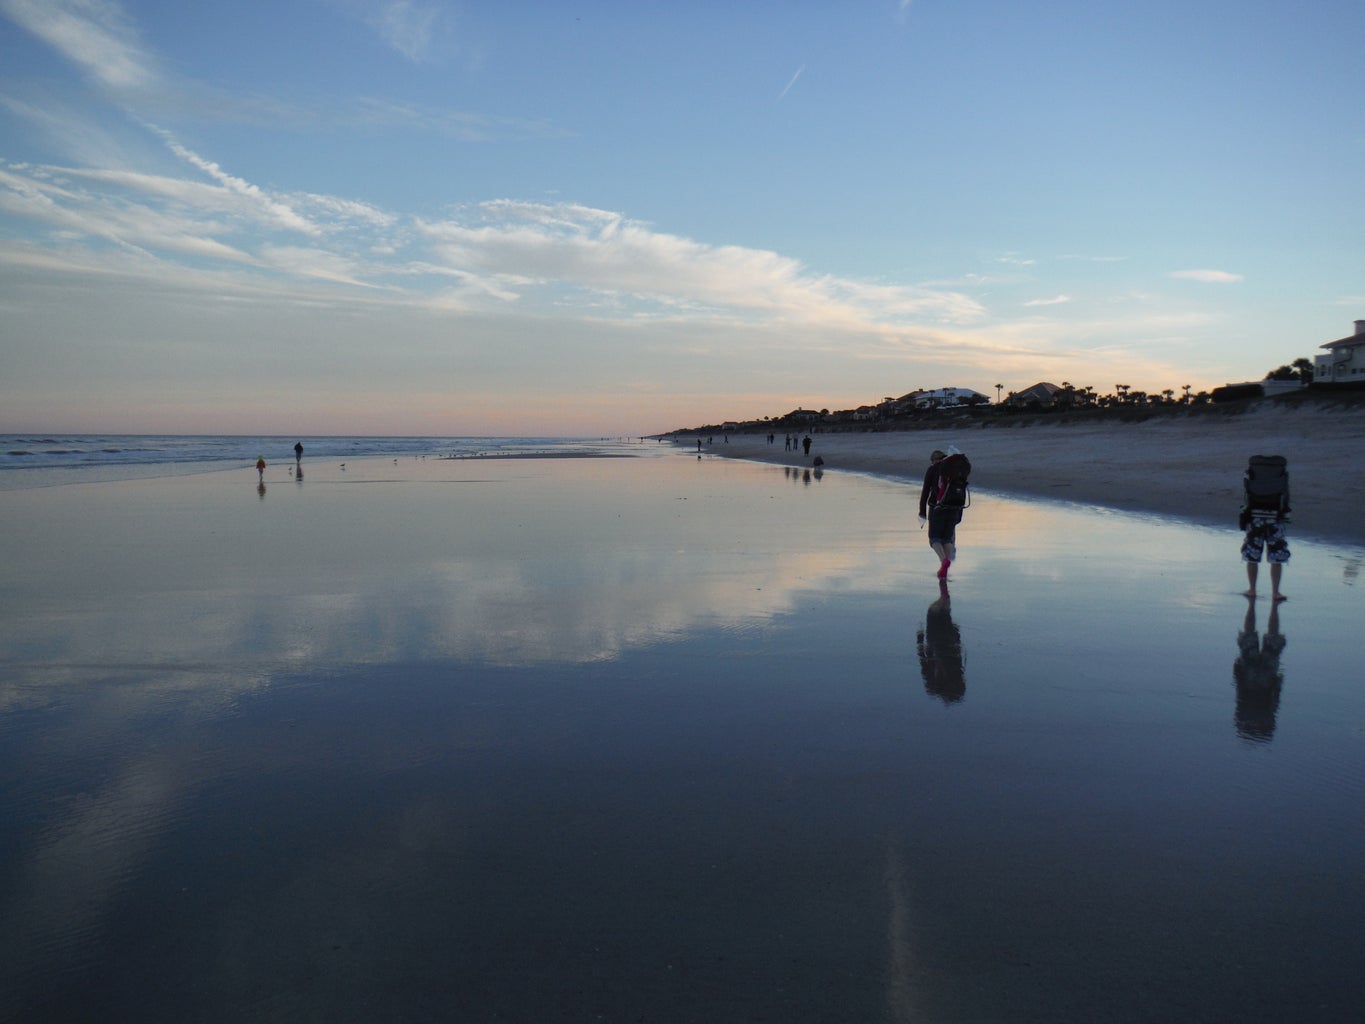
Beginners should start off at known beaches where shark teeth are commonly found. A quick Google search can help guide you to a beach where teeth are known to be found. This will help to motivate you because you will most likely find a few your first time out. Nothing is more discouraging than toiling away for zero results, not knowing if you just stink at finding them or if they simply are not there. Keep in mind that the more often you go, the better you will get, way better. You will also develop your own techniques as you discover what works best for you (covered in the next step). The first place we started to explore was Mickler Beach in Ponte Vedra, FL. This is a well known beach inhabited by a plethora of people hunched over with necks craning to find the tiny little buggers. We find lots of teeth there, but the teeth tend to be on the smaller side. It is still a great place to take the children because there are gentle waves and lots of open beach for them to run.
Once you train yourself to find shark teeth in known areas, it is time to find a less populated beaches. Try the same beach, but walk a mile or more away from the popular area to more virgin grounds. These areas are not as likely to be picked over, thus you are more likely to find more and/or larger teeth.
Be sure to keep track of where you are finding the teeth. What I mean by that is, are there features (man made or natural ) on the beach that cause the teeth to collect more in a particular area? I find that points (areas where the beach projects out into the water) are a great place to focus on. The hydraulic effects of the tides rising and falling tend to deposit teeth leading up to and away from the points. Also, I find that harder packed sand holds more than soft foot sinking sand. Note: Jetties (long rock walls that project out into the ocean, typically around the mouth of rivers) seem to inhibit my success so I shy away from them.
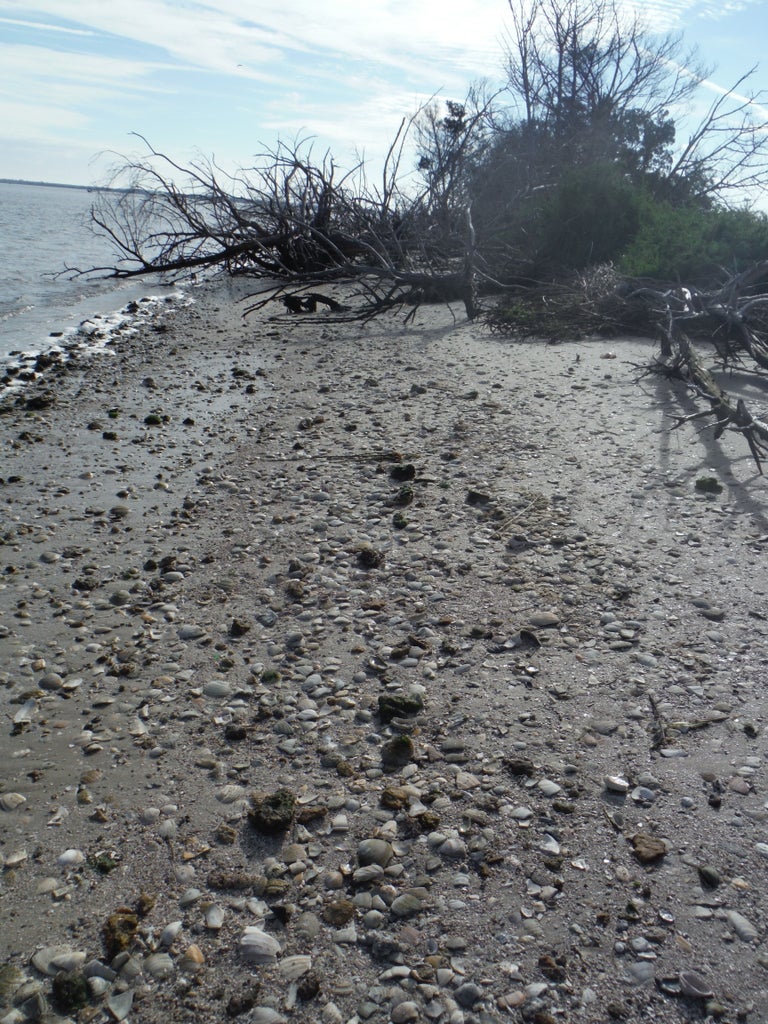
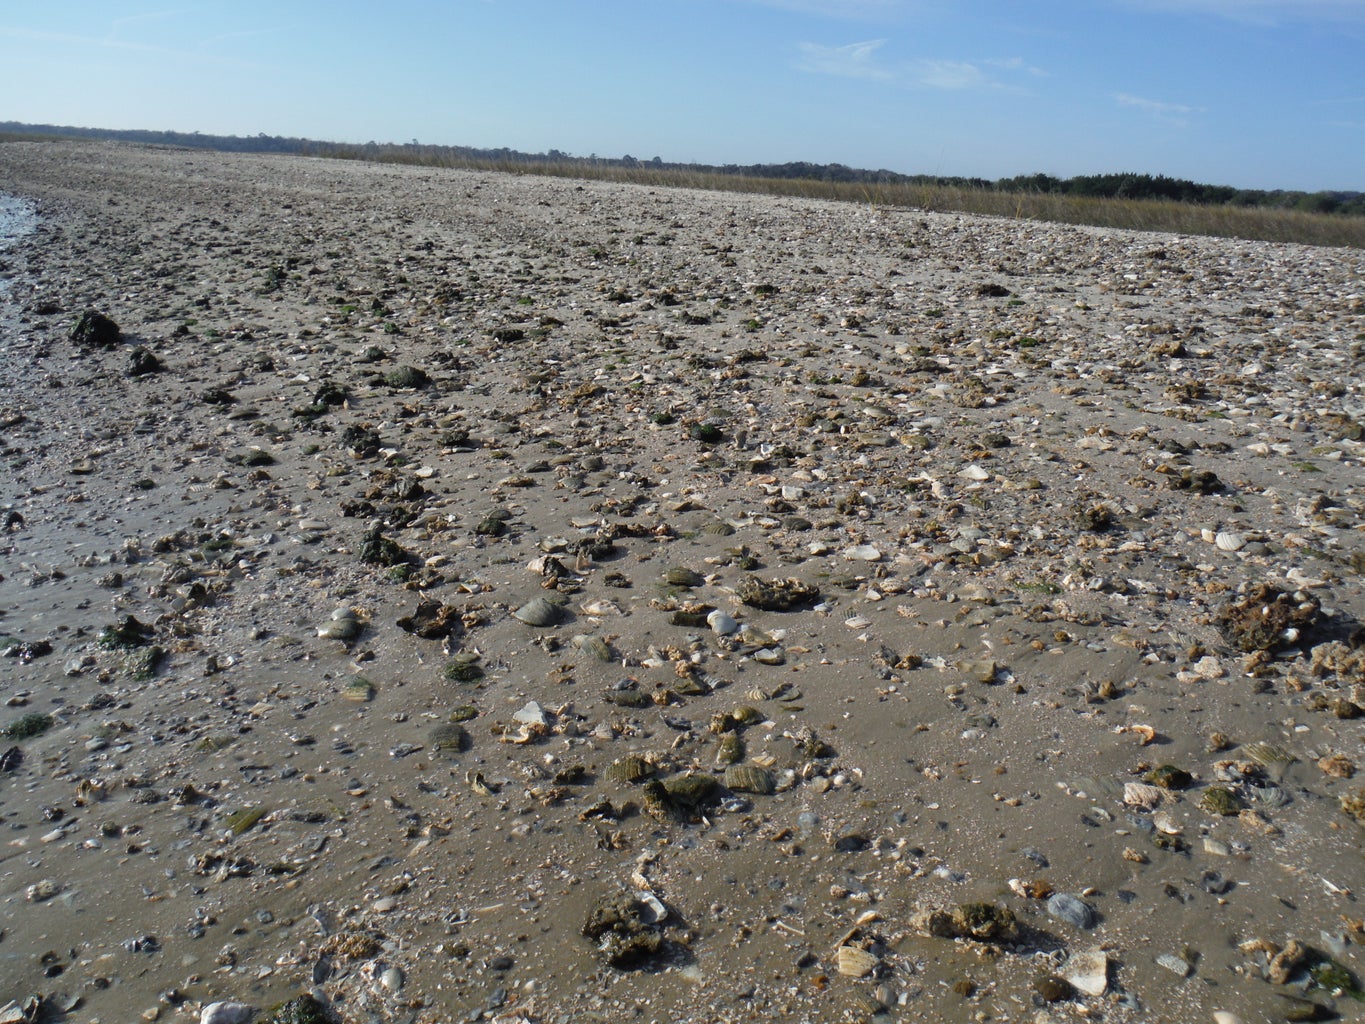
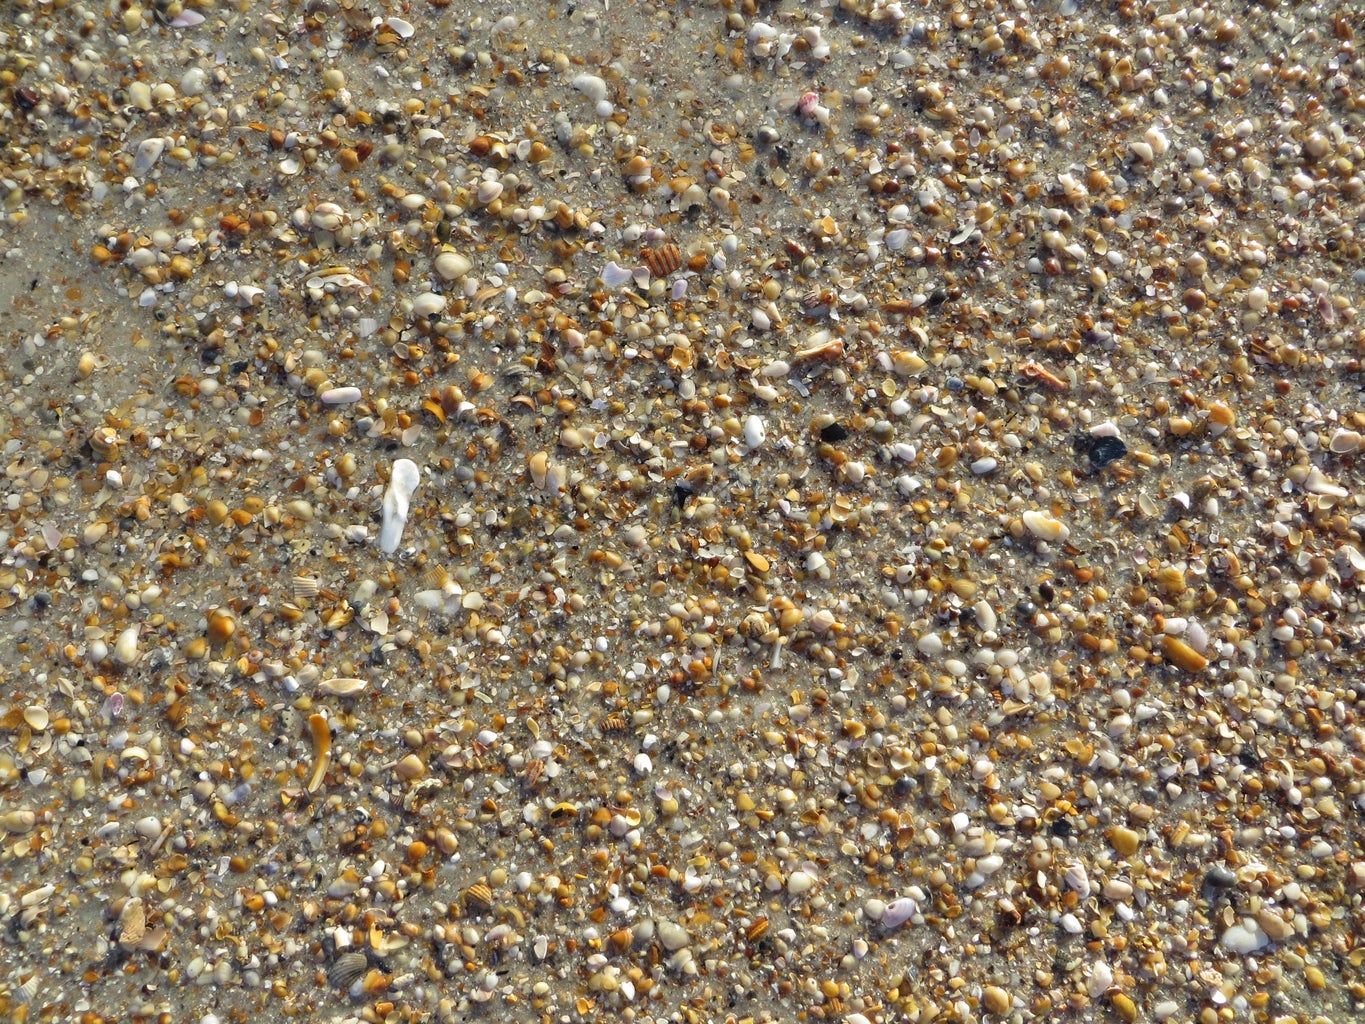
Along the beach, you will also see lines of sediment. These lines are usually full of broken shells, jellyfish, drift wood and trash. There are reasons why it's there, which I address in a later step. If shells and other debris are there, then shark's teeth will surely be there too. In fact, the easiest place to find teeth for me is to look where you see lines of sediment. These sediment lines run parallel to the water and are generally a different color(red in NE Florida). You may also see lines that are perpendicular to the water, these typically form where there are high and low spots along the beach. These perpendicular lines tend to hold teeth at the top or bottom.
In the northeast area of Florida, you typically find three distinct parallel sediment lines. One is visible at low tide, one halfway up the beach, and the third one high up near the shore. I tend to find shark teeth in each distinct line, but each line tends to hold different sized teeth. From my observations, the low line, which is exposed at a negative tide, tends to hold smaller teeth. The middle lines tend to hold small to medium sized teeth, and the top seems to hold larger teeth. Now, I am not saying that this is true all of the time, but it is a good guide. For example, my wife has found some of her largest teeth at the waters edge as the waves recede and my largest was found high up the beach. Also, teeth are not only found in the lines of sediment. They are also found sporadically spaced out between the lines. The lines are simply a good place to start your search. I will show examples of lines throughout the many pictures in this Instructable (check the notes in the pictures).
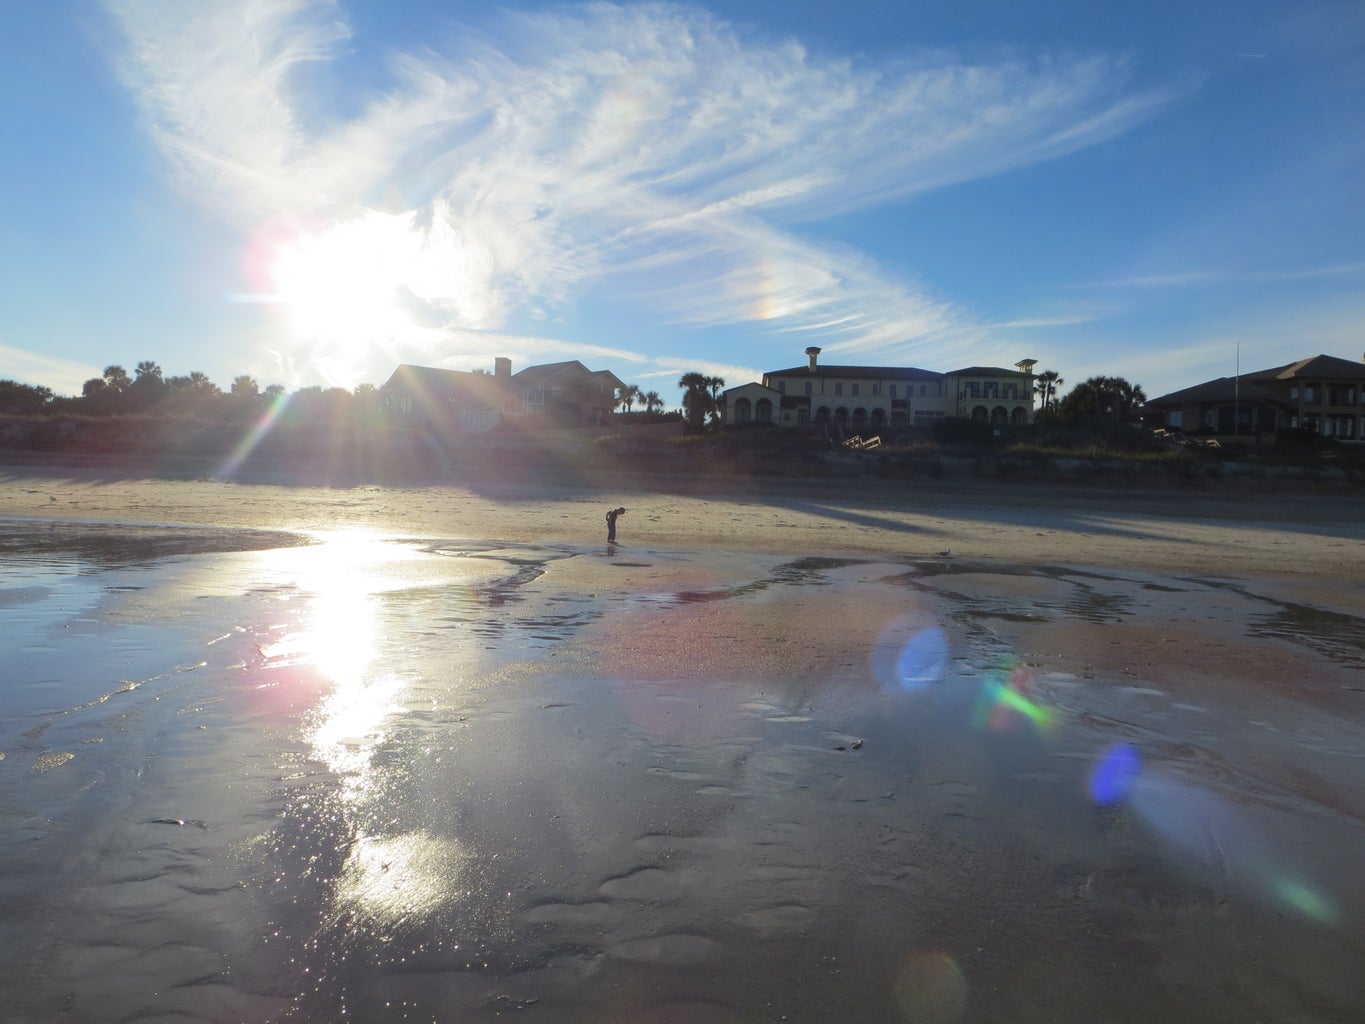
If you do not see distinct lines and debris is everywhere , start by looking at the waters edge. These types of beaches are very hard to scour, and I typically only find teeth around the edge. In the many pictures throughout this Instructable, there are distinct red sediment lines that can be seen. Again in Northeastern Florida, red sediment lines equals shark teeth.
Step 3: When to Go?


The best time to go is all relative. There are three main things to look at when determining when to go. First and foremost, look at recent weather conditions, then look at tides and lastly time of day. Now for some further explanations.
Weather:
It is definitely a good idea to go after a large rain storm since the turbulent winds and waters helps to stir up the sand and debris on the beach, exposing more virgin grounds. Another good time to go is when there are large offshore storms like a hurricane, but there are some definite safety issues with that. Be careful getting in the waters after storms or when storms are offshore, as rip currents may be more extreme. It is always a good practice to check posted beach conditions or to ask a lifeguard if the beach has one. Sweet Trick: Go when the surfers are out, they have a special sense for knowing when the swell is up!
Tides:
Now, I find teeth at nearly every tide level, but some are easier than others. I have friends who swear by a falling tide. They say that when the tide is falling you do not have to fight with the waves as much. The idea behind that is as the tide falls the waves wont reach as high after each progressive set and "new grounds" will be exposed. I again go when I can, I do like to go more towards a low tide because more beach is exposed, therefore more teeth will be exposed. Tide times will vary from day to day, so it is a good idea to look at a tide chart for the beach you plan to search. Pictured above is an example of a tide chart, for a specific day. This data can come from a tide book, phone app or a simple internet search. The tides are always a prediction because there are many factors that can change the times, this includes but is not limited to, moon phase, wind direction and offshore storm activity.
Time of Day:
A good time to go is before anyone else may have been there, such as early in the morning (the early bird gets the worm mentality) since the waves have had all night to expose more teeth. Another thing to take into consideration is the position and intensity of the sun and how that might also affect your ability to find the teeth. I do better when the sun is directly overhead or at my back. Now when I say at my back that is all relative to the direction I am facing. The beaches I primarily visit run North or South and I walk North or South, so the majority of the time the sun will be on my sides depending on the time of day (rise in the East set in the West). But on the river, the islands that I visit typically have beaches that run East or West so depending on the time of day I like to keep the sun at my back (in the a.m. I walk to the West and in the p.m. I walk to the East) so that I do not strain my eyes as it rises or sets. Again, this is just more for comfort that anything, and remember it is always a good idea to wear a hat and sunglasses (polarized are best in a water environment) to protect your eyes from the sun's rays. Polarized lenses reduce glare by filtering out the reflected sunlight that bounces off surfaces like water or wet sand.
Note: If you go out when the sun is the most intense cover up or use sunscreen.
Step 4: What to Look for in the Sand?


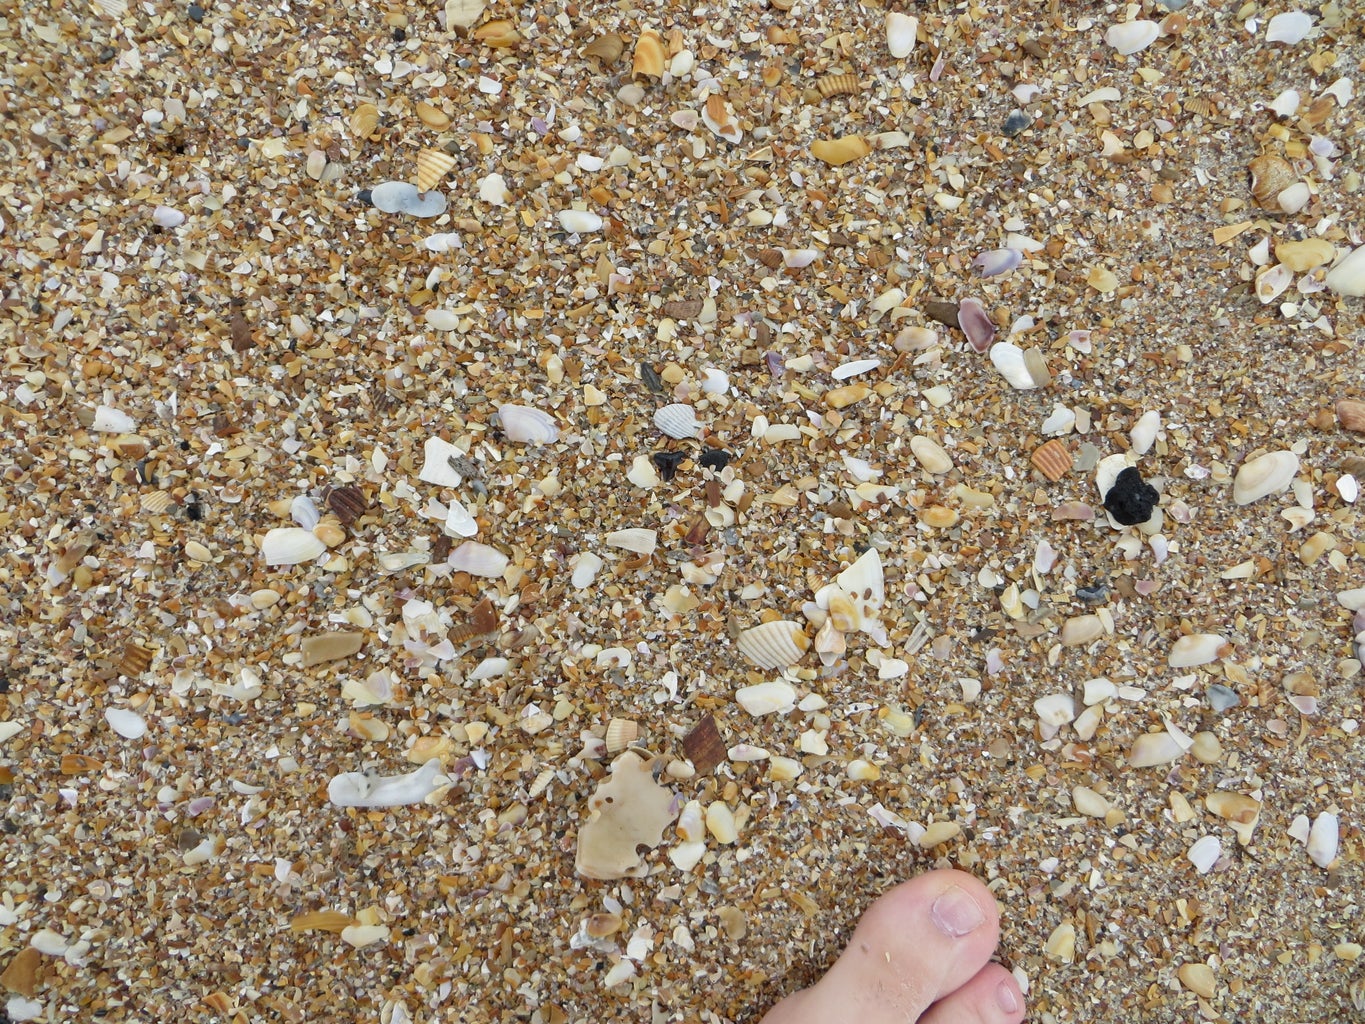
When looking for shark teeth, it is easiest to start by training your eyes to find the color black or triangular objects in a sea of broken shells. Shark teeth do come in a range of color, but black is the most common and easiest to spot. You may also find teeth from other species such as rays, porpoises, and whales. Teeth are not the only remnants that are found fossilized in the black coloration. We have found numerous vertebrae mixed among the scattered teeth and debris. As for shape, most shark teeth are triangular, unless broken, and thus a good way to find them. Make sure that you do not confuse a triangular piece of worn black shell with a shark's tooth. A good way to know if you have a tooth is that the crown of the tooth is a smooth and shiny and often reflects the sunlight. You should also see the root of the tooth and on some teeth you may see a serrated edge.
There are a lot of lookalikes so I have developed a sort of mental filter when I search. I first look for color, and since black is the most common, I focus on all the shiny black objects in my view. Next, I take all the black objects and mentally sort them by shape keying in on the triangular ones. Then I will physically bend down for a closer look to see if there is a root system or serrations. If this all checks out, I will pick it up. When you first go out, you will find yourself picking up tons of lookalikes. Don't be discouraged, you will eventually develop your own technique and you will be able to distinguish a fake from a real tooth from greater distances. My three year old son loves to bring me triangular shells; he is still working on fine tuning his technique :)
Step 5: Can You Find the Tooth?


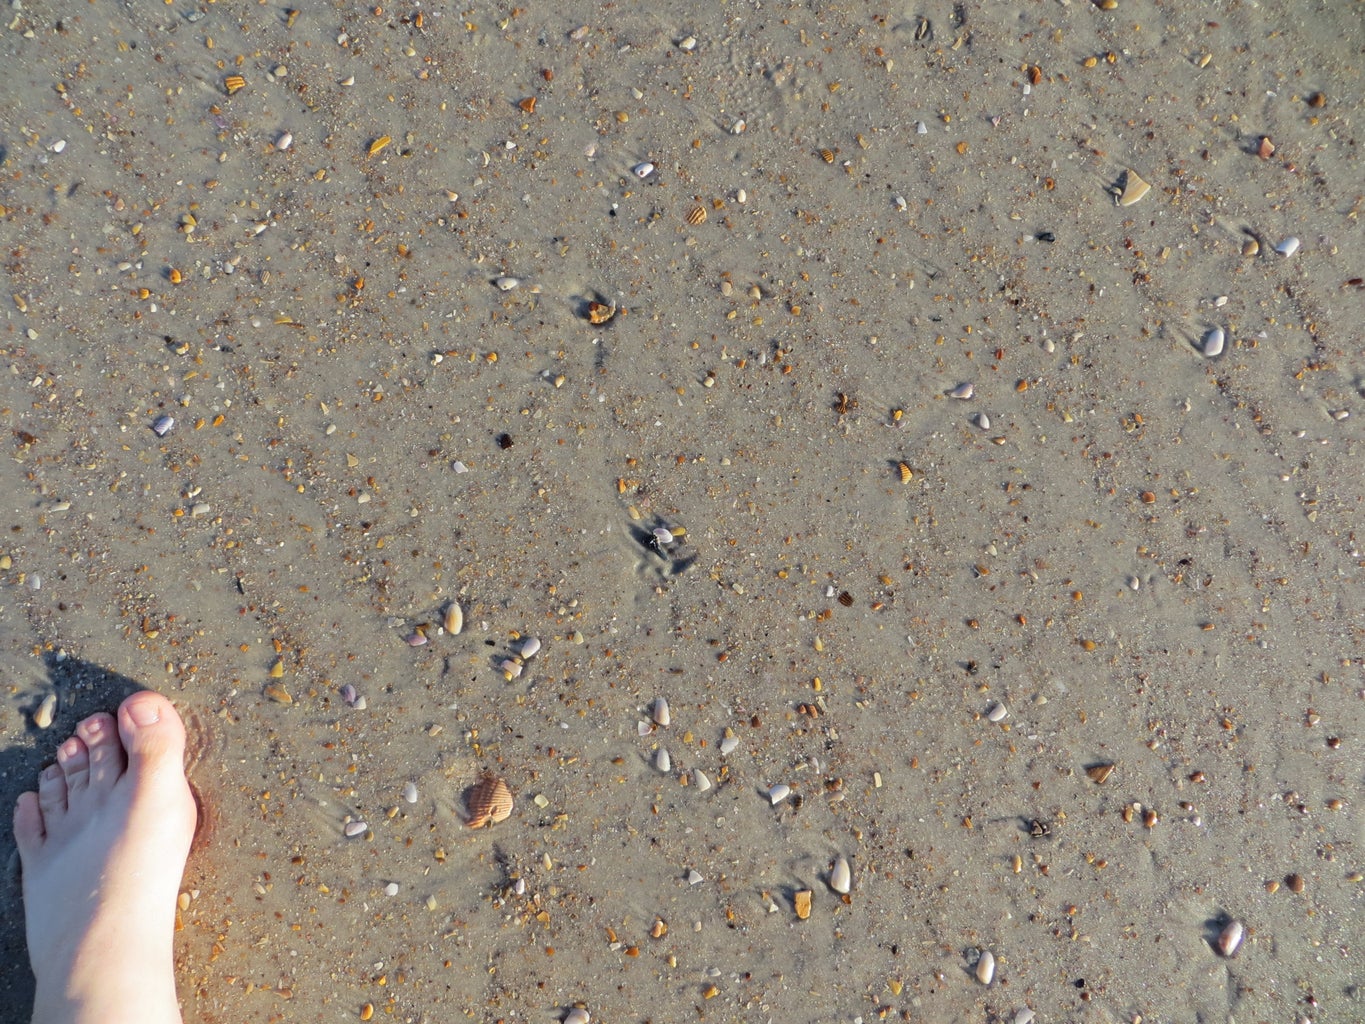


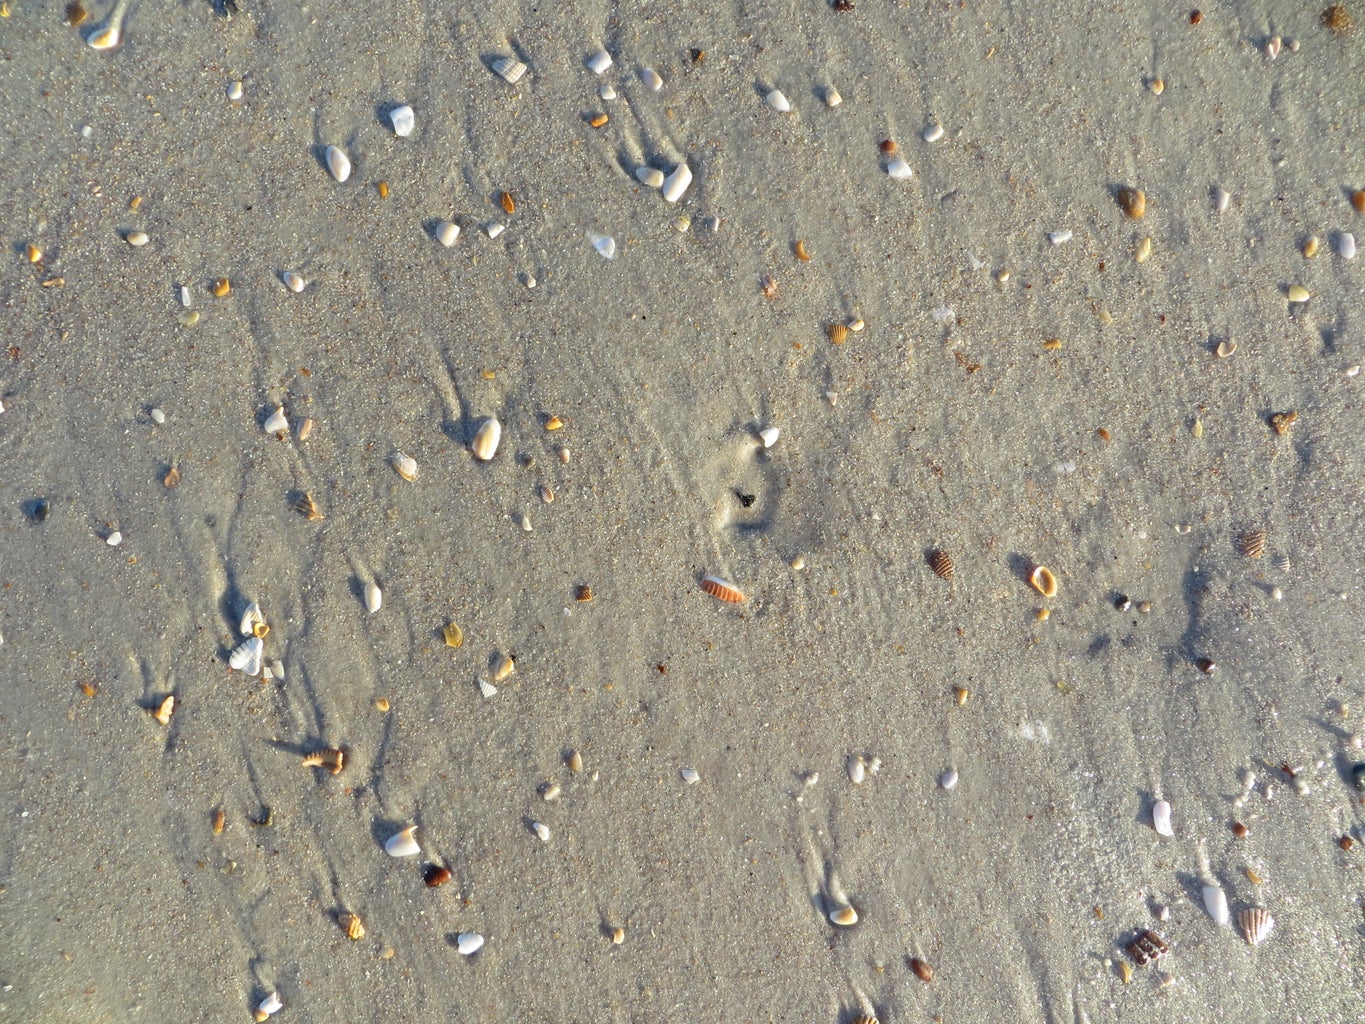
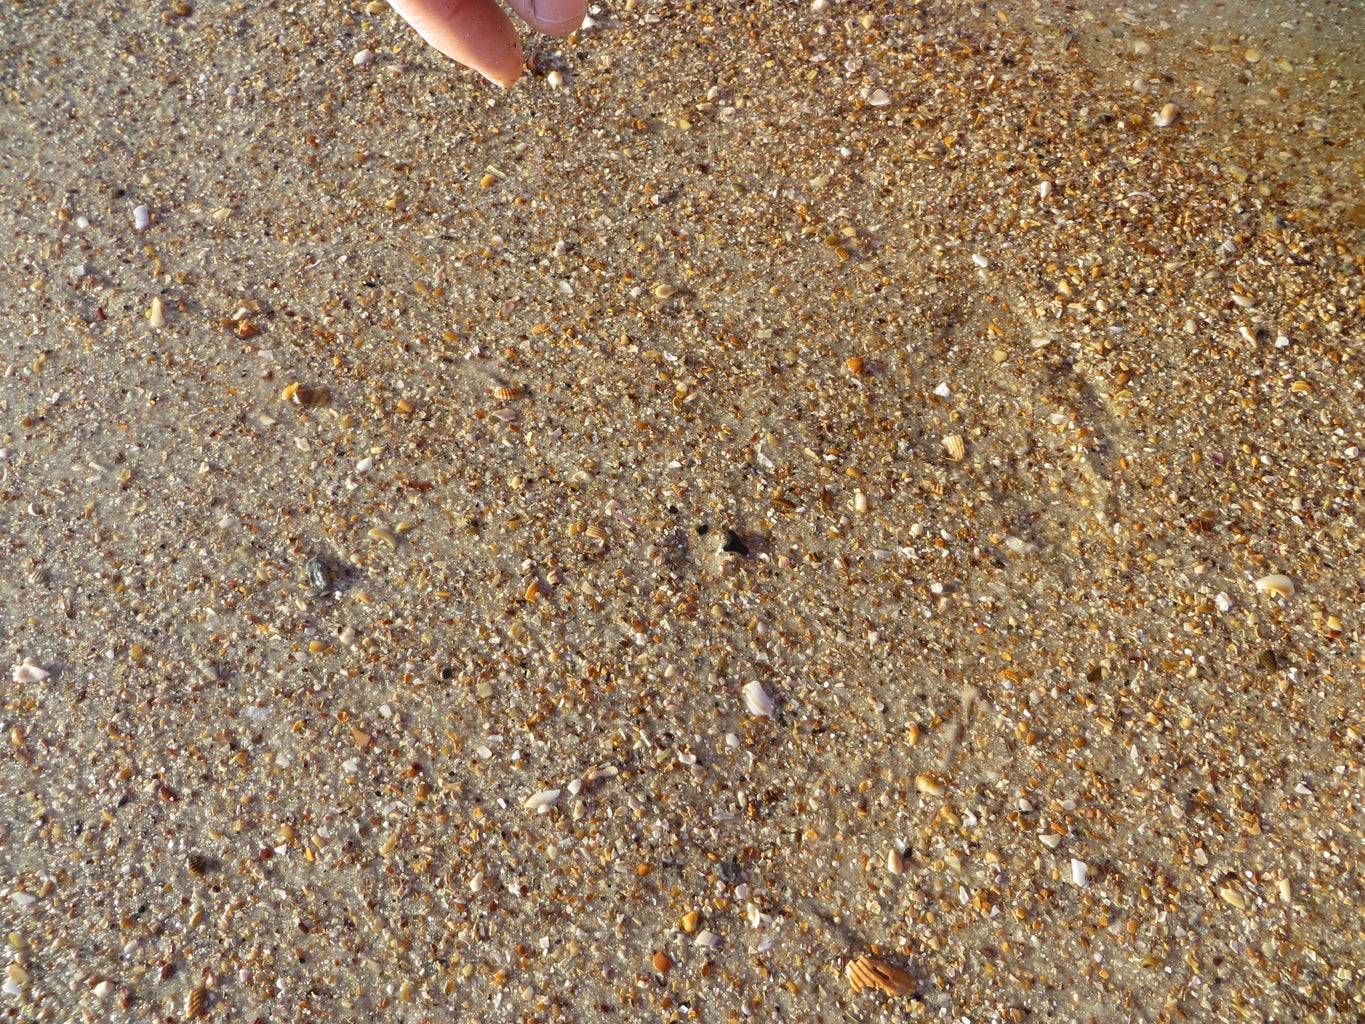


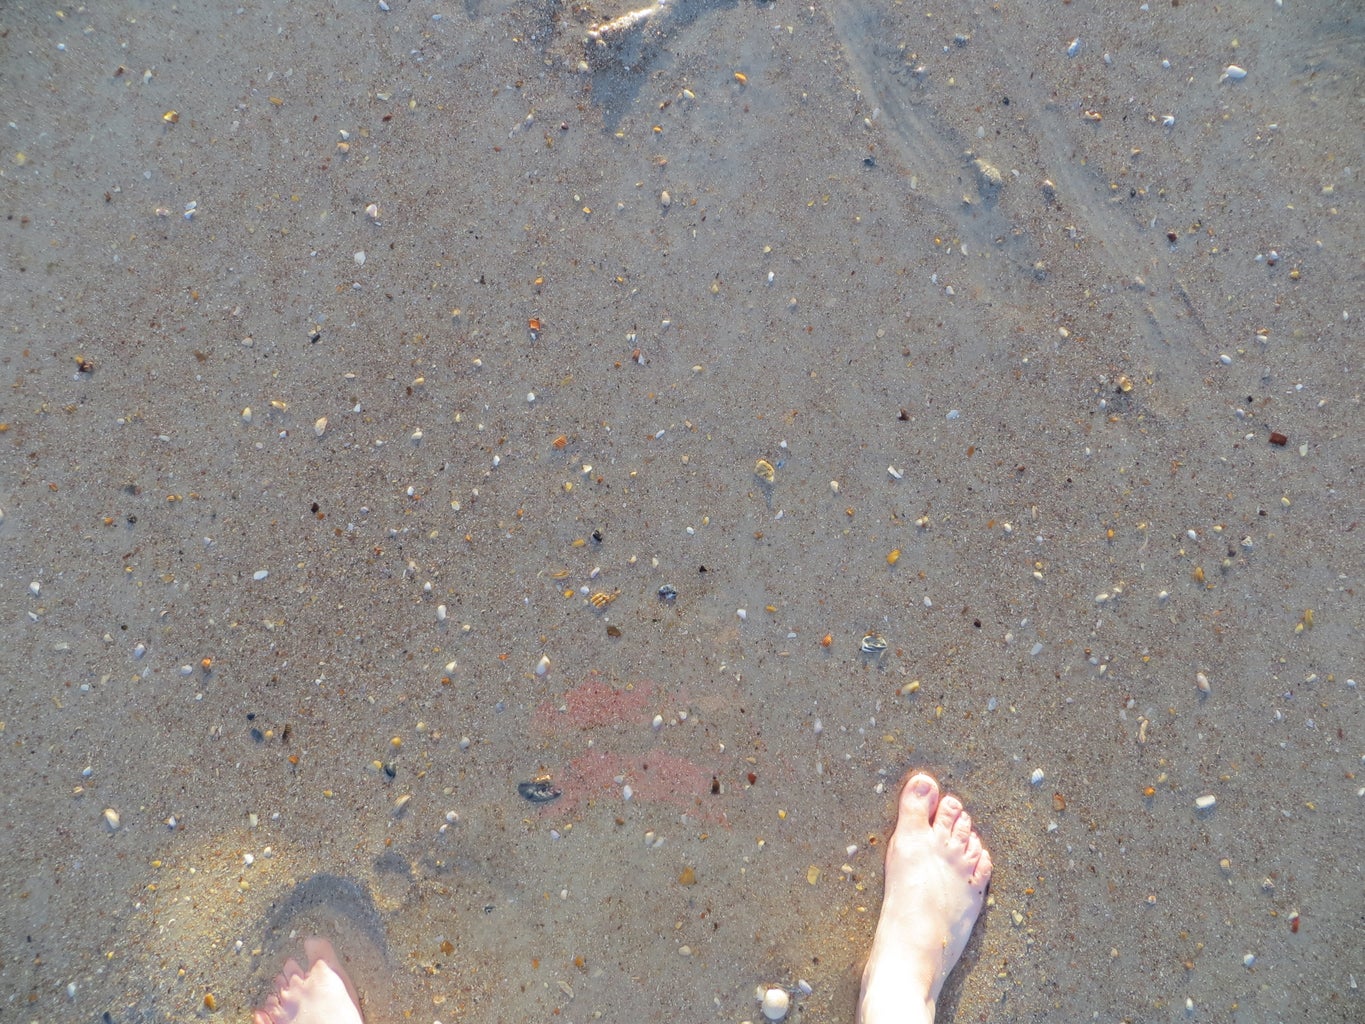


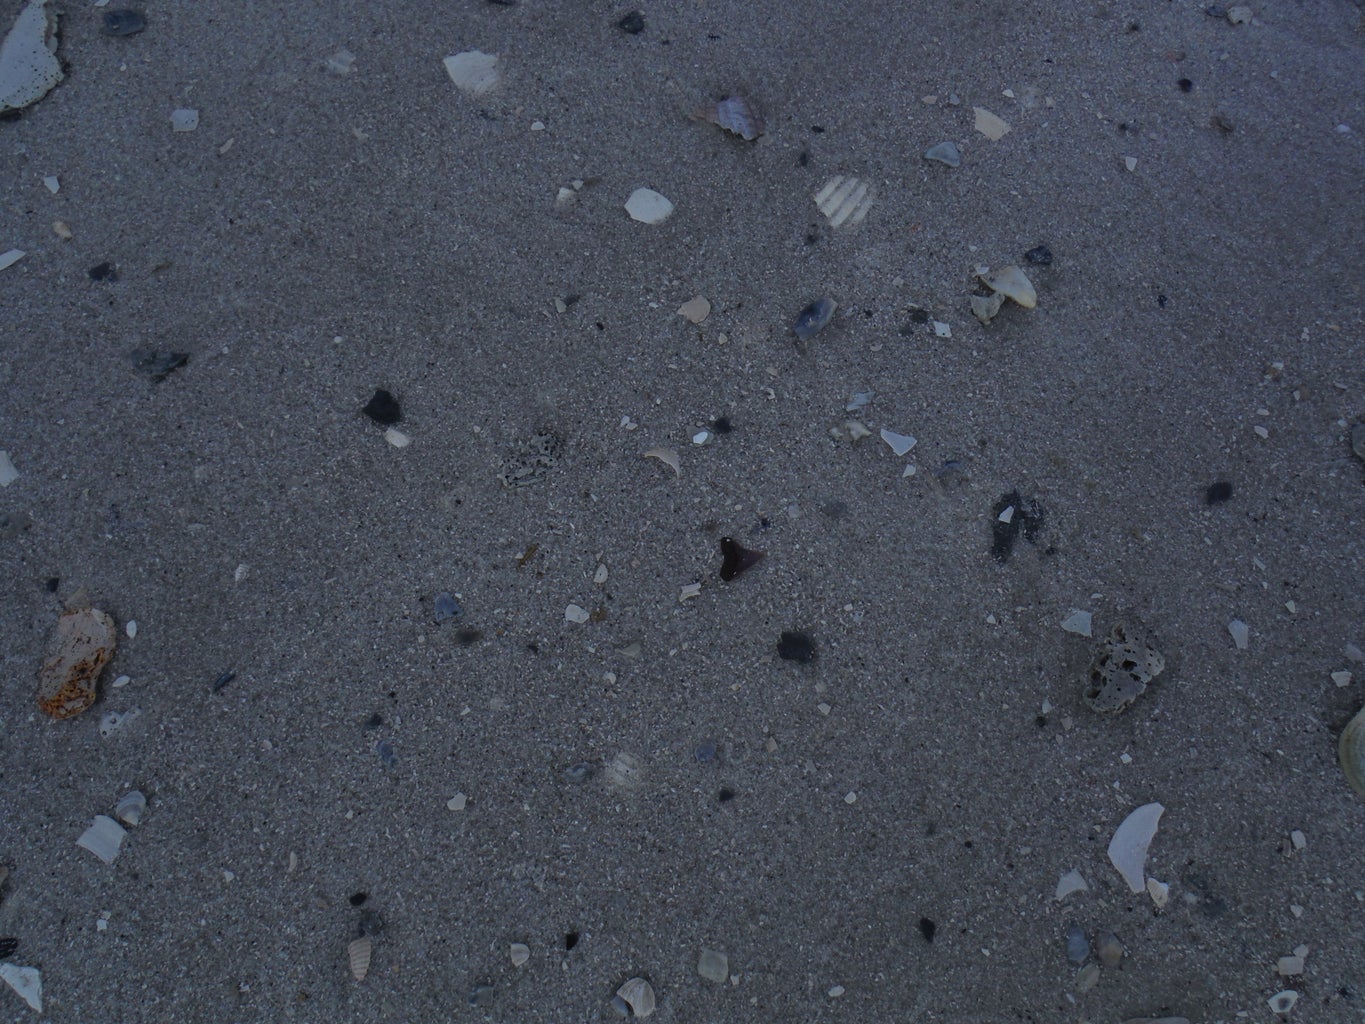
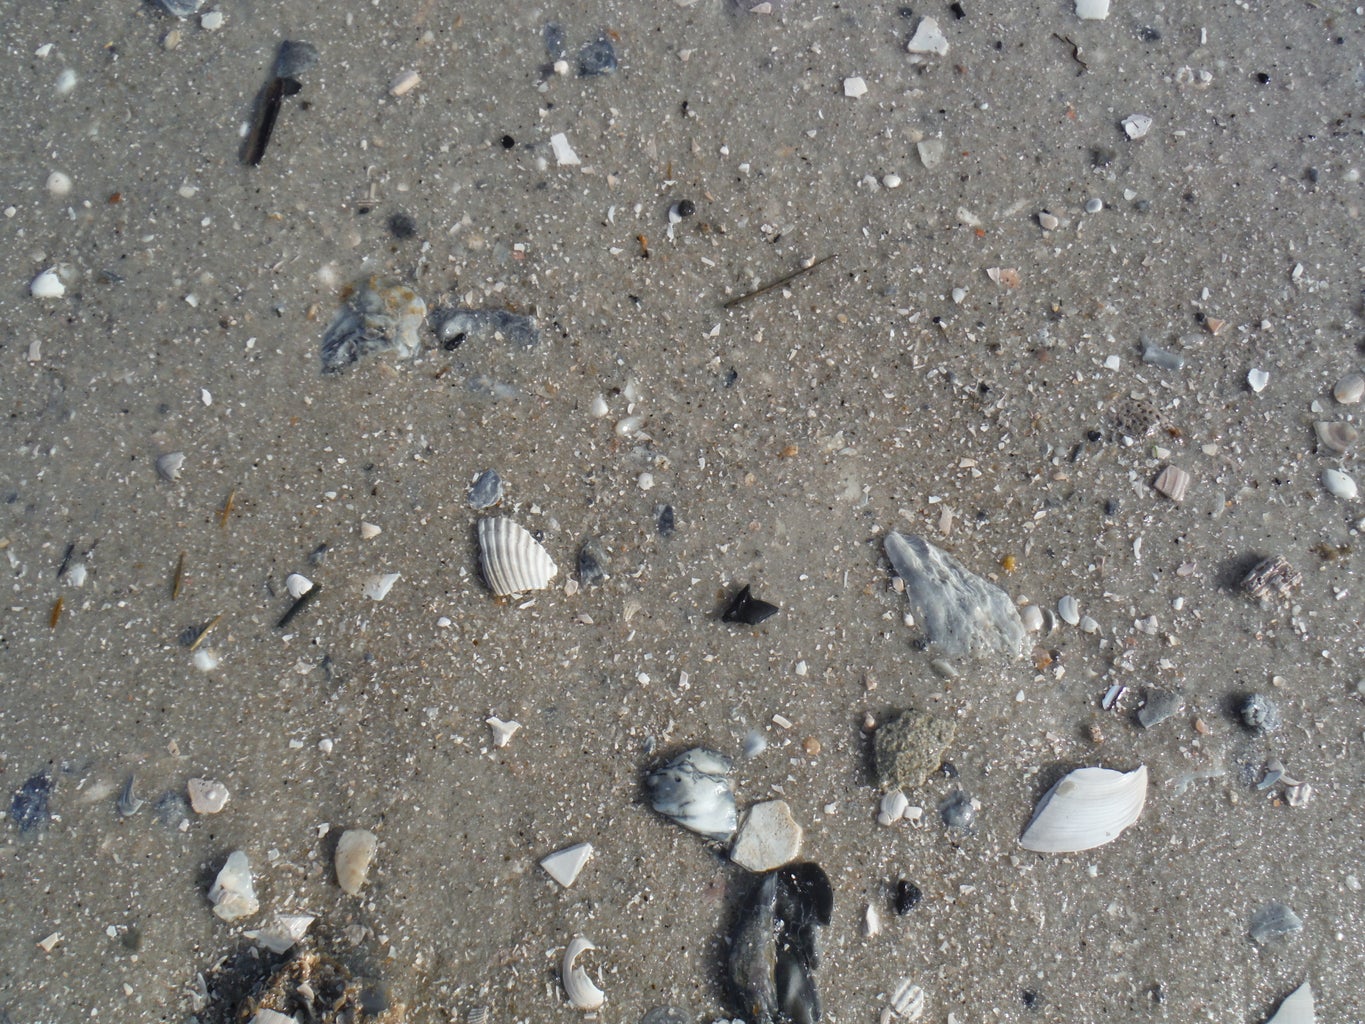


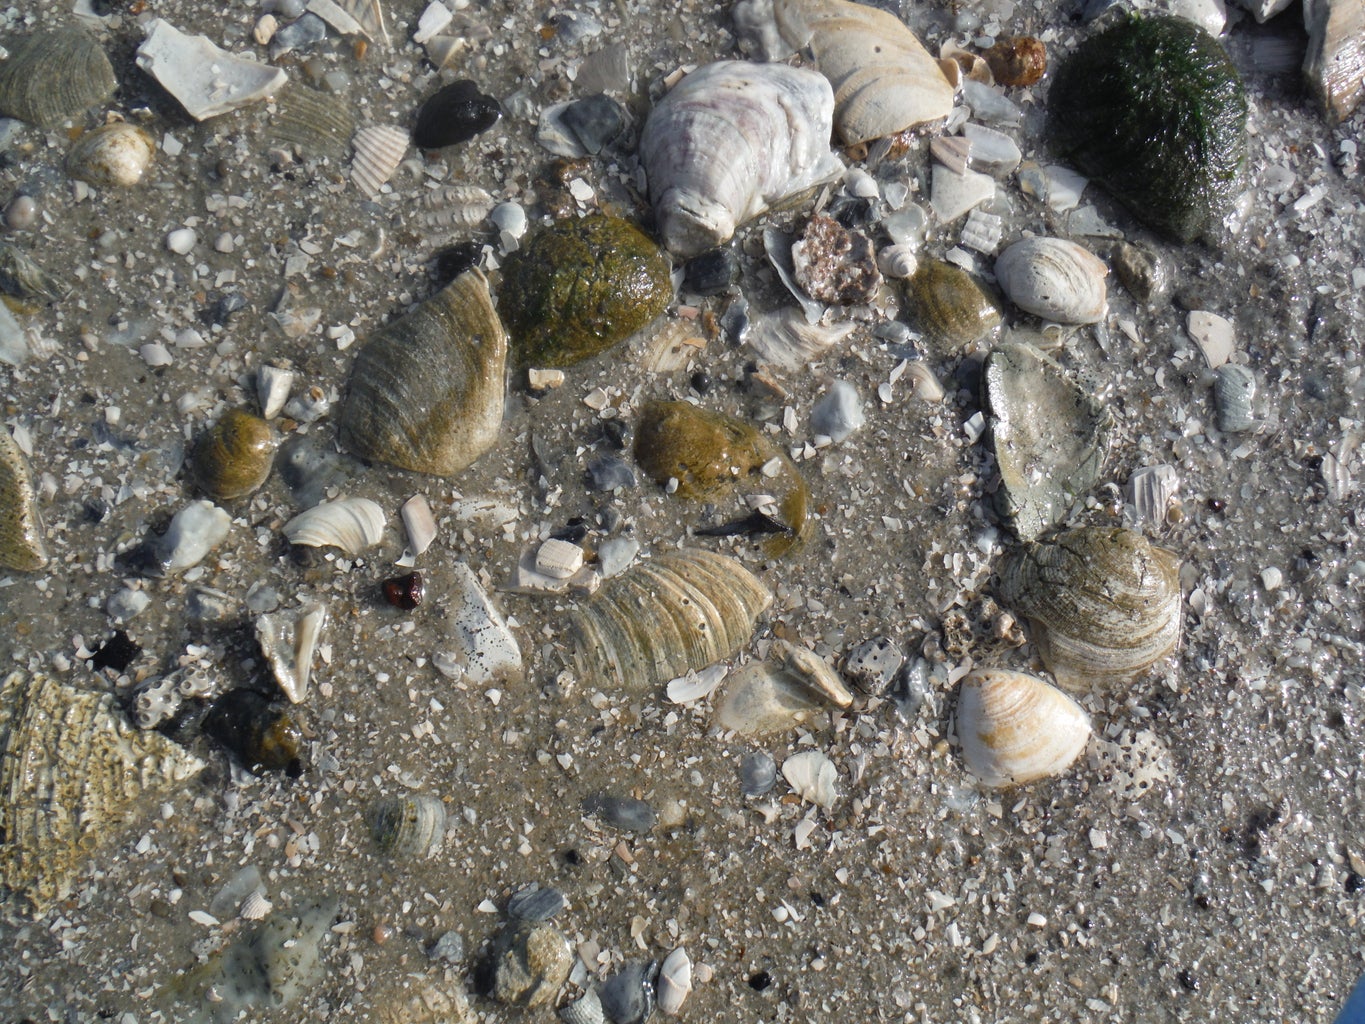
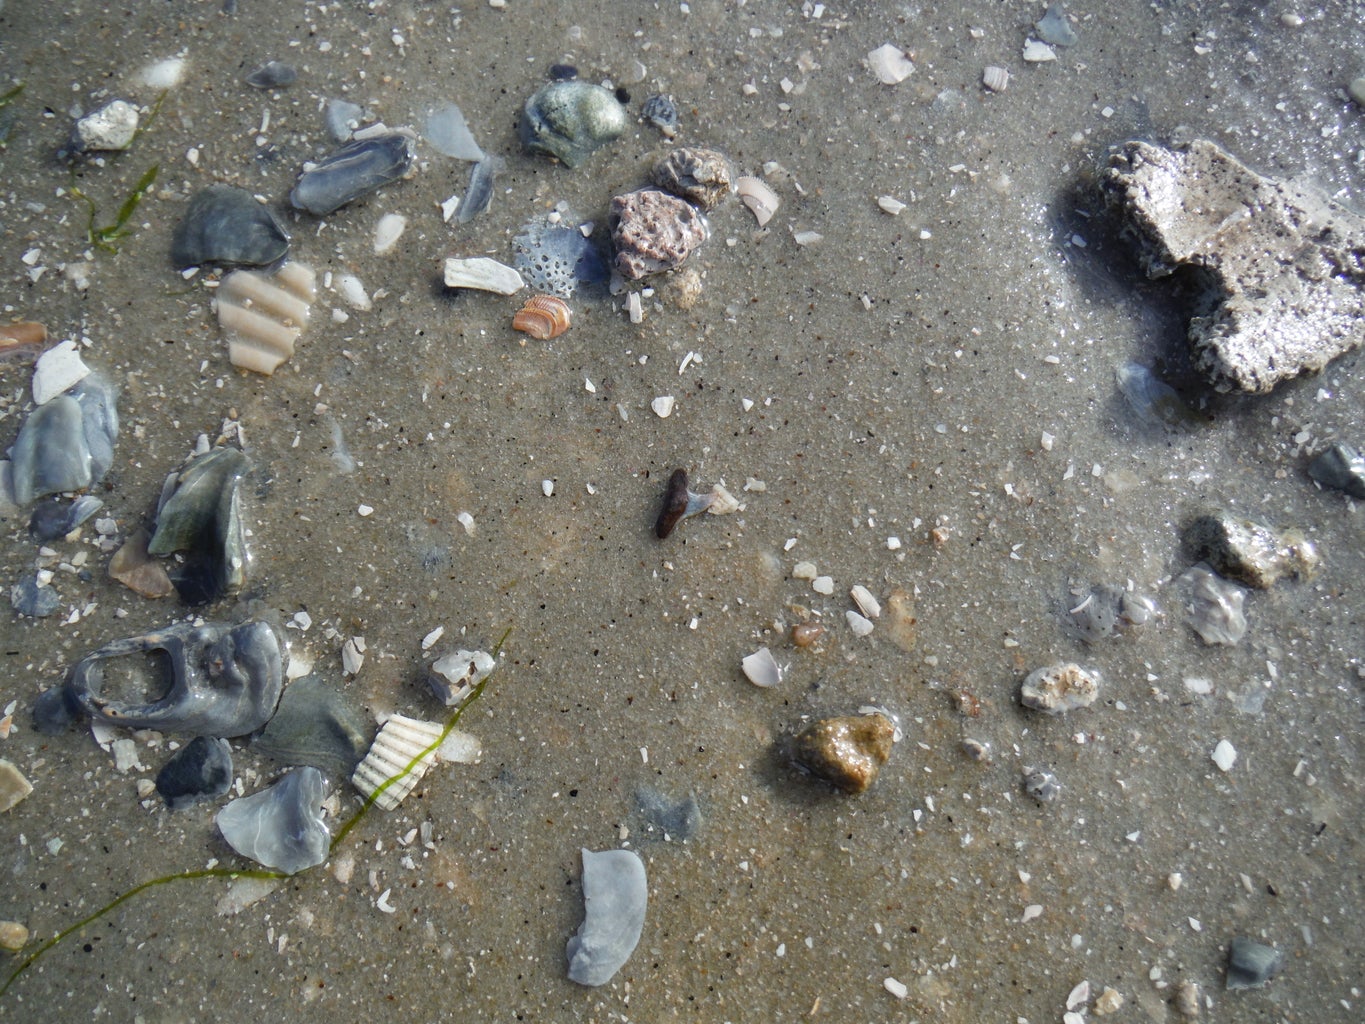


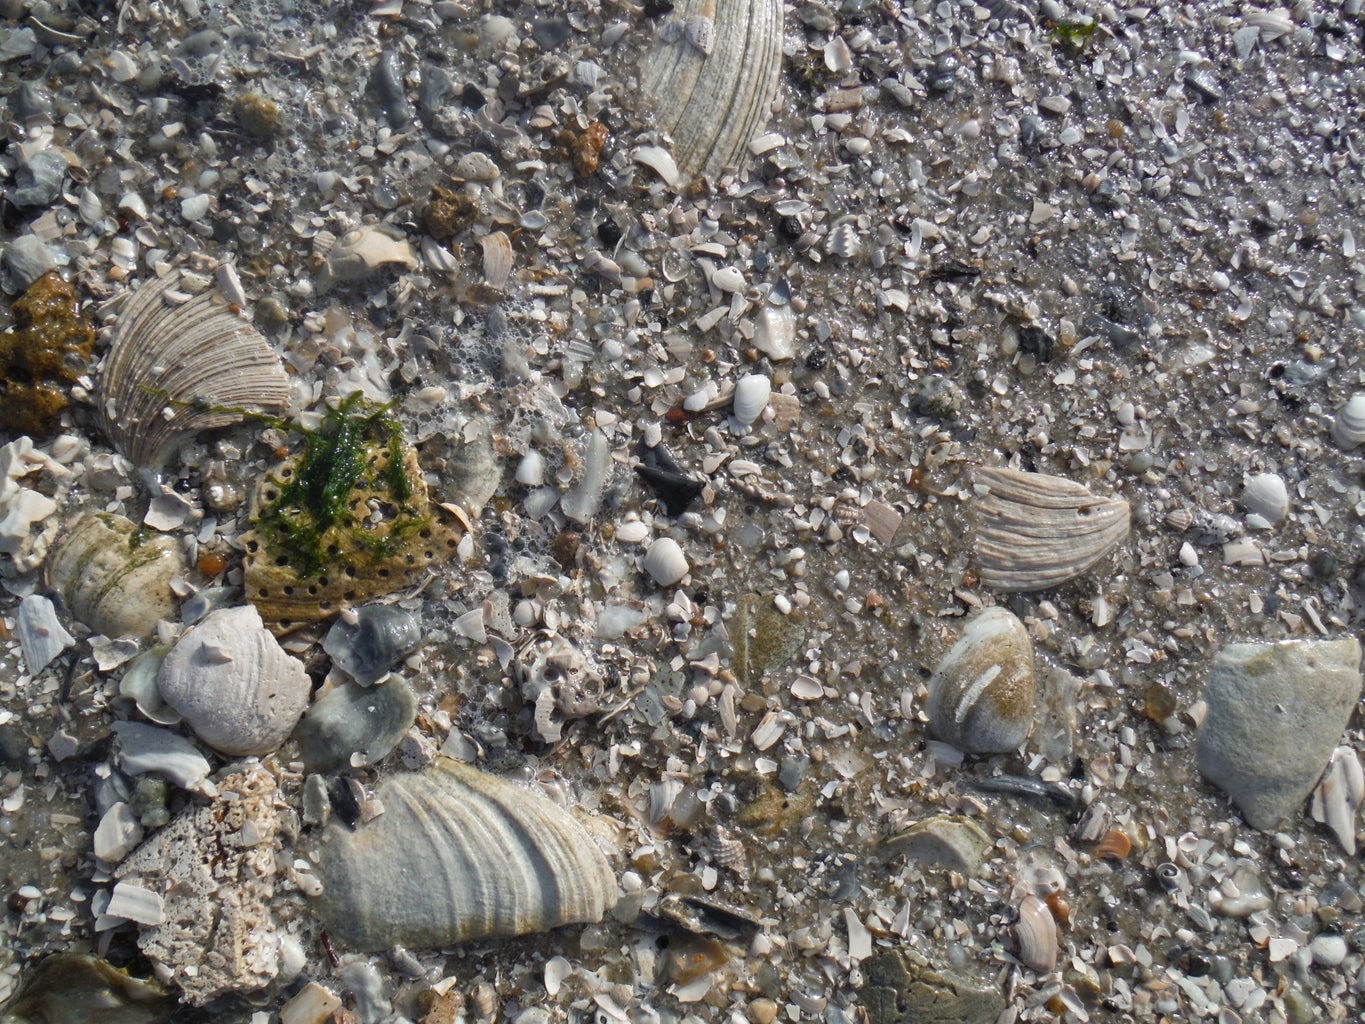


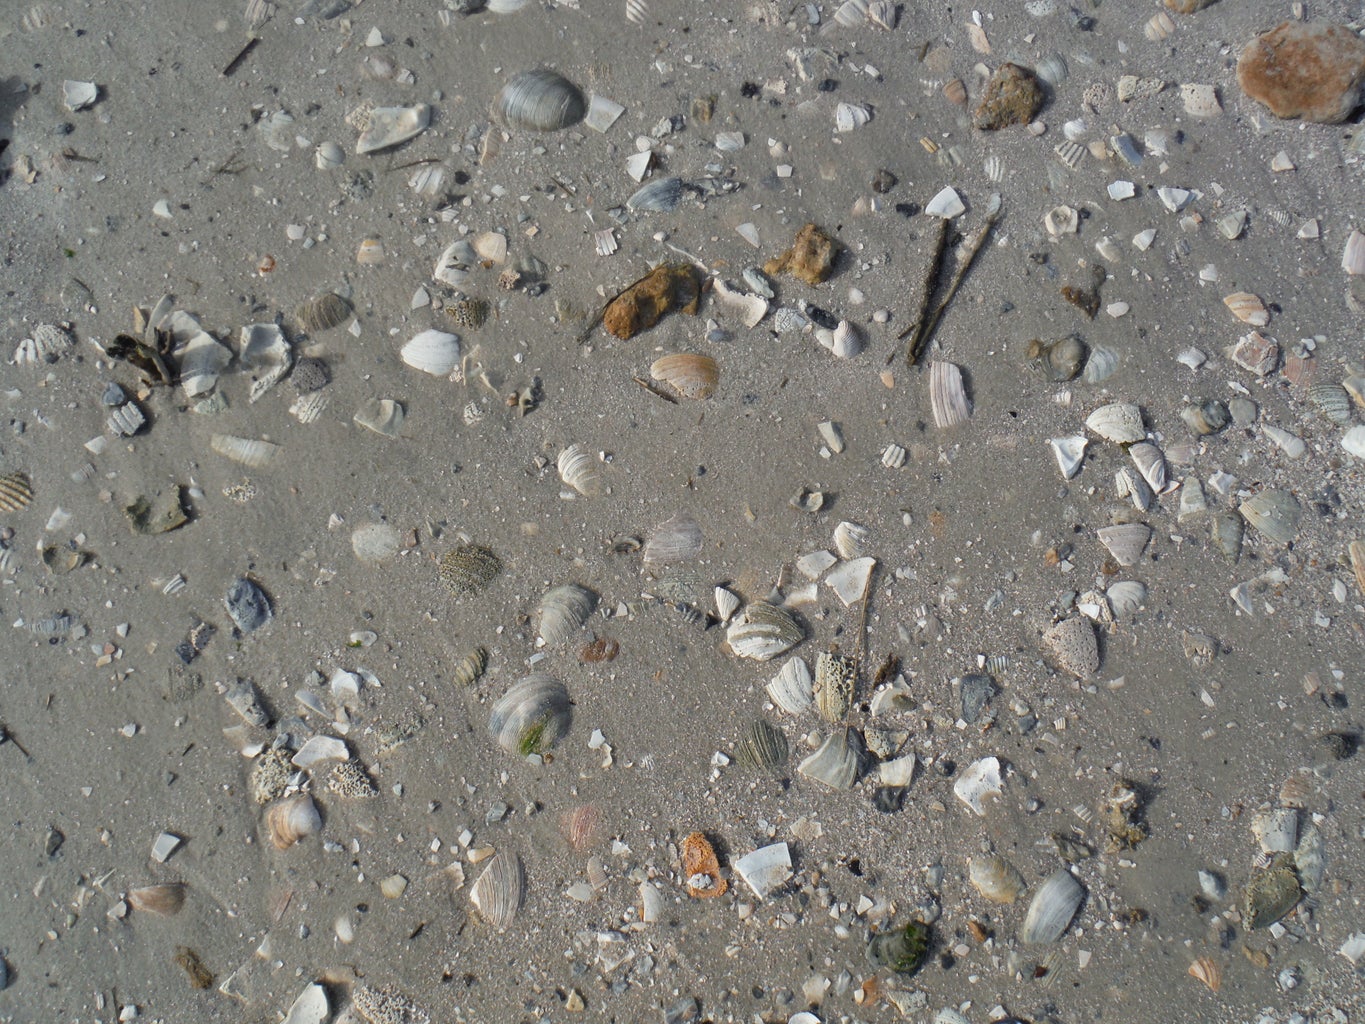
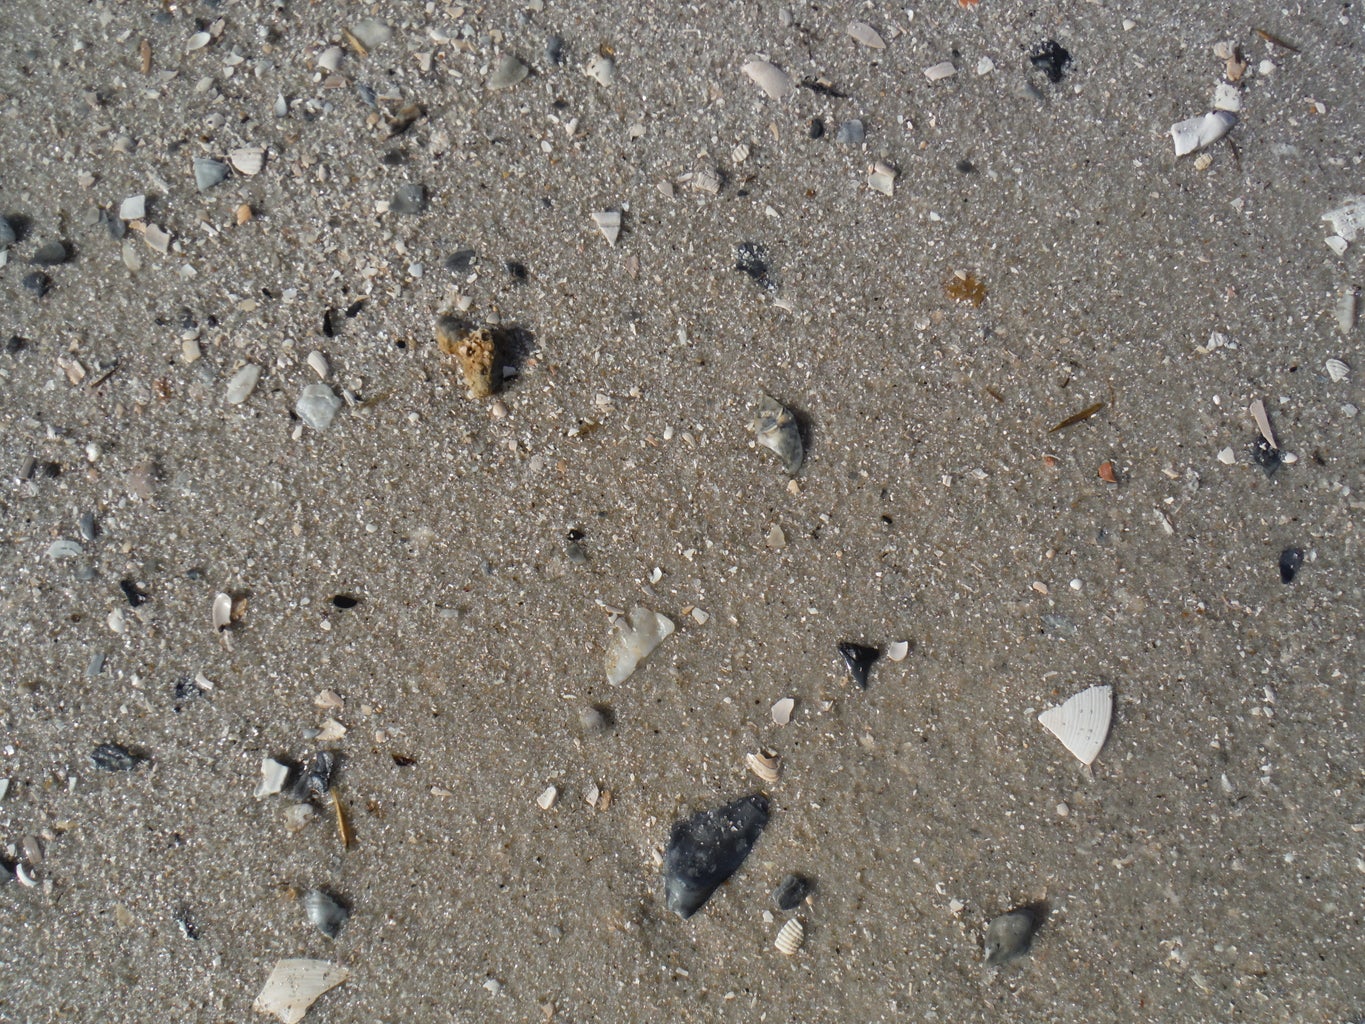


Here are a few examples of teeth hidden or standing out among the clutter. Some are definitely easier to find than others. Hopefully this will help you train your eyes to learn what to look for among the sand and shells. It is easy to tell what a tooth is when you are holding a perfect specimen in your hands. But when you are towering well above the sand looking down, it is much harder to determine if that black spot is a broken shell, a tooth, or some other less common fossil. Also, not all teeth will be laying flat, broadside. Sometimes you will only see a point, or they will be standing straight up out of the sand. It's like a game of where's Waldo.
Step 6: Collecting and Identifying


By now, you should have a basic understanding of how to find shark teeth, so it's time to get out there and start collecting!
My wife and I have given ourselves a goal of filling a mason jar with teeth before our next move. We also use a few guides that we have found online to identify the teeth we find. I have some favorite's but there are a few species that we are still trying to find.
Step 7: More Advanced Searching and Exploring


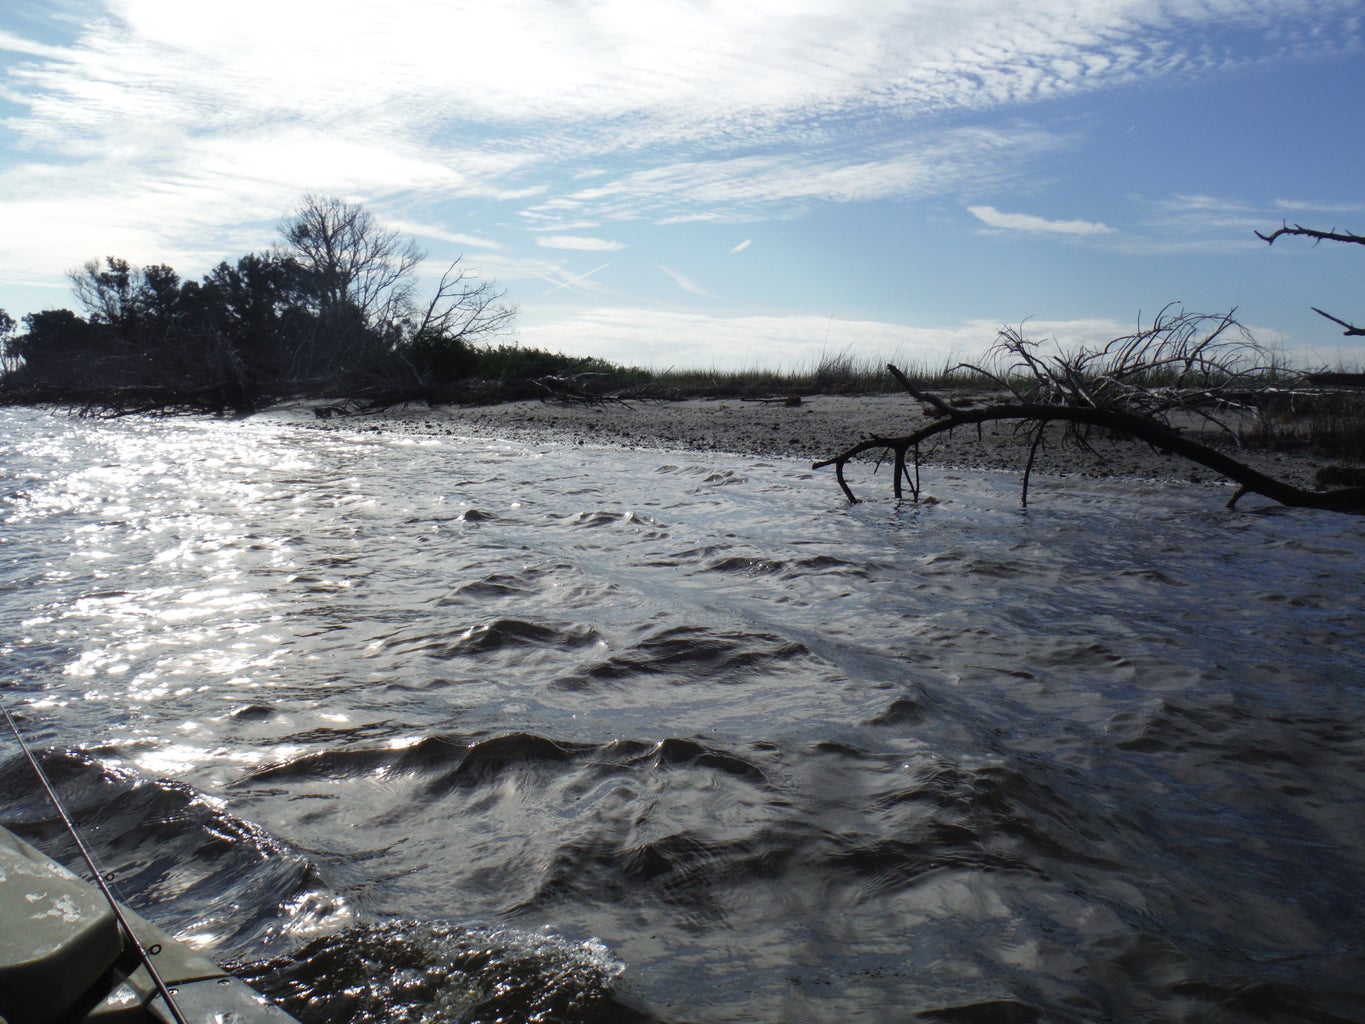


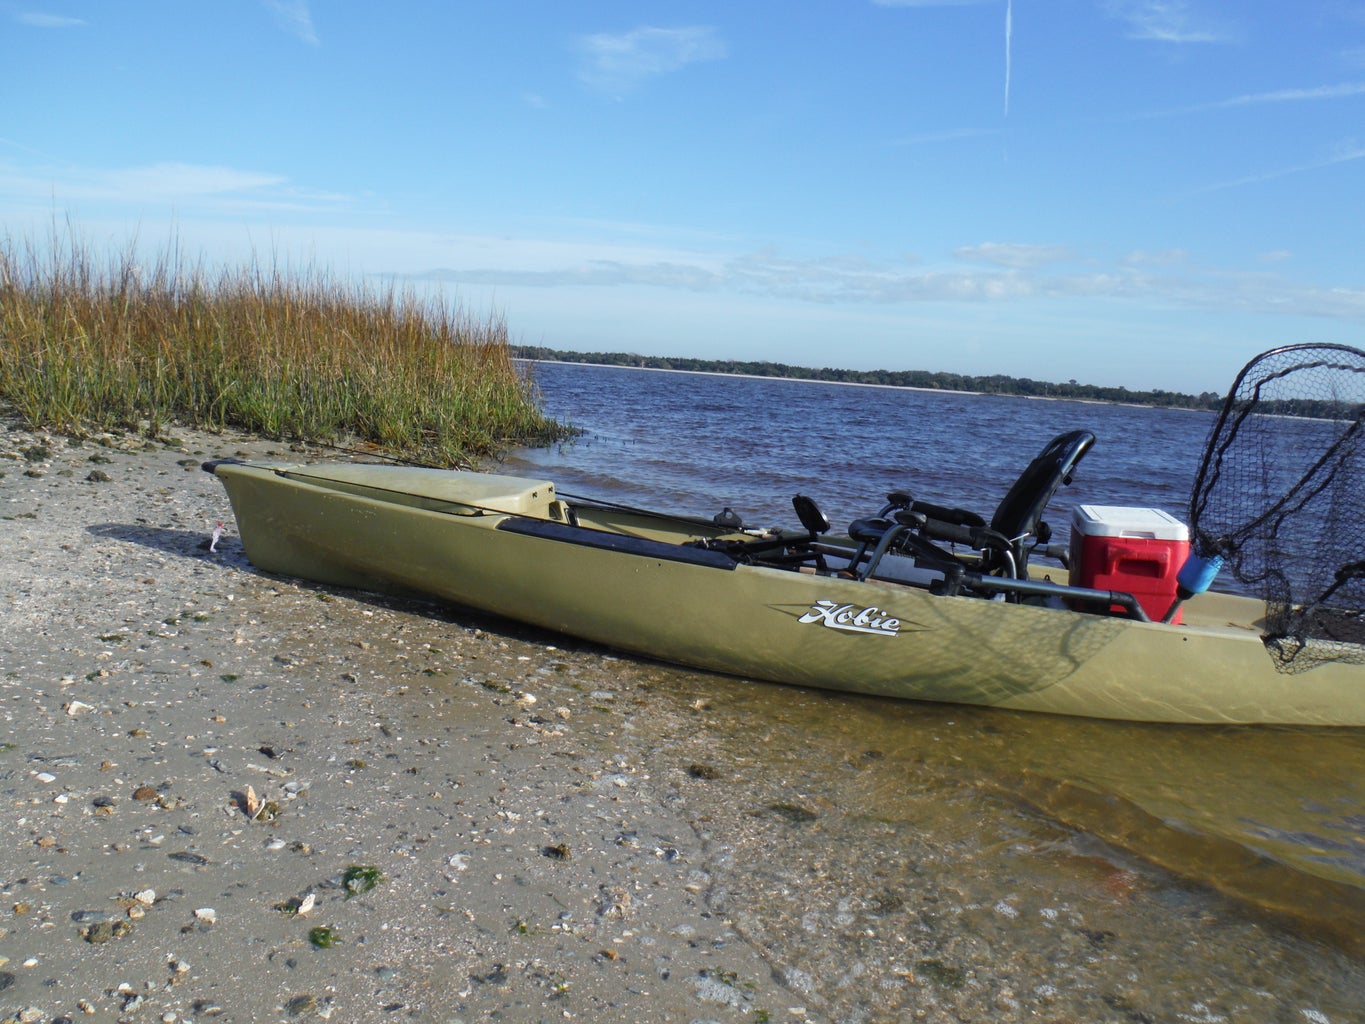


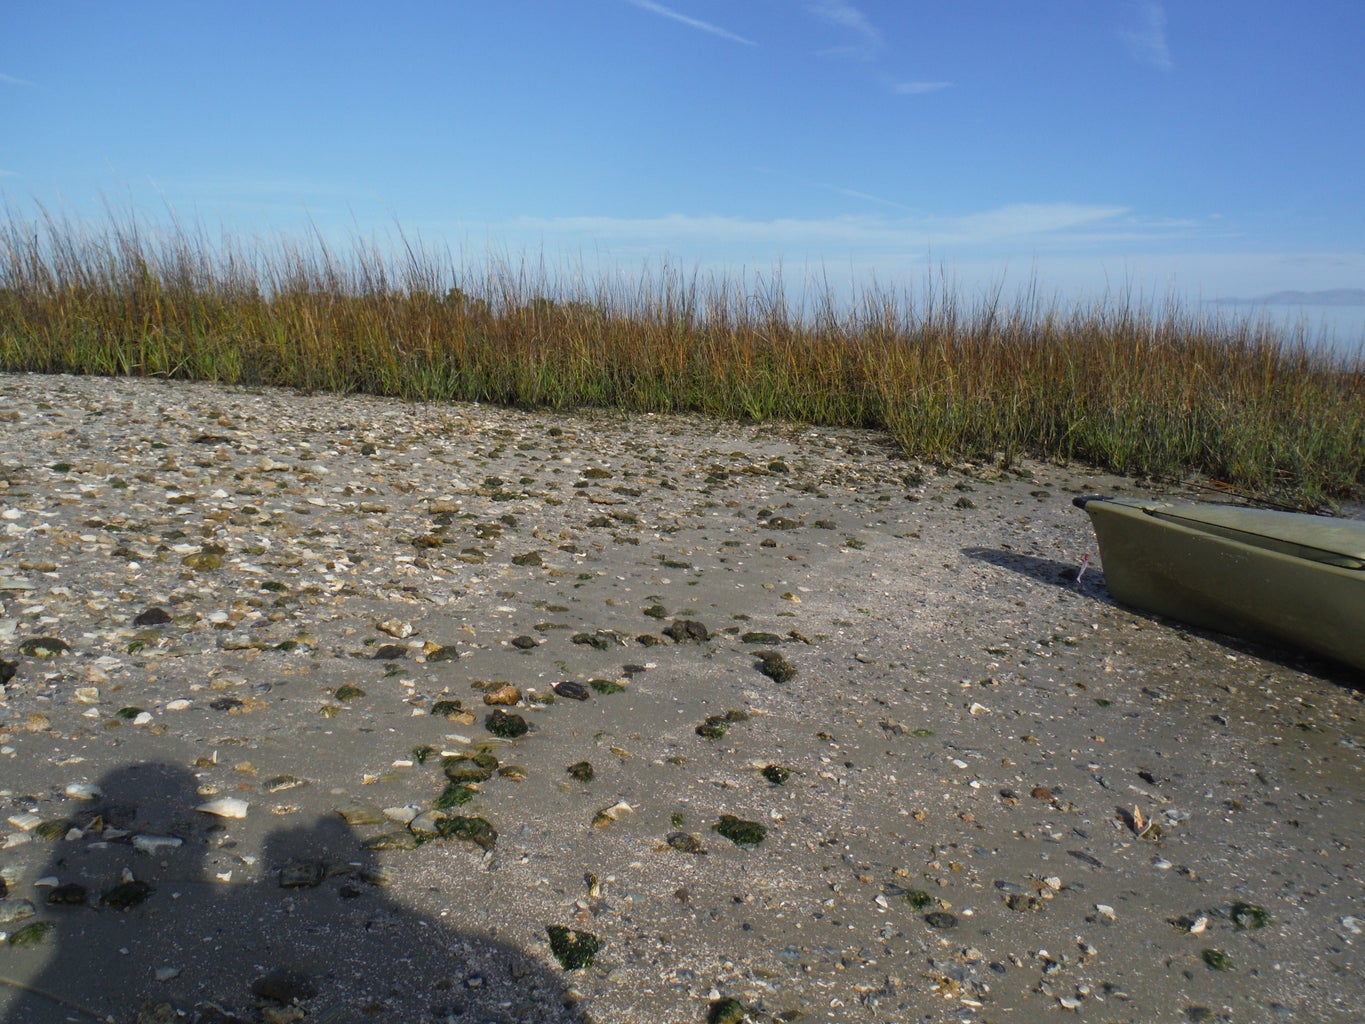
Once you have collecting on beaches down and you boast a good understanding of what to look for, try searching islands! I already hit the water each week to go fishing. So now if I come across an island with a beach, I am compelled to stop and take a look! I explore islands along the St. John's River and other waterways. Many of the islands around here were brought about from dredging, meaning the sediment is dug up from the bottom of the river bed and in some cases turned into a spoils island. These islands are usually riddled with all sorts of prehistoric material. I often find ancient shells, vertebra of sharks and teeth as well as other fossilized bone that I am still trying to identify. I will go over other odds and ins we have found in my last step.
When exploring islands, be mindful of off limit areas where dredging is ongoing (typically it will be posted). Also, here in Florida, be aware of animals that may call the islands home, including wild pigs, horses(Cumberland Island), gators and rattlesnakes (Surprisingly true, some of these islands are covered with rattlesnakes). Not trying to scare anyone but remember not to focus too much on teeth and keep your situational awareness up. Just give them space and never provoke or handle them. I have not encountered any pigmy rattlesnakes in my adventures just red rat snakes and one little gator :)
Here is an excerpt from local website about rattle snakes on the Islands. WOW!
"Tiger Island is known to the locals as Snake Island, and for good reason. Snake Island is reported to have the highest density of rattlesnakes on the entire eastern seaboard. That’s a lot of snakes, folks. Why are they so populous here? Well, that story goes back a ways; back to the Okefenokee in fact. When big storms (such as hurricanes or continuous summer rainstorms) come through our area and the Okefenokee Swamp floods, many of its contents flow right out of the swamp and down the St. Mary’s river. These “contents” can include anything from grass, logs, gators, hogs, and of course, snakes. By the time they reach the inlet to our north where the St. Mary’s meets the sea, the snakes can sense the salinity content in the water rising and start looking for land. At that point they have three options: Cumberland Island, Amelia Island, or Snake Island."
Source (http://ameliarivercruises.com/2013/10/31/snakes-on-tiger-island-why-snakes/)
The last few images in this step are just used for reference to show where know snake infested islands are and what pigmy rattlesnakes look like.
Step 8: Other Interesting Finds


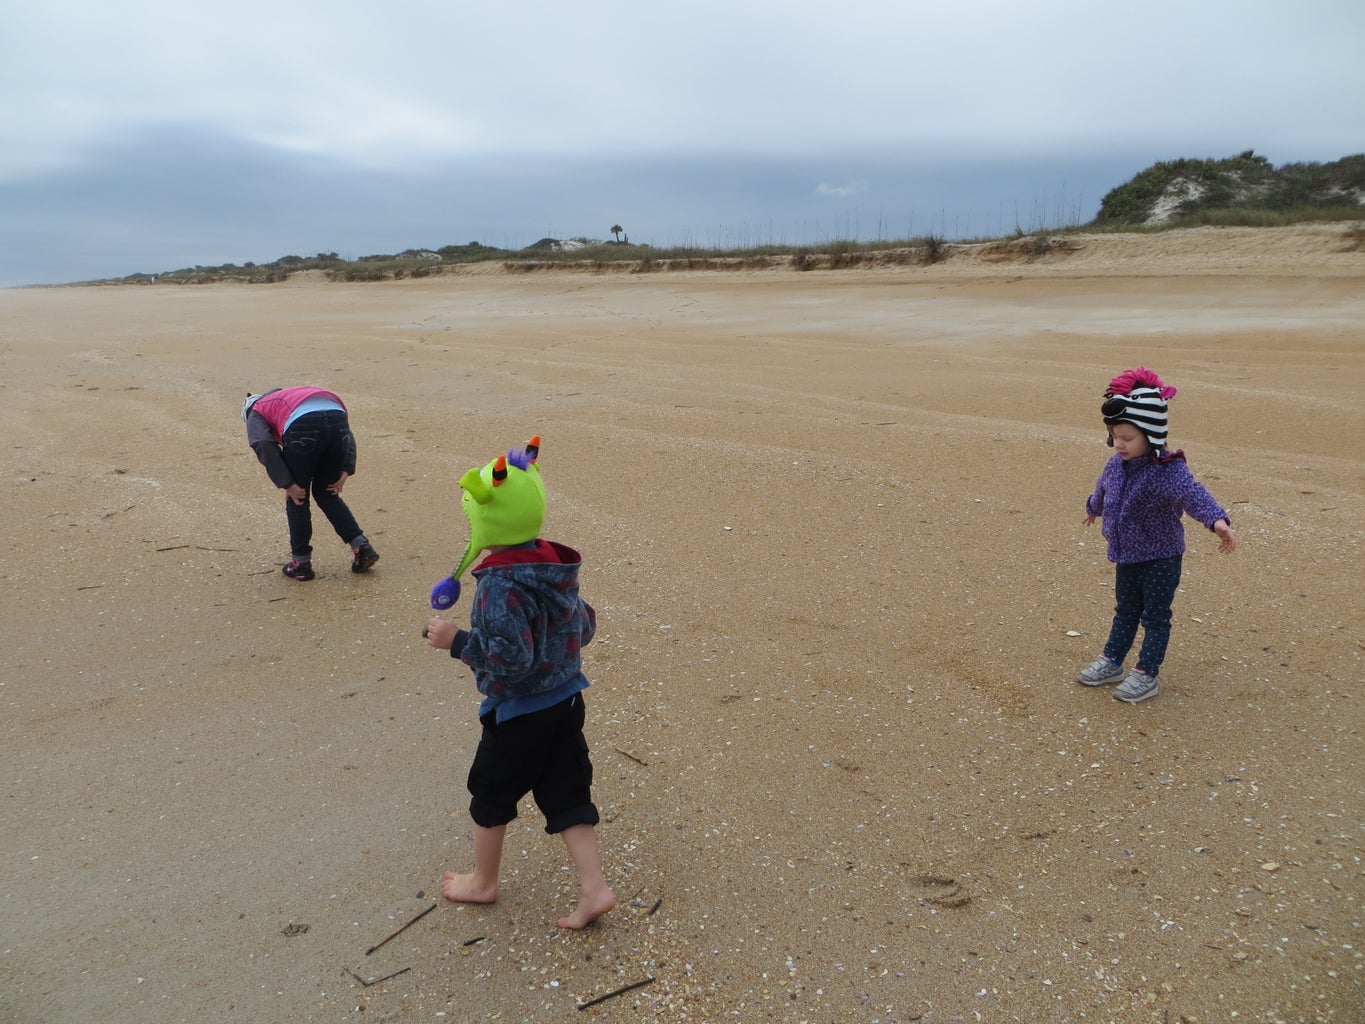
The beaches and spoils islands that we visit in search of shark teeth are also home to many other interesting and exciting specimens. My son loves to find crabs, sea stars and aquatic animals that are found in the tide pools of water around the beach. He also loves, I mean LOVES to chase after the Sea Gulls. They are a free entertainment source for hours. Haha! Aside from the animals, we also find many interesting shells and bone fossils, including fossilized poop!
Step 9: Keep Our Water Clean!


An important message that I try and pass on to my kids is to always clean up after yourself and to properly throw away trash and recycle recyclables. On the beaches we go to we typically do not encounter much trash, and if we do I often carry a bag to throw away any that I find. The most common are plastic bags, wrappers, bottles and occasionally fishing line or netting. Note: I am an avid fisherman and it bugs me to see fishing line on the beach, in Florida at most ramps and areas where fishing is common there are bins specifically for the proper disposal and recycling of fishing line. Unfortunately, when I move my searching to spoils islands along the St. John's River I find quite a bit of trash and debris that has washed down the river. I often find more than I can carry on my kayak so I just take as much as I can each time I hit an island. I also find some usable stuff from time to time. Above is an image of some recent items I found and now use.
So if you do try or take up this addicting fun hobby, please take some time to help keep our beaches and waterways safe and clean!
Step 10: The Goal!


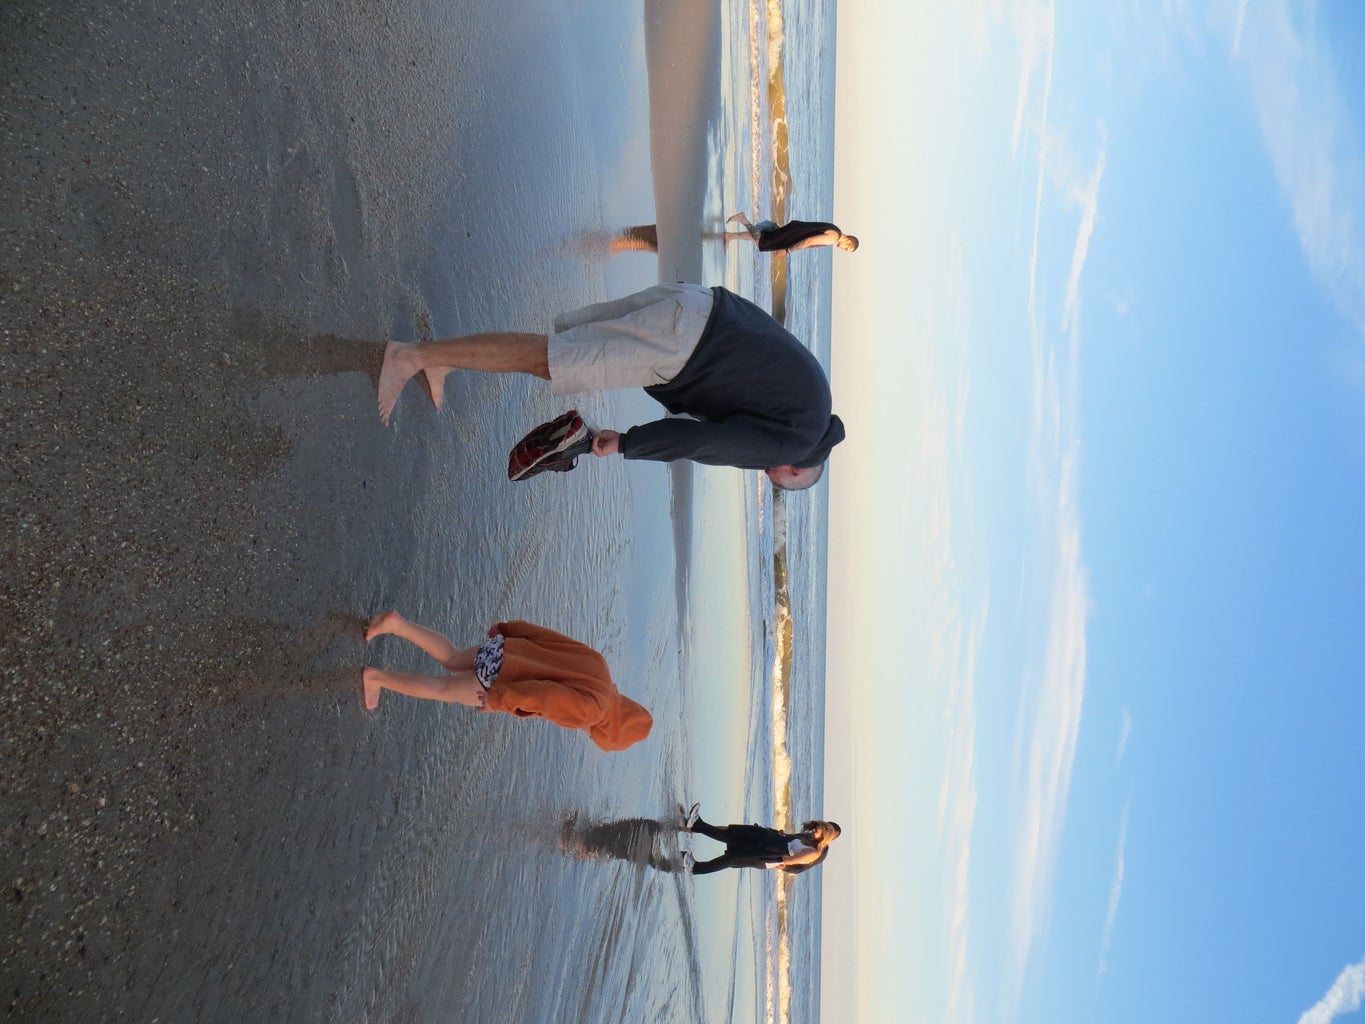
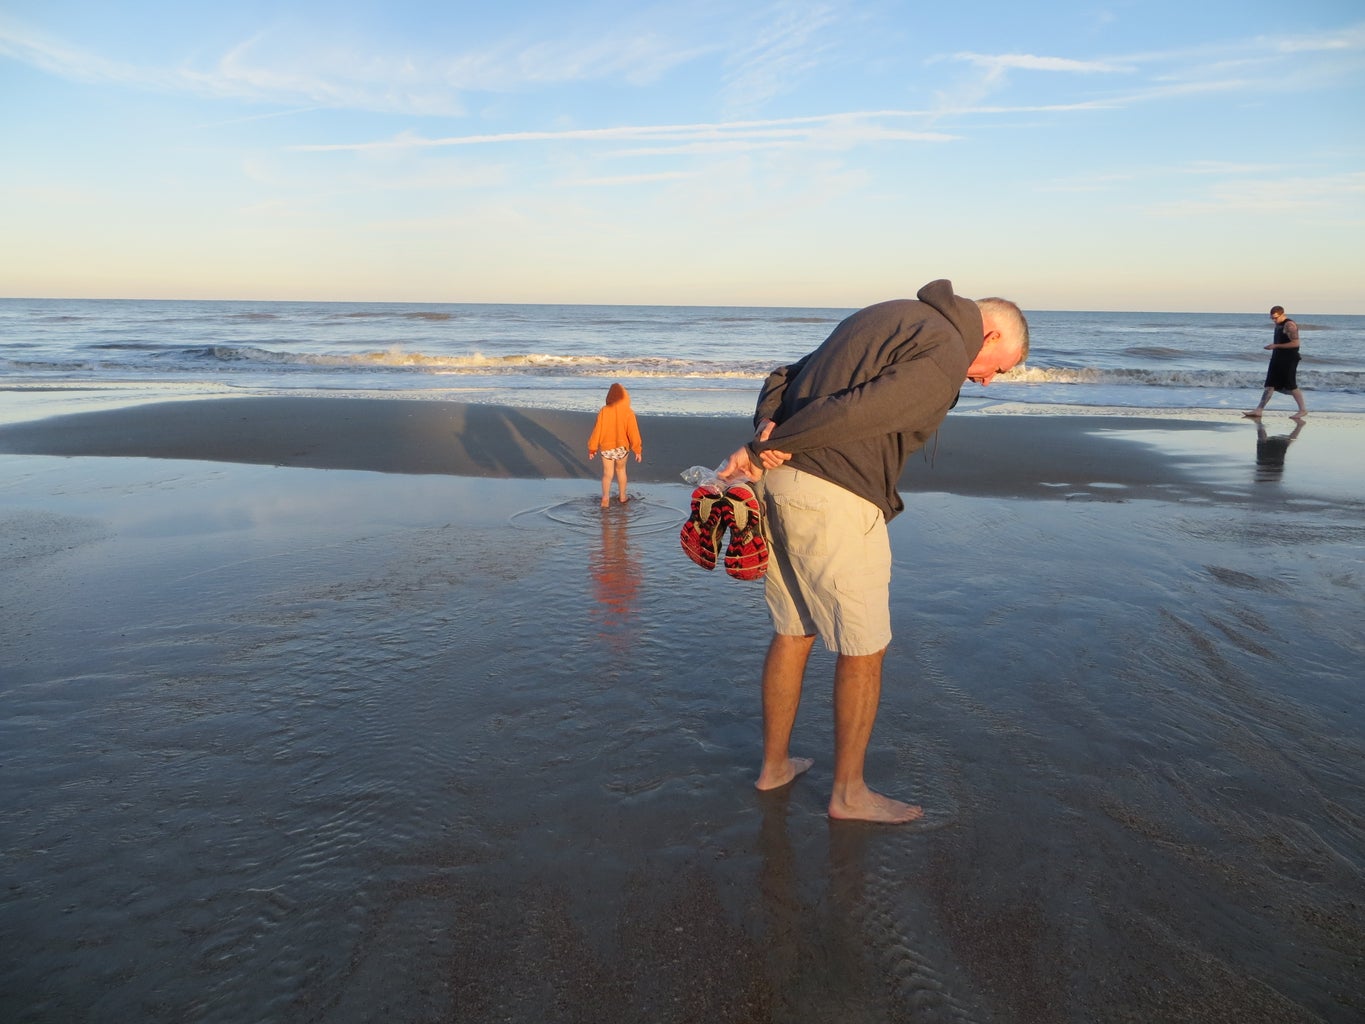
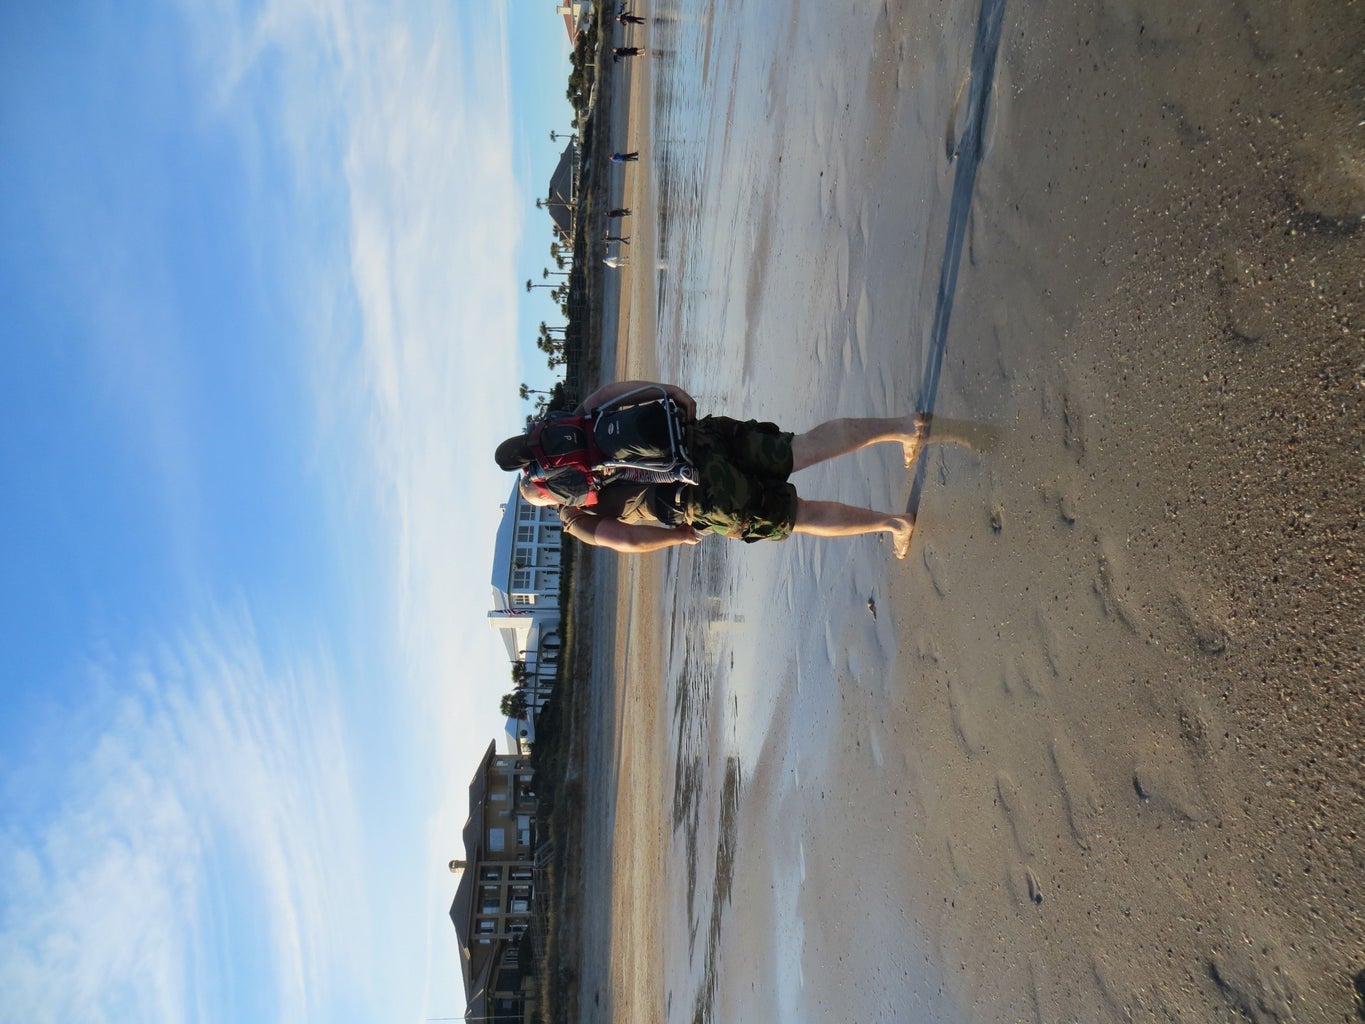
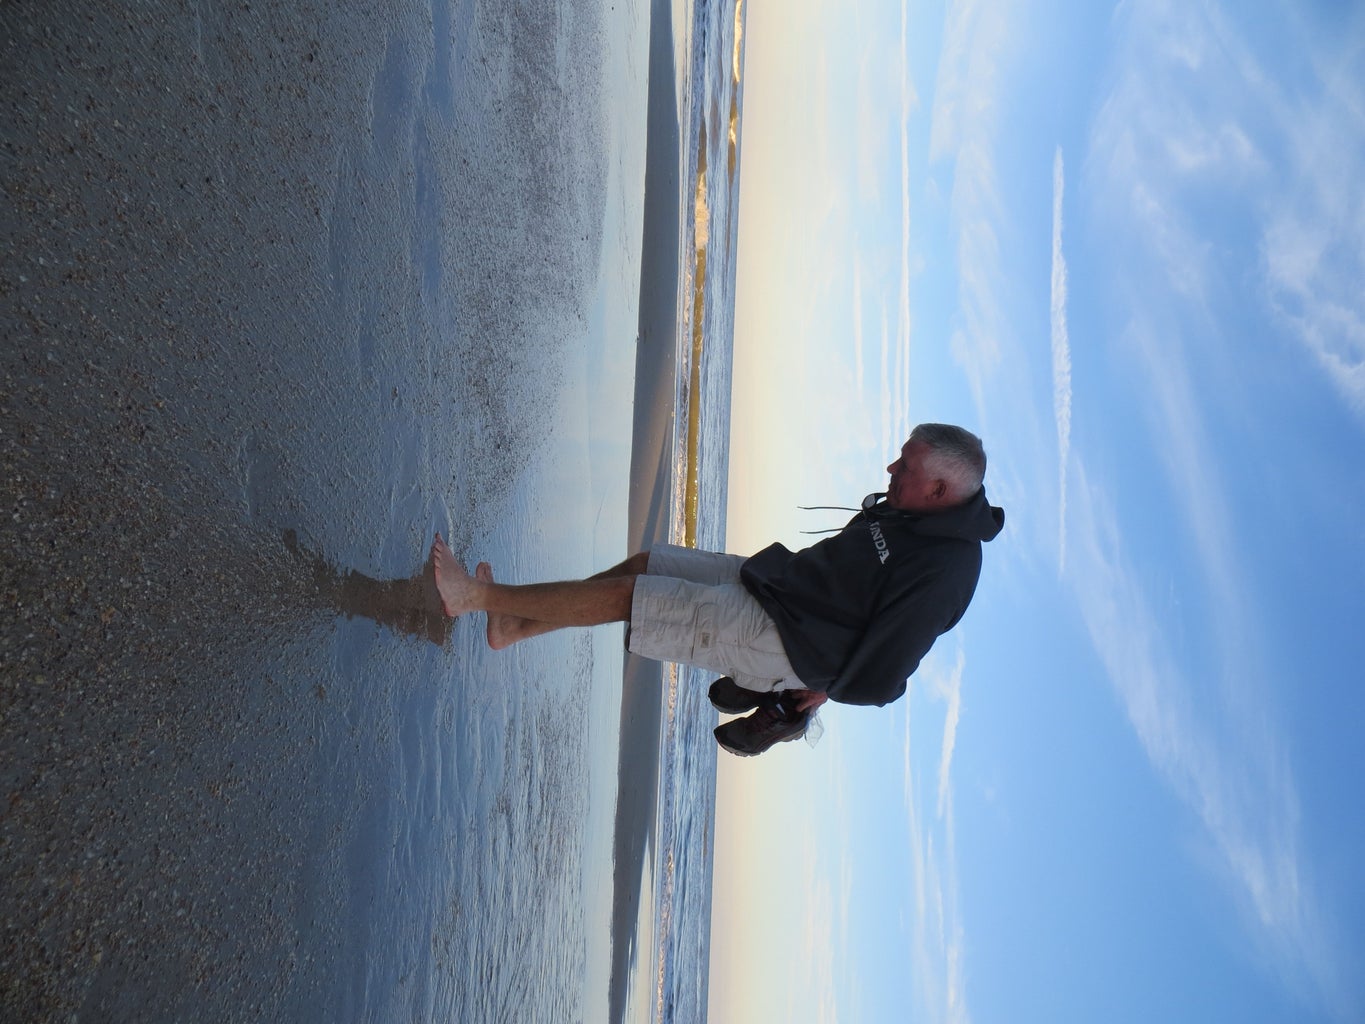
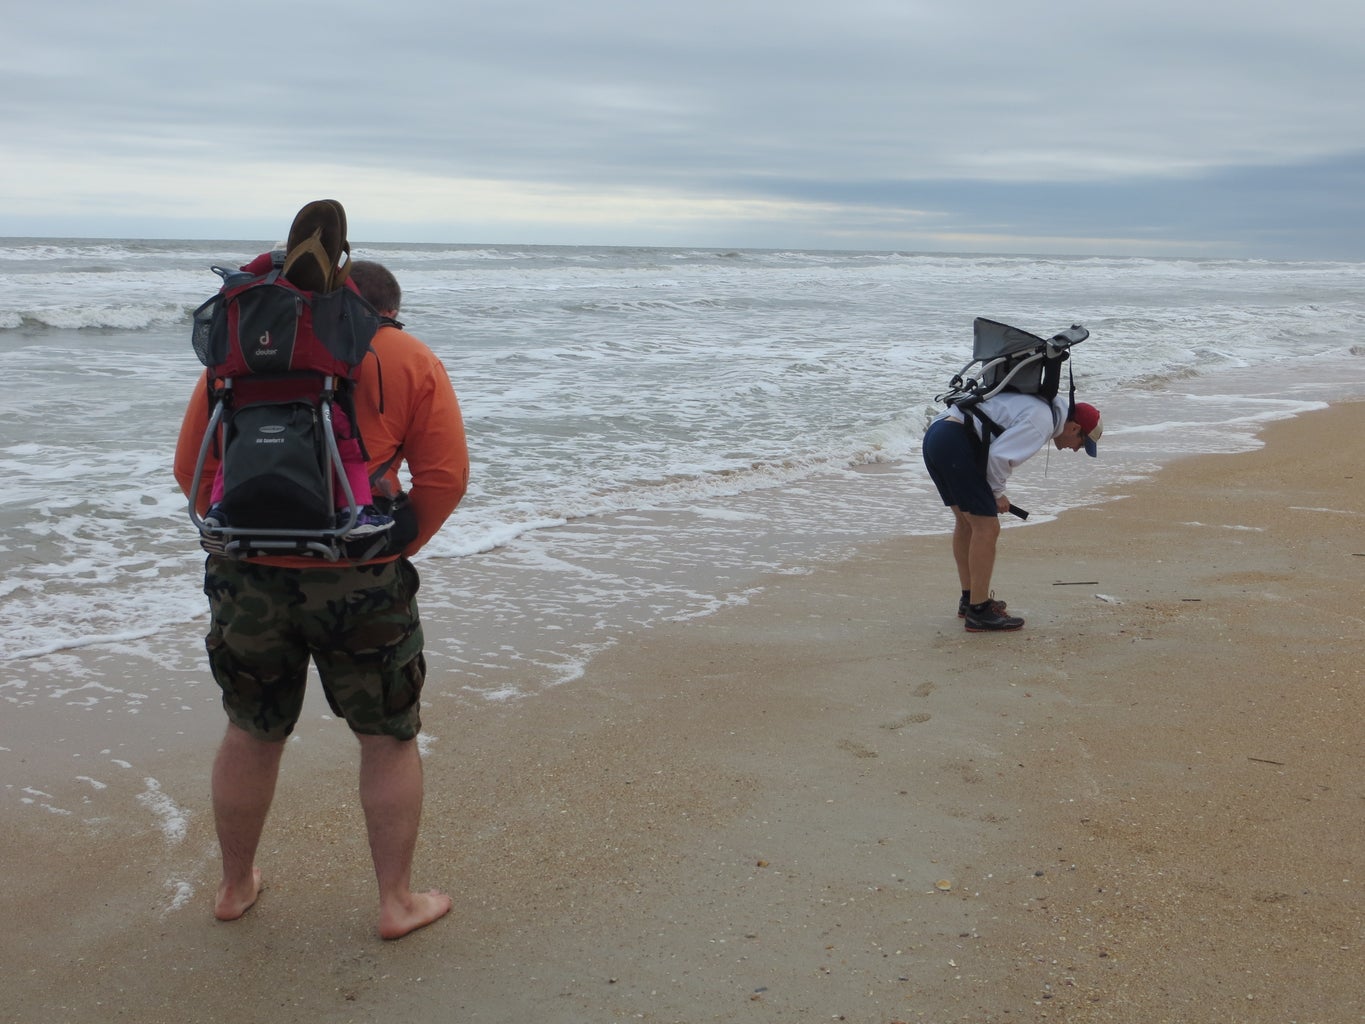
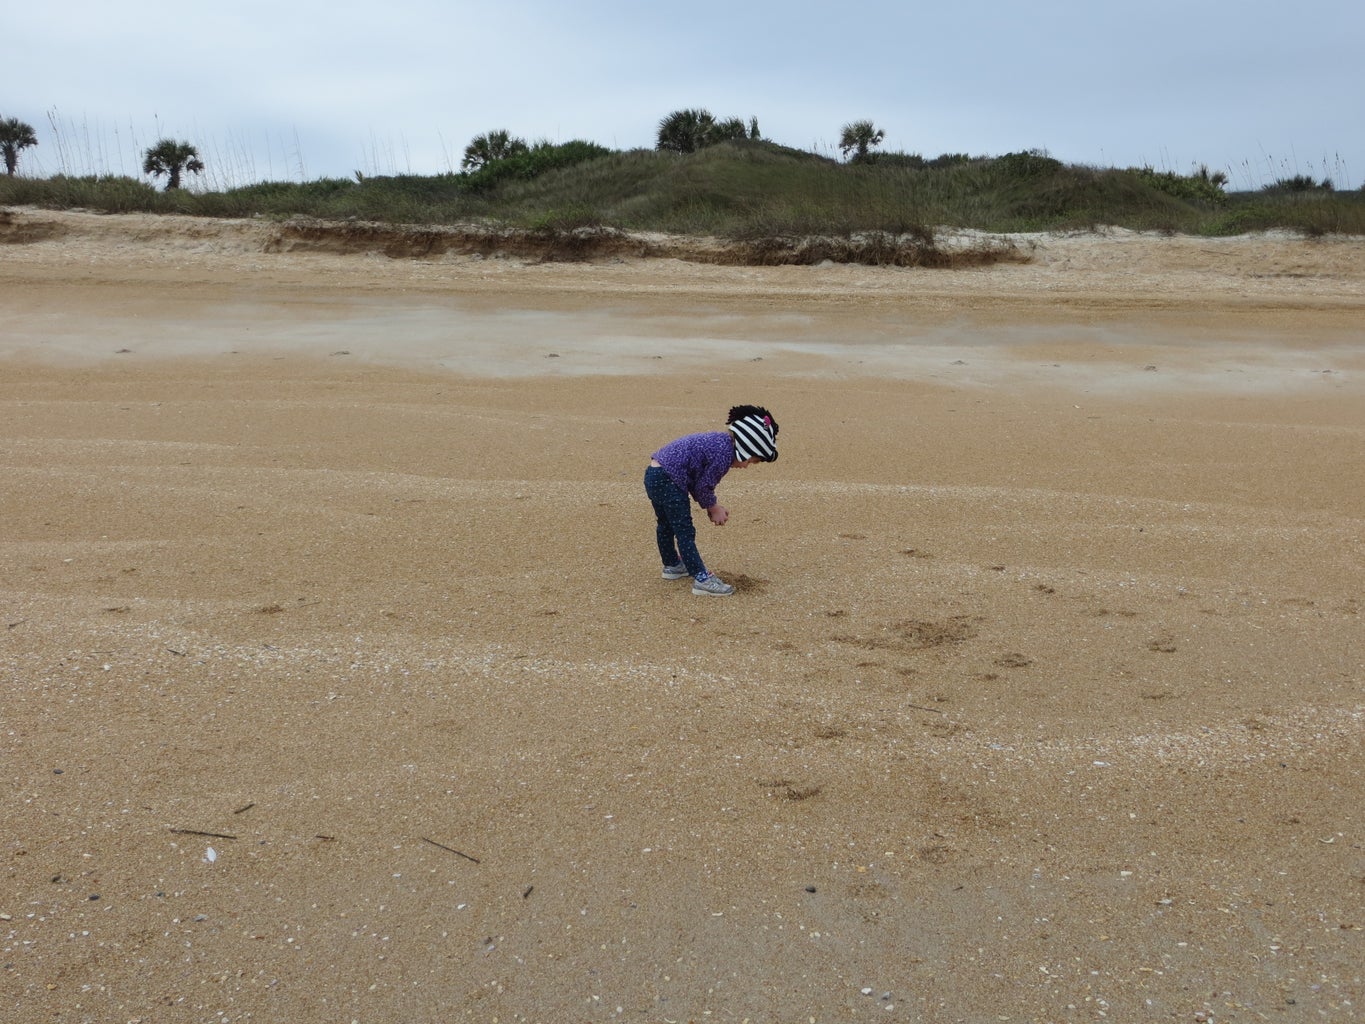
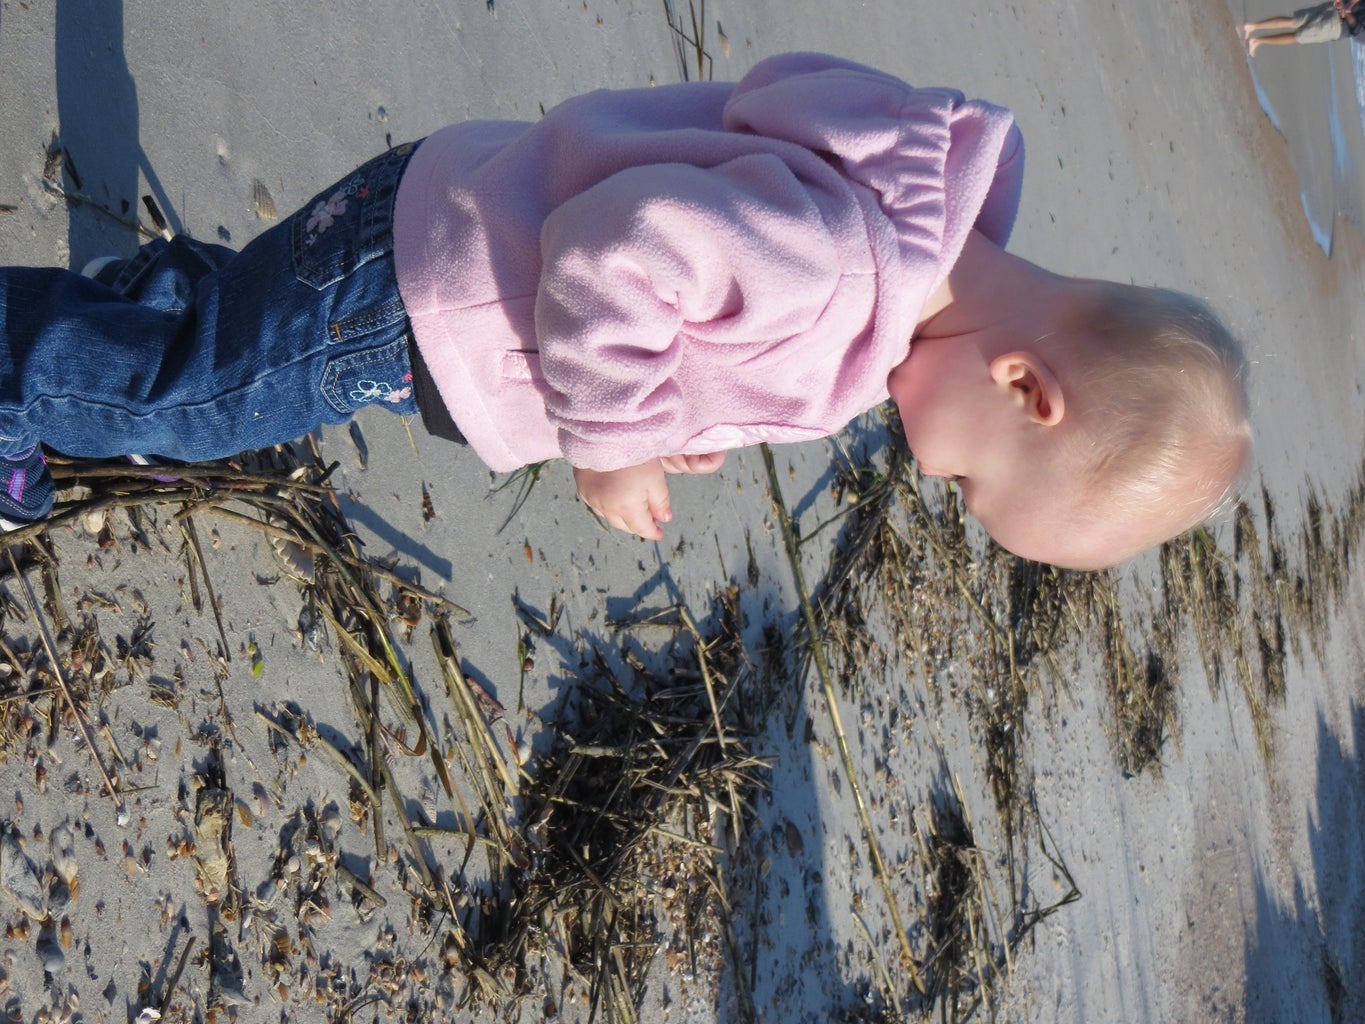
The main goal is to have fun without spending lots of money. Finding shark teeth is a great way of getting the kids out of the house and exploring what our beaches and waterways have to offer. This great experience teaches them firsthand about the ancient and modern day world around them. For me, learning to find shark teeth has been an amazing way to spend time with the family outside. My son asks to go shark teeth hunting almost every weekend and my wife and I have no problem with that, because we enjoy it too. My daughter loves to get in her pack and go for a ride while my son loves the explore the beach and chase Sea Gulls. It is hard to express just how much fun we have a the beach even in the winter months!
Thanks for viewing, and I hope you may have learned something new about how to locate and find shark teeth. Good luck on your hunt!

Second Prize in the
Explore Science Contest

Participated in the
On a Budget Contest


