

Introduction: How to Insert an IV

Here is are step by step instructions on how to insert an Intravenous Catheter (IV).
Step 1: Gather Supplies

Gather supplies including:
- Tourniquet
- Catheter
- 5 ml Normal Saline
- Saline Lock/ piggy back
- alcohol wipe
- 4x4 gauze
- tape (not pictured)
Step 2: Examine

Examine the individual's veins in the selected area. You want to make sure that they have suitable veins for insertion.
Step 3: Apply Tourniquet


After examining individuals veins, you are going to apply the tourniquet. Begin by taking both sides of the tourniquet with index finger and thumb, followed by crossing sides and switching off hands, then tuck front side under second side and tighten. At this point you will decide which vein you will use. Once vein is selected, remove the tourniquet.
Step 4: Cleanse
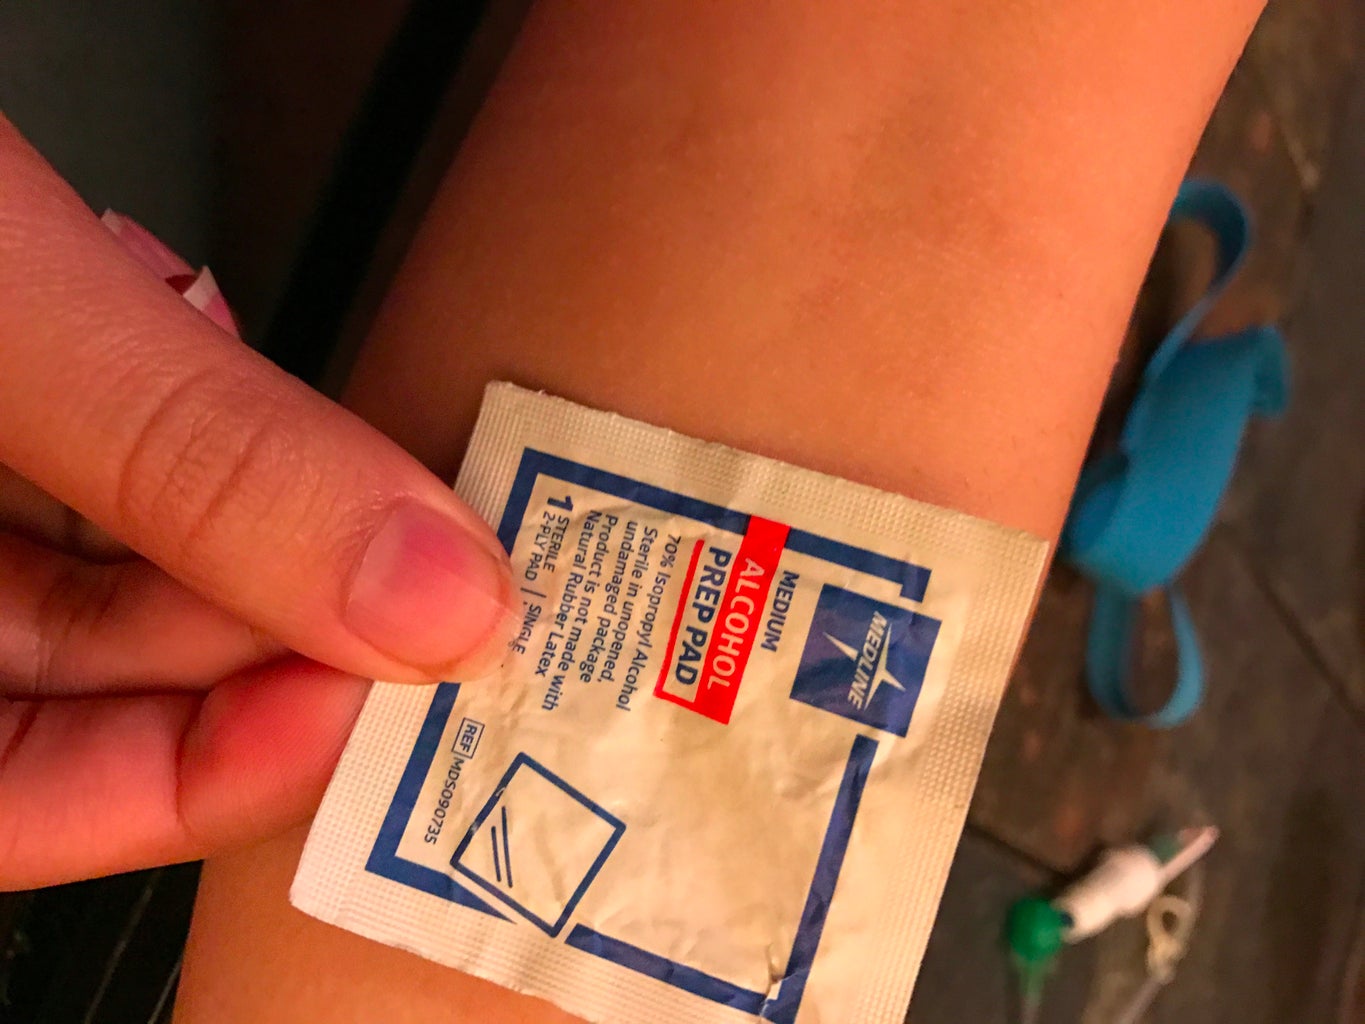

Once tourniquet is removed, you are going to cleanse the IV site. This is to prevent bacteria and/or infections potentially getting into the bloodstream.
Step 5: Replace Tourniquet

After cleansing, replace the tourniquet and prepare for IV insertion.
Step 6: Prepare Needle for Insertion


Make sure you are using a new, unopened needle that is still in its sterile package. Remove needle from package and ensure that catheter is able to unhook from needle.
Step 7: Insertion


Insert needle into the selected vein with opening in the needle facing upwards and wait for blood to return into clear cylindrical chamber. Next advance the catheter forward, but not the needle. A 4x4 gauze pad will be needed underneath the catheter because excess blood will spill out.
Step 8: Release Tourniquet

Step 9: Attachment


Attach the saline lock to the catheter. Ensure that saline lock is in the open position.
Step 10: Patency

Insert 5 ml syringe of normal saline into the saline port to ensure that fluids are able to move freely through the IV.
Step 11: Stabilize

IV should now be stabilized with tape to ensure that it stays in place.


