

Introduction: How to Install and Configure Raspbian on Raspberry Pi 2 (Linux/windows/mac)


Watch the YouTube Video Here
The raspberry pi 2 was announced in February 2015 with a awesome tag of it being "6 times faster".
With a 900 MHz quad core broadcom processor and a GB of ram, the performance is evident.
With faster boot times, (almost) no lags,and smother video performance and all this with the same price tag and form factor as its predecessor has made it a favorite among makers.
Raspbian is the official OS for raspberry pi and is quite an experience on the pi 2.It is a port of the popular Linux operating system, debian whezzy.
The following steps will work even with the older versions of raspberry pi.
Step 1: Gathering the Equipment


You can install Raspbian on the Pi even without a display and extra keyboard and mouse but we are going to use them anyway because it’s easier this way and most of the stuff required is most probably lying around your house.
Besides the Raspberry pi, you'll also need:
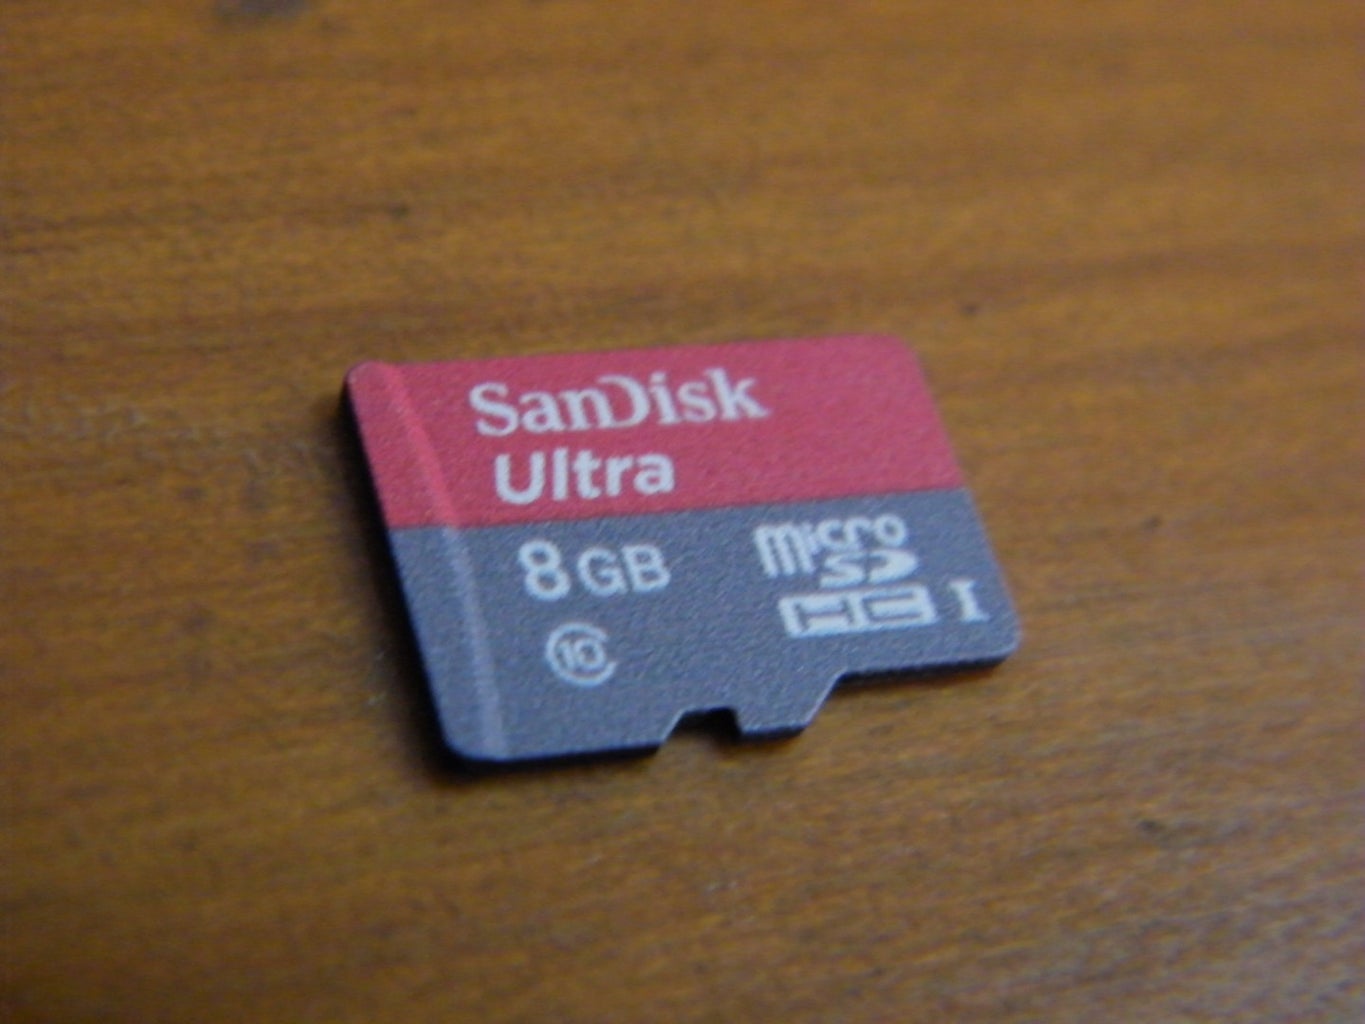
Ø A MicroSD CardThe minimum requirement is 4GB class 4 (higher the class higher the speed), the class of the card is written in a small circle on the card. Using a higher class card is recommended. I will be using SanDisk 8 GB class 10 SDHC card. The 'HC' in SDHC means that the data on the card is written in random memory blocks (this makes them last longer). Getting this type of card is a good idea for the Raspberry.
Ø A keyboard and MouseMost of the wired and wireless (the ones with the wireless dongle not the Bluetooth ones) keyboard and mouse work fine with the pi. I will be using Logitech wireless keyboard and mouse pair.
Ø A Display and Respective CableAny Display with HDMI or RCA (the ones with the red, yellow and white cable) input work nicely with the pi. If you wish to use a display with VGA input (like me), then you can use a HDMI to VGA converter cable.
Ø A 5V Power Adapter600mA is the minimum requirement but using a 1 to 1.5 Ampere power adapter is recommended. I will be using a 1.2A adapter.
Ø LAN Connection or WIFI Dongle (optional) Internet Connectivity is optional while using the setting up the pi but is recommended to keep the software up-to-date. I will be using a Netgear Wi-Fi dongle.
Step 2: Preparing the SD Card


NOTE: Many things can go wrong in this step (especially for Linux and Mac OS users), so follow the steps carefully!!
There are steps listed for Windows, Linux as well as Mac users
The raspberry pi doesn’t have any Flash Memory thus the Operating System and all the related files need to be on the MicroSD Card.
If you face any problems refer the last step for troubleshooting.
For Windows Users:
First of all download the Raspbian image zip from here.
To unzip the zip file you can use one of these tools:
1.Unzip the img file to a suitable location.
2.Download the Win32 Disk Imager from here and install it.
3.Insert your MicroSD card into the PC and format it. (right click the sd card in the windows explorer and click format)
4.Close all windows explorer/file explorer windows as well as any music players running in the background. This step is essential for windows 7 users because these programs can lock the SD card and you may not be able to write to it.
5.Start the Win32DiskImager.
6.Select the correct drive letter for the SD card (you can check this in the windows explorer).
7.Choose the .img file from the location you extracted it to by clicking the file icon.
8.Click write. It might take a couple of minutes to finish writing.
After its finished writing you can safely eject the card and proceed to the next step.
For Linux Users:
First of all download the Raspbian image zip from here.
Don’t insert the SDcard yet!!!
If you don’t already have a unzip tool you can get it by typing the following command in the terminal
apt-get install unzip
Now to unzip the file open the terminal and type the following command
unzip /directory/path/20xx-xx-xx-raspbian-wheezy.zip
Do remember to change ‘/directory/path/’ with the location of the zip file and replace ‘20xx-xx-xx-raspbian-wheezy.zip’ with the name of the zip. At the time of writing the name was ‘2015-05-05-raspbian-wheezy.zip’
1.Now run the following command
df -h
2.A list of mounted devices should come up, make a note of these.
3.Now insert your sd card and run the df -h command again.The new device that has appeared is your SD card. The left column gives the device name of your SD card; it will be listed as something like /dev/mmcblk0p1 or /dev/sdd1. The last part (p1 or 1 respectively) is the partition number. Note down the card’s name.
4.Run
umount /dev/sdd1
replacing ‘sdd1’ with whatever your SD card's device name is (including the partition number).
5.Now to copy the image file to the SD card run the following command
sudo dcfldd bs=4M if=/directory/path/20xx-xx-xx-raspbian-wheezy.img of=/dev/sdd
please note to replace ‘/directory/path/’ with the location of the .img file and replace ‘sdd’ with the name of your SD card(without the partition number).
When the image is done writing you can safely eject the SD card and proceed to the next step.
For Mac OS Users:
First of all download the Raspbian image zip from here.
Don’t insert the SD card yet!!
To unzip the zip file go to /System/Library/CoreServices and double click the ‘Archive Utility’ to open the app and follow the following steps.
·Select File and click Expand archive.
·In the window that opens navigate to the place where you downloaded the zip file.
·Select the .zip file click the Expand button.
·Close the utility when the file is done expanding.
Now to write the image to the SD card follow the following steps:
1.Run the command
diskutil list
Make note of the disks mounted
2.Now insert your SD card and rerun the diskutil list command.
3.Identify the disk (not partition) of your SD card(it’s the new disk that appeared in the list above) e.g. disk4 (not disk4s1)
4.Now run the following command
diskutil unmountDisk /dev/disk#
Replace ‘disk#’ with the name of your SD card (without the partition) e.g. diskutil unmountDisk /dev/disk4
5.To write the image to the SD card run the following command
sudo dd bs=1m if=/directory/path/20xx-xx-xx-raspbian-wheezy.img of=/dev/disk#
Note to replace ‘/directory/path/’ with path of the .img file and replace ‘20xx-xx-xx-raspbian-wheezy.img’ with the name of the .img file (at the time of writing it was 2015-05-05-raspbian-wheezy.img) also replace ‘disk#’ with the name of your SD card (without the partition).
6.You can check the progress by pressing Cmd+T
After its done writing you can safely eject the card and proceed to the next step.
Step 3: Completing the Computer

Though the Raspberry Pi is called a computer, it itself can’t run. It needs a couple of IO devices.
1. Insert the MicroSD card (now with Raspbian written on it) into the card slot at the bottom of the Pi.
2. Plug in your USB keyboard and mouse or the wireless receiver for you wireless keyboard and mouse.
3. Plug in the LAN cable into the Ethernet port or the USB Wi-Fi dongle.
4. Plug in your HDMI cable or RCA cable for analog display in the 3.5 mm jack.
5. Plug in the MicroUSB cable from the power adapter. The Pi doesn’t have a power switch, it will turn on as soon as you plug in power.
Step 4: Configuration


When the first boot is complete, you will be greeted with the configuration tool. There are a bunch of options here, some of these are useful others are useless for a beginner.
Let’s check out some of the useful options:
1. Expand Filesystem: You should enable this (press enter). It will allocate all of the SD card’s space to the OS.
2. Change User Password: This is to change the default password (default password is ‘raspberry’). You should change that in case you want to take up a project that might need stronger security (e.g. web server, home automation/security).
3. Enable boot to: This let’s you choose whether to boot into the desktop environment, scratch or the command line (default). Since most of the projects make use of the command line only you should leave it as is for now. You can go to the desktop environment from the command line by running the command startx.
4. Internationalization Options: If you want to use a language other than English it can be changed in here along with keyboard layouts.
5. Advanced options:
· SSH: You should enable this even if you don’t know what it is right know. Most projects use it and it is a very useful tool in general since it let’s you control all the aspects of the Pi without a dedicated display and keyboard and mouse.
· Audio: If you connected external spekers to the 3.5mm jack than you can force the audio to them with this option.
These are all the options you need to look at for now, if you ever wish to change any of these settings you can always come back by running thhe command sudo raspi-config in the terminal or the command line. You can exit now, the settings will be automatically saved. You can navigate to the bottom buttons by using the left or right arrow keys.
Choose ‘Finish’ and then ‘Yes’ to reboot.
You are now successfully running Raspbian!!
You will be asked for a login and password.
Login: pi (press enter) Password: raspberry (press enter)
The password won’t be visible while typing, not even *’s (it’s a security feature in linux)
(If this screen doesn’t look like much to you, then you can go to the desktop environment by running the command startx)
If you had plugged in a LAN cable then you should be now connected to the net but if you used a Wi-Fi dongle like me then it needs to be configured.
We can do so from the command line itself but it is easier from the desktop environment. Type the following command to boot into the desktop environment
starx
- When you are successfully booted, click on menu in the upper left corner, then on preferences and select Wi-Fi Configuration.
- In the window that pops up select scan.
- A list of available networks should come up, double click the one you want to connect to.
- Enter your password in PSK textbox and click on the add button.
You should now be susseccefully connected to the World Wide Web.
You now set-up and ready to go but a last step recommended to do before proceding is to update the software. You can do so by typing the following commands into the terminal or the command line (press enter after each line).
sudo apt-get update sudo apt-get upgrade
You are now running a fully configured, latest version of raspbian.
If you faced any problems then go to the next step for troubleshooting.
Step 5: Sqashing the Bugs (Trobleshooting)


Though the process is straightforward and easy to follow, a couple of problems may arise.
=> Win32 Disk Imager gives an "Error 5 : Access is Denied"
This error arrises when a program has locked the SDcard for itself. Try closing all the windows explorer windows or music players running in the background.
=> The terminal fails to write the image to the SDcard in Linux.
Try replacing '4M' with '1M' in the command
sudo dcfldd bs=4M if=/directory/path/20xx-xx-xx-raspbian-wheezy.img of=/dev/sdd
Also make sure that the path and name to the image file is correct. also check the name of your SDcard and make sure that you haven't entered the partition number along with the name.
=> The terminal fails to write the image to the SDcard in Mac OS.
Try replacing '1m' with '1M' in the last command
sudo dd bs=1m if=/directory/path/20xx-xx-xx-raspbian-wheezy.img of=/dev/disk#
Also make sure that the path and name to the image file is correct. also check the name of your SDcard and make sure that you haven't entered the partition number along with the name.
=> Nothing shows up on the display when power is plugged into the Pi (The Pi doesn't boot up)
Check if the red led on the Pi is blinking (turning on and off), if so then check the connection to your tv, see if its turned on from the mains, also check your HDMI/RCA cable.
If the red LED is not blinking (either on or off permanently), then try unplugging and plugging back the power to your pi. If this doesn't work then you should format your SD card and rewrite the image to it.
If the Pi still doesn't boot up then your SDcard might not be compatible with the Pi. Try to use a card of better quality.
=> An error appears on booting to the desktop enviornment saying " cannot determine user of the subject"
You can simply ignore it, just click OK and continue as normal but if you wish that the error dosn't appear again, follow these steps.
-Open LXTerminal
-Type the following command and hit enter to open Desktop Session Settings
lxsession-edit
-Uncheck LXPolKit.
-Click OK
-Reboot.
=> I have plugged in a Wi-Fi dongle but I can't connect to my network
If no network is visible, check to see if a adapter is visible in the adapter drop down menu in the wifi configuration tool.
If you are entering a password and the Pi isn't connecting to the net on clicking add then try to enter your password in some other text box and see if any symbols(@,",:,# etc.) are appearing wrong. If so then you need to change your keyboard layout in the Internationalization options in the raspi-config tool.
=> If you face a problem that wasn't covered here, then let me know in the comments below and I will try to help you to the best of my ability.
Thanks for reading this instructables. let me know in the comments bellow if I have made any mistakes or if I have missed anything.
Watch the associated YouTube video HERE
Visit my YouTube channel page for more tutorials and How-to's
Follow me on Twitter HERE
Visit my Google+ profile for the latest updates


