

Introduction: How to Make a Landscape Oil Painting

In this tutorial, you will learn how to paint a landscape oil painting on canvas.
*Exclusive tips & tricks will be revealed from an oil painter of 17 years!*
For this activity, you will need:
1 Rectangular White Canvas (You may use whichever size you prefer - I have used a larger 24" x 36" canvas. Medium canvases range from size 8" x 10" to 16" x 20".)
1 Set of Oil Paints (I recommend using Winsor & Newton Artist's Oil Colour.)
1 Set of Oil Paint Brushes (Choose a set with a variety of sizes.)
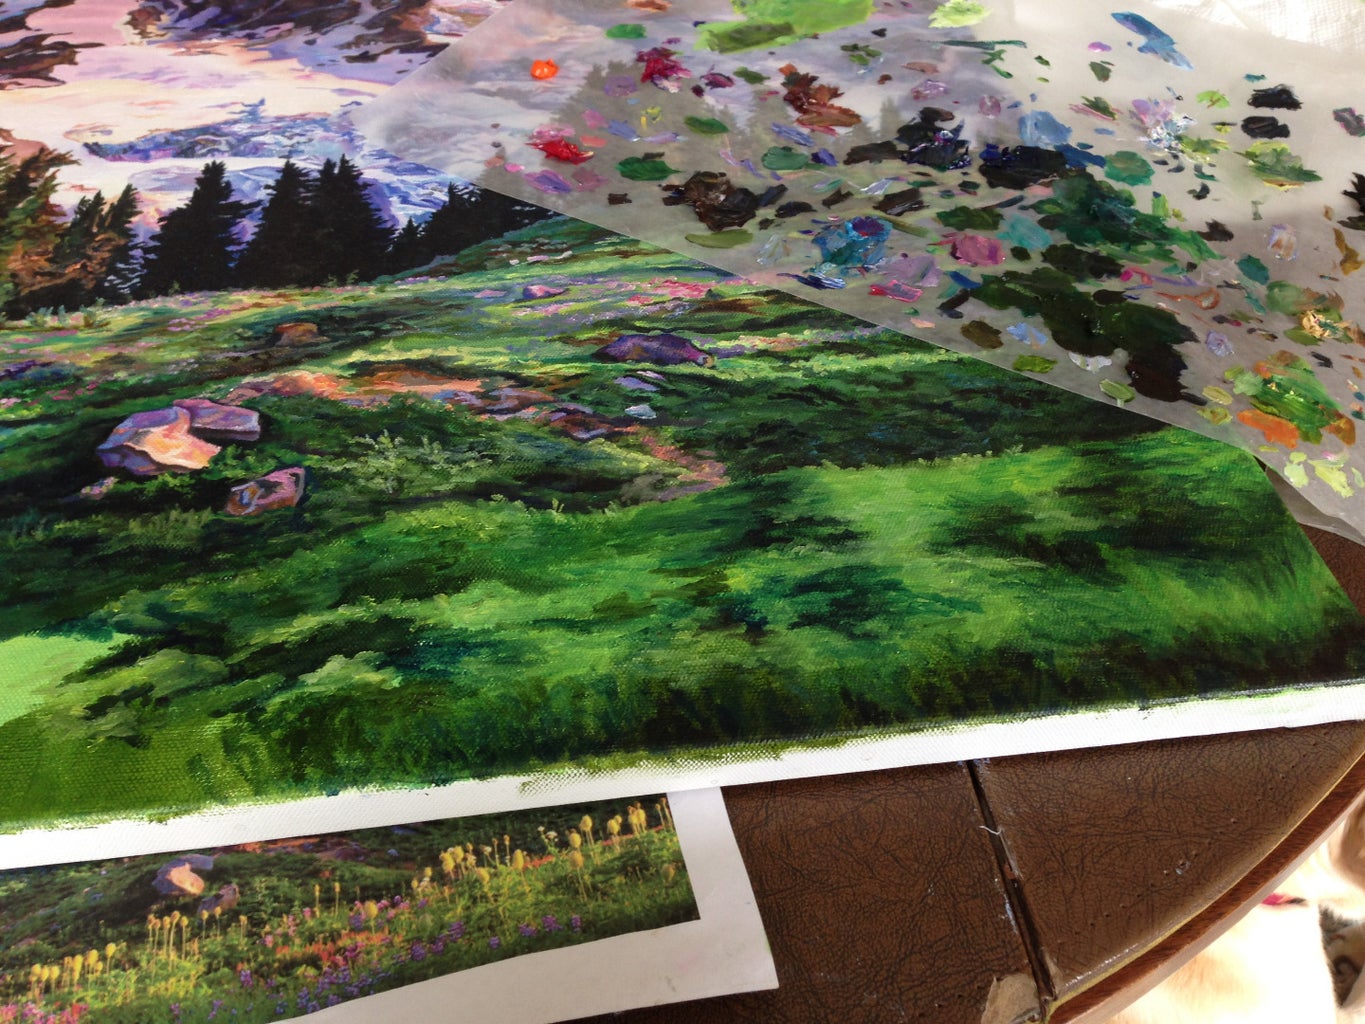
1 Piece of Wax Paper or Paint Palette (for mixing paints - A piece of wax paper works just as well as an expensive palette and is easily disposable.)
1 Pencil with an eraser
1 Ruler
1 T-square (Pick a T-square that extends across the longest length of the canvas.)
Step 1: Choose a Photograph
First, you will need to decide what it is that you want to paint. This tutorial focuses on landscape paintings, so I encourage you to find a photograph of the coolest place you have ever traveled. This creation can be hung on your wall once it is finished, and then you can be transported back to that amazing place everyday when you admire your masterpiece.
I chose a photograph of Mount Rainier. If you are a beginner, choose a painting without a lot of detail. It is always better to start with a simple landscape, such as a beach with one rock, or a field with one large tree in the front.
Why did I choose a mountain? Here's a little bit about myself and my passion:
My absolute favorite subject to paint is rocks, whether it be a waterfall formation, desert formation, mountain or a small stone. Whenever I say this, people either think I am crazy or are very confused. However, I have always loved the simple beauty of the little things in life. When I started painting at age 5, I found this simple love in rocks, which are all unique and all have the most interesting texture and colors, making them challenging yet exciting to paint.
Now, print the photograph. I recommend printing it in a size ratio that is equivalent to the canvas size ratio. For example, if I am using a 10" x 14" canvas, I will print my photograph as 5" x 7" (half of each canvas dimension).
Step 2: Turn on Your Favorite Music Station

This helps you relax and stay motivated while painting!
My art studio is never silent. I constantly have music blasting to keep myself happy, confident, and excited to create something beautiful. Music is a way to express yourself, as is painting. With music, you will be more inclined to paint with your own unique style and have fun doing it!
Step 3: Draw a Grid on the Canvas and Photograph
This step is especially important for more intricate painting subjects with many different elements.
For this step, you will need your pencil, canvas, and eraser. Make sure to draw the grids explained below lightly with pencil; darker lines can become messy with excess lead and be more difficult to cover with paint.
Decide on the grid size you will use on the photograph. For more intricate pictures, use a smaller grid in order to be able to draw each object and detail in the correct place. The grid method not only helps with placement, but it also helps with proportion.
Now, make evenly spaced tick marks on each side of the photograph. Connect the ticks that are directly opposite to each other using a ruler.
You now have an even grid of squares covering the photograph print.
For your canvas, you will need to create another grid of squares using a T-square. This time the squares will be double or triple the size of the other grid's squares, depending on the size of the canvas and photograph. When you use a T-square, be sure to hook the "T" part evenly against one side of the canvas. This helps the T-square to not move as you are drawing your lines and will help you make your lines exactly parallel to the canvas edge.
Step 4: Sketch the Subject
Using the matching grids, you can begin to sketch the painting subject on the canvas. For example, if a tree starts in the middle of the top left grid box of the photo, draw the identical part of the tree in the top left grid box on the canvas. You will be drawing the exact piece of the subject in the matching grid box on the canvas. Continue until the entire landscape is drawn on the canvas.
Your sketch isn't perfect? It doesn't have to be! This entire sketch will be covered with paint by the end.
Step 5: Paint the Background

Imagine you are taking the photograph. What is the furthest from you? This will be the part of the painting that you paint first. In nearly all landscapes, the sky is the furthest and will be painted first.
Mix the dominant color of the background. If you are painting a sky, start with the blue portion of the sky. Next, add the clouds with plain white paint. Each cloud has a depth to it, so each cloud will need lighter and darker portions. Look at the photograph. If there are clouds in your photograph, what colors do you see in the clouds? In many clouds, if you look close enough you can see purples, yellows, blues, and grays. Don't be afraid of adding these colors! It makes the painting a lot more interesting to look at. As you further your ability to paint with a depth of color, your paintings will look more like a photograph over time!
With oil paint, it is very easy to blend. So, after your white clouds are on the canvas, you can easily add the details in with a smaller brush and blend the colors with small circular motions of the brush against the canvas. This makes the cloud look fluffy - make sure to fluff the outside edges of each cloud!
Step 6: Paint Forward


From the sky, move forward to the next closest part of the photograph.
To begin painting this, start with grouping the areas of this part by color. Paint in these large blocks of color, without paying close attention to detail. You are basically painting a silhouette of the object using the most dominant color of the object. Once this is finished, choose your smallest brush and paint in the details.
*Do not move forward in the painting until this entire portion of the painting is complete with details.*
Keep moving forward in the painting, always starting each part with large color blocks, then adding details.
Do not worry if you mess up anything! Oil paint is the most forgiving type of paint to use. It does not dry for 2-3 weeks, so you have plenty of time to fix colors or blend colors before the painting dries. If you cover a section with a bad color, you can always use a paper towel to easily and carefully wipe the color away. There will be a slight residue from the paint left after wiping it, but this can easily be covered by another paint color.
Step 7: Step Back and Admire Your Masterpiece

It is now time to step back and admire your painting.
For me, this is also a great time to notice any parts of my painting that may look odd, not detailed enough, or not proportional. If this is the case, all I need to do is sit down and continue doing what I love to do. Once I think I have fixed the error, I step back again and check the painting until I am completely happy with it.
Ask your friends and family for input - you will likely get drowned in compliments! Now, hang your masterpiece in a place that you and others can enjoy everyday!


