

Introduction: How to Make a Teeter Totter From an Old Tire


When I saw this one on Pintrest (http://sweetteal.wordpress.com/2011/08/21/diy-recycled-tire-rocker-aka-tire-teeter-totter/), I had to have one. I can’t afford a great Rocking Horse, so this would be a great substitute and was small enough to go into the basement with the other little kids’ toys. One big problem, no old tire. I mentioned it to a friend and she had some in her backyard. Before you could say “Merry Christmas” I had an old tire. (They still can’t believe that I really wanted it.) Hurray! So here we go on an adventure on how to make a Teeter Totter out of an old tire.
Step 1:
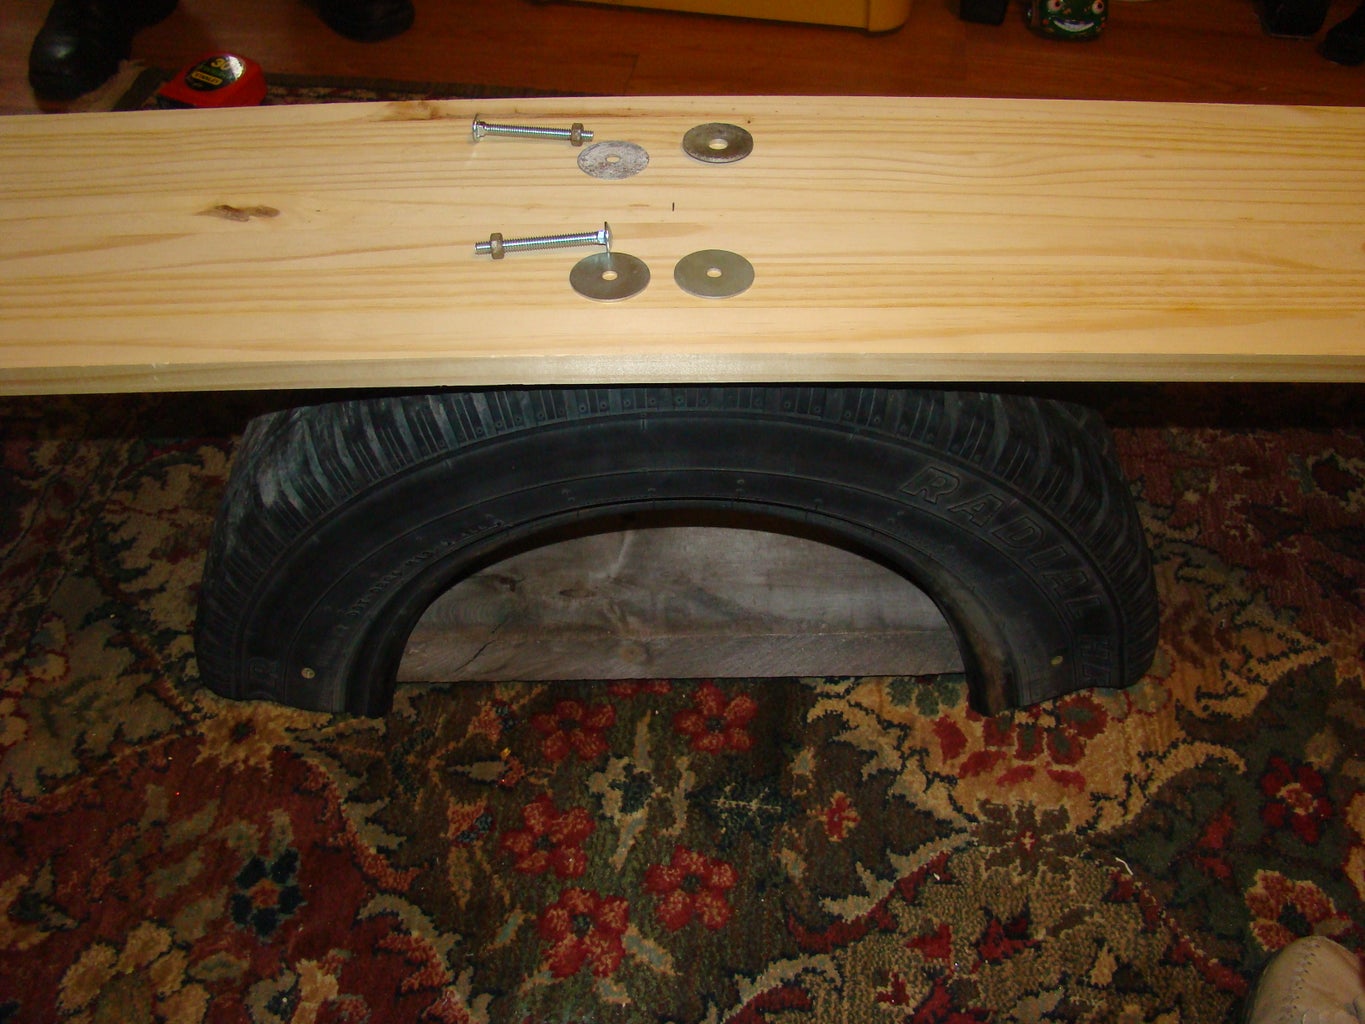
Supplies: (This picture doesn't show everything on the list)
An old tire (doesn’t have to be very big)
A saws-all
2” x 8” x 24” long board (scrap will do)
1” x 9” x 48”inch long board
10-2” long wood screws
2- ¼” x 4” carriage bolts,
2- ¼” washers
2-¼” nuts
2- ½” x 3” carriage bolts,
2- ½” washers
4-½” nuts
2-5/8” washers
Chop saw
Table saw
Saber saw
Router
½” corner round router bit
Drill with screw driver bit
Long ¼” drill bit
½” drill bit
Belt Sander with sand paper
Tape measure
Socket wrench, to fit both sizes of bolts nuts
Primer paint
Spray paint (your choice of color(s))
2-1¼” diameter dowel, 8” long
2- 1¼” x 1¼” x 4” long wood blocks
Wood filler (we used Sugru)
Step 2:
First thing you do is clean your tire, especially if it is going to be an inside toy.
Next thing do is cut the tire in half. My Hubby took this on without warning me, so there are no pictures of the before part of the project. It’s not perfectly straight, and cutting through the steel belts really dulled the blades, (sorry about that Sweetheart). Also, because it was winter outside, he did it inside the house, so the house spent a day smelling like burnt rubber (you think?).
Step 3:
Take the tape measure and measure the distance between the inside walls of the tire, at its widest, and the diameter of the inside of the tire.
Step 4:
We had scrap wood in the back yard that would fit so we cut a piece of the 2”x 8”, 24 inches long. It was wedged into the inside at the cut end of the tire. The long wood screws were driven through the tire into the wood. Two screws, into each end of the tire,
Step 5:
and one screw into each of the four sides.
Step 6:
Now would be a good time to prime your tire with primer paint. Protect all your surfaces and have ventilation going, so you don’t coat your lungs with spray paint. (Did that once, never again!) Now paint the tire with your chosen color of spray paint. (I had lots of white left over from other projects, so white it is.)
I’ll have you know that once my Hubby got started he basically took over the wood working part of this project. Plus he had many days off from work and we had grandkids here and he wanted to get it done so we could let them test it out for us.
Step 7:
So Hubby came home from work with a 4 ft. long, 18 inch wide piece of scrap timber. With the table saw he ripped it into 2- 9” x 4’ long, boards. He made a pattern for the curves he cut into the boards, by laying a round clothes basket on a piece of paper and tracing the curve. Then he cut out the pattern and traced it on to the board, 4” from each end, on both sides.
Step 8:
He then took the saber saw and cut out the curves.
Then he got out the router, and rounded all the top edges. He said that the bottom edges wouldn’t need it. This is the seat of the Teeter Totter. He then used the belt sander and sanded the board so that it is as smooth as silk.
Step 9:
My Hubby decided to put wood handles on to each end of the seat. Hubby went down stairs and came back up with 2 – 1¼” square blocks 4” long, and a 1¼” diameter dowel, from which he cut 2 – 8” pieces. As I painted, my Hubby used the sanding barrel on the router and used it to create curves in the top of the blocks of wood, in which the dowels would rest. He put everything together and drilled a hole from the top of the dowel through the wood block.
Step 10:
He then drilled a hole in the center of the seat, 15½” from the end. He put the 4” bolt through all the holes and, on the underside of the seat, put a washer and the nut. He tightened it down with a socket wrench. He repeated the process for the handle on the other end.
Meanwhile I was allowed to paint the wood with the spray paint. We will have this as a back yard toy for this summer. So we wanted the wood to be totally protected. We ended up spraying on 4 coats of two different colors of blue paint (ran out of the light so finished with the dark).
Step 11:
Only one problem, there was a gap between the dowel and the curve in the block handle, so I grabbed some Sugru and used it to fill in the gap, you could use wood filler. Once it was dry, finished painting the seat and handles.
Step 12:
Next he determined where the center of the seat was, and marked where the two ½” carriage bolts would go (at 3” & 6”) He placed the seat on the top of the tire treads, finding where it would balance best. He then drilled 2-½” holes through the seat and through the treads of the tire.
Step 13:
The bolts went through the wood, but not through the rubber, so he used this tool (my Hubby says it’s a graduated drill bit), to ream out more rubber. He then, put the ¾” washer on top of the holes in the wood, then slid the bolt through, then put the other washer on the end of the bolt on the underside and screwed on the nut.
Step 14:
He tightened it to where it was tight enough that the seat could rock back and forth using the flexablity of the tire rubber. He put the second nut on to lock the first one into place.
Step 15:
Step 16:
Enjoy, we do!

Participated in the
ShopBot Challenge

Participated in the
Toy Challenge 2

Participated in the
Holiday Gifts Challenge


