

Introduction: How to Program Arduino Pro Mini Using Arduino UNO.


Hello guys,
Today I'm sharing a simple method to program Arduino Pro mini using Arduino UNO. This tutorial is for those who are getting started with arduino and want to reduce the size of their project by using an Arduino Pro mini.
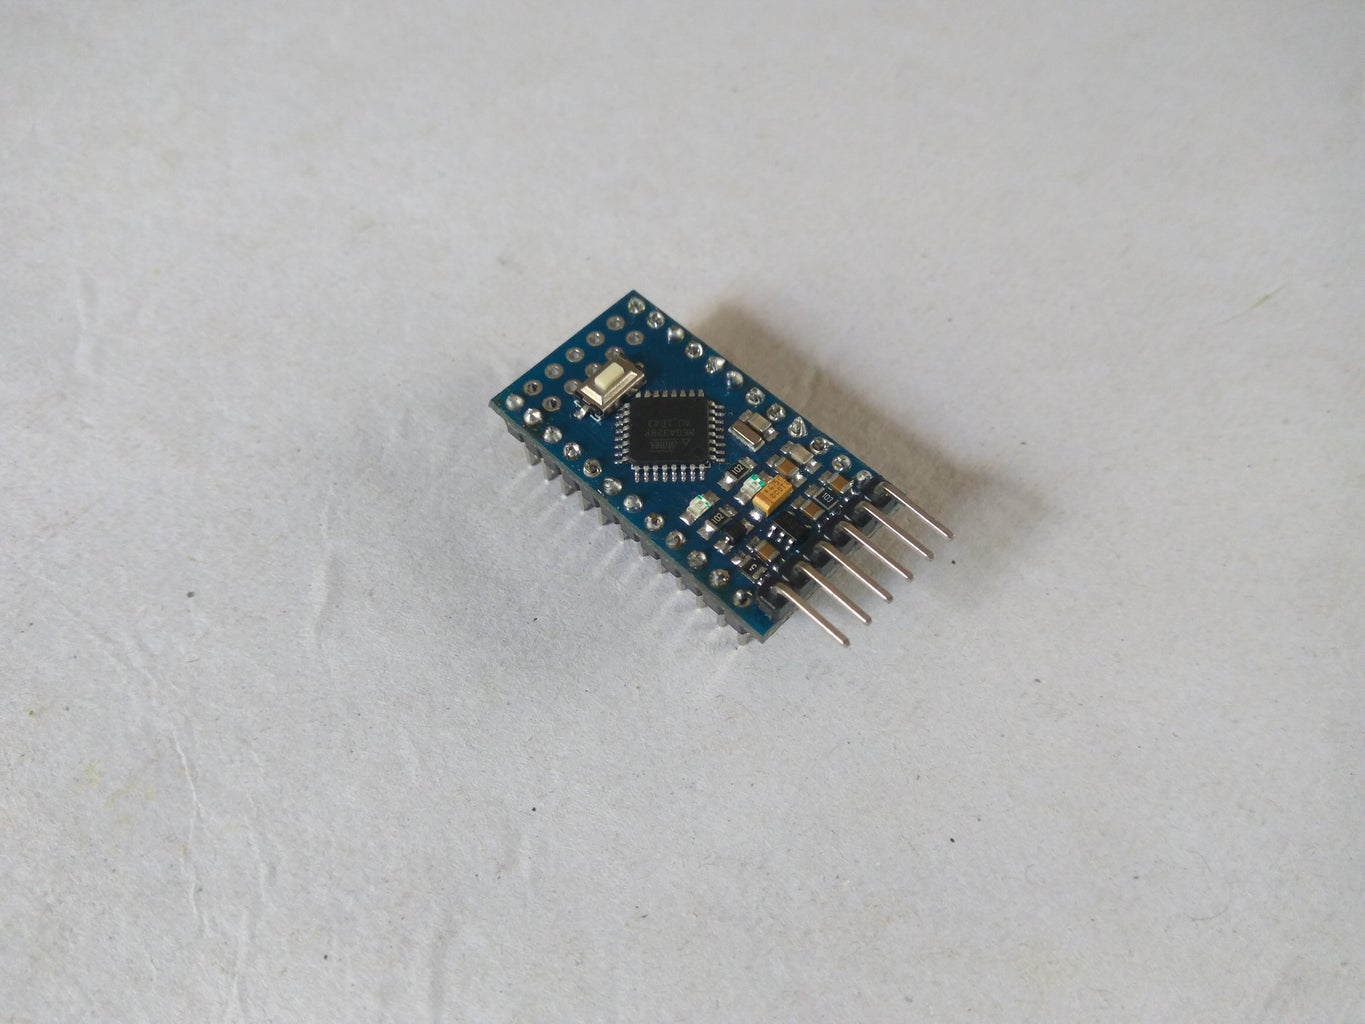
Arduino Pro mini is just a small version of UNO with same Atmega 328 IC . It is tiny without any USB port for programming and needs a special Module to program but we can still program it using Arduino UNO.
NOTE:- Arduino UNO SMD version cannot be used here.
Step 1: Gathering Material :-
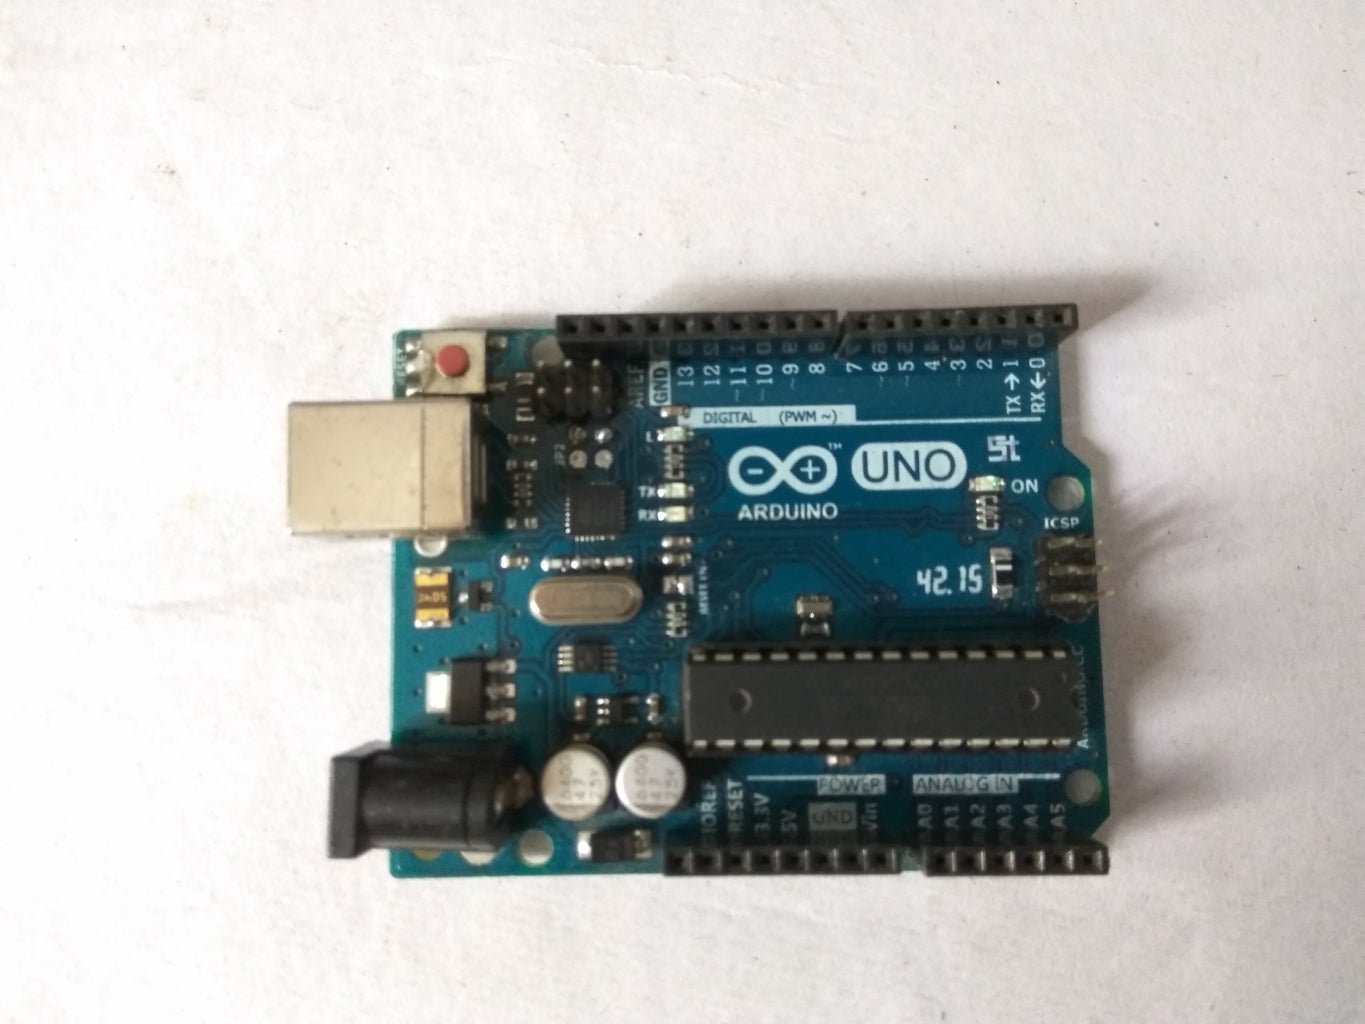

- Arduino UNO R3.
Link for US
Link for Europe - Arduino Pro Mini.
Link for US
Link for Europe - BreadBoard.
Link for US
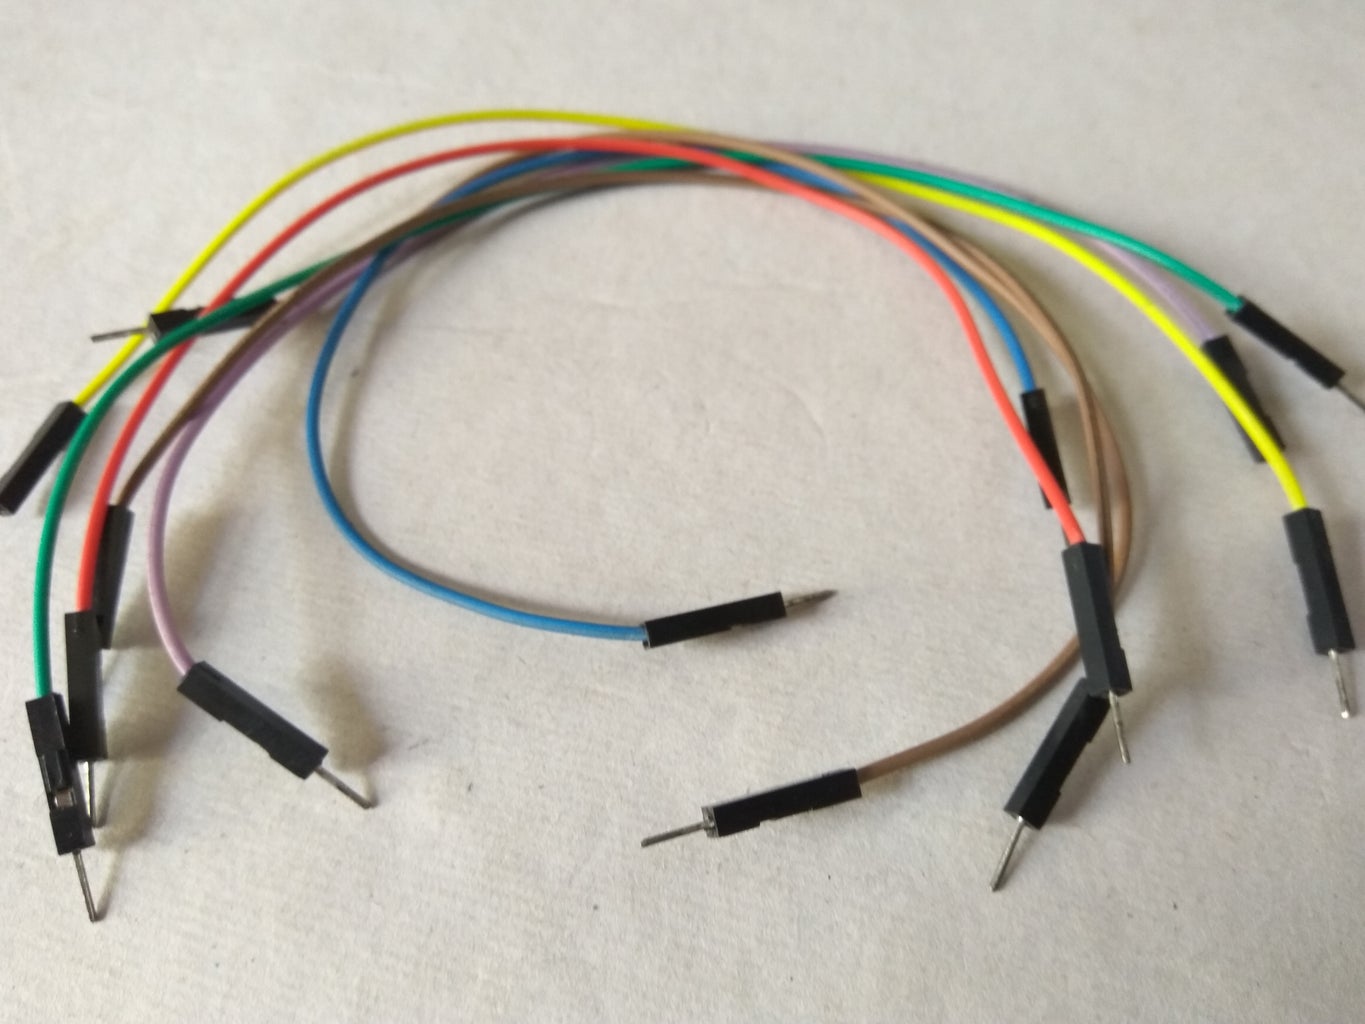
Link for Europe - BreadBoard Connecting Wires.
Step 2: Preparing Arduino UNO for Programming :-
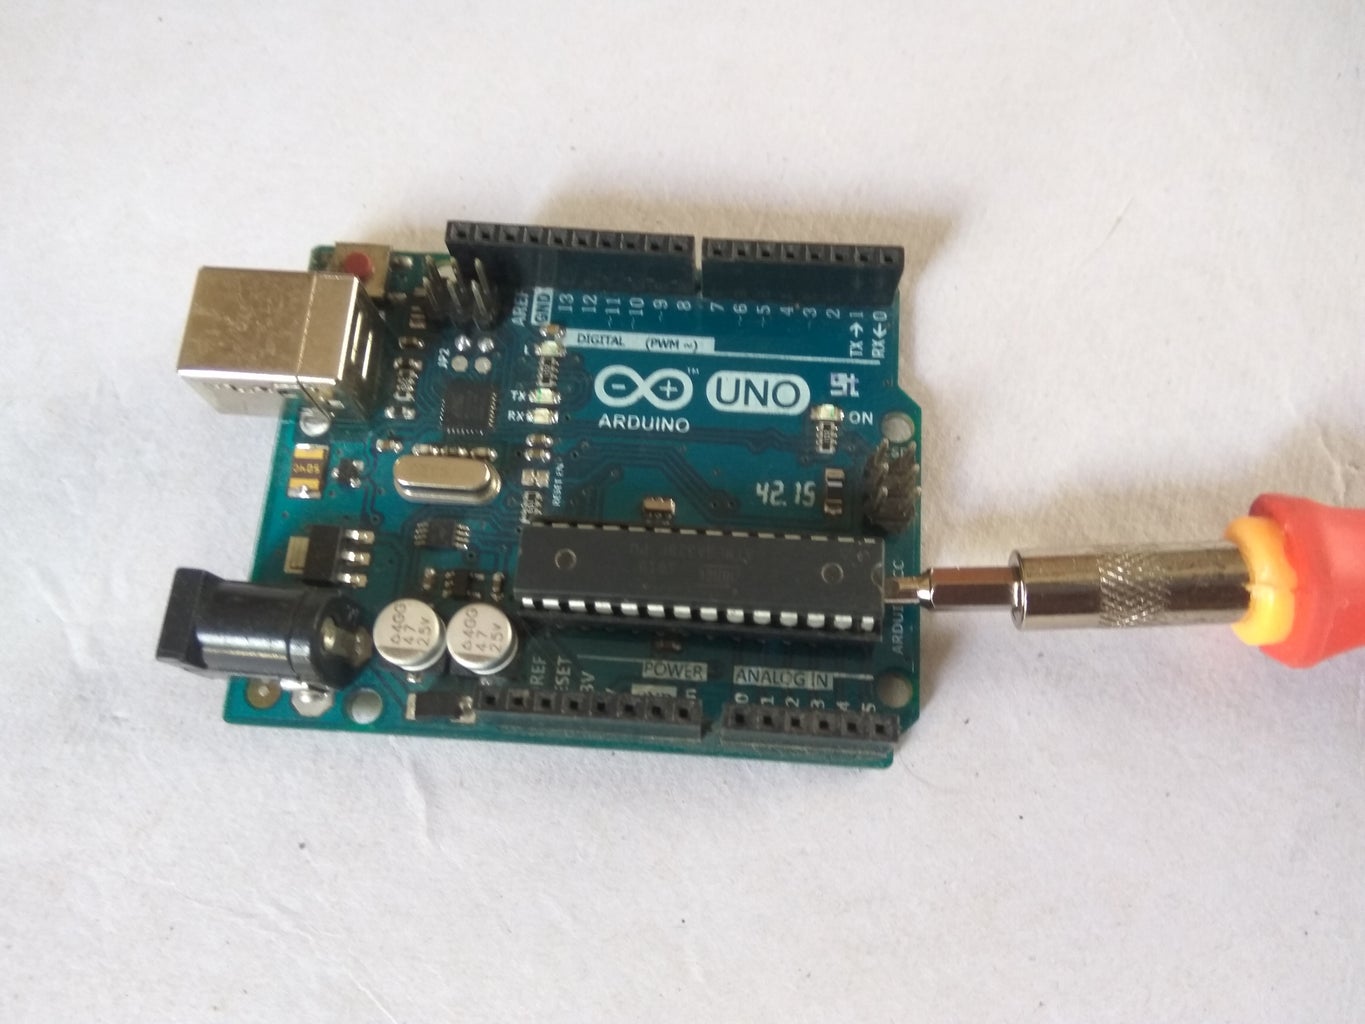
Before getting started with connecting Pro mini we first need to remove the ATmega 328 chip from the UNO board. Do this Carefully...
First Take a flat head screw-driver and gently place it under the IC and pry it slowly now do the same from other side and the IC should pop out of the socket.
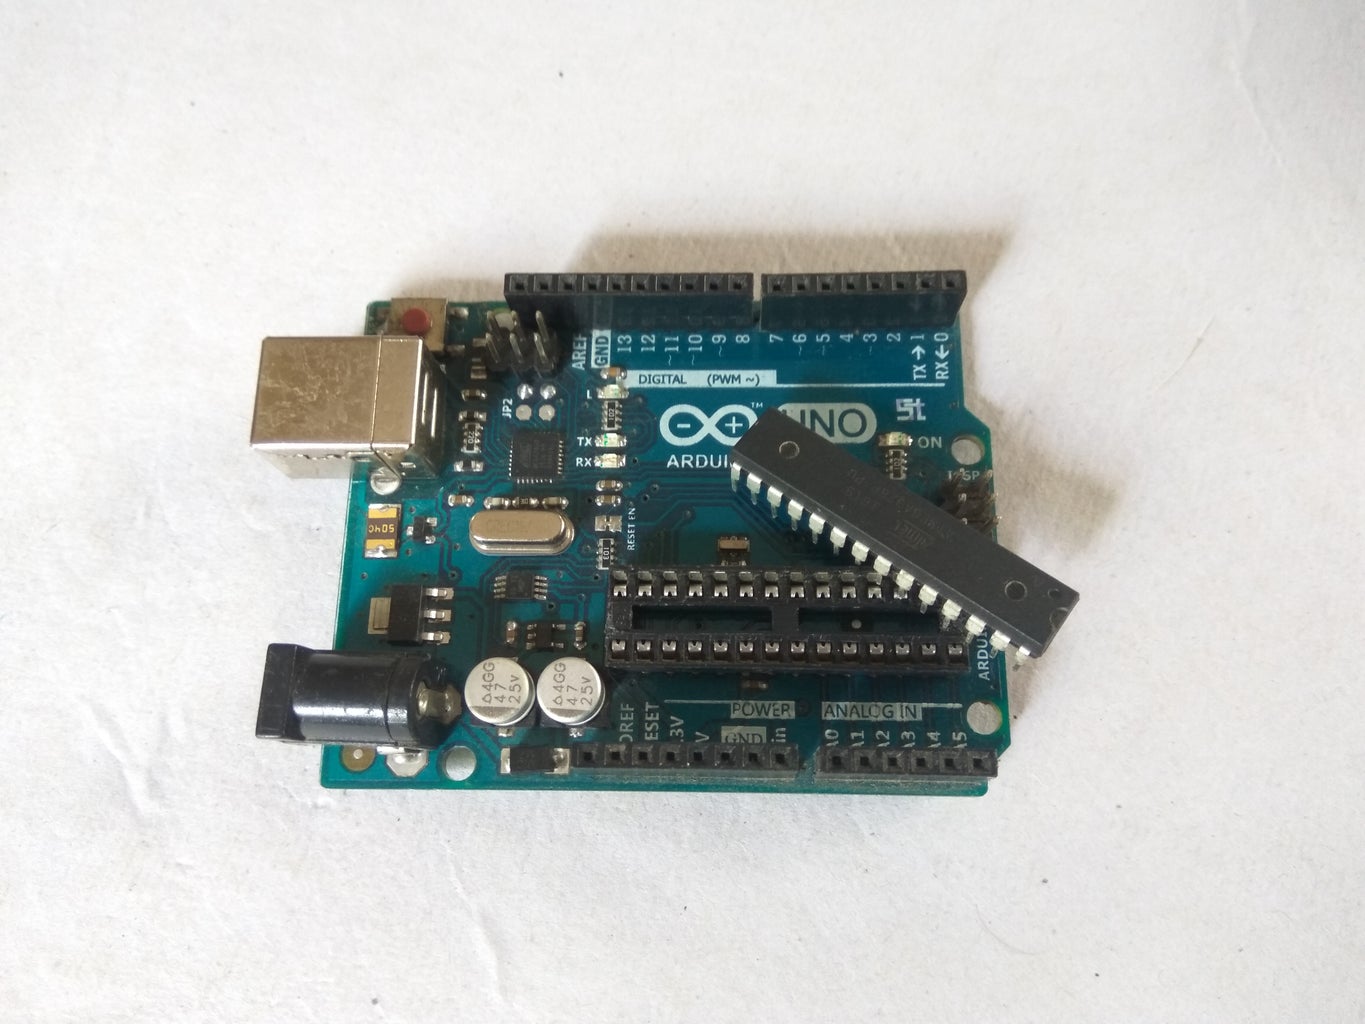
NOTE: Before Removing the IC notice the direction of the notch (half circle on one side of the IC).When we are done programming we have to put the IC back it the same direction.
Once the IC is out of the socket we can now move ahead and start making the connections.
Step 3: Making Connections :-

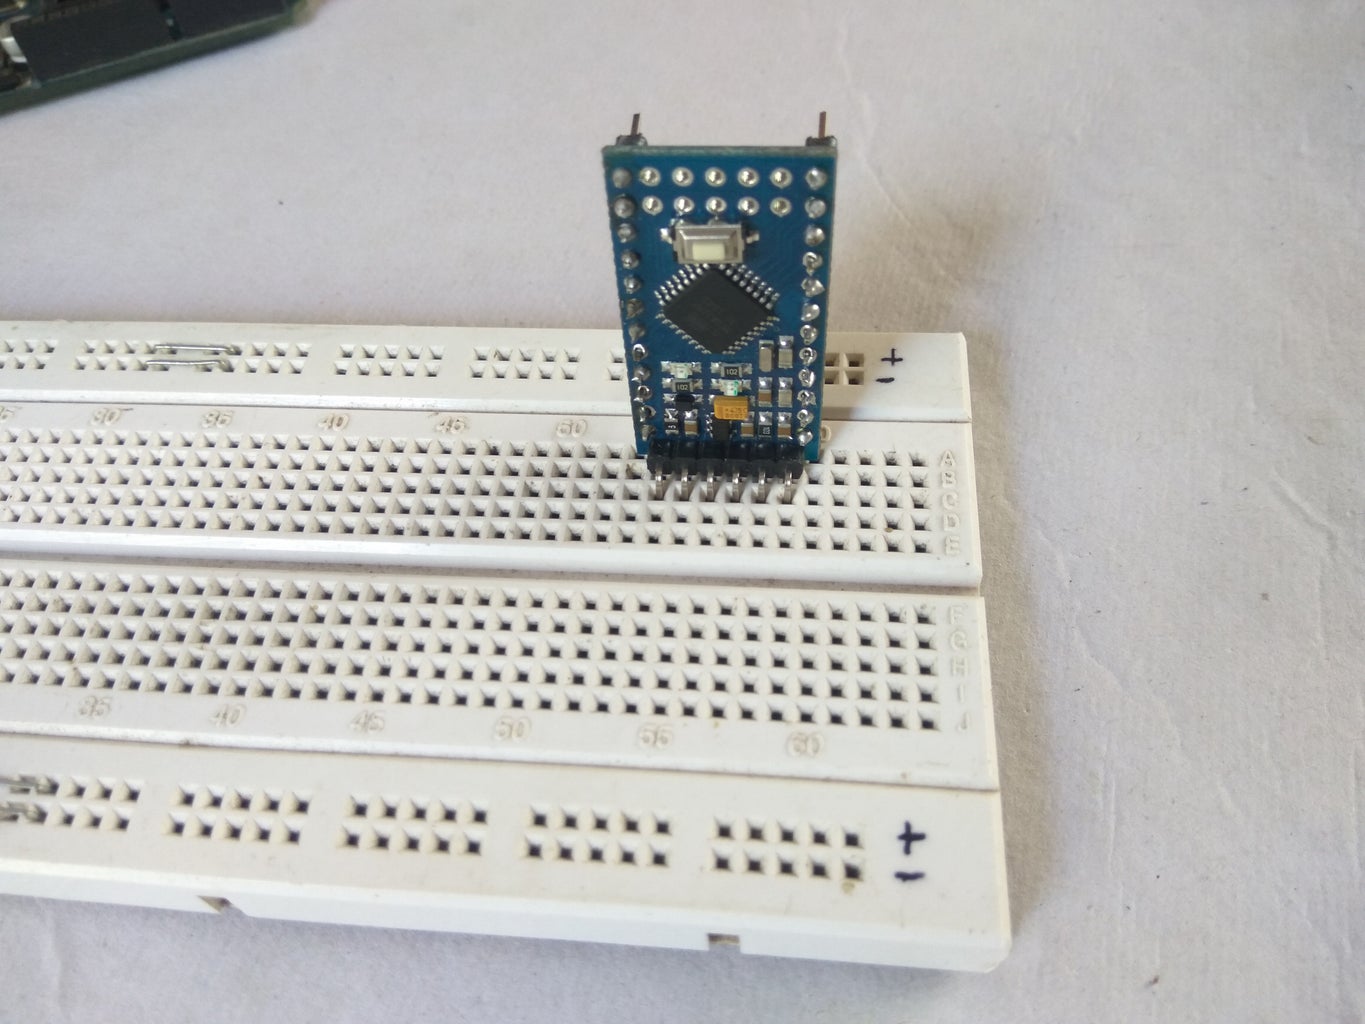
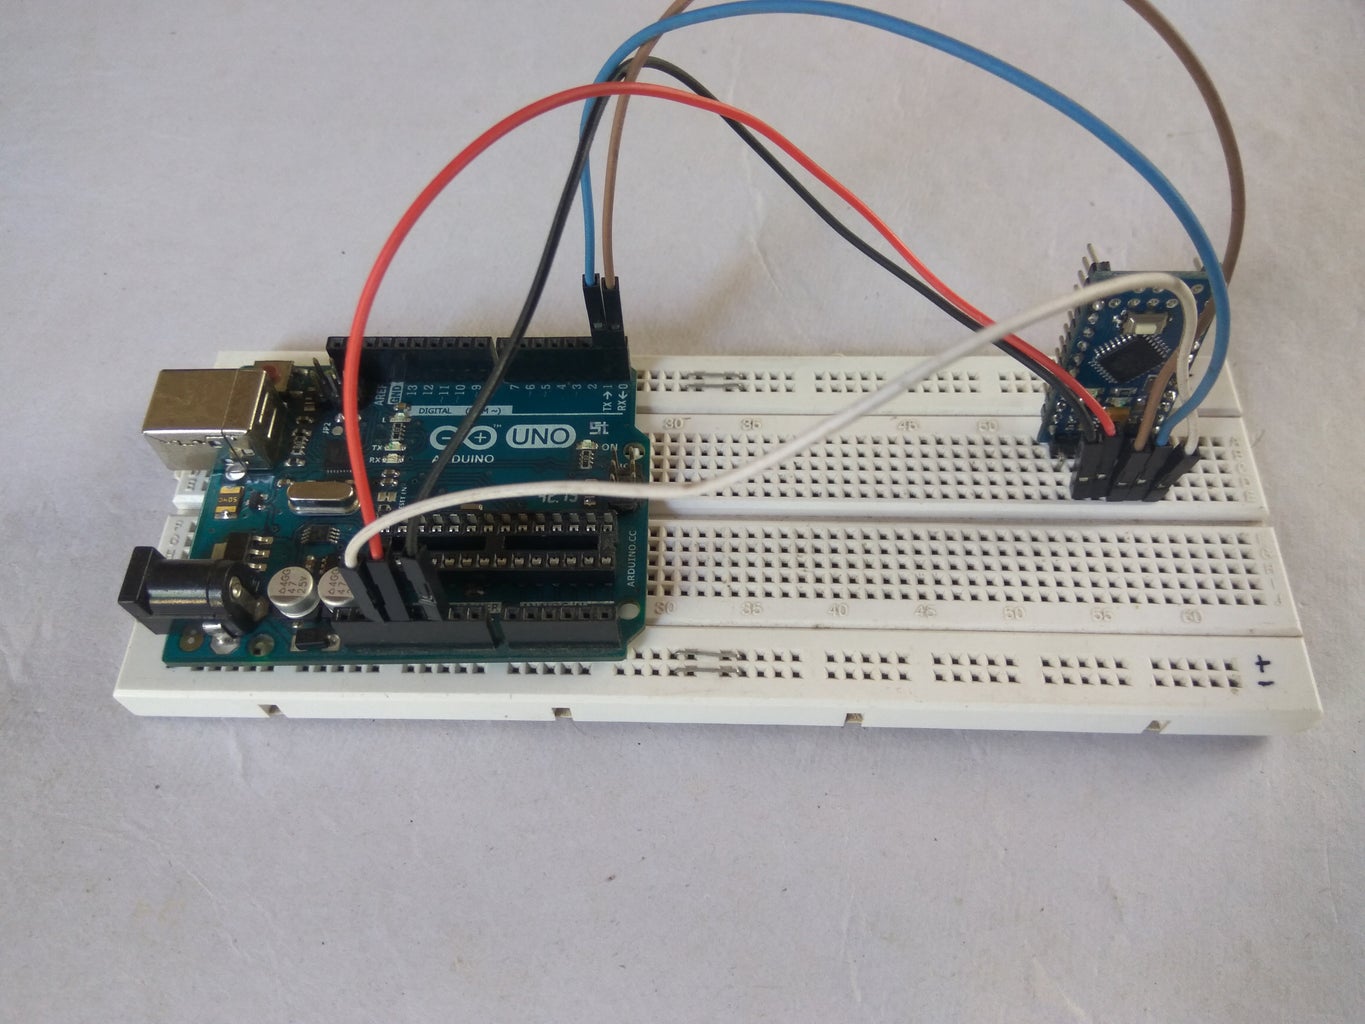
Connecting Pro mini to UNO is simple,
First solder pins to the Pro mini board (you can watch tutorials on youtube) and plug it in the breadboard as shown in the pictures above.
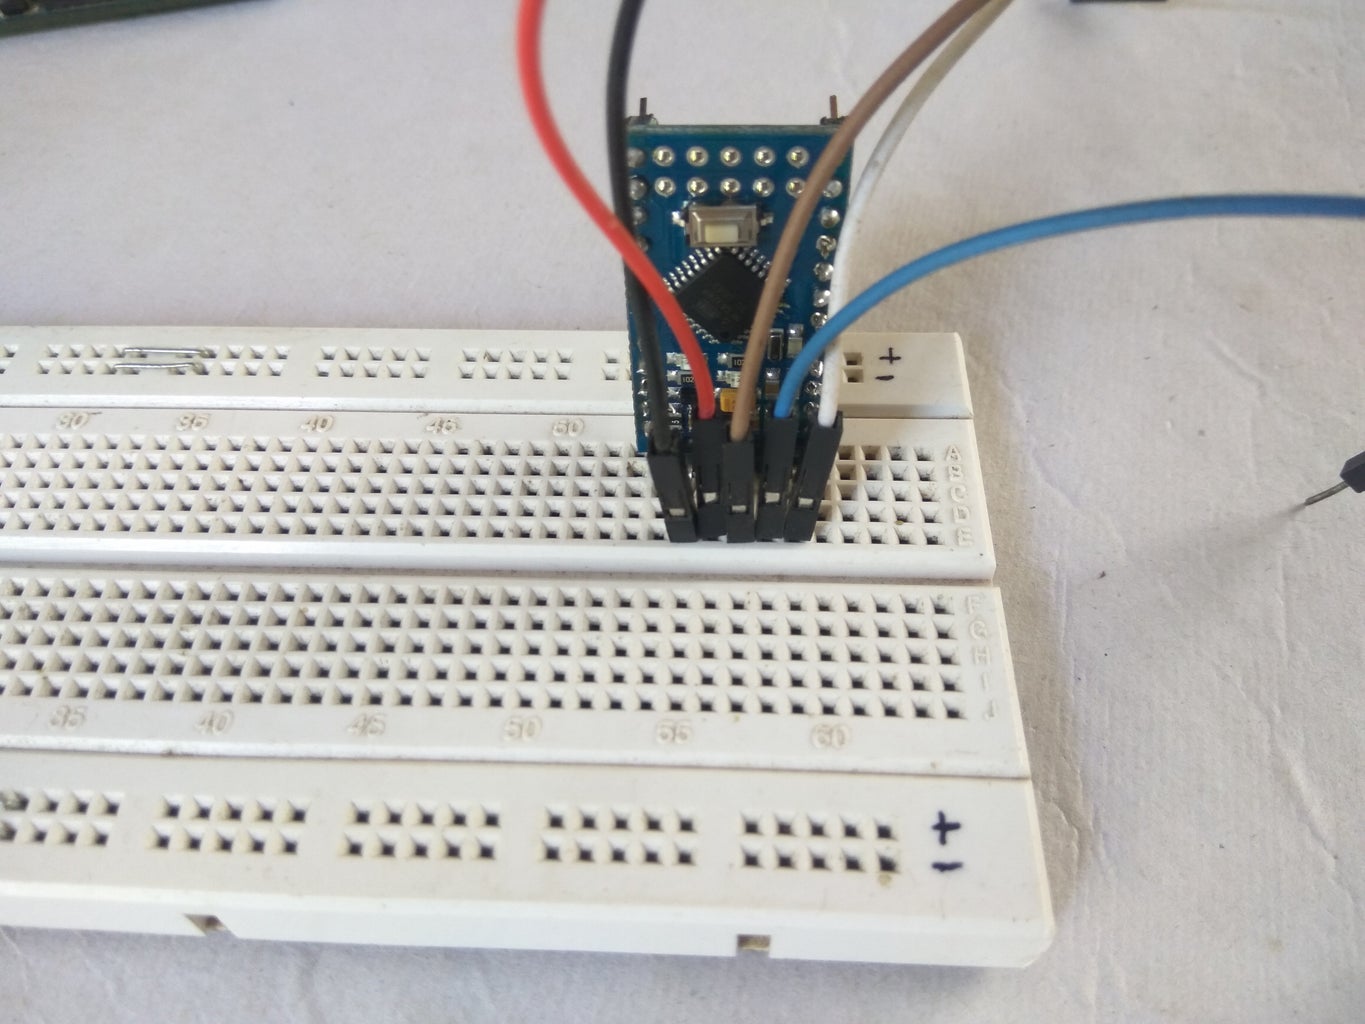
Now start connecting the wires as follows :-
- Mini's Vcc = UNO's +5v/3.3v (depends on the board you have)
- Mini's GND = UNO's GND.
- Mini's Tx = UNO's TX (pin no. 1)
- Mini's Rx = UNO's RX (pin no. 0)
- Mini's DTR = UNO's RESET.
In some cases the pro mini may not be programmed in that case just swap the TX & RX pins.
That's all with the connections , next step is to upload the code.
Step 4: Uploading the Code :-
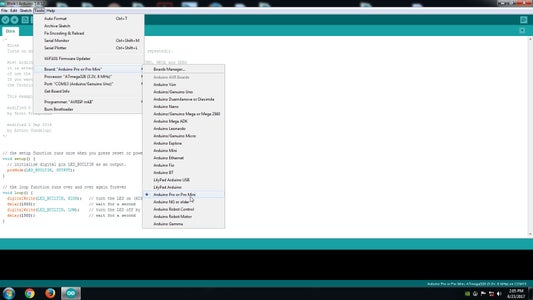
Now that we have made the connections we are set to upload code to our Pro mini.
- Open Arduino IDE .
- Connect Your UNO to PC.
- Select the right port.
- Go to tools >> Boards >> Select Arduino Pro mini.
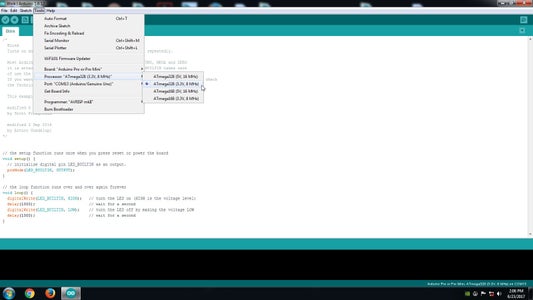
- Got to tools >> Processor >> Select the type of board you have. ( I am using Atmega 329 3.3v 8Mhz)
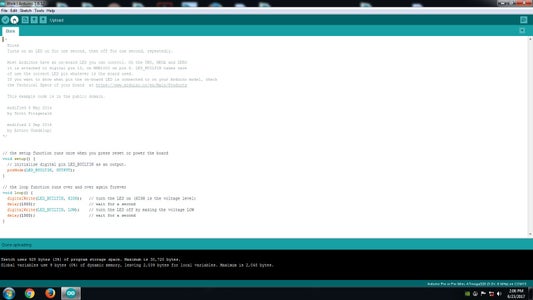
- Now upload the code. ( I've uploaded blink example for demonstration )
That's it we have successfully programmed Arduino Pro mini using UNO.


