

Introduction: How to Screen Print at Home


There are plenty of instructables on screen printing. They range from the modge podge method to full rigs, but there doesn't really seem to be anything in between.
These instructions are using the EZ screens. It cost more than the embroidery hoop, but not nearly as much as the printing presses. It is all pretty easy to do, the results are great, and the screens are reusable. I am doing to include prices (to the best of my abilities), and where to buy the materials.
Step 1: Materials
I am not including the prices of everything, it seems silly to me to add in the price of things like the computer. Beside the item I will put the price in bold. Beside that I will put where to buy it, underlined.
TO MAKE SCREEN
computer and printer
water
container to soak the screen in
ez screen (3 for 28.49 or 9.50 each) ezscreenprint.com
exposure screen 24.99 (one time purchase) ezscreenprint.com
thin paper or transparency (16.99 for 50 or .34 each smaller quantities 7.99 for 6 or 1.34 each) walmart or ezscreenprint.com
TO PRINT SHIRT
squeegee around 2.50 (one time purchase) hardware store or ezscreenprint.com
screen printing ink around 5-9 (you can get set lots of projects out of a container art supply stores, amazon.com
tape (masking tape, painters tape, or my favorite packing tape) 2.30 a roll office supply stores
shirt 5-10 walmart, kmart, anywhere they sell affordable clothing
Total Cost: around $50 for the first time, after that about $15
Step 2: Find Image


You can always draw your own, but if you lack the skills, like I do, you can always google. I am making this shirt for a friend's birthday. He wanted a set of headphones, so googled it and found some. I found a few different versions because some times your first choice doesn't always work.
Step 3: Edit Image

There is a free website that I use http://strix.org.uk/stencil/ There are instructables on how to edit the image to use by changing the brightness and contrast, but this website does it for you. You upload the picture, and it will create 10-20 different versions of it, you pick the best one, and right click to save it.
Step 4: Print Image

Print the image. Transparencies work the best, and provide the best details. Originally the website that sells the screens said you could use lightweight paper (less than 20 lbs), now they don't mention it. I have used both, as long as the design doesn't have a ton of details, the paper is sufficient. I print on a regular sheet of paper first to make sure it comes out fine. I also usually print 2 images on 1 sheet, so I like to make sure they are big enough.
The image is an example of how you can fit 2 5X7 images on one sheet.
After you are sure you like the image/size/placement/ etc. print the image to transfer.
Step 5: Expose the Film


Fully detailed instructions come with the exposure screen, but it's pretty basic. It goes a layer of plexi glass, put printed image on top, then film (shiny side down, take off the plastic backing first) then black board (felt side against the film). Use the binding clips include to hold it shut. When you flip it over cover it with the foam sheet until you are ready to expose it.
You need to place it in direct sunlight to expose it. If you are using a transparency, keep it out for about a minute, for paper, it is about 5 minutes. You can lift a corner to see if it is done, the film changes from green to blue.
Step 6: Soak Screen


After the film is exposed, put it in the water. Soak it for at least 15 minutes. The longer it soaks the easier it is to clean. I let mine soak from noon until the next morning.
Step 7: Clean Screen


Put the screen under running water and gently rub the screen. The screen printing website suggests a soft bristle brush, I prefer my fingers and a sponge brush. Put the plastic canvas screen behind the film for support, and clean the image. After all the image is cleaned, let it dry.
Step 8: Let Harden


After it is dry, put it back in the sun for about 5 minutes to let it fully harden.
Step 9: Tape Down Screen


Like I said before I like to use packing tape, but masking tape and blue painters tape work. Tape around the screen. Also if you have more than one image on the screen, tape off the part you don't want to get covered in ink.
Step 10: Put Down Ink

I use a plastic knife because it is easier to scrap off and put the extra ink back in the container, but you can use whatever. You put the ink down as a line on top, enough to do from one side of the image to the other.
Step 11: Pull the Ink


Use the squeegee to pull the ink down. It is pretty self explanatory, but just in case here is a quick video showing a pretty cute guy doing it. He "floods" the screen first, but I haven't seen the need unless it is a light color on a dark shirt.
Step 12: Remove Screen

Carefully take off the tape and remove the screen. Some time ink gets on the tape (which is what it's there for) so make sure the tape doesn't touch the shirt while you're taking it off. I don't have an image of doing this, but here is the image of it after it is off.
http://youtu.be/CioHwW9uGmU
Step 13: Let Dry


Let air dry over night. then put in dryer on low for 5 minutes. After that don't wash it for at least 48 hours. And you're done.
http://youtu.be/idsmtFRytAc
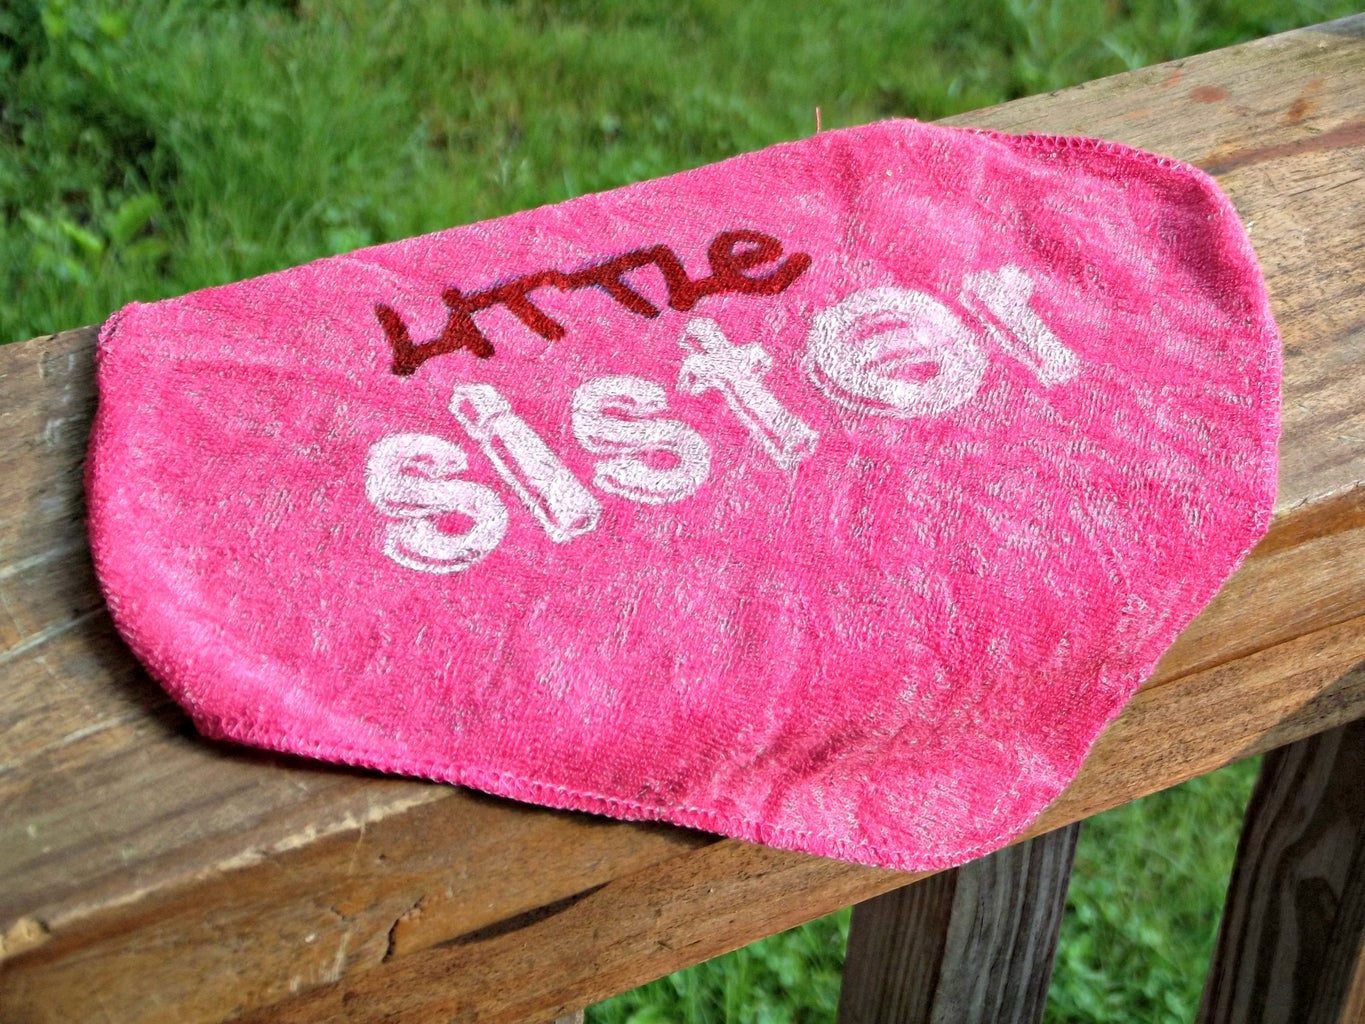
The pictures of projects shown are a baby onesie I made for my son using an image of the Beastie Boys, a set of baby wash cloths I made as a baby shower gift, and a T-Shirt I made for my brother-in-law.

Participated in the
Fashion Contest


