

Introduction: How to Setup and Commit to a Git Repository
What is Git and why do we care about it?
Git is a version control software. As the name suggests, git allows you to keep track of versions of your project. It displays the entire history of your code base over time, which is a very important thing to have as it allows us to "go back in time" and reverse any changes that might have broken things. It also makes code base much maintainable as a project grows in size by keeping track of all the necessary files. However, git is much more powerful than that. It allows for something called branching, where you "branch" off a copy of your project and work on it independently of the current branch. While branching is an important and widely used feature, it falls outside the score of this Instructable.
This all sounds great but what if you have more than one person working on the project? That's where central storage comes in, where we store the repository on a central server that everyone working on the project can access. In our case, we're going to use GitHub, one of the world's most popular git servers.
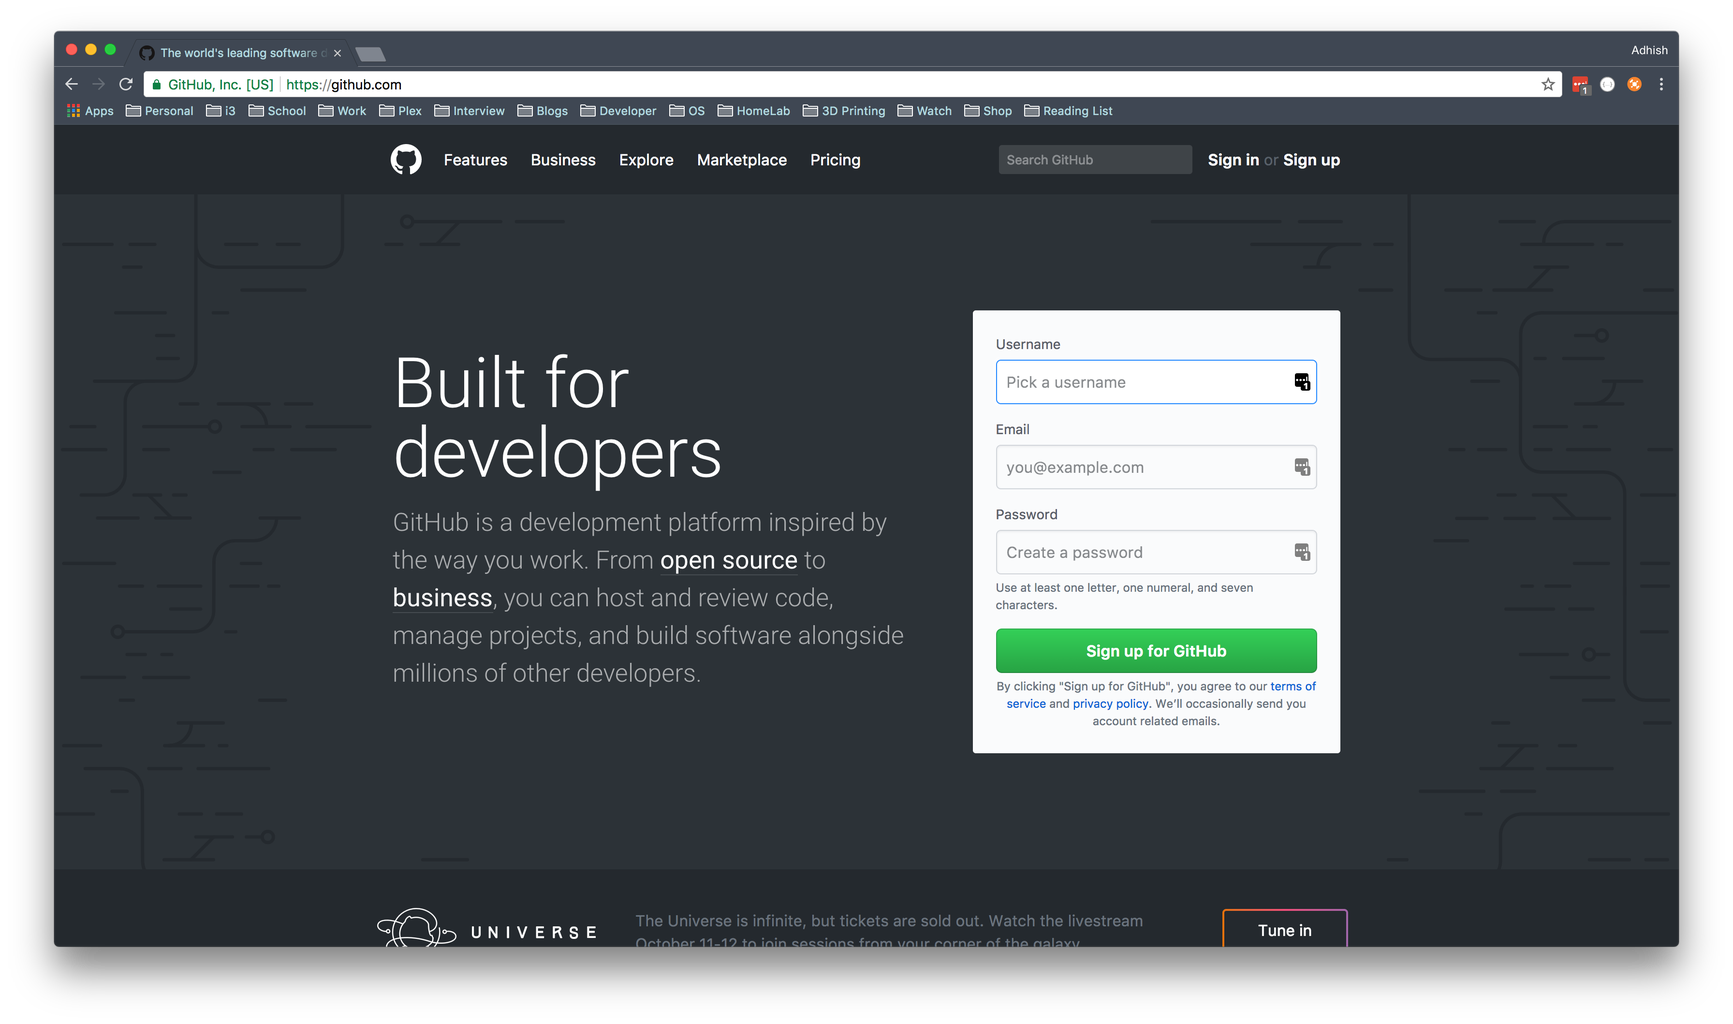
As a preliminary step, sign up for an account on GitHub.
Prerequisites of this instructable:
- access to the internet
- knowledge of basic linux terminal commands
- a fun project in mind
Step 1: Login Into GitHub

Once you've successfully created an account, visit this link and login into your account.
Note that you might have to verify your email address before you can continue to do the next step.
Step 2: Create a New Repository

Now comes our main step, creating a repository to store all our project files in!
Go to this link and create a new repository. You can pick any name you want for your project, I called mine 'instructable.'
GitHub allows you to make the repository either public or private. As the options suggest, a public repository can be accessed by anyone and a private one can only be accessed by people you authorize.
Make sure you select the option to automatically initialize this repository.
Step 3: Clone the Repository


Congratulations! You now have your own repository. Now, we want to clone this new repository to our local machine and start making some changes. Cloning essentially copies all the information that's on the repository and moves it to a location of your choice on your computer.
Near the top right of the repository page, click the green button called Clone or download and copy the URL from the popup.
Next, open a terminal on your computer and type "git clone " without the quotes followed by the URL we just copied. And hit enter!
Step 4: Verify

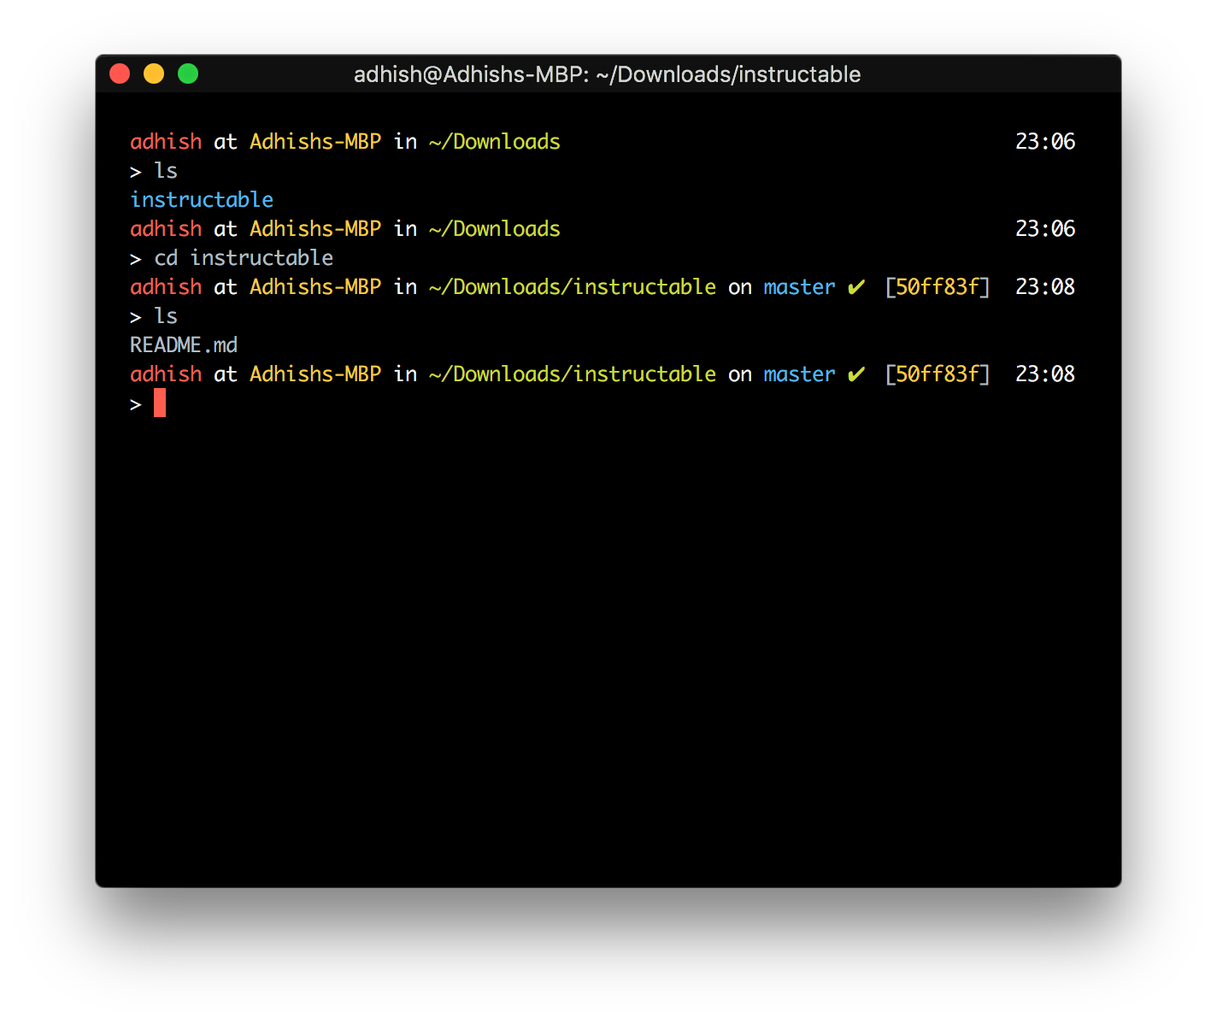
Now that we've cloned our repository, let's verify that it's actually on our computer and we can look at the files we have.
Type 'ls' (stands for list) and hit enter to list all files and directories in your terminal. You should do this from the same terminal where we cloned the repository.
As you can see, there's a folder with the name of the repository in my Downloads folder.
We can switch into this folder by typing 'cd ' (stands for change directory) followed by the name of the repository to go into this new folder.
We can type 'ls' again and verify that the only file in our repository is the README.md we created by selecting the initialize option in the earlier steps.
Step 5: Add a File
We're nearly there!
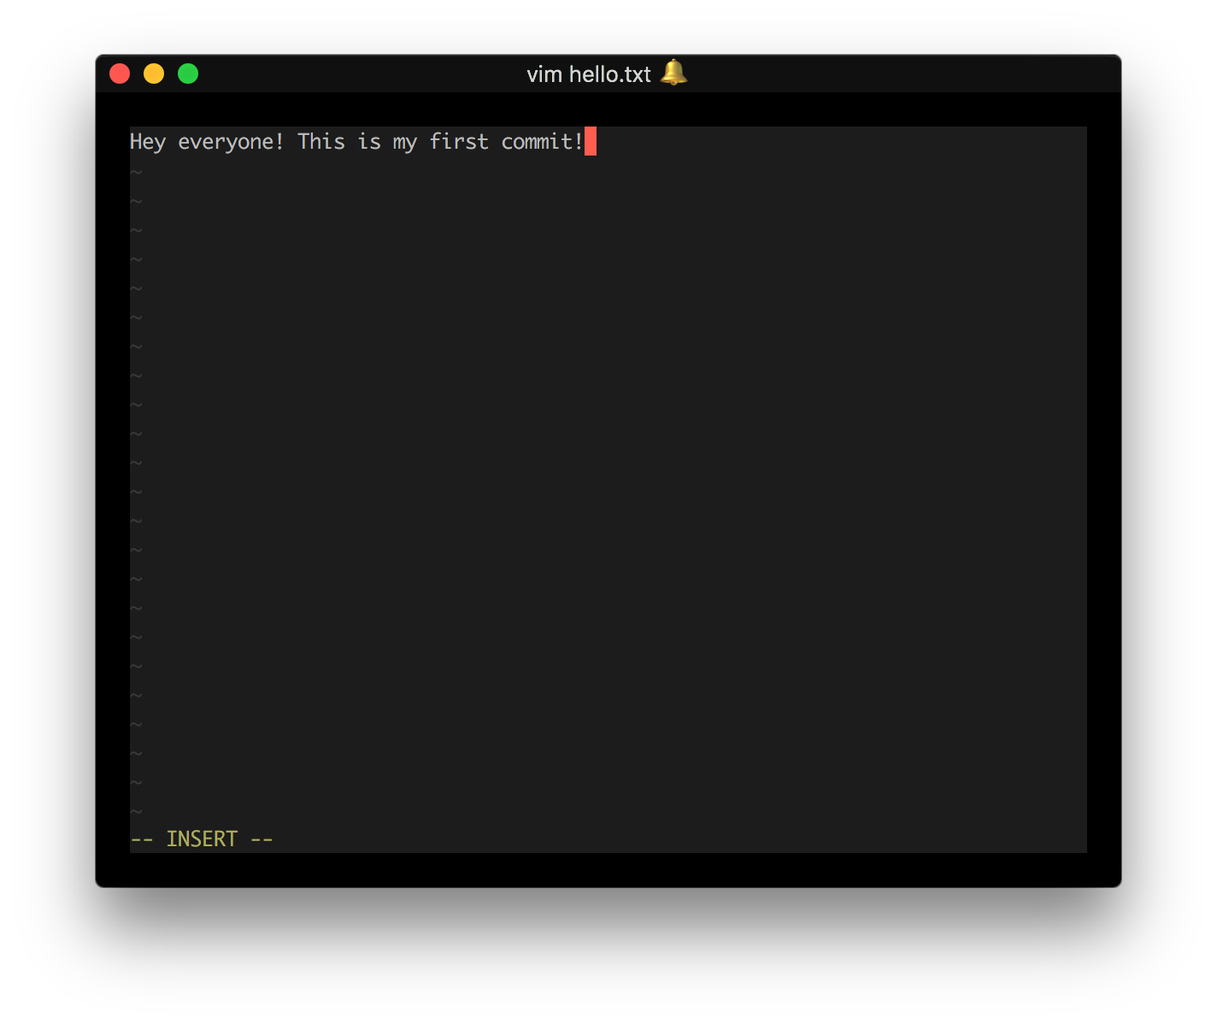
It's time to add a file to our repository. Type 'vim ' followed by the name of the file you want to create.
Then hit 'i' to go into Insert Mode which allows you to type anything into the file. Write anything you like.
Hit the escape key to exit out of insert mode and finally type ':wq' to write and quit the file.
Step 6: Check Git Status and Add File


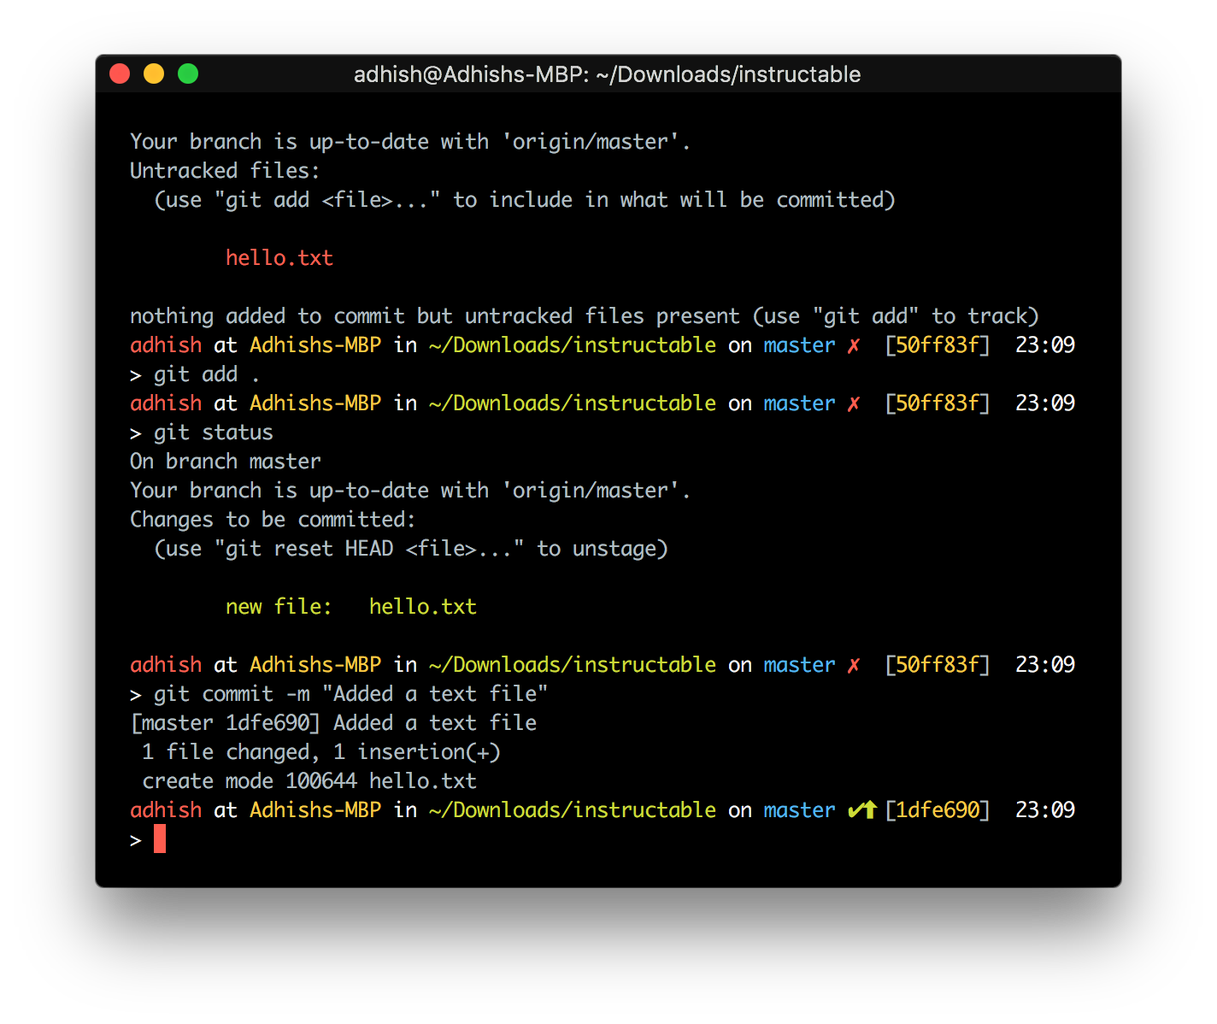
We can check that git knows we added a new file by typing 'git status' on the command line.
Our files shows up in a red color which means git knows we added this file but git isn't keeping track of this file yet.
To add the file, type 'git add .' which adds everything in the current directory to our git repository.
We can check the status again and see that the color changes to green, indicating that git is now keeping track of the file.
Step 7: Time to Commit!

Now that we have added our file, we need to attach a commit to it. A commit essentially is a way for us to tag our changes with a meaningful message and send it to the server.
So whenever you've done a meaningful chunk of work, i.e., worked on a particular part of a project, add your files, and commit them. This way, all the changes you've made to that part of the project are linked to the same commit and really easy to find!
To make a commit, type 'git commit -m ' followed by a message for this commit.
Git will tell you how many files you changed, and how many changes you made across files. Neat!
Finally, you need to push these changes to the GitHub server so that everything is in a centralized place.
To do that, simply type 'git push' and hit enter. Git will inform you, albeit in a convoluted way, that it was able to write all your changes to the repository.
Step 8: Verify....again

Moment of truth!
Let's head over to GitHub and check if our changes made it there.
To do that, simply go to 'https://github.com/username/nameofrepository' where you'll have to replace the username and name of the repository with what you picked.
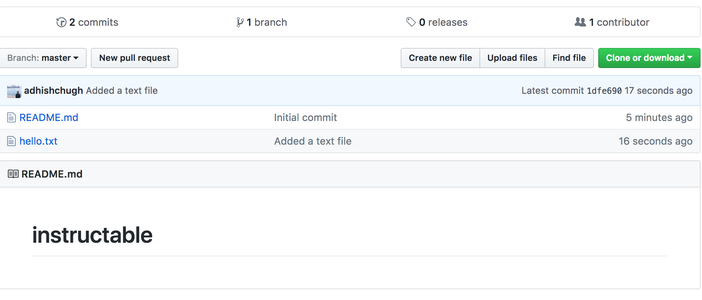
Just by going to that page, it should be clear that your changes were indeed added as you'll see two files instead of one.
You can click on the commit message that you picked while commiting to see a detailed view.
That's it! You've learned how to set up a basic git repository system and commit things to it.
Good luck!


