

Introduction: How to Test Arduino Cirtcuit and Code Online


Hi all!!!
Today i will show you how can you test your own arduino cirtcuit and code online using Autodesks 123d circuits.
This piece of software is purely GREAT.It lets you simulate your schematic in real time so it is great if
you have something whit millis()function....
Lets get started
Step 1: Create Free Accaunt on 123d.circuits.io

First step is to create free account on https://123d.circuits.io/
The procedure is very easy and quick to do.
Remember to use correct email adress because you will need to confirm it...
Step 2: Log in and Create New Project...

After you have succesfully singed up,log in and click on create new eletronic lab.
If you want you can also do pcb design,import from eagle...but i will focus on arduino simulation
Step 3: Add Components,wire Up,write Code...

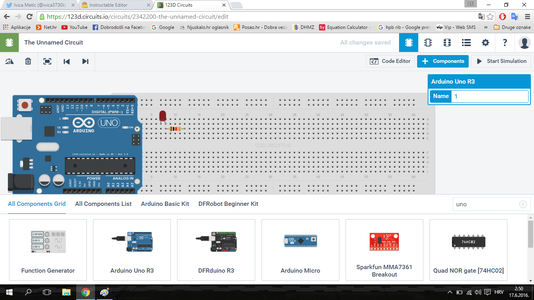


When you get started whith new project you will only have basic breadboard on screen.
You can add new components by clickng on button.
For this example i will add basic led and resisor...and arduino
The wiring proces is also simple,just click on part and drag wire where you want...
Now click on code editor to and write the code you want,here i will use basic led blink on port 13
Step 4: Start Simulation

Now only thing you need is to click on upload and run,or start to start your simulation.
And that is all,hope you liked this tutorial!Follow me on twitter @ivica3730k
Have a nice day.


