

Introduction: How to Use GIMP (Beginners Guide)


Here is a short video teaching you how to use some basic features in photo editor software GIMP. If you want to learn more detailed tutorials on using some of the amazing features GIMP offers, learn more with this tutorial.
Step 1: Download GIMP and Install to Your Computer
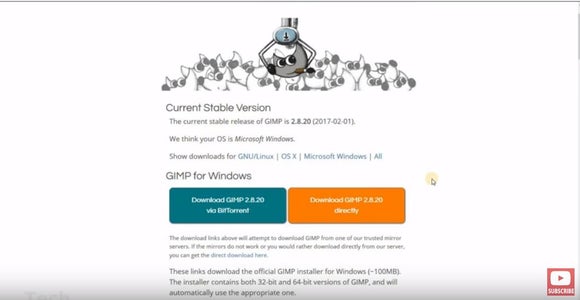
Go to gimp.org, and download a free version of GIMP according to your operation system.
Step 2: Create a New Image

Go to File, and click on create a new project, there you can open up a new project editing panel. Change the width, height and some other basic setting of your project.
Step 3: Change Background Color

Go the the left hand panel, there you can find a tool with which you can change the default background color of your project.
Step 4: Create a New Layer

GIMP allows you to create a new layer so that all your previous changes won't be replaced. This is very useful when you want to do some fine tuning on your project.
There you go! More tutorials about how to use GIMP, please visit this photography blog.


