

Introduction: How to Use MQ7 Gas Sensors Whith Arduino+Android App


In this project show you, how receive MQ7 data from arduino with your android phone. Carbon monoxide(CO) is a very dengerous gas which is odorless, colorless. CO is produced from the partial oxidation of carbon dioxide, such as when operrating a stove or an internal combustion engine in an enclosed space.
Step 1: Step 1:Components Needed
Hardware
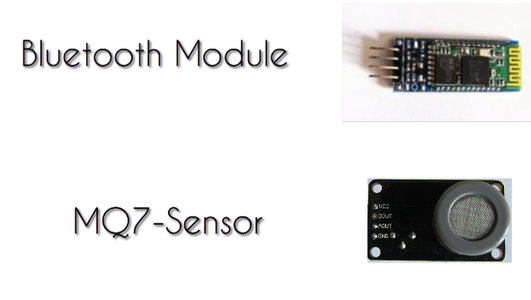
- Bluetooth
- ModuleMQ7-Sensor
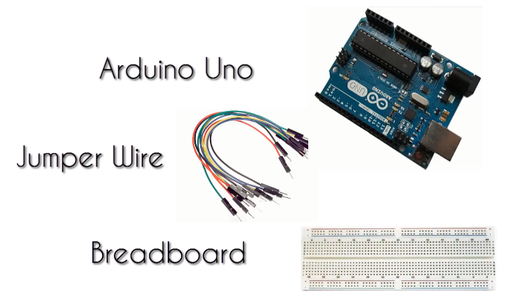
- Breadboard
- Arduino Uno
- Jumper Wire
Software
- Arduino IDE
- App Inventor 2 (for create your app).
Step 2: Watch the Video Tutorial
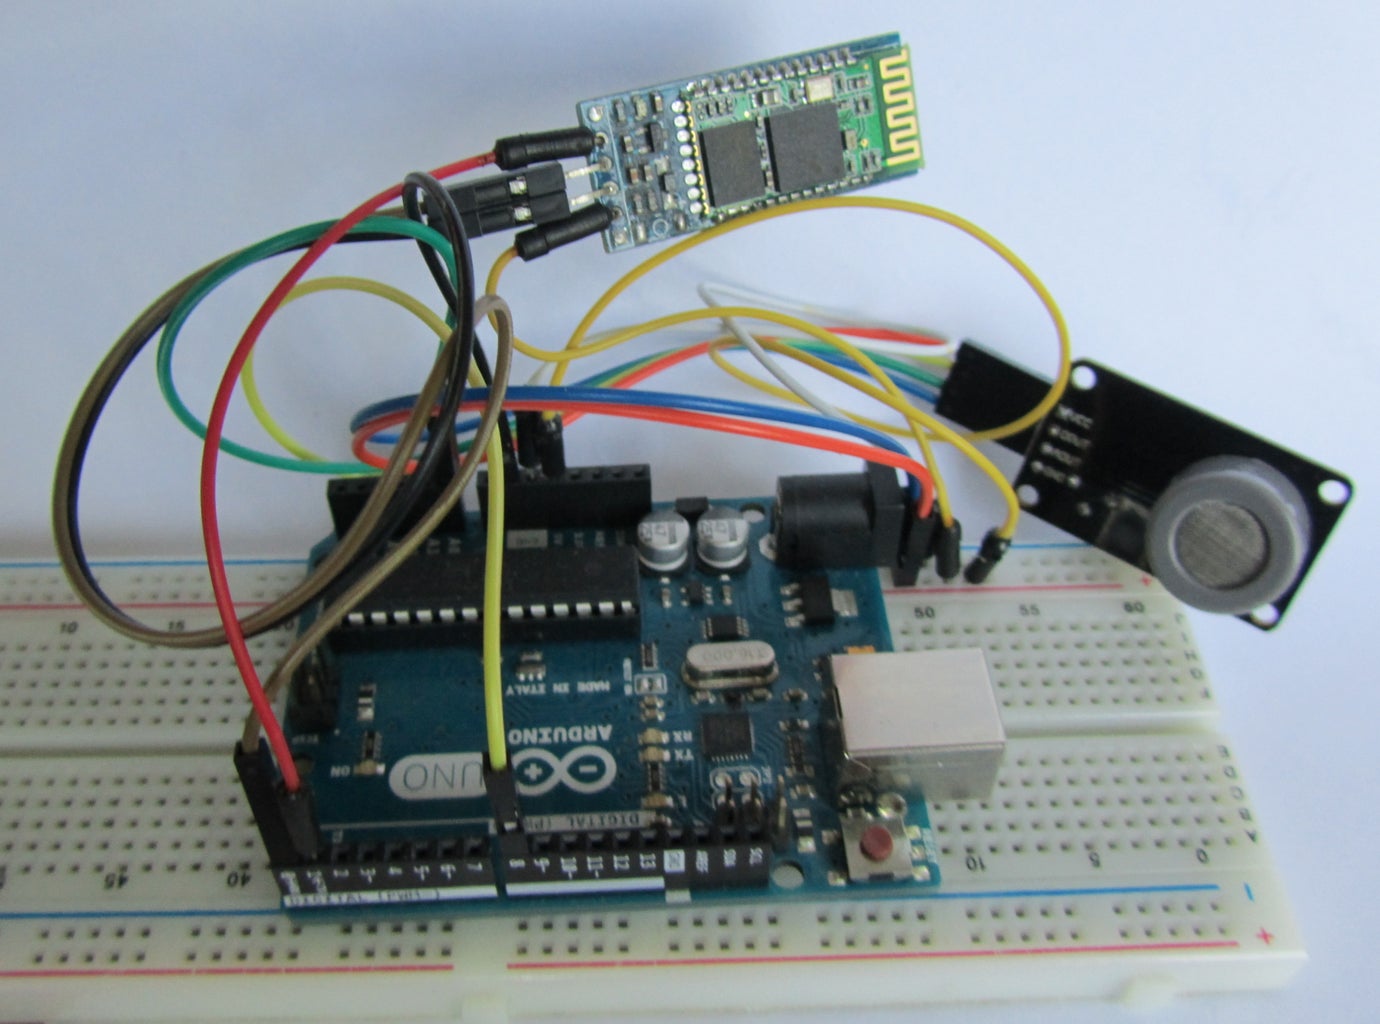
Step 3: Schematics


The circuit is so simple:
Arduino Pins: -------------------------- Bluetooth Module:
RX (Pin 0)----------------------------------------TX
TX (Pin 1)-----------------------------------------RX
5v---------------------------------------------------5v
Gnd-------------------------------------------------Gnd
Pin2,Gnd------------------------------------------Gnd
Arduino Pins: -------------------------- MQ-7(CO Sensor):
Vcc ------------------------------------------- 5V pin
GND ------------------------------------------ GND pin
A_Out ----------------------------------------- A0 pin
D_Out ----------------------------------------- pin 8.
HC-06 Bluetooth
Notes and Tips: You need to remove the RX and TX cables when you’re uploading the sketch to your Arduino. If the HC-06 Bluetooth Module asks for a password, It’s’1234′. Sometimes people connect the TX from the bluetooth module to the TX of the Arduino… that’s wrong and it won’t work. Make sure you connect it properly, the TX into RX and the RX into the TX.
Step 4: Arduino Sketch
const int AOUTpin=0;//the AOUT pin of the CO sensor goes into analog pin A0 of the arduino
const int DOUTpin=8;//the DOUT pin of the CO sensor goes into digital pin D8 of the arduino const int ledPin=13;//the anode of the LED connects to digital pin D13 of the arduino
int limit; int value;
void setup() { Serial.begin(9600);//sets the baud rate pinMode(DOUTpin, INPUT);//sets the pin as an input to the arduino pinMode(ledPin, OUTPUT);//sets the pin as an output of the arduino }
void loop() { value= analogRead(AOUTpin);//reads the analaog value from the CO sensor's AOUT pin limit= digitalRead(DOUTpin);//reads the digital value from the CO sensor's DOUT pin Serial.print("CO value: "); Serial.println(value);//prints the CO value Serial.print("Limit: "); Serial.print(limit);//prints the limit reached as either LOW or HIGH (above or underneath) delay(100); if (limit == HIGH){ Serial.println("Bad"); } else{ Serial.println("OK"); } }
Step 5: Android Application


App Inventor 2 project file:
Designer and Blocks code.


