

Introduction: How to Wrap a Present (using Only 3 Pieces of Tape!)


OK, let's make this simple. You have a gift. You know better (by now) than to hand it over in the bag it came in. But wrapping a present can be such a pain! It never looks right, the corners are always smashed, and the paper will probably be like two inches too short on the bottom, and how are you supposed to handle a roll of tape while you're holding together two edges of paper anyway? Finding the supplies, the space, the time, it's all just a hassle - and in the end, all of your glorious efforts will just be torn away in a matter of seconds.
I'm here to help. First of all, wrapping presents doesn't have to be a laborious task that you dread. I actually love wrapping presents! But I didn't until I learned a few simple tricks to streamline the process and foolproof the results.
That's right: fool. proof.
Let's get started!
Step 1: The Supplies


For the once a year wrapper:
First of all, stop pretending like you're only every going to wrap a present once in your life. You're not. It's going to come up at least once a year that you want to give someone something, and you'll want it to look nice! So go. Buy yourself a roll of nice wrapping paper. Spend $6. It's going to last you years. Get something that has one or two colors, preferably stripes or a grid (you'll learn why later), in neutral colors. Silver, gold, and white are awesome for just about every occasion.
Buy some ribbon. Get one of those multi-packs they sell at Christmas (or even better, buy ALL your supplies in the inevitable sale just after Christmas!), or just get something nice in a great color you love.
Buy some scissors and tape. These are now your present wrapping tools and will live forever with your new arsenal of gift wrapping supplies. They are not to be used for anything else. Go cheap here. It's fine.
Gather all of your supplies and keep them together forever. Find a corner of your closet, and stand up the roll of paper in a grocery sack along with the ribbon, tape, and scissors. Oh, a pen is a good idea too, so you can write the name of the recipient on the gift!
For the mutli-platinum wrap artist:
You wrap presents constantly. You prefer to have the option of many different brightly-hued, themed papers than one heavy-weight stand-in for all occasions. Your ribbon spools are out of control. You never have enough tape, even though you've invested in like three of those little pop-up tape bit thingies like on the commercials. I feel you.
You're going to want to invest in a sturdy box or similar to store your multitudes of paper, ribbons, cards, etc. I've tried one of those long zipper cases to store paper rolls in before, and I just find them cumbersome to deal with. I actually have a rolling cart that I used to use to tote around my sewing machine. I keep the lid open, my rolls jut out the top, my scissors, tape, and cards fit snugly into pockets, and the ribbon fills the rest of the main compartment. Frankly, it's just what I had around. But having it on wheels turns out to be super handy!
So go through your stock and weed out all the ribbon that has become unspooled and bent. Wean yourself down to one honest-to-goodness tape dispenser. Toss all those dribs and draps of paper, cards, and ribbons from years before and start fresh.
I swear these things will almost make you look forward to wrapping your next gift. Consider it good gift-wrapping hygiene!
Step 2: The Space

If you have one present to wrap, then just about anywhere with a good clear area is your wrapping space. Avoid soft surfaces like beds, blankets, etc., as that makes the process so much harder. A table is ideal, but if all you have is floor, you'll be just fine.
If you have a cadre of gifts to wrap, it's worth your five minutes to clear a table for this purpose. Keep your gifts on the floor next to you and only use the table space for the wrapping procedure. Your back and knees will thank you.
Step 3: Measure Once. Cut Once.


This is the simplest way ever to wrap a present.
Put it in a box. This is going to eliminate 90% of your frustration. If you can't put it in a box, hopefully these techniques will still help you figure out a simple path towards wrapping your oddly shaped gift.
Roll out your paper with the right side facing down.
Place your box on one edge of the paper.
Slide it over until the edge of the paper reaches up the side of the box (see photo 2). This is how wide you will cut your paper. Cut a notch to mark it.
Roll the box along the other dimension of the paper four times (see photos 5-8). This is the length you will cut your paper. Cut a notch to mark it.
Cut your paper using the notches you made to indicate the edges. Now you will understand how having stripes or a grid to follow will help your cutting process. But even if you can't cut a straight line, don't worry, Just don't cut inside the established dimensions.
Step 4: Into the Fold


Firstly, remove all unnecessary items from your wrapping space. All you want around you now is the piece of paper you just cut, and your tape.
Now, place your present somewhere near the center of the paper.
Bring the edges of the paper together over the center of your box and overlap tightly. Crease the edges of the paper to help keep this fold in place. Tear off one piece of tape (~1.5") and place in the center of your fold. (Pictures 2-5)
Next we are going to do the ends. To make sure your box is centered, use both hands to crease the top edges of each end. This way your gift is less likely to slide around while you're taping up the ends. (Picture 6)
Turn the box so one end faces you. Crease the top of the paper down over the side cleanly. This will form two triangular wings on each side. Crease these edges. (Pictures 7-8)
Repeat on the other side. This might seem like an unnecessary step, but it will go further to ensure your present is evenly (enough) centered in the paper, and you won't have too much on one side and a big ole gap on the other.
On one end, fold the triangles in towards each other and crease the edges. (Pictures 9-10)
Now you should have one flap on the bottom of this side that you will now fold upwards. Again, crease all the edges. (Picture 11)
Tear off one piece of tape, and apply to the center of this edge to fix it to the side of the box. (Picture 12)
Repeat on the other side!
Step 5: The Icing


Now you have a beautifully, cleanly, crisply wrapped box. The simplest finish is a pre-made bow stuck on top. Easy!
If you prefer to tie the ribbon yourself, here's an easy method you can use:
Measure the ribbon against the edge and side of the box twice. (Pictures 3-4)
Then measure it against the side and length in the other direction twice. (Picture 5)
This will ensure you have enough ribbon to wrap entirely around your box in a cross shape. (Picture 6)
Then unspool a length more to make a bow. (Picture 7) This amount is up to you and how big you want your bow to be!
Find the center of your ribbon. (Picture 8)
Place your box upside-down with the center of the box over the center of your ribbon. (Picture 9)
Bring both ends of ribbon around to the back. (Picture 10)
Cross the ribbons at 90 degrees and pull taut. (Picture 11)
Turn the box over and bring the ends of the ribbon back to the center. (Pictures 12-13)
Tie a bow like you're tying your shoelaces. (Picture 14)
How simple and elegant!
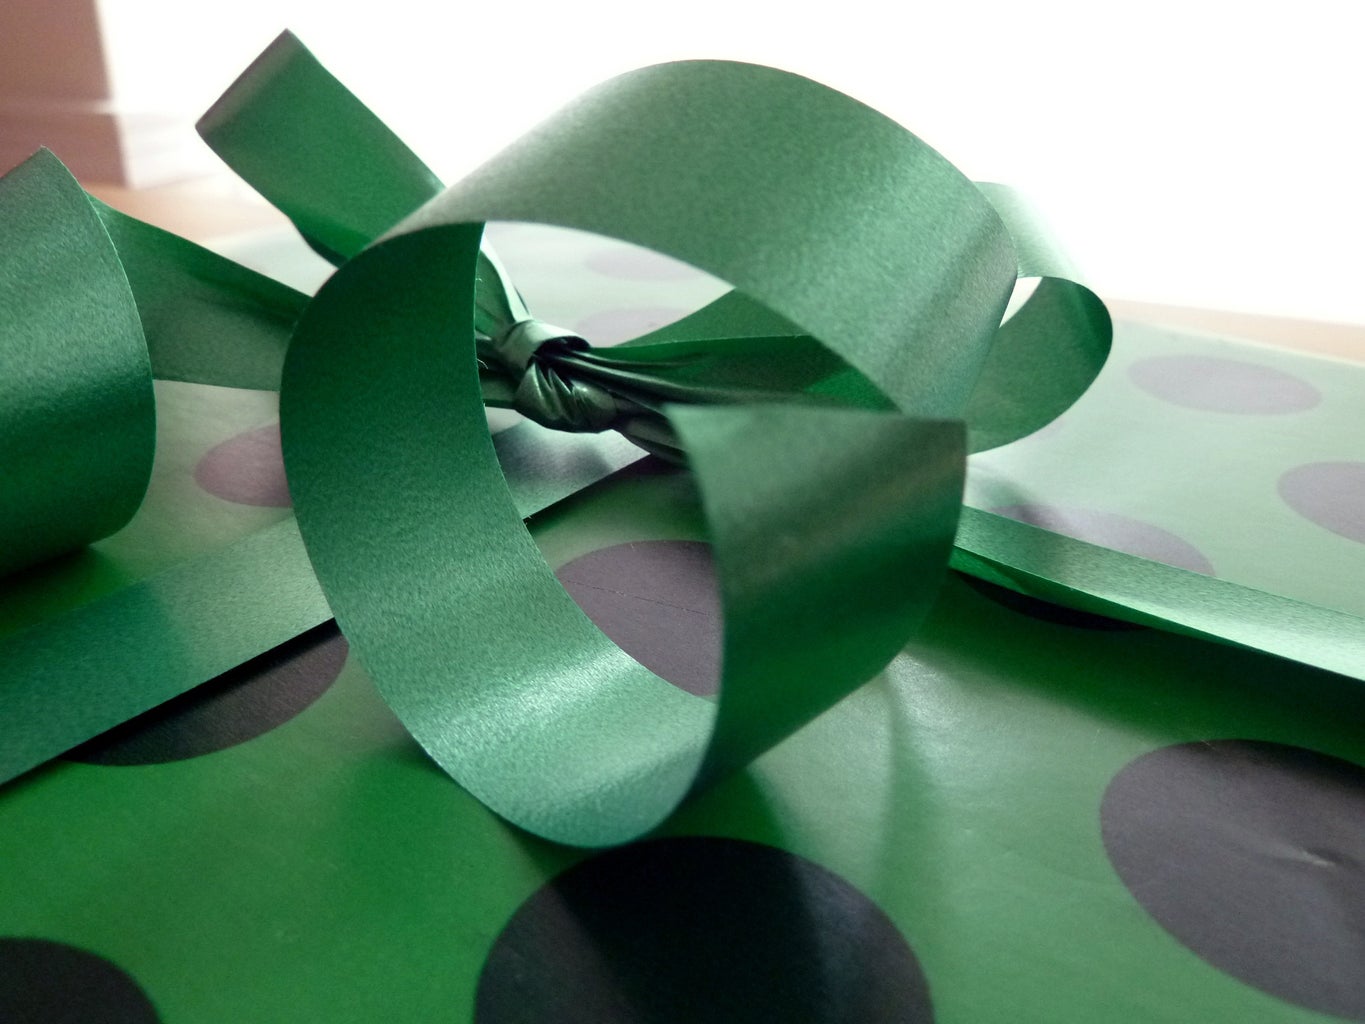
BONUS MATERIAL: Make that ribbon curly!
You can curl all sorts of ribbon by running it between one edge of your scissor and your thumb. (See pictures 15-18)
Make sure you are following the natural curl of the ribbon for the most curl possible! Otherwise you're just sort of flattening it out. Boo. But if you feel you've made your ribbon just TOO curly, you can run the scissor blade along the opposite side to straighten it out.
The faster and more forcefully you do this, the tighter the curl will be. For gentle curls, use less pressure and speed.
Step 6: The Rest


You can make this as simple as newspaper and a recycled bow from a gift you got last year, or as elaborate as hand-printed paper topped with hand knit ornaments you made yourself. Use ribbons, bows, buttons, toys, whatever strikes your fancy. And if you're trying to wrap that new snow shovel, well, get creative, and good luck. And remember, lots of places offer free (or affordable!) gift wrapping if you just don't have the heart to get to it yourself.
I hope this helped. And if you get too flustered, just mail me your present. I promise to wrap it! (I just don't promise to return it. . . )

Participated in the
Holiday Gifts Challenge


