

Introduction: How to Wrap a Rectangular Gift


So, you've found the perfect gift. Now you just have to wrap it. How, you ask? I'll tell you.
Somehow several years ago I become the family gift wrapper, and have had quite a bit of experience since then. So here are a few things I've learned. I hope they help!
Also, I've got a few different decorating ideas in the last step.
Step 1: Measure and Cut


Start by setting the present in the center of your wrapping paper, and make sure that you have enough so that you can take at least two sides and make them meet in the middle with a little to spare. The other two sides do not have to do this. Then cut your wrapping paper.
Now, flip the gift upside down on the wrong side of the wrapping paper, so that the top is facing the plain side.
Step 2: The First Folds


Fold one side over and secure it with tape, as shown in the first picture. On the opposite side, fold it over on itself slightly so that you have a clean edge (As in picture two). Then fold this to meet the other and secure with tape.
Step 3: The Bottom Edge


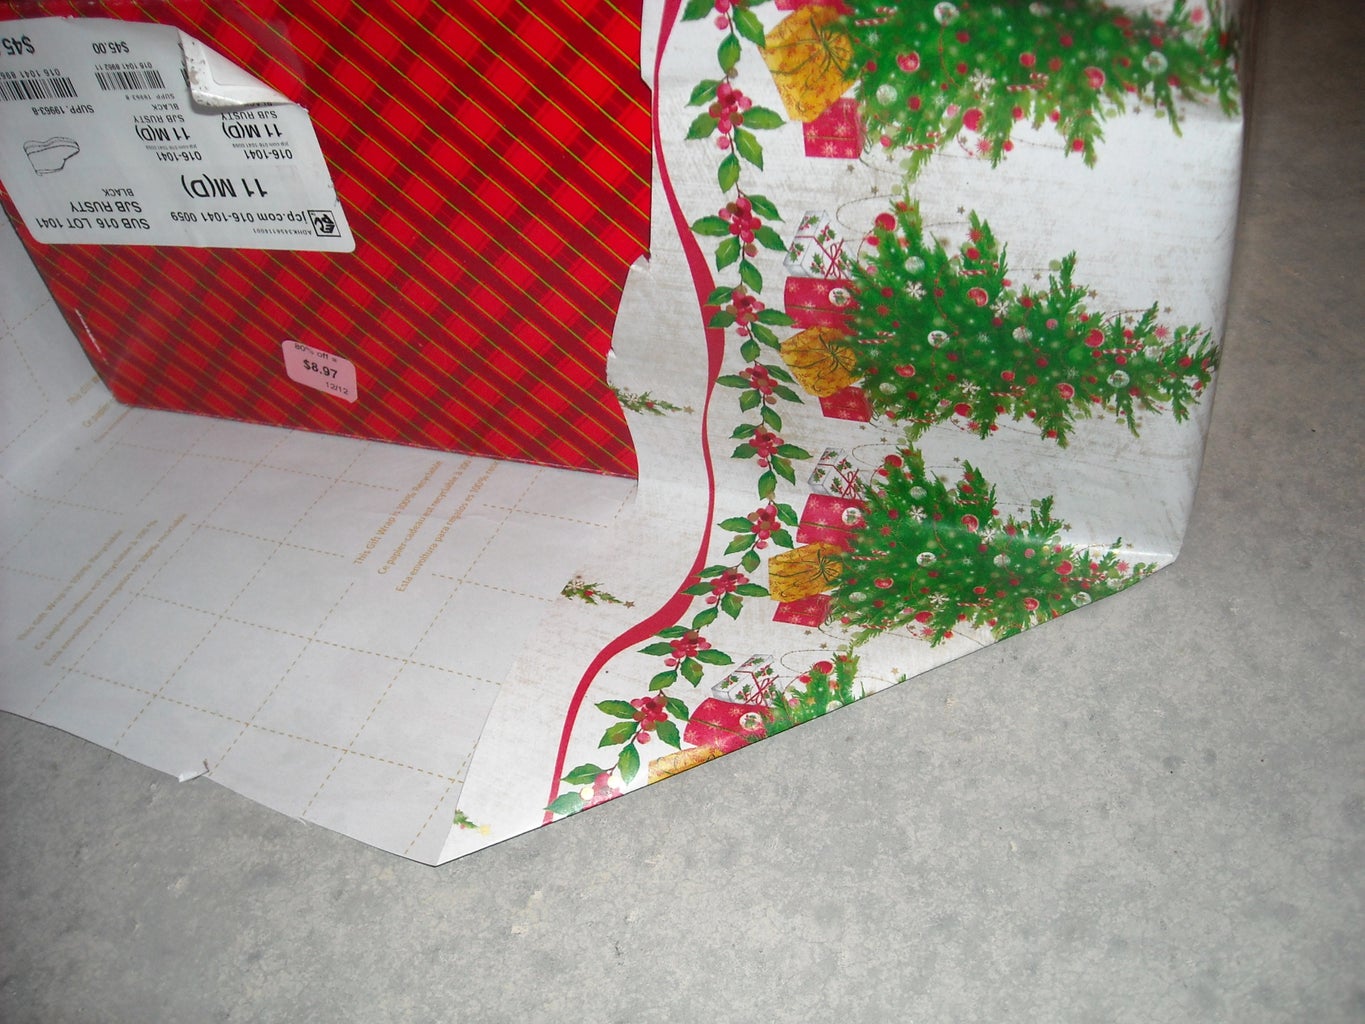


I usually have excess wrapping paper on the edges, and trim it off so I don't have too much. You want about as much length there as your package is tall. (I tried to show this in the second picture)
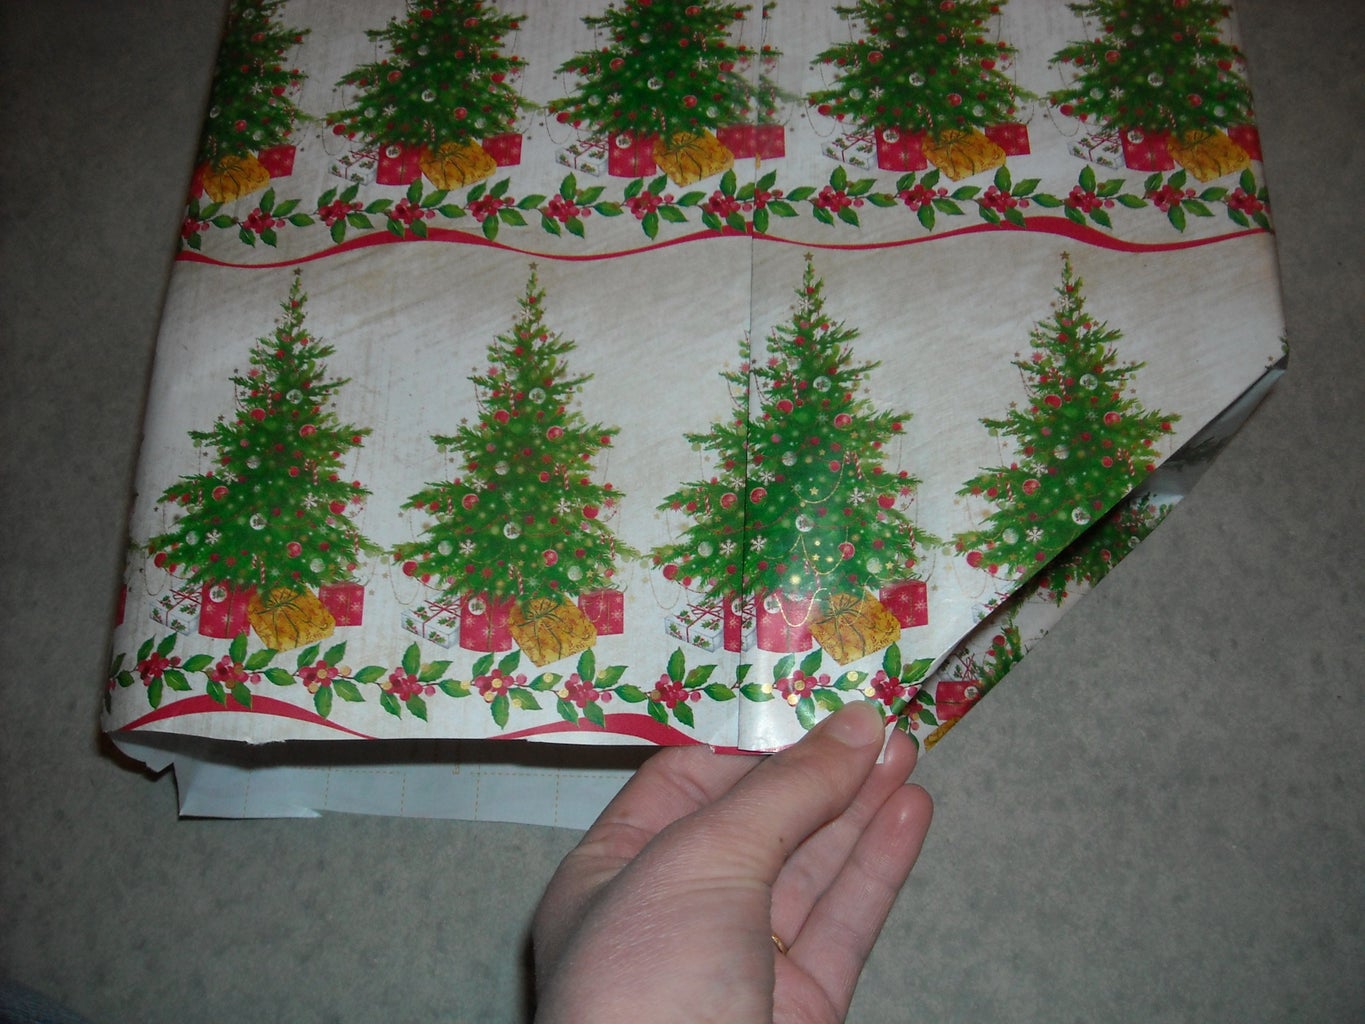
Fold one side in. and crimp the two edges that you've made. Do this again on the other side. (I'm not sure if that makes much sense, but hopefully the pictures help here.) If you were looking from the top of your package, it should look like \_/ or, if your package is smaller, it might be just a v.
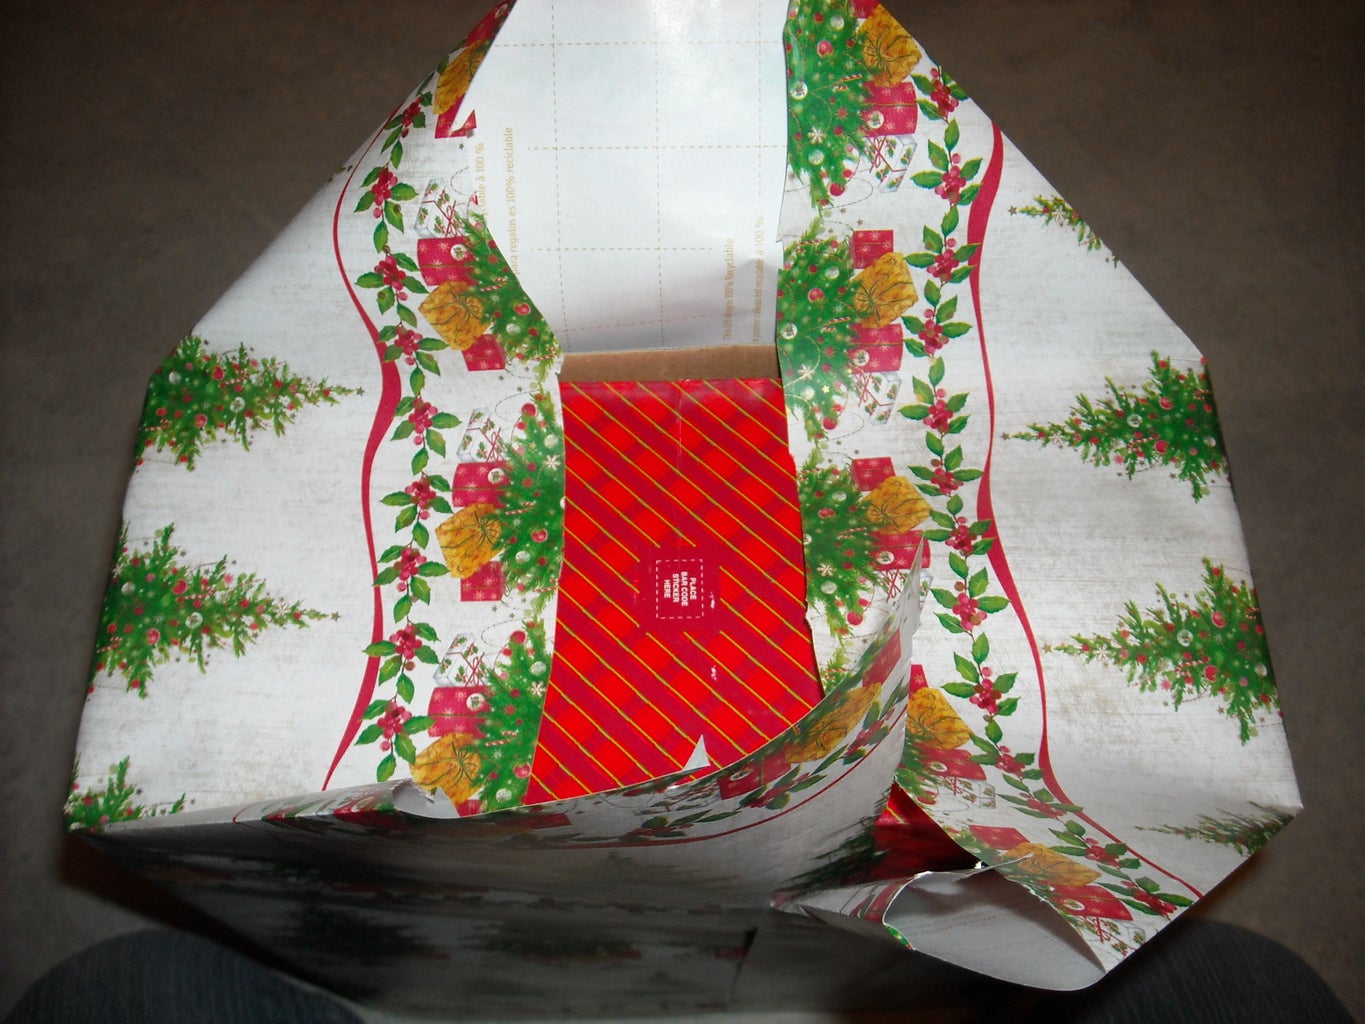
Fold the top flap down. On the bottom flap, fold the raw edge over (Like you did in the step before this). Then fold it up and secure with tape.
Step 4: Repeat


Do it all again on the other side. I always found this side easier, because I could now tip the gift up and get a better angle at it.
Step 5: Crimp


To make all the edges nice and neat, pinch your thumb and finger together, and then run it carefully down all the edges of the gift.
Now your gift is wrapped! For ideas on embellishment, see the next few steps.
Step 6: Add a Bow


Bows are classic. You can attach one by just rolling a little log of tape, sticking it on the bow, and then sticking the bow wherever you want on the gift.
Step 7: Add Ribbon


Ribbon is another great classic, and also one that you can get very creative with.
One always great way is to take the ribbon and loop it around the gift, tying it on top with a double knot. Repeat this the other way, so you have an x. Make sure to leave excess ends on your ribbon.
Take scissors, and CAREFULLY pull the loose ribbon ends across the sharp end of the scissors. This will curl it all nicely. Then hide the knot with a bow.
Step 8: Different Decorating Ideas


Here are some that I've done, with some different ideas to decorate them.
Picture 1: One of my favorites that I made up this year, and one I'm sure to use later. Take a wide piece of sheer ribbon and tie it around the edge of a present, making a bow. Then take a small bow and place it and the label on top. In my opinion, very elegant.
Picture 2: Another favorite! (I must get more of that ribbon) Take a wide piece or ribbon and wind it once around the narrow end of the package, a bit to one side. Secure with tape on the back
Picture 3: Take narrow ribbon, and loop it around close to the side, securing with tape in the back. Do it again another inch or so in. Repeat this on another side.
Picture 4: Do picture 3, except only one piece of ribbon on each side, and then put a bow in the corner where they meet (And maybe some curled ribbon as well.)

Participated in the
Holiday Gifts Challenge


