

Introduction: How to Make a 3D Instructables Robot From Cardboard


Love the instructables robot? If so this is the instructable for you!
Step 1: The Supplies

For this cool instructables you will need two toilet paper rolls, sharpies that have the same color on the instructables robot, cardboard, hotglue, hotglue gun, xacto knife, scissors, paperclips, two round things for the ears, and a pencil.
Step 2: The Cutout

First get a computer and look up an image of the robot, then get your poster board and trace the picture. After you have traced you need to then cut it out using your xacto knife. Do this for the front and back.
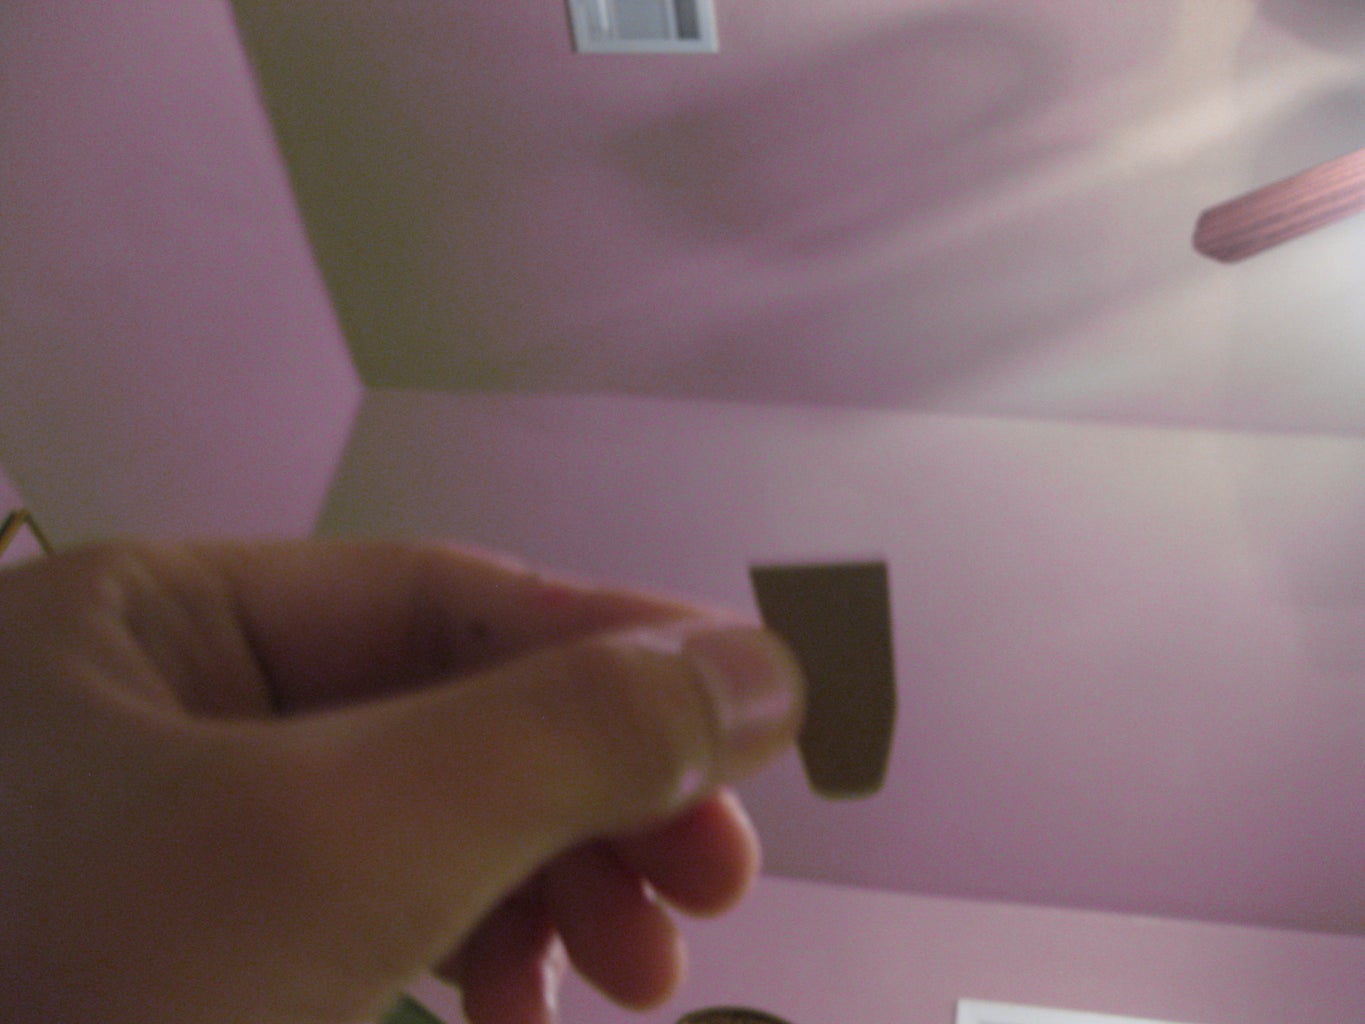
Step 3: Making It 3D

As you can see in the picture above there is a piece of cardboard that is rectangular. You need to cut out one that is long enough to wrap around the edges of the front and back of the robots body.
Step 4: Checking Your 3D Body

After you have cut the rectangular piece out and glued it on it should look like this.
Step 5: The Robot's Head

Now get some cardboard and cut it out to make a head for the robot.
Step 6: The Ear Holes

Now get your xacto knife and cut out some circles in the head. This is where the ears will go.
Step 7: The Ears

Get your two plastic things that are round and color them red. After you have colored them red fit them in the holes and glue them in place.
Step 8: Creating the Antennas

Get your two paperclips and color them both black. When they are fully colored hot glue them onto the head.
Step 9: The Robots Arms

Now get your cardboard and cut out arms similar to the ones in the picture above.
Step 10: Making the Arms 3D

Like we did with the body, get a rectangular piece to wrap around each plate of each arm and do it for both arms.
Step 11: Robotics Fingers
Our robot needs fingers so get your cardboard and scissors and cut out 8 fingures (4 for each hand obviously).
Step 12: Toilet Paper Roll Legs

Get you toilet paper legs and cut less than 1/3 off. The part that is less than 1/3 will be the wheels that are attached to the robots legs. Now get your legs and attach them to the body, do the same to the wheels except glue them to the ends of the paper rolls.
Step 13: Your Instructables Robot Is Almost Alive

All you have to do now is color the cardboard in with a yellow marker and add the details that are on the picture of the instructables robot!
Step 14: Your Finished!
Yay, your finally done creating your very own instructable robot that is 3D! Thank for reading a please subscribe, comment, and rate!!!


