

Introduction: How to Make Your Own Metal Pulse Magnetizer


Four weeks ago I was searching for an magnetizer that can revive my dead magnets (I killed them heating up at a high temperature, trying to encapsulate in a piece of glass), but I haven't found a instructable project that can help me, so with physics teacher's support I made one that works.
With it's help you can revive dead or old magnets, or you can magnetize things like screwdrivers, nails, paperclips, or any metal which can be a good magnet.
It looks like a game console, isn't it ?
This device is only a PROTOTYPE, so maybe I will try to make a big one that can magnetize your hammer.
Now let's start the work.
Step 1: Materials

The materials you need for this project are:
- a 1N4007 diode
- a DPST switch (I get mine from an old computer)
- a Push button switch (or how it is called)
- a jack and a capacitor(230 uF and 400 V) from an old power supply unit
- a plastic, wood, Plexiglas, or any material you found, but NO metals like iron, steel, aluminum, copper or any metal that are atracted
by magnets.
- a 15 W, 220 V lamp
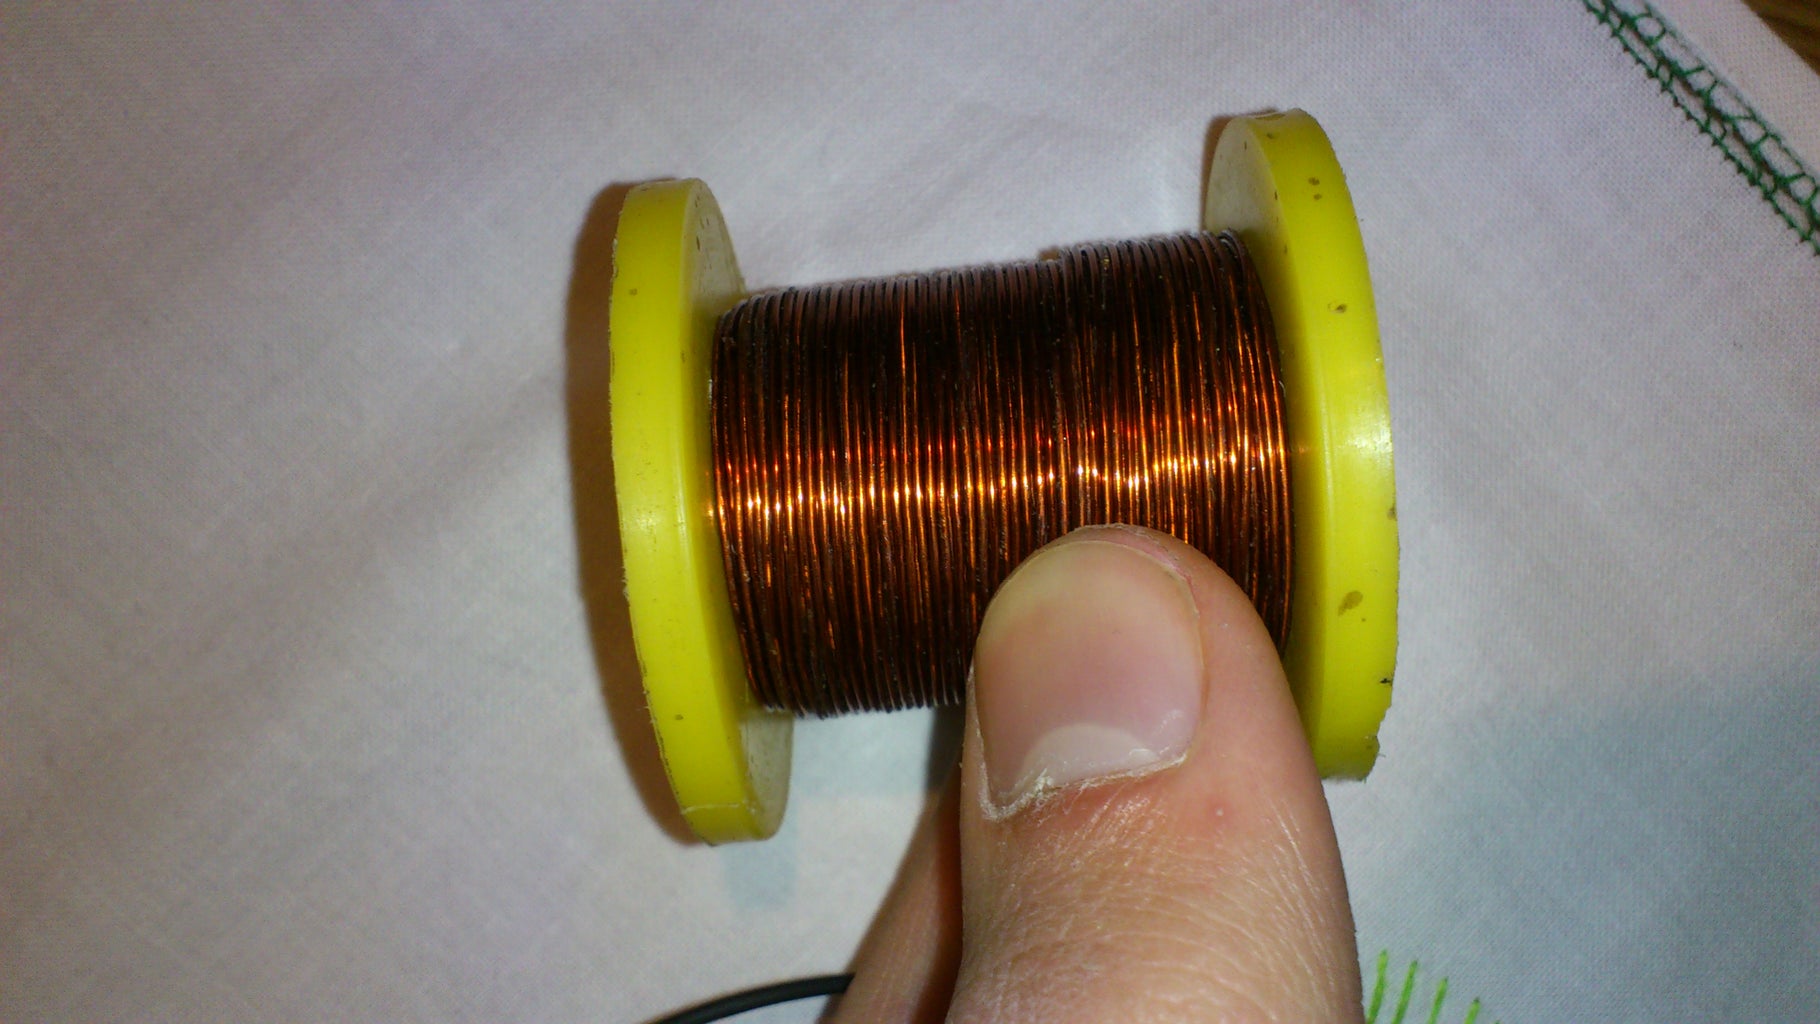
- copper wire for making a coil (0.6 mm diameter for 800 turns)
- something on you can spool your coil (I use a plastic support from solder with inner diameter 20 mm [don't use something that have the inner diameter bigger than 20 mm because then your magnetizer will not work])
- a cable for your jack (I use an ordinary cable for PC supply), why I use it ? because it can be removed.
-two plastic panels (I made them because my case needs panels )
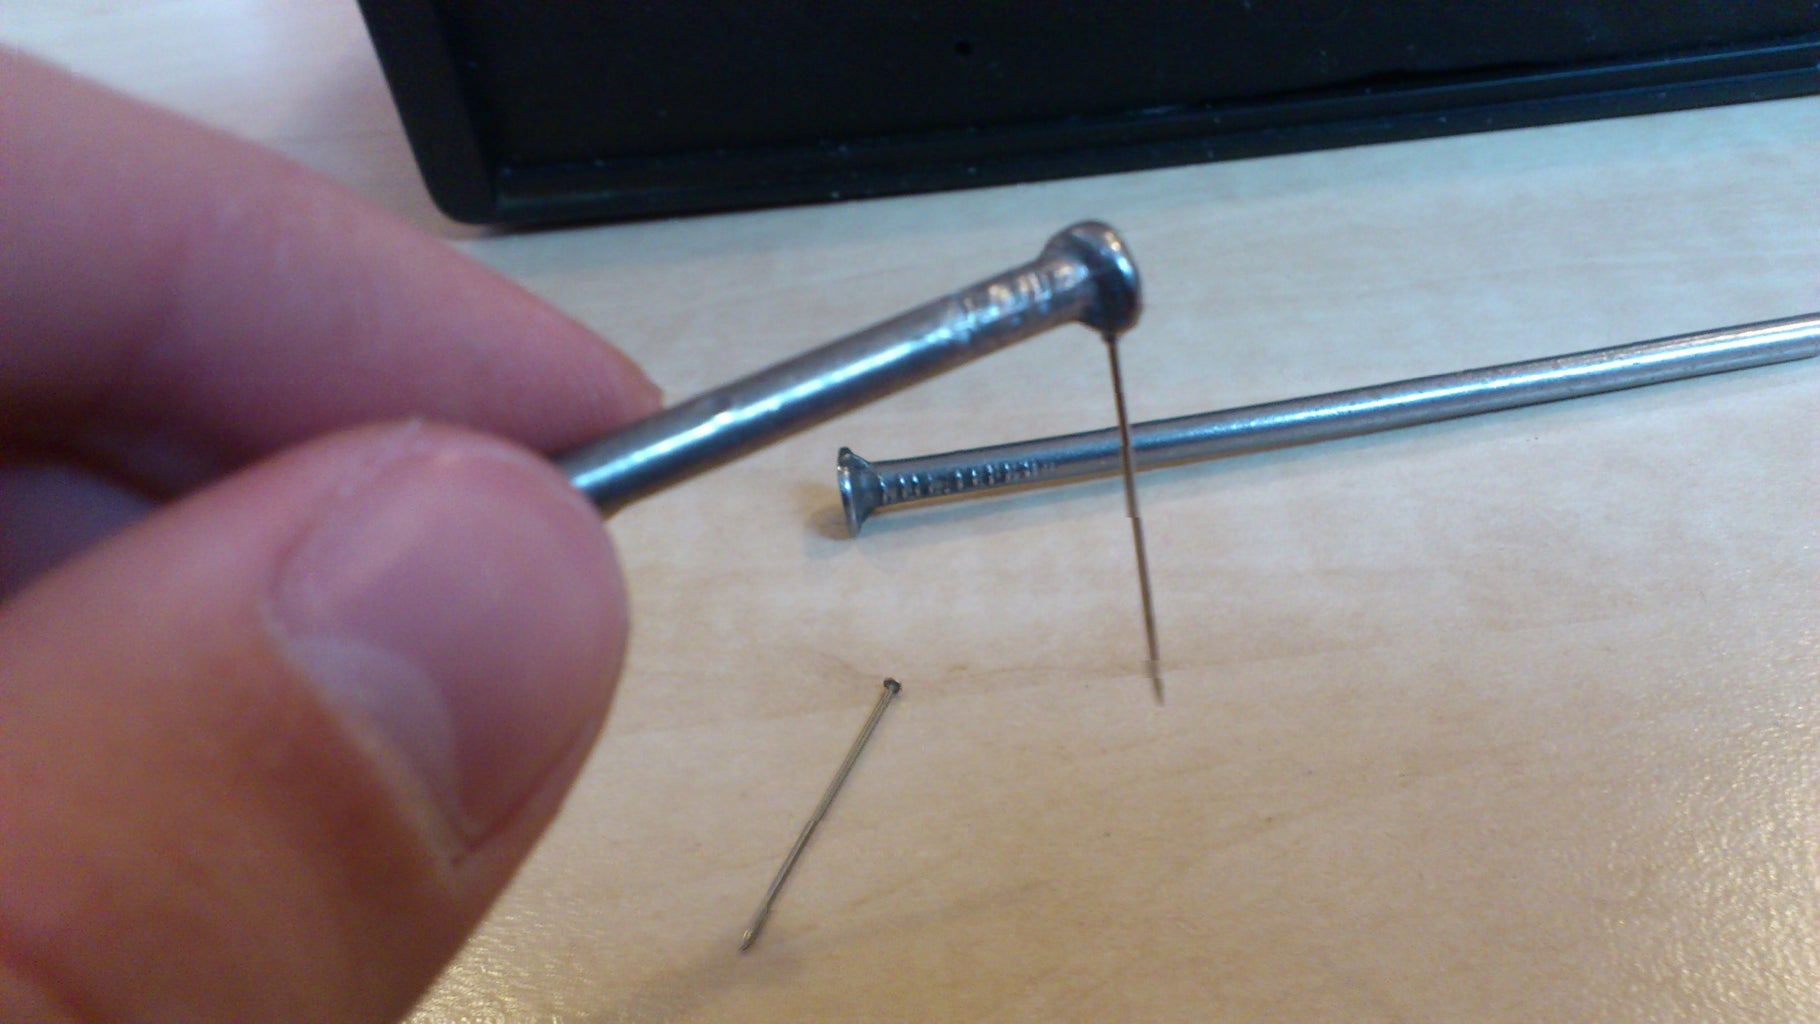
- 20 cm of thick copper wire (2-3 mm diameter)
Tips:
Watch out how you handle the capacitor. If it is charged, and you touch it, you can die.
Try to make the capacitor's links with push button switch and with coil as short as you can,
Step 2: Make the Coil, the Panels, Paint Them and the Case


You are free to choose your own case, so you're free to make it how do you like.
You can see in the third image the color of case before painting in black.
I make the panels from keyboard's back.
The hole from the fourth images is made for the DPST switch.
Tips:
Be careful when you make the coil because if you let the wire from your hand, you must start again.
Step 3: Make the Circuit


Let's start soldering.
Tips:
The links which need thick wire are between capacitor and push button switch and between coil and capacitor.
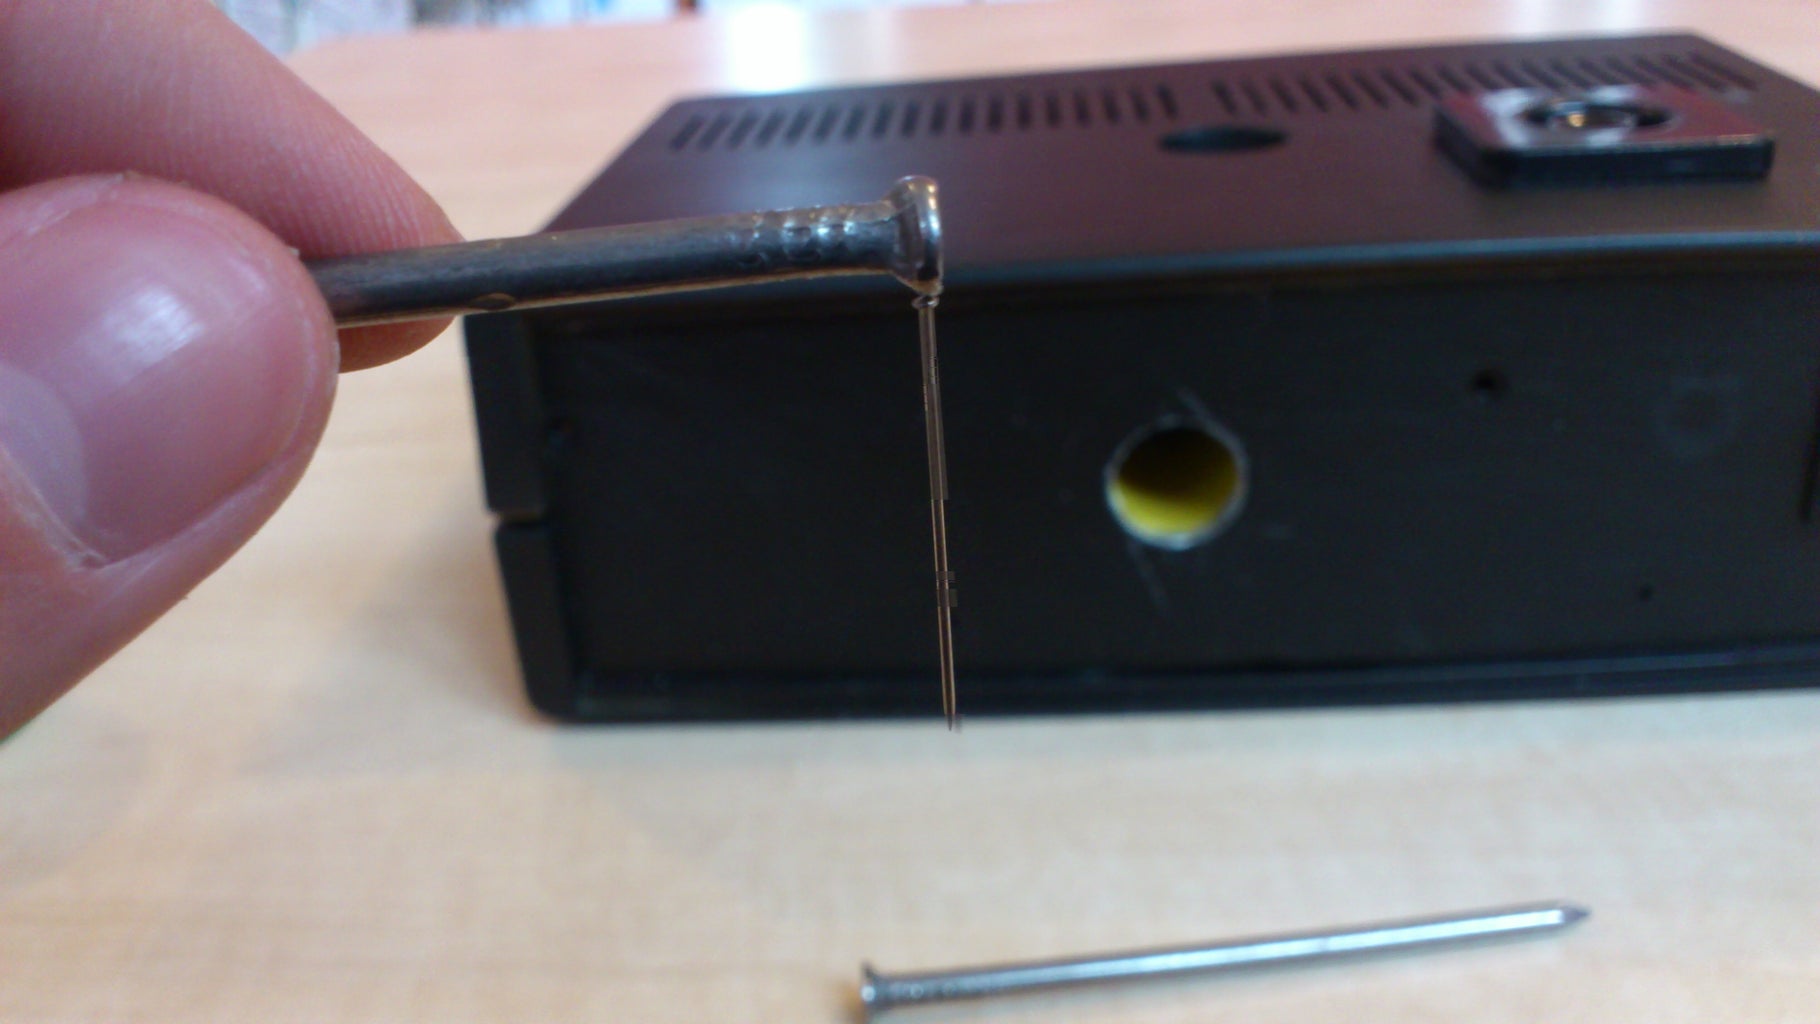
Step 4: Assembling the Pulse Magnetizer


I stick the coil with hot glue on the back of the front panel, and the capacitor on the bottom of the case.
I drill a hole through the top of the case and stick a piece of blue transparent plastic to see the light.
I stick a piece of plastic on a side of inner space from the coil because when you push the button of the switch, the magnet or the thing you use will be throw out, depends of the size of the thing. If you are touching the thing while you push the button, you will feel the pulse passing through the thing. Stick it as good as you can, because little things like nails can detach your plastic.
I stick the DPST switch and the PC power supply jack of their panel putting hot glue among them.
I drill a hole through the top of the case for the push button switch.
I stick of the bottom of the case four pieces of rubber which can be found on the bottom of a keyboard to increase the stability of my device.
Step 5: How It Works


The lamp glows during the capacitor's charging. The light is diminishing as the capacitor is charging. When the capacitor is charged, the lamp is off.
After few seconds the capacitor is charged and the light goes off.
By pushing the S2 button, a pulse of high current (aprox 50 A) passes through the coil magnetizing the object placed inside the coil.
This process can be repeated.
The magnetizer is simple, effective, made from salvanged parts.
To understand better how it works look at the first two images, watch the video below and then view the other images.
Step 6: Further Research

I connect a oscilloscope with my pulse magnetizer via a probe.
Then I try to take a shot of the pulse, but unfortunately I caught only the tail of the pulse, the peak is too fast for my camera.
Step 7: Future Projects
You can see that the pulse throw out the object, so a future project could be a magnetic rifle.
If I modify the circuit and I make it bigger, I can make an EMP.
And that's it my Pulse Magnetizer.
Thanks to my phisycs teacher for supporting me.

Participated in the
Instructables Design Competition

Participated in the
UP! Contest


