

Introduction: How to Repair Capacitors on Computer Motherboards and Other Electronic Devices.


This instructable will show you how to diagnose and repair bad capacitors on computer circuitry saving you money on new appliances and preventing landfills from filling up.
WARNING RISK OF ELECTRICAL SHOCK CONTINUE AT YOUR OWN RISK
Always unplug electronic devices before opening them! Even after opening make shore you discharge all the capacitors with a discharge rod.
Step 1: Materials
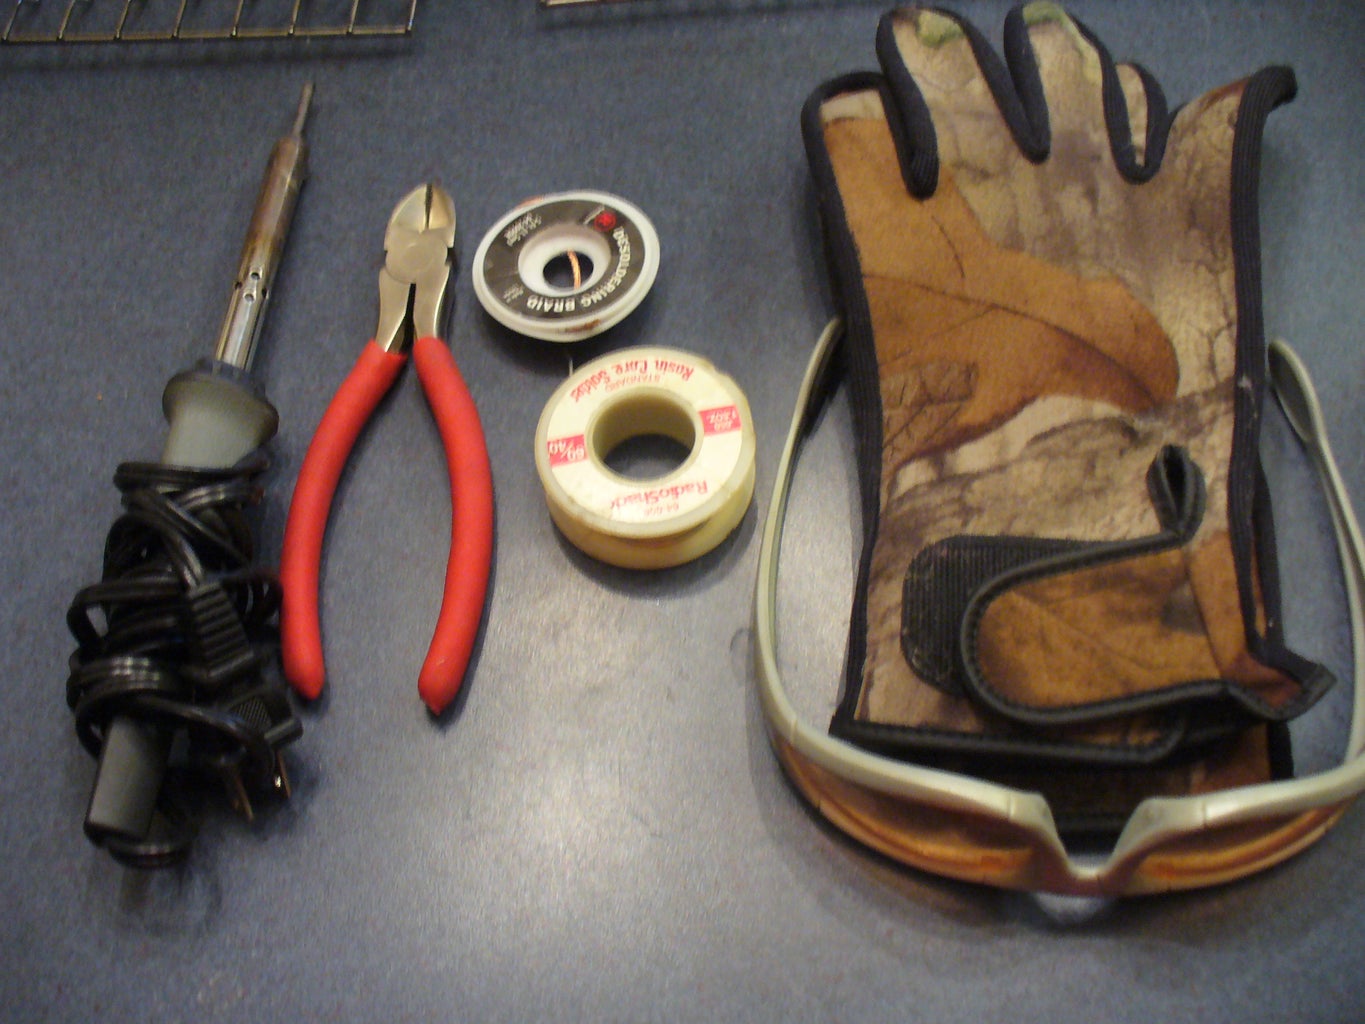
You will need.
a Soldering iron
a cutting pliers
gloves
safety glasses
rosin core solder
the replacement capacitors
an anti static band (if your working with delicate circuitry)
a de soldering pump (optional)
and de soldering wick (optional)
Step 2: Diagnosing the Bad Capacitor(s).

You should be looking for capacitors that are bulging slightly at the top or bottom, have black, brown or white goo oozing from the top, or that are pushing themselves away from the board.
Step 3: Removeing the Capacitors
Desolder the bad capacitor(s) from the board. Don't immediately throw the bad capacitors away, we'll need them for the next step. Also not the direction of the gray colored band on the side of the capacitor. The new capacitor must be inserted the same way. Wear eye protection sometimes the bad capacitors can explode because there under pressure.
Step 4: Adding the New Capacitors
The bad capacitor(s) should have markings on the side like for instance 10v 100µf. replace the capacitor(s) With ones with the same markings. You can use a capacitor with the same or higher voltage. But don't change the capacitance.
Step 5: You're Done
The application you changed the capacitors on should work perfectly now.


