

Introduction: In Depth: Myspace DIV Overlays


A DIV Overlay for your Myspace is like having a completely customized Myspace page, one that looks absolutely nothing like default Myspace page. The idea is that your page is covered with a DIV box, so you are able to make it look anyway you want to. So in this instructable I will be making a new overlay and showing you exactly what I do in the process.
This is a very detailed tutorial that took me some time to make, so comments are ratings are HIGHLY appreciated!!
Step 1: What Do You Need?

1. at least some experience with HTML (HyperText Markup Language)
2. Image editing software (and some experience with it)
In this tutorial I will be using Adobe Photoshop CS3 Extended, but any Photoshop will do, if you don't have Photoshop you can always use The Gimp (ITS A FREE IMAGE EDITOR VERY SIMILAR TO PHOTOSHOP FOR THOSE OF YOU WHO DON'T KNOW, SEARCH IT UP ON GOOGLE!)
3. A Myspace page (duh :P)
4. Patience
Step 2: Making Your Layout.

First thing you need to do is open your image editing software. Your layout will pretty much be entirely made with this, well besides your style sheet. Okay now open the program.
Now go to File-->New, make your new file with 800x600 pixels, you can make it longer if you would like, but if you want it to be matched up with the navigation bar, than leave the width alone.
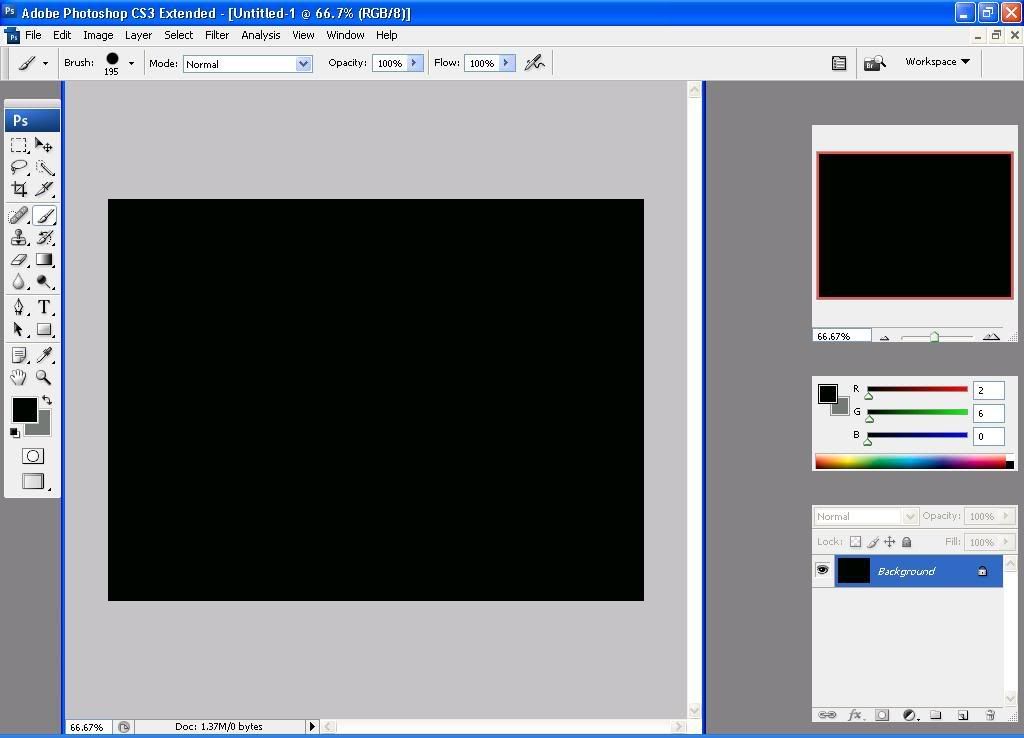
Now it's time to pick a background color, for mine I will pick black. screenshot
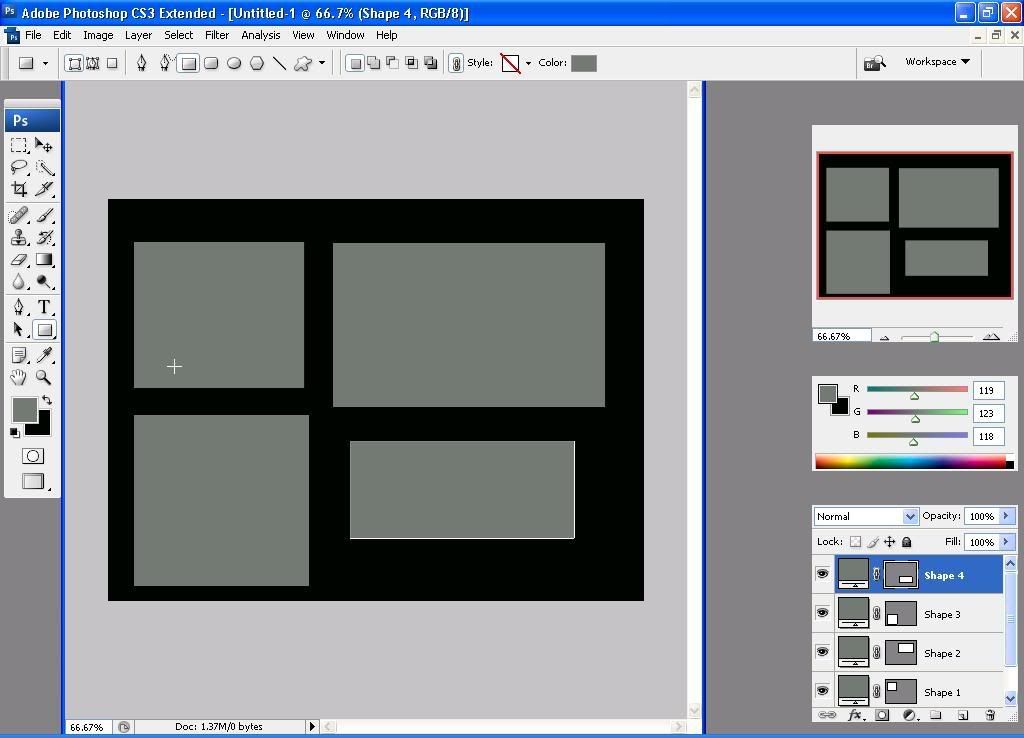
Okay now well make your tables(about me, contact, ect.), I will be making About me, contact me, a music playlist, and a table with my picture age, ect. So go to the rectangle tool, and choose what color you want for you tables. For mine I will use some dark gray tables.
screenshot
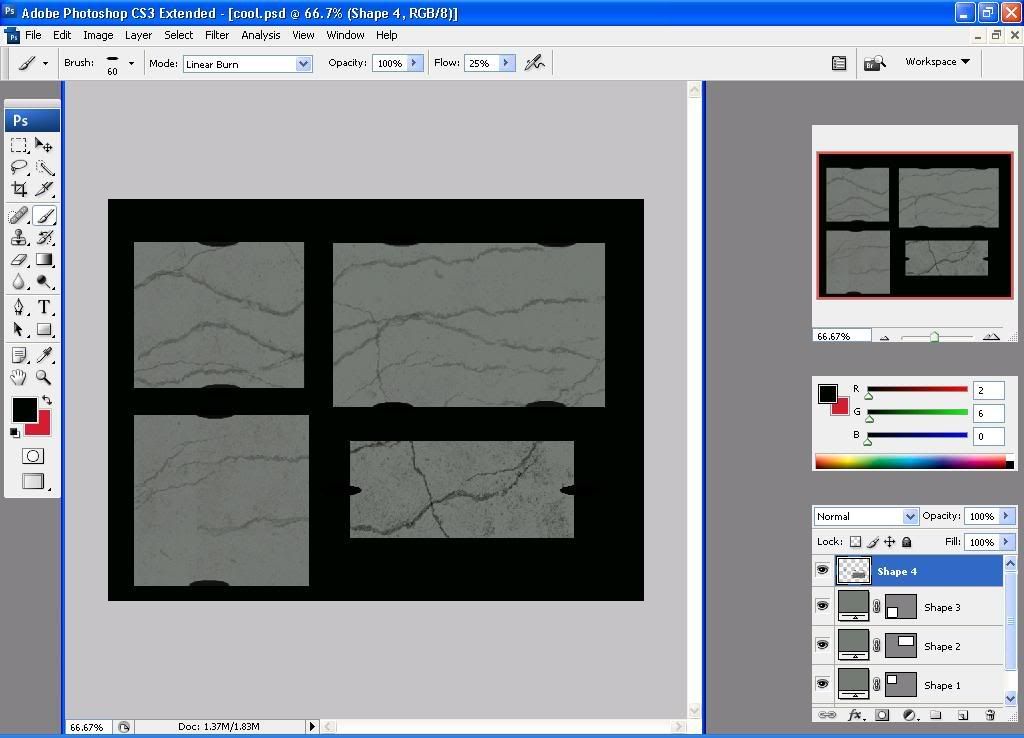
So I'm going to make the background a bit better now, so It's not so bland. So a good thing to do with this is too download some Photoshop brushes (look up up Photoshop brushes on Google, there easy to find! If your using Gimp, just look up Gimp brushes.) So I edited my tables a bit, but the possibilitys of what you can do are almost endless.
screenshot
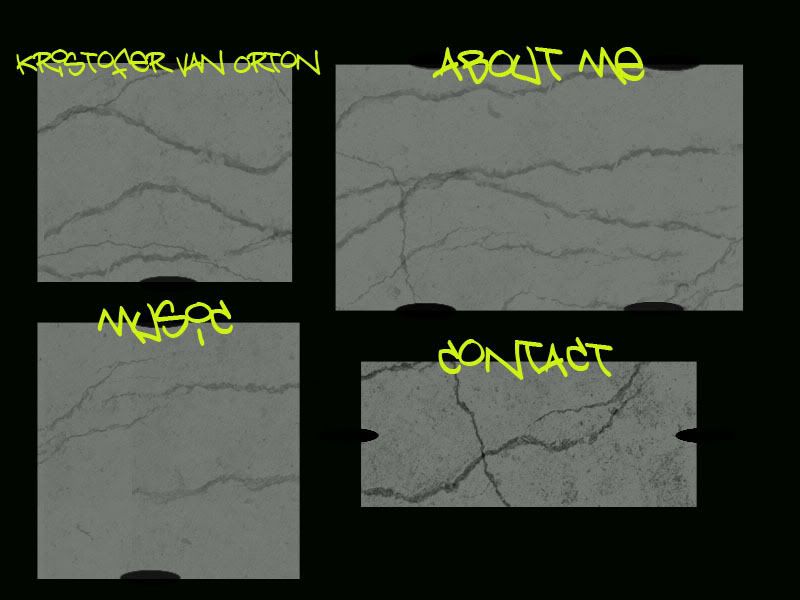
Okay now its time to add your titles. I suggest downloading some new fonts, as I have, and you can make all the titles for your tables. Now just File-->Save As (save it as a JPEG or a GIF or something, don't leave it at PSD, you can make a backup PSD if you'd like though.
Step 3: Getting Your Page Ready!

Okay so the first code will go in your about me section, this will cover your normal profile with a DIV Box. I will bold all the parts you might want to change, and put the details in order.
</div>
<style>
.main {
position: absolute;
left: 50%;
top: 170px;
width: 800px;
z-index: 1;
margin-left: -400px;
}
.hide {visibility:hidden; display:none;}
</style>
1.) This will determine where your box sits from the left side of the page.
2.) This will determine where your box sits from the top of the page.
3.) This one is pretty obvious, it says the width of the box, this should be set to the width of your background.
4.) This hides nessecary things in your profile, it does not need to be changed.
You can most likely just use this code without editing it, unless you prefer to do so. It is set up right now so that your box will sit right in the middle of the page, right below the navigation bar.
Okay now you want put down your background that you made, so you need to host it on Photobucket, TinyPic, ect., mine is
http://i79.photobucket.com/albums/j134/the_ri0t/backgroundDIV.jpg
In Your I'd Like to Meet section
<div class="main">
<table style="width: 800px;
height: 600px;
cellpadding: 0px;
cellspacing: 0px;
background-color: 000000; background-image:url(http://i79.photobucket.com/albums/j134/the_ri0t/backgroundDIV.jpg);">
<tr><td valign="top">
</td></tr></table></div>
1.) Your width and height, it should match your background images pixels.
2.) The background, of the DIV Table ONLY, put the URL for your background in the URL, background-color doesn't really matter as it will be covered.
Hiding sections on the bottom of your page:
In your heroes section (must be at the bottom), put this to hide your details table.
CODE:
</td></tr></table>
</td></tr></table>
</td>
<td>
<div class="hide">
<table><tr><td>
<table><tr><td>
Hide your friends space:
<style>.friendSpace { display:none; }</style>
It doesn't matter where you put this, I put it in my About Me.
Hide your comments:
<style type="text/css">
.friendsComments {display:none;}
</style>
Step 4: Getting Your Links Ready...
This part is pretty basic stuff, but for anyone who needs help with it. If you don't need help with this, feel free to skip this step.
Okay so when you click to go to your profile your url will be something like this
http://profile.myspace.com/index.cfm?fuseaction=user.viewprofile&friendid='''412371493'''
The bolded part is your FriendID, all you need to do is copy your friend ID and put it into the links in the provided area.
Your pictures:
http://viewmorepics.myspace.com/index.cfm?fuseaction=user.viewPicture&friendID='''FRIENDIDHERE'''
Your friends:
http://friends.myspace.com/index.cfm?fuseaction=user.viewfriends&friendID='''FRIENDIDHERE'''
Your blog:
http://blog.myspace.com/index.cfm?fuseaction=blog.ListAll&friendID='''FRIENDIDHERE'''
Your comments:
http://comment.myspace.com/index.cfm?fuseaction=user.viewComments&friendID='''FRIENDIDHERE'''
Send message link:
http://messaging.myspace.com/index.cfm?fuseaction=mail.message&friendID='''FRIENDIDHERE'''
Add me link:
http://friends.myspace.com/index.cfm?fuseaction=invite.addfriend_verify&friendID='''FRIENDIDHERE'''
Save these in notepad as you will need them later.
If you need any extra help or other links just comment and I'll add on!
Step 5: DIV Tables
In the beginning when I talked about patience this is what I'm talking about. In this step you will need to place all your separate DIV Tables for your sections. This is probably the hardest part for most people, or at least the most aggravating.
Okay so first well start with my section, the code for the table will look like this:
<div id=layer1 style="position:absolute; top:20; left:20; width:300; height:300; z-index:1; padding:5px; background-color: transparent;">
this is were the content of the box goes.
</div>
These need to go at the end of you I'd Like to Meet section.
First of all we need to set the width and height, this is the easiest way to make it perfect.
1.) Open up your background in your image editor again.
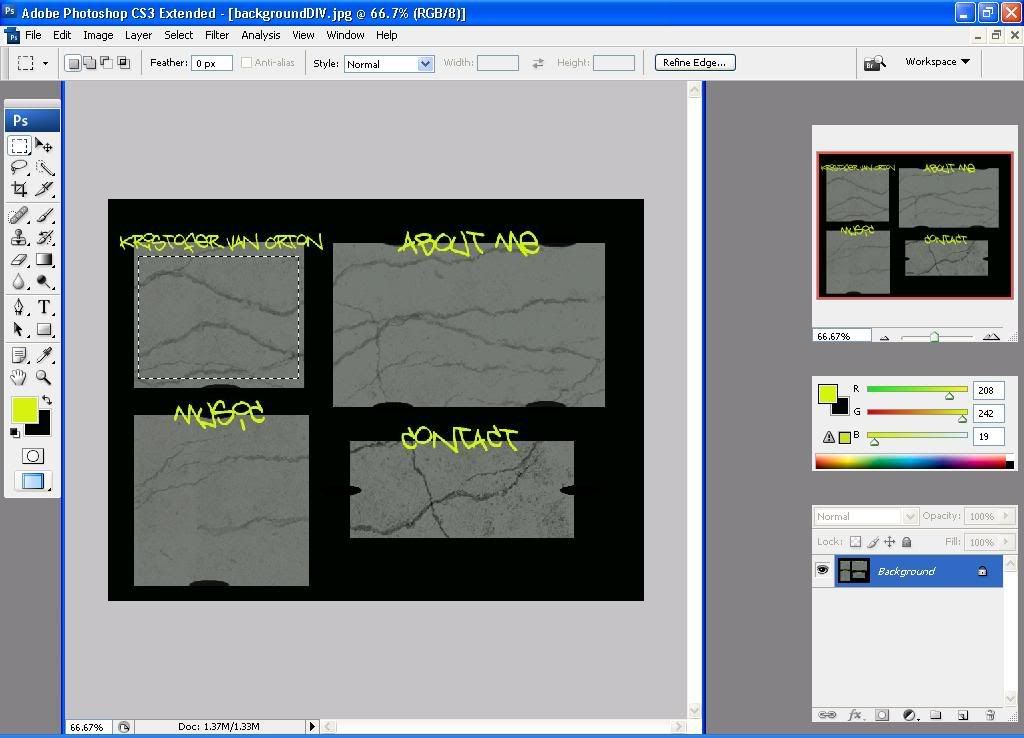
2.) Pick the section you plan on doing first, open the rectangular marquee tool and choose the part of the box you plan on doing. screenshot
3.) Okay now edit-->copy. Go to file new, with Photoshop, it will automatically fit with the pixels you've copied, with others it might be different. So now you should have the width/height.
4.) So mine is 240x185, so now lets apply it to the code, and move on.
<div id=layer1 style="position:absolute; top:20; left:20; width:240; height:185; z-index:1; padding:5px; background-color: 00FF00;">
this is were the content of the box goes.
</div>
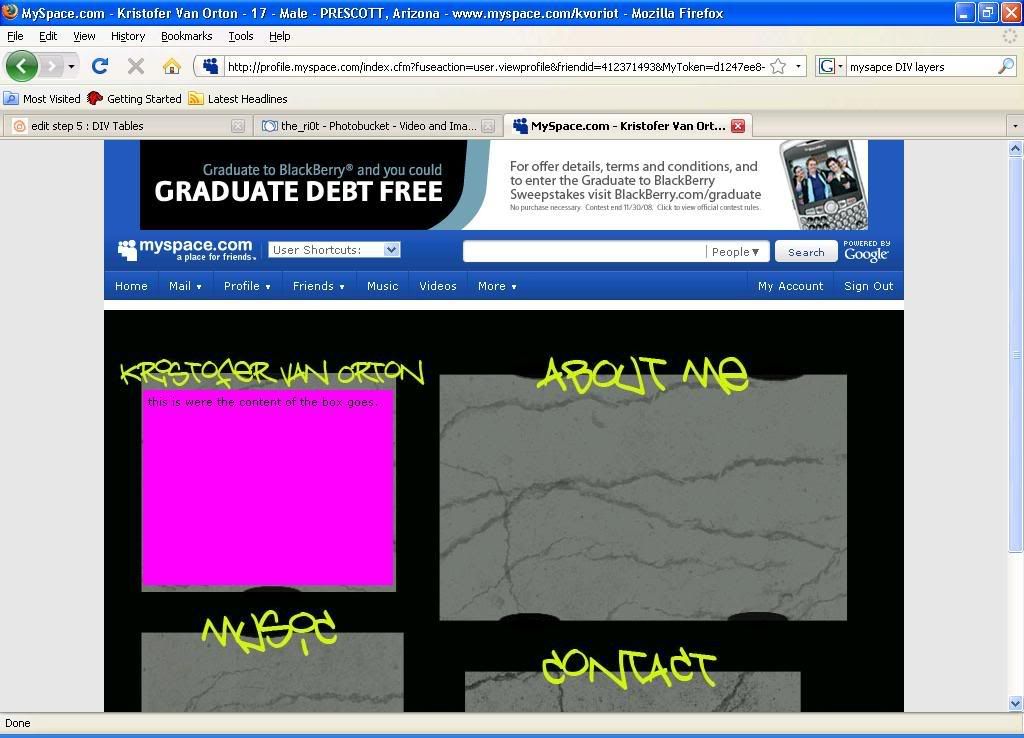
Now to make things a bit easier, change the background color to something so that you can see the whole box as you place it, we will change it back to transparent later to fix the background.
<div id="layer2" style="position:absolute; top:20; left:20; width:240; height:185; z-index:1; padding:5px; background-color:FF00FF;">
this is were the content of the box goes.
</div>
This part, I must admit. Totally sucks :D
but you'll get through it :P
Now we need to place the box nice and even, Add to top:20 to make it go more down, add to left:20 to make it go over. This will most likely take you several try's to place, especially is you want it even. Start with the top, get it down even, and then place it with the left.
screenshot
As you can see with this I need to move it a bit more up, right now its at top: 256
So now I have it fit evenly from the top, at 250
screenshot
Now to place it from the left margin, which is the same concept.
Okay so now I have my table places right where I want it:
screenshot
And my code now looks like this
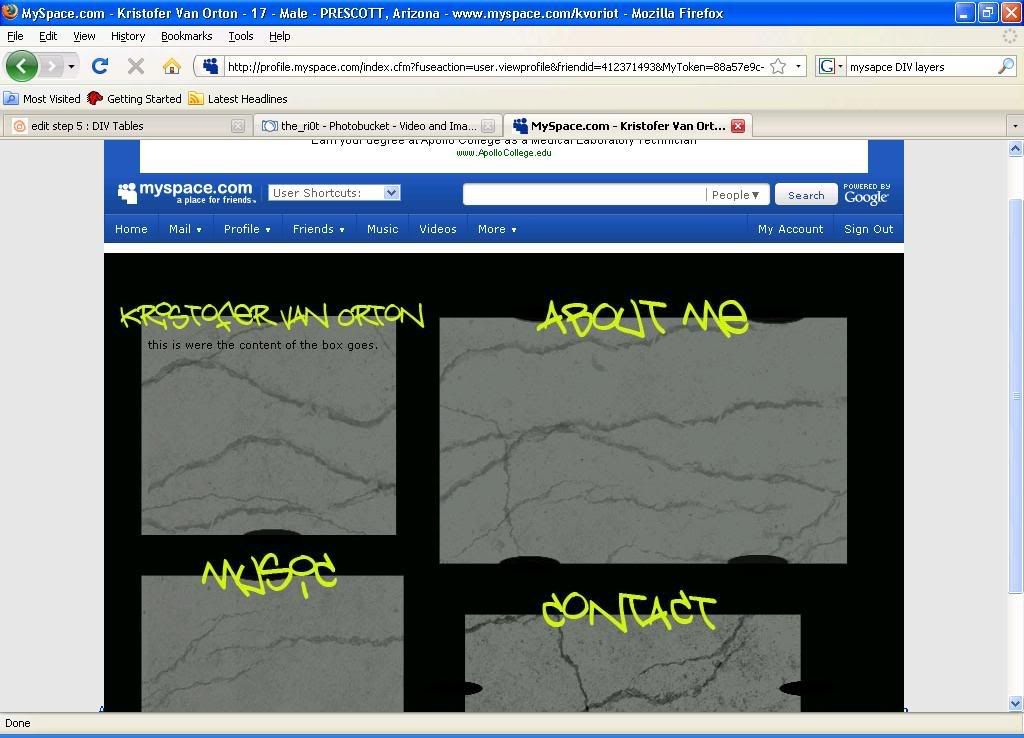
<div id="layer2" style="position:absolute; top:250; left:143; width:240; height:185; z-index:1; padding:5px; background-color:transparent;">
this is were the content of the box goes.
</div>
Now you can switch the color back to transparent and add your content:
screenshot
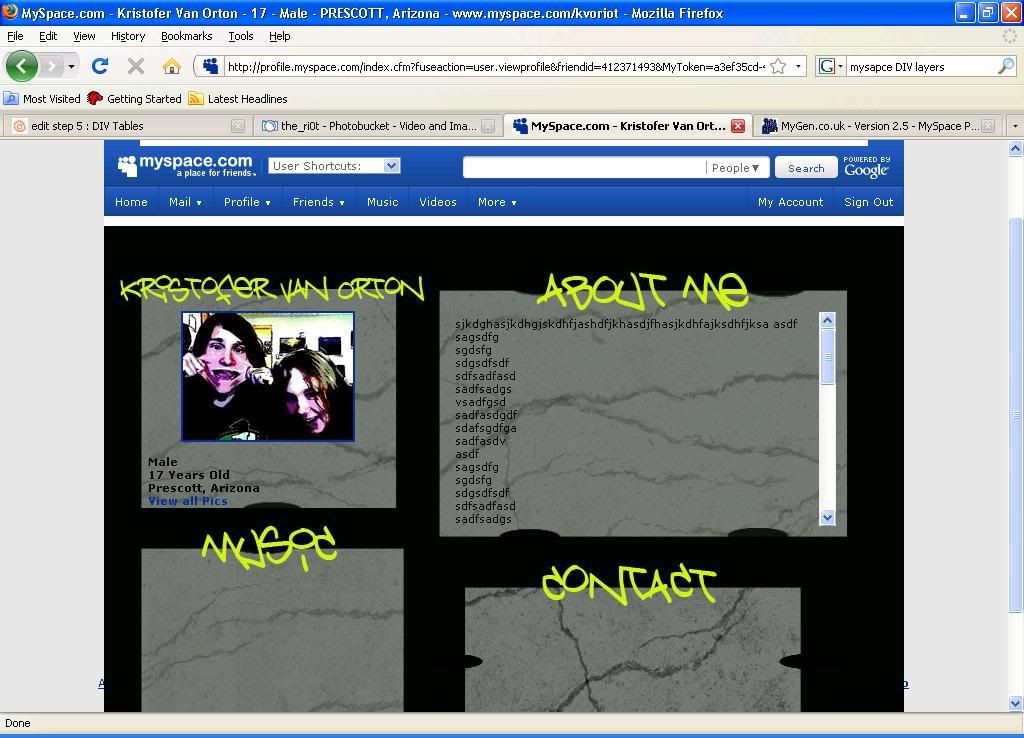
So now this is where I meant you would need some basic HTML knowledge, to actually add content to the boxes. My box now looks like this:
screenshot
Though you can add whatever you would like as your content.
My DIV Box code now looks like this (for any reference you may need):
<div id="layer2" style="position:absolute; top:250; left:143; width:240; height:185; z-index:1; padding:5px; background-color:transparent;">
<a href="http://www.msplinks.com/MDFodHRwOi8vdmlld21vcmVwaWNzLm15c3BhY2UuY29tL2luZGV4LmNmbT9mdXNlYWN0aW9uPXVzZXIudmlld0FsYnVtcyZmcmllbmRJRD04MTk3Mjk1">
<center>
<img src="http://a384.ac-images.myspacecdn.com/images01/58/m_d065aa4a35adac5501ddcca3a9672fc7.jpg" /></center></a><br /><b>Male<br />17 Years Old<br />Prescott, Arizona</b>
<br /><a href="http://www.msplinks.com/MDFodHRwOi8vdmlld21vcmVwaWNzLm15c3BhY2UuY29tL2luZGV4LmNmbT9mdXNlYWN0aW9uPXVzZXIudmlld0FsYnVtcyZmcmllbmRJRD04MTk3Mjk1">View all Pics</a>
</div>
Now, it's the same process to fill all boxes, but since I'd prefer to add a scroll bar to my About Me section, I'll show you how to do that, which is as easy as adding one line of code.
This is the code for my About Me section, notice the one change that makes it into a scrollbar section:
<div id="layer2" style="position:absolute; top:256; left:450; width:376; height:204; z-index:1; padding:5px; background-color:transparent; overflow: auto;">
all content here
</div>
screenshot
Now just repeat this step until you've filled up all your boxes. :D
Step 6: Add Your Content and You've Got It.
Now that you know how to place the boxes you can add content.
As for the profile I made in order to make this tutorial, there is a live preview avalible here
Suggestion: It's always better to have a style sheet, though I don't really care :D
I hoped this helped you, if you like this tutorial please rate and comment!
-Kristofer Van Orton


