

Introduction: Industrial Fly Trap


Summer is here in Australia and lately we have a fly problem. Flies are amazing little creatures they are the best aerial navigators out of all insects. They can fly up to 8kph which is about 5miles per hour .They can breed like crazy - about 1500-2500 babies from one female. They can survive about 30 days. But like anything, such amazing little things don't come without their downsides and for us its the diseases they carry. These include typhoid, cholera, dysentry, salmonella, anthrax , tuberculosis and also transfer parasite eggs. Not to mention they are super annoying. I dont want these around my house or my family so it's time to do something about it.
I have been making small bottle fly traps and so far have caught a lot but I really wanted something that kills bazillions of flies and looks good at the same time. I found, after a bit of research, a trap that I thought was the best. This is a very very old trap design and can be found in some of the early carpenter project books. I thought I would bring it back to life using recycled and modern materials and change a few things at the same time.
Why I like this trap is that it's a dry trap. The bottle traps I have been making breed maggots and though most of the maggots stay put some do make it out. A dry trap dehydrates the flies to stop the breeding.
The above footage was taken over a short 1.5 hour time period. You can see if you skip to the end how well this trap actually works.
Step 1: The Design


I set about drawing something that I could work my cutting list from. Here is what the basic trap looks like.
The sides will be fitted with a high quality security grade stainless mesh. The base pyramid is also made from this mesh.
The idea is that the mesh allows light through and the flies are inclined to fly upwards from where the bait is placed into the pyramid through a small hole. The mesh then confuses the fly into thinking that there is a way out but there isn't. The flies then get dehydrated and die falling to the edge of the pyramid. There is also a lid I haven't added in these drawings, this will allow the trap to be emptied of the old fly bodies.
Step 2: Things You Will Need.
You will need:
Powersaw and Dropsaw
Planer (optional)
Sander (optional)
Angle grinder or sharp snips
Sheet bending grips
Silicone
Drill with some bits
Cabinet makers' wax or similar
Belt frame clamp (optional but recommended)
50mm galvanised or 315stainless chipboard screws
Pan head screws
Industrial security mesh 316 stainless coated
Step 3: Selecting Timber


It's important for the sustainability of the world for everyone to start using the timber we have already cut down. i.e. recycle. Old timber is stable in weather and it is better to work with (most of the time). It won't warp or twist, assuming its been properly seasoned, and the best thing is, it looks great.
Doug is a retired carpenter who lives across the street from me. He donated some old door stiles that he had laying around in his yard that happened to be Australian red cedar. Thanks Doug!
Red cedar has an infamous and bloody history and is now known as red gold. The red cedar tree was almost wiped out completely and after working with it, it's not hard to see why.
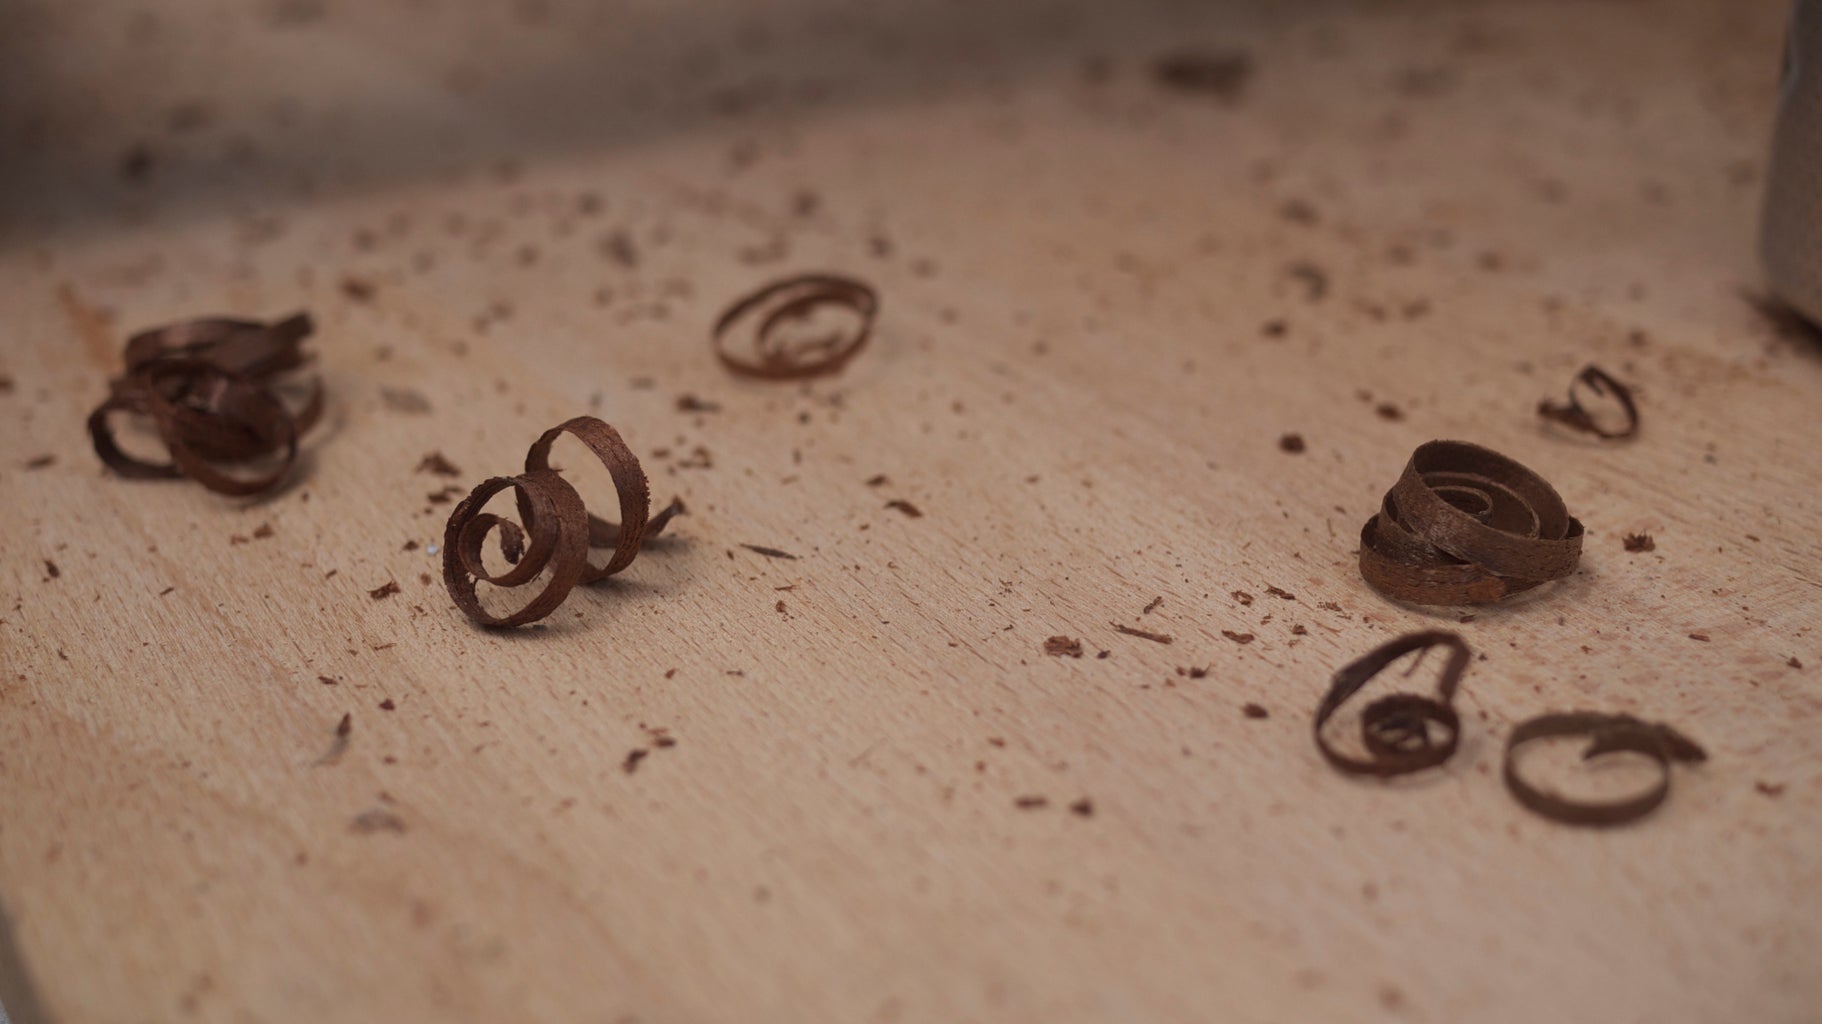
Step 4: Ripping Timber


The first thing to do is work out what size your frame can be with the timber you have. I worked out I could push it to 40mm by 40mm (About 1.5 inch by 1.5inch ) square or close to that mark.
If you are using a circular saw, set the depth. This reduces the chance of the saw cutting deep gouges in the timber as you rip along with stops and starts. It also makes it easier to push the saw through the timber.
To be a little more accurate make a mark with a square on your timber then run the saw into the cut on the line. Once the saw table is resting on the timber with blade in the cut, adjust your saw guide up against the outside of timber.
You can already see the colour of this timber.
Step 5: Dressing


Now it's time to accurately work out what square section you want and plane the timber accordingly. It's also a good idea to be aware of any drill holes, nail holes and other imperfections you may want to take out with the planer. Don't be too fussy if you're using old timber, it's nice to have something hand-made looking.
Step 6: Cutting Grooves


Here I set my saw depth to 12mm (half inch) and then adjusted the saw guide by making a centre line, rotating my combination square to both sides and making a mark. As before, run the saw in free and then set your guide once the blade and table are stable enough on the timber to do so.
Step 7: Cutting Cross Members


Next, I trimmed off the old mortice holes at the top of the stiles and cut my cross rails at 300mm. (11.8 inch)
I aligned these at one end and measured one, then cut all of them at once.
Step 8: Cutting Legs


There are four legs and these were made so 50mm (about 2inchs) of them poke past to the bottom. This will create a space for the bait to be paced underneath the trap.
Notice that these have had the slot ripped both ways in them.
Dock one end. Line them up and cut them to length.
Step 9: Arris All Edges


This is the part where you remove the arris from the edges. A tafe teacher told me once, "to arris is to cover a multitude of sins". Meaning it will make your end result a much nicer looking product.
Heres a little tip a German builder once told me. When the plane rips the timber shown in picture three it means you are pushing against the grain. Reverse the plane and come from the other direction. This will work in with the natural grain of the timber to cut the timber instead of folding it back on itself.
Step 10: Wax On, Wax Off


Here I am waxing all the ends of the timber grains to prevent water in weather from soaking in. This small step will ensure the longevity of the end result.
Why wax instead of a varnish? Well this is because wax soaks into the cedar in the heat and makes a waterproof seal. It's sorta like feeding the timber back some of the natural oils it once contained. Wax won't peel or flake after the UV rays hit it. You can always re apply once the timber sucks a bit in. I loaded the end grain with heaps and even put a bit extra on.
Did you know: Beeswax is only made by the younger bees? Its like bee sweat.
Step 11: Fixing Sides


Next I marked the legs with a position for the bottom cross members to sit. For this distance, I sat a cross member on top of a leg with another member above it to get my mark. This will make the sides on the square panels rather then rectangles. I then transferred this along all four legs.
Screws:
I am using a galvanised screw here which isn't the best for cedar as it contains high levels of acetic acid which causes corrosion. 316 Stainless screws would be a better option. What I did to counter this is to coat the screw in the wax before fixing. This will also help the glide in.
Before fixing, it's a good idea to line up the grooves you have made as it will save a lot of heartache later in sliding the mesh in. I used a clip of finishing nails or a plastic packer to make this work for me. Shown in picture 6.
Fix the top rail in by drilling a 3mm or 1/8th drill first, then countersinking it, then screwing. Then fix your bottom crossmember using another crossmember to help you steady you drilling. When done you should have your two sides.
These screws are side by side in their orientation.
Step 12: Fixing Sides Together


To fix the sides together I used a frame belt clamp to make things easy. My sweetness bought this for me and I have used it many times as it helps a lot. Once clamped, pre-drill countersink and drive away. I am using a tile cutting bit for my countersink as they last forever.
The screws here are in a diagonal fashion as to not hit the two going the other direction. Ensure that your screws do not enter the groove you have cut for the screen.
Step 13: Making the Lid


Here I measured and cut my remaining timber to the dimensions of the top. I glued two of the mitres before screwing them and left two unglued. This will allow me to slide a screen in and glue them up later.
Again, I used that handy belt clamp to tighten up the mitres while fixing. You can just lift the belt once happy and fix once corner at a time. Make sure you have that clip or nails or packer in place.
Step 14: Finishing Lid


Next take those nasty edges off and sand it. Red cedar sands sooooooo nice.
I used 120grit non clog sand paper on an orbital sander.
Step 15: Basic Box Completed


Here we can see what the basic frame will look like. At this point while the wax is still fresh you may want to leave this in the heat to allow the wax to soak in.
Step 16: Making Mesh Pyramid


I ordered my mesh from a security screen place that has offcuts for sale. In total I needed 9 at 320mm by 320mm square.
I referred to my picture and worked out that my triangles had to be 300mm (11.8 inches) at the base with a 30mm (1.18 inches) bend and 200mm (7.8inches) high with a tab on the side. This will depend on your design. You can see how i did this in the pictures.
After marking out the mesh I used an angle grinder to cut this.
Then I used some sheet bending vice grips to bend the shapes I needed. I stood them all together and had a look what needed to be cut or bent differently.
Once you're satisfied there, put another coat of wax on the whole thing and screw your four bent shapes in place, making sure that you get your laps right. I fixed these using pan-head galvanised screws and waxed the thread before driving them in.
Next flip the whole box upright and arrange the mesh till your pyramid looks right. I used a P1 driver bit and some four gauge screws to hold it all in place for the next step. These can be removed at a later date. The reason I did not use pop rivets here is, this stuff is very hard to drill and accurately pop rivet. The drill slides off as it drops through one side of the apature square.
Step 17: Silicone Joins


After everything is screwed temporarily, its time to run a bead of silicone up the edges of the sheets to join them and protect your hands from nasty edges. You can use a spray bottle with dish detergent to help smooth the silicone off after applying. Apply, spray job, spray finger, spread. Clean excess off your finger with paper towel or a rag. You want to make sure all the edges are covered. Leave those four-gauge screws in till the silicone has dried.
The hole: Later once everything has dried I will be cutting the top off this pyramid to create a larger hole. This is an important part to get right. Too small and the flies won't enter and too large and they will escape. I cut mine to 25mm (about an inch) opening. See last picture.
Step 18: Sliding in Screens


Next it's time to unscrew each side at the top and slide your mesh in. Slide them down, place your tops back on and screw closed. The top is the same, remember, which two mitres were glued though. Fix it all back in place after your mesh is in.
Step 19: Hinges and Latch


I bought some solid brass hinges. Be careful when looking at what brand to buy, get either stainless 316 or solid brass. Not brass-plated. Drill a smaller hole, then thread and fix in - cedar is soft.
Step 20: Weather Seal


I had some foam door seal left over from another project that I put around the top to ensure no flies escape. This will also help your latch stay put because it's under constant pressure.
Step 21: Let It Sun!!


After this, let your project sun so it all dries and you're ready to catch flies. Place a tray with something stinky underneath and watch your flies collect.
There are also baits which aren't smelly, but I like attracting flies now.:))
Enjoy ridding your neighbourhood of flies!
Step 22: Update!!! 27th January 2015.


Well, I have been so impressed with the catching capabilities of this trap I decided to do an update to give people and idea of what to expect after making your trap.
So this is what you will find after neglecting your trap for 7 days. You can now see how they all fall down and collect at the base.
If you want to empty your trap simply move it away from your bait dish and leave it in the sun. The flies will dehydrate and all soon be dead.
I worked about 1800 flies by weight but it looks like more to me.

Runner Up in the
Protected Contest

Participated in the
Wood Contest


