

Introduction: Kayak Trolling Motor


I was tagged on my Facebook page with a new way to look at this kayak invention; I have seen tank wheelchairs that go everywhere. Well, I would like to extend my offer to my fellow veterans who I served with a chance to be able to kayak with your families again. Big boats are excellent, but it is not the same. You should not be limited to your surrounding when you are injured in any way, prior service or civilian.
If you are a veteran with disabilities and would like to enjoy kayaking with your family again, or if you know of one, please contact me and I will try my best to help out in building a system that will work for your choice kayak.
the invention that inspired me to make to a disability is the tank track wheelchair.
Thank you for reading this, and I am willing to help you on your way to recovery.
I did not give measurements because all kayaks are not alike! I hope you enjoyed and created one yourself. Post your pictures and go fishing.
This is my first instructable, and this is an old project that I did last year. I will help you out with what I can. Thanks for stopping in.
PARTS LIST!
WIRE THAT MATCHES ALL WIRES ON YOUR CHOICE OF TROLLING MOTOR
WIRE COVER TO KEEP YOUR WIRES TOGETHER
ELECTRIC TAPE TO TAPE UP YOUR WIRES AND prevent them from BECOMING ALL KNOTTED UP
TROLLING MOTOR THAT YOU ARE WILLING TO HACK UP
A BUILT THAT IS THE SAME LENGTH AND DIAMETER AS YOUR RUDDER SHAFT
TOOLS
drill
hand saw
wire snips crimps
tape measure
camera
radio (Hill Stomp is on my Pandora)
saw horses
your attention
gloves to protect the only set of hands
eye protection because closing your eyes does not sound fun to me.
so please please be safe.
Step 1: Replacing the Rudder


So you are like me trying to find a way to fish and kayak at the same time without fighting with the paddles, fishing line, and everything else that tends to mess you up.
You have lost the use of your limbs and can not paddle anymore.
I want to help you re-aging your ability to enjoy kayaking with your families.
Inside the pictures, you will see captions that describe the steps that I will be taking as we go. I will also add a couple of notes to help you along the way.
Step 2: Foot Rudder Pedals


I have had a problem with my pedals getting stuck and WD-40 was not cutting it. To help with my troubles I use graphite spray found at your local hardware store. Caution it is messy so use the provided red tube and take your time.
Step 3: Setting Up the Wiring


Always remember that the engineers that built this did not design their motor for you to re-engineer, so with that in mind let's tear into this thing! Friendly note: do not lose the screws, break the plastic, or discard any parts! We will use them in the cabin.
the first picture is an overview of what you want to do; Do not rush anything! measure out what you would like to do, visualize it, then measure it out again.
Carefully pull apart you Minn Kota head noting how all the bits should fit back together again.
take lots of picture of the wiring and if needed draw out the wire placements.
On inspection of the wires, please notice that all the information that you will need to extend the wiring harness to the cabin is printed on the wires. You should use this information to buy the correct gauge and color of wires.
Step 4: Things Not to Do!

Do not use the wrong gauge wires! Using the wrong wires will result in malfunction and your equipment will fail.
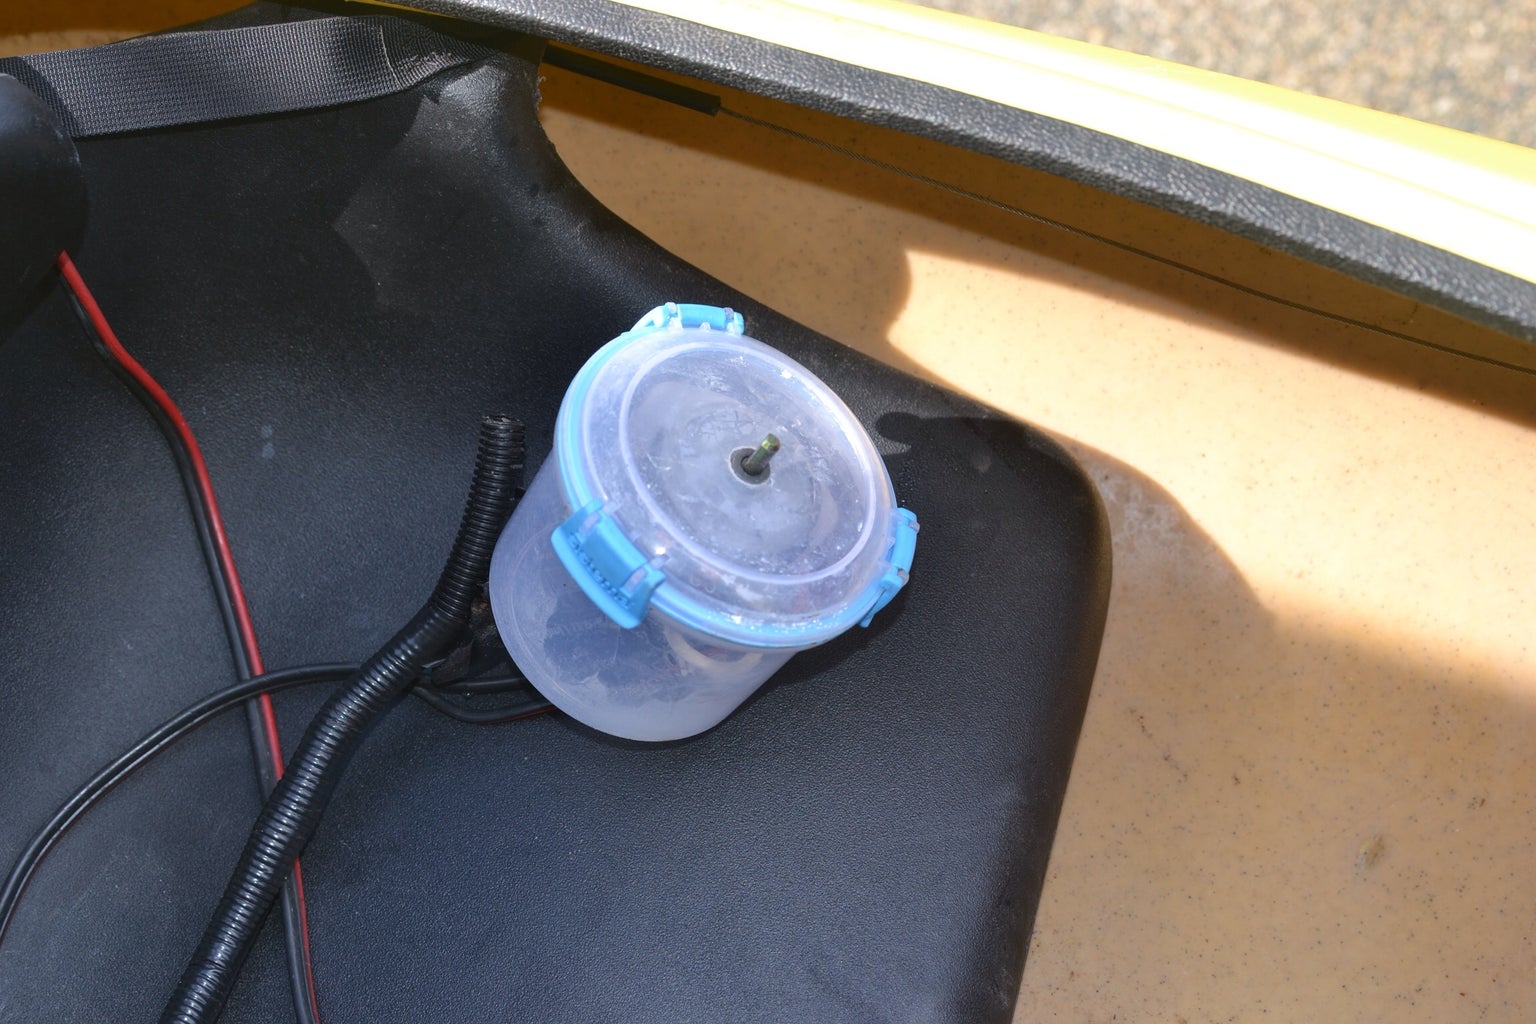
Do not discard the head casing! If you do you will end up using your wife's Tupperware, and this will make you want to go fishing just that much faster and you will be cutting steps. Cutting steps are bad.
Step 5: Looking at How the Trolling Motor Will Mount to the Kayak.


On the fiberglass down a post that connects to the trolling motor you will have access length that will stick above the kayak. If you want to have a stream line look to your kayak, you can cut the fiberglass tube by hand being careful not to cut your wires!
Remember water is not your friend when it comes to electrical anything.
Step 6: To Cut or Not to Cut That Is Your Option

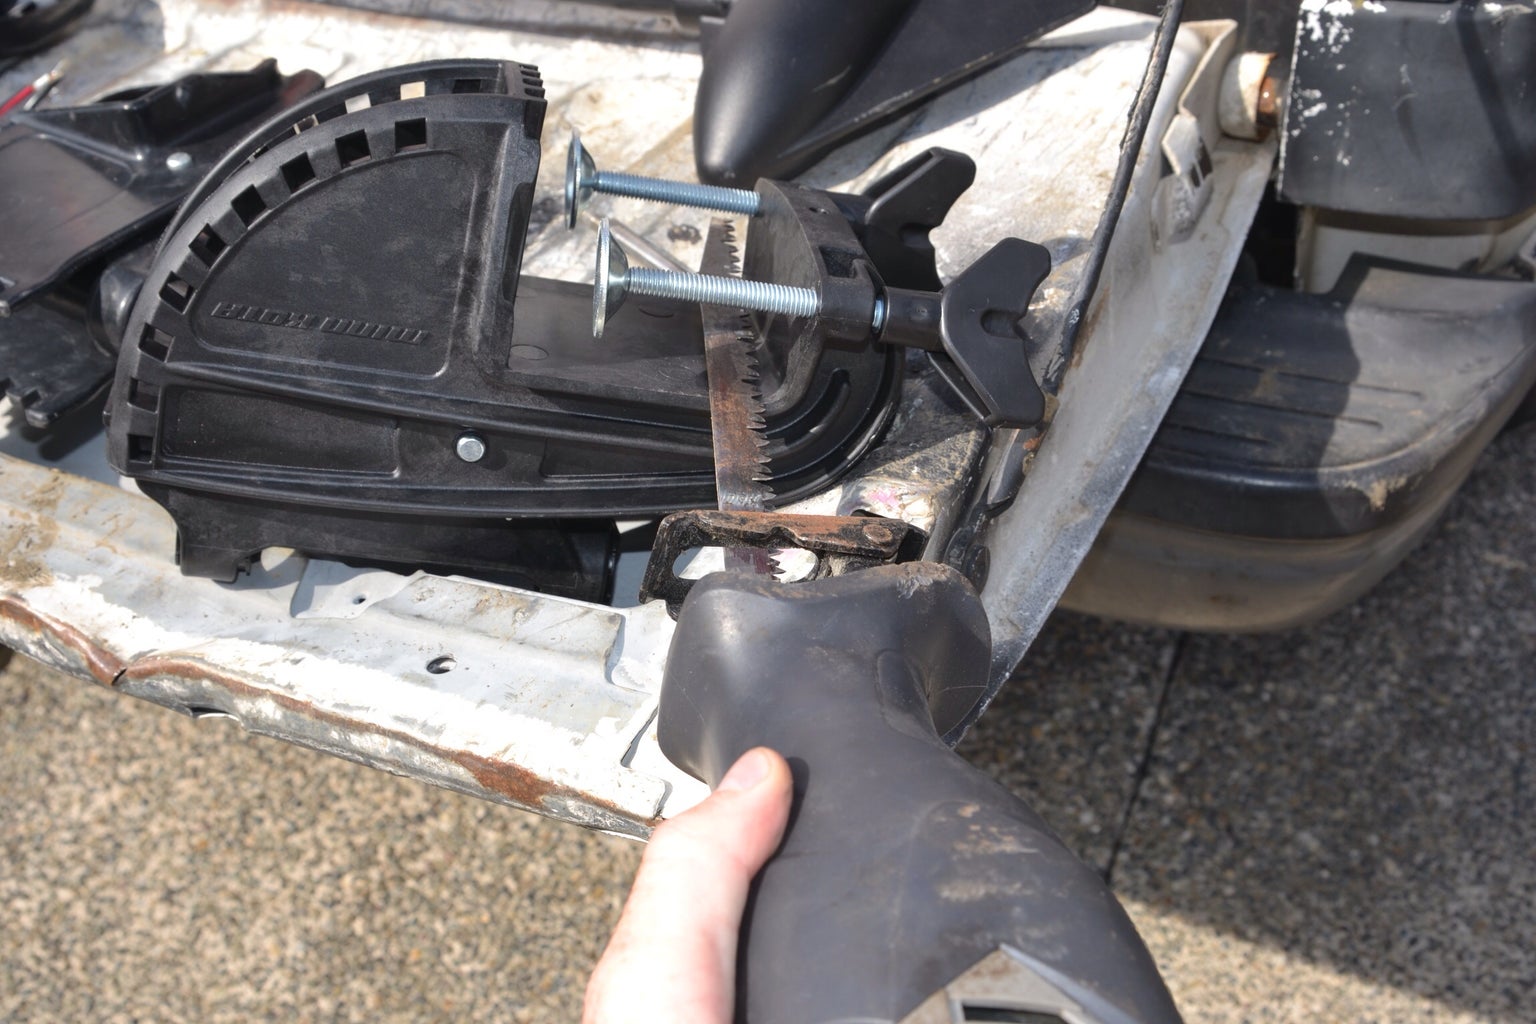


As you can see I have two trolling motors one cut and one not cut.
if you choose to cut pleas measure twice, then set it up again, then hold it up to your kayak, because I have yet to find a new adjustment plate.
if you do not cut, and you keep the clamps, then you can build an (L-bracket) that your clamp can safely secure your trolling motor to, ether way you pick they work great.
Step 7: HOOK UP!


Fish on!
I hope you enjoyed my kayak hack and that you can build your own. If you do, please post a picture of your rendition on your accomplishments.
I want to reach out again to offer my services to help those who are missing a limb or stuck in a chair. If you want to get back to kayaking with your family let me know and I will do my best to help you out.
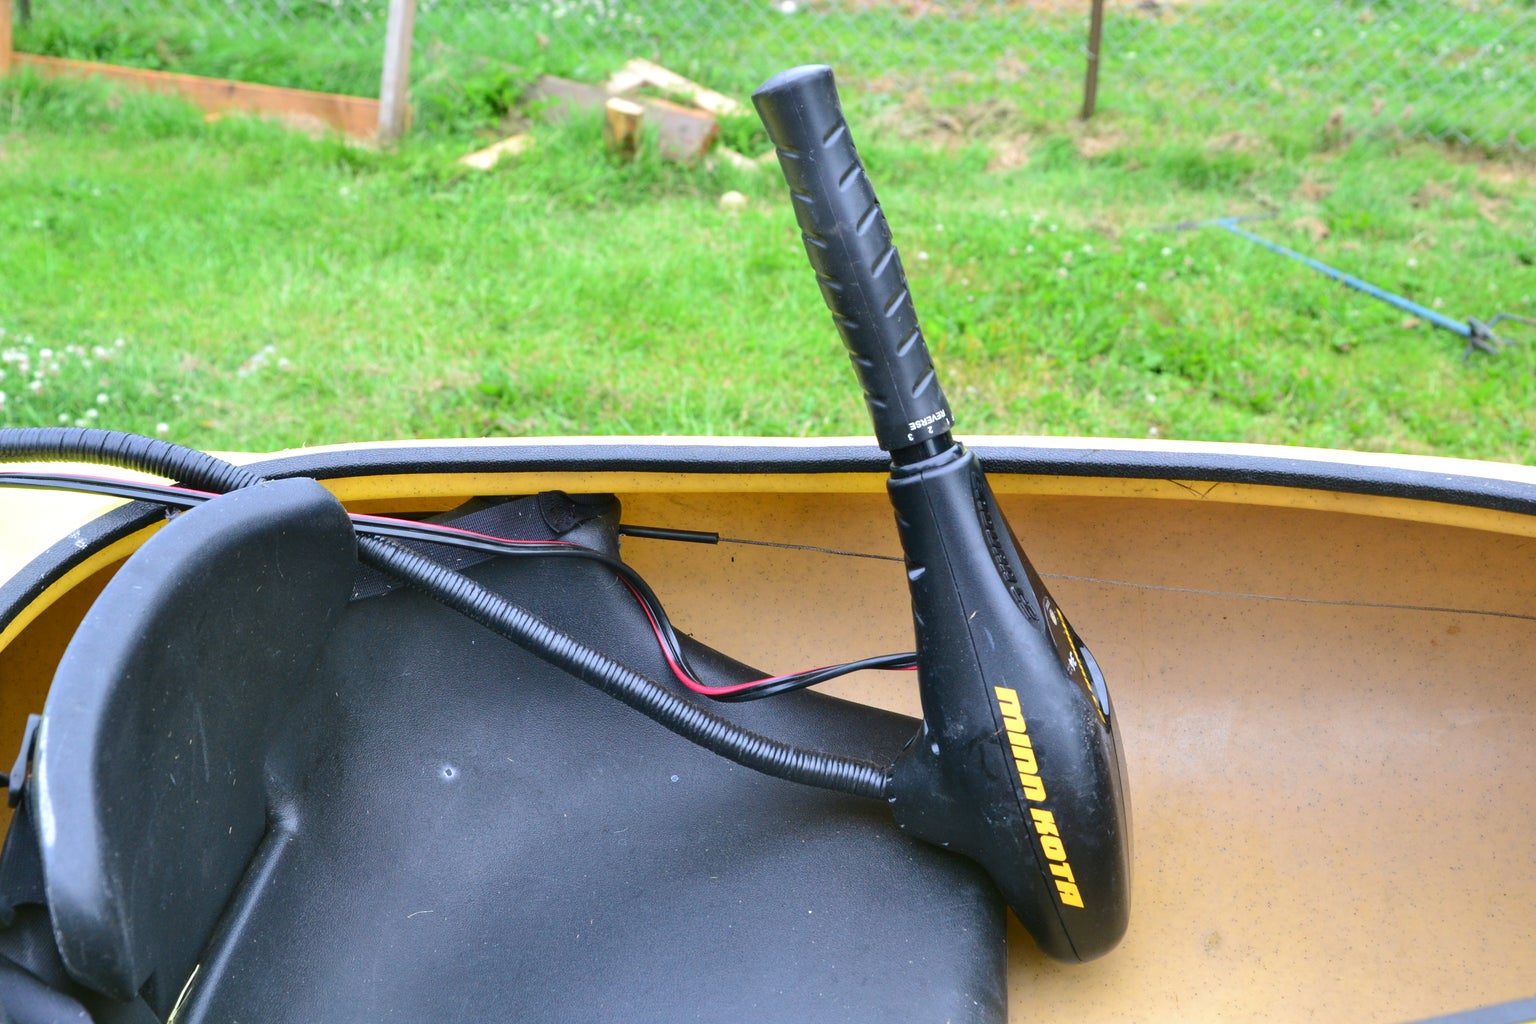
Step 8: The Gear Selecter Setup


I have had a couple steps to add.
as you can see I have kept the entire original head together, that way if I want to use it for a normal boat I can take off the extended wire harness and slap the head back on. The cabin look and is small and whit the first trial motor had a compact selector and well it worked, but when you hook up fighting with shutting the motor off and it was a pain in the hind end. The long handle allows you to be able to access your desired speed or direction easier. You have a rain jacket on, fishing pole, setting up the 2nd pole, watching out for rising fish, and keeping your distance from other people.
Step 9: Another Look at the New Mounted Motor


I have tried many different ways to mount the trolling motor I would say this is the easiest way to pack up and hit the water faster.
Step 10: Connecting Bracket


This is the third trial it works I like it, but it can be better.
Step 11: A Couple More Views of My Set Up.


However, you want to build a kayak remember to have fun, try new ways and always remember don't cut until you like what you have.

Runner Up in the
Outdoor Workshop Contest

Participated in the
Summer #mikehacks Contest

Participated in the
Battery Powered Contest

Participated in the
Great Outdoors Contest


