

Introduction: Laser Galvo - Arduino Controlled


Arduino controlled laser galvo. The servo driven mirrors steer the UV laser leaving a phosphorescent trail on the glow-in-the-dark vinyl sheet.
Originally posted on notes.robives.com
Step 1:

Starting with a sheet of luminous vinyl from eBay and a UV laser pointer. Waving the laser pointer round on the vinyl leaves a persistent glowing trace, just like an old style cathode ray tube. Fun, but even better if we can computer control the laser beam!
I’ve come up with a hardware platform that I hope will let me start simple but then experiment with more complex ideas.
Step 2:

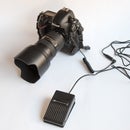
I’m using off the shelf servos driven by an Arduino to steer the beam from the laser.
There are two servos, one for the x axis, one for the y. I’ve attached a small circular mirror tile to the servo.
Step 3:

This stand is made from 3mm laser cut ply – there is a pdf of the parts attached - glue the pieces together using PVA glue.
Attachments

Step 4:

The servos are clamped in place rather than gluing then to make it easy to make small adjustments. These are cheap off the shelf clamps from Wilkos in the UK
Step 5:

All the parts fit together like this:
Step 6:
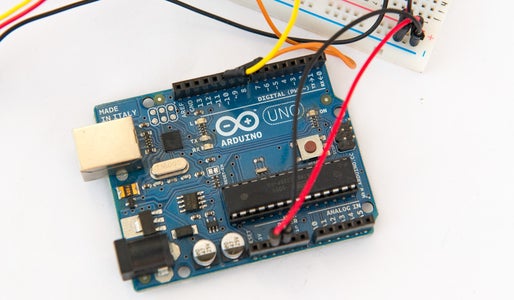

…and the servos are connected to the Arduino board. I’ve used pins 9 &10 for the servo control lines.
The code for the arduino is attached
Attachments

Step 7:

Here’s the code in action.
Next step, I think I’ll have a go at a simple raster display.

Participated in the
Make It Glow! Contest

Participated in the
Tech Contest


