

Introduction: LinkIt One Tutorials - #4 WiFi Web Server


Being able to blink an LED and press a button is great, but what if you want to go further? The LinkIt One board has a lot of functionality that we have yet to tap into.
For this tutorial we are going to set up a simple web server that connects to your home WiFi and allows you to control an LED remotely via a web browser.
Step 1: Materials Required


LinkIt One
WiFi antenna (the LinkIt one box has one in there)
WiFi router (hopefully you have one for your internet)
Your router's WiFi SSID and password (don't tell us this, we're all 1337 round here!)Web browser (you're using one to read this!)
Micro USB cable (will the other half just buy their own!?)
Arduino software
(optional) LED and resistor connected to pin D13
Step 2: Connecting the Antenna to the Board


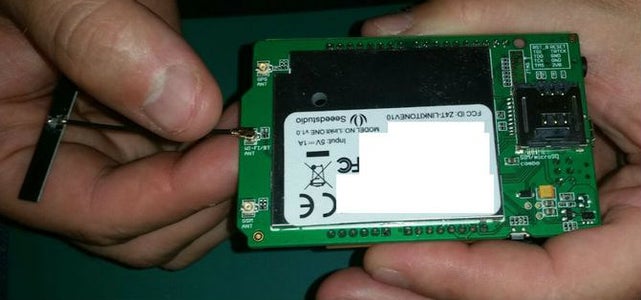

This step requires very fine positioning of a delicate part. Please treat the antenna connector with the highest care and be gentle.
Remove the WiFi antenna from the packaging. The WiFi antenna is the long thin one. Just for information the larger thin one is the 3G (telecommunications) antenna, the bulky square one is the GPS antenna.
Turn the LinkIt One board over and near the large CE and FCC sign you will see three identical tiny round parts.
The WiFi antenna connects with the centre socket, marked "WIFI/BT ANT".
To connect it, hold the side the board that is furthest away from the sockets using your finger and thumb of your less dominant hand (ie left if right handed and vice versa).
With your main hand, place your index finger under the centre connector to support it while lining up the antenna connector to the board connector.
When you have the two aligned push down gently but firmly with your thumb. You should immediately feel it click gently into place.
Do not press too firmly or you risk breaking the connector on the board or antenna.
Step 3: Programming the Board


Connect the board to your computer using the Micro USB cable then start the Arduino IDE.
Ensure the port and board are both correctly identified as in my previous tutorials.
This time I am going to go a little more sharply - we are going to insert the contents of the program ourselves instead of using one of the examples.
Open the file WifiLEDControl.ino.txt (click on it and it will open in a new browser tab).
Copy all the contents (press Ctrl-A (select all) then Ctrl-C (copy) on Windows).
Switch to your Arduino IDE and press Ctrl-A (select all) again then press Ctrl-V (paste)
There are three minor changes you will need to do to your own code - you will need to change the SSID, password and encryption type to suit your own router.
You can change the LED pin that is controlled, I will leave that to you to work out.
To save the program we just wrote, click on File, Save and give it a name such as MyLEDWifiWebServer.
When you first start the program running the LED will do 2 quick flashes, a long pause (0.6 seconds) and repeat that sequence.
This is the period where the program is trying to connect to the WiFi with the credentials provided.
If the device successfully connects the LED will do one single quick flash after the long pause and then turn off awaiting your input.
If you monitor the serial port it will provide information such as the current connection status, signal level and IP address.
Attachments

Step 4: Controlling the LED Using Your Browser

To control the LED with your browser, locate the IP address (it was displayed on the serial monitor in the previous step) and type it into the browser window followed by either /on or /off
example
You have been given the IP address 192.168.0.36
http://192.168.0.36/on
will turn the LED on (or leave it on if it was already on)
http://192.168.0.36/off
will turn the LED off (or leave it on if it was already off)
Step 5: Next Steps
You have seen how easy it is to create a web server that can control an LED.
How would you alter the program to toggle any pin rather than a single one?
hint: /13/on
How about putting in an Easter Egg known only to you?
There are a number of devices on board - GPS, GSM, SD card, audio out.
Consider what you could do with those from what you have learned in this tutorial.
Feel free to leave a message about your ideas in the comment section below.


