

Introduction: Make a Stop Motion Animation - for Beginners

Have you ever wondered how those Pixar movies are made? Or how Aardman does it, with Shaun the Sheep, and Wallace and Gromit? Well, you've come to the right place!
Stop-motion was the first form of animation, and it's still used very widely today! The possibilities are endless! Stop-motion is a series of pictures put together, where the scene moves a little bit each picture, to create the image that they are moving. You can make animations using clay, real people, food, and even your old toys. In this Instructable, I am going to be showing you how to make one out of paper, drawings and pictures. But, the method I will show you can be applied to any form of stop-motion. This is just the beginning! I have made one already, which is above. I made this with the help of my friend, Luke Grant, Robin Fuller, Helen Schroeder, and David Hurtado, as part of a county project.
Step 1: Video Tutorial
I have also made a video tutorial, which is above, and on YouTube:
https://youtu.be/Q2DXpHbclW4
Step 2: What You Will Need


As I said, the possibilities are endless, but to make a simple version, you will need:
- Camera (digital camera, or even a phone)
- Tripod (or something to hold your camera in the same position)
- Computer
- Animating program, such as MonkeyJam, SAM Animation, Dragon Animation or even iMovie, or Windows Movie Maker
- Materials needed to create your scenes and characters (this can be paper, clay, paints, etc.)
- Writing Paper
- And, of course, your IMAGINATION!
Step 3: Write a Story


Think of an idea for your animation. Make sure it is feasible with the resources you have, and let your mind loose! It doesn't have to be complicated, or it could be a movie. Just have a brainstorm, and see what you come up with.
My story will be a man walking his dog in the park, and then throwing a ball for the dog to fetch. But, the ball goes all the way around the world, and hits the man in the back of the head.
That's the beauty about animation: anything can happen.
Step 4: Create a Storyboard

The next step is to make a storyboard. A storyboard has the main ideas of the story, visually, so it's easier to make the animation. You can download one here. Add the main ideas in each box, and write a short description underneath. This will help you make the animation.
Step 5: Create Your Scenes and Figures

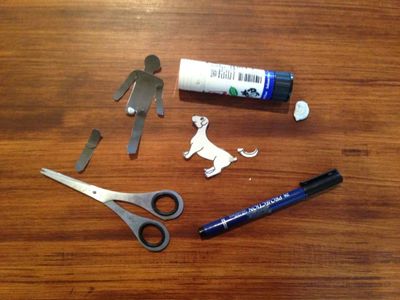

Now it is time to create your scenes and figures. They can be made from anything, or they can be real life. Mine are made from paper, but clay is very popular, and easy to use and work with. Put the scenes together, and work out where your figure is going to be.
TIP: if you are making the figures out of paper, then make each joint separately, the head, body, upper and lower arms, and legs, so you can move them in the animation, to give a real life effect.
Step 6: Start Animating


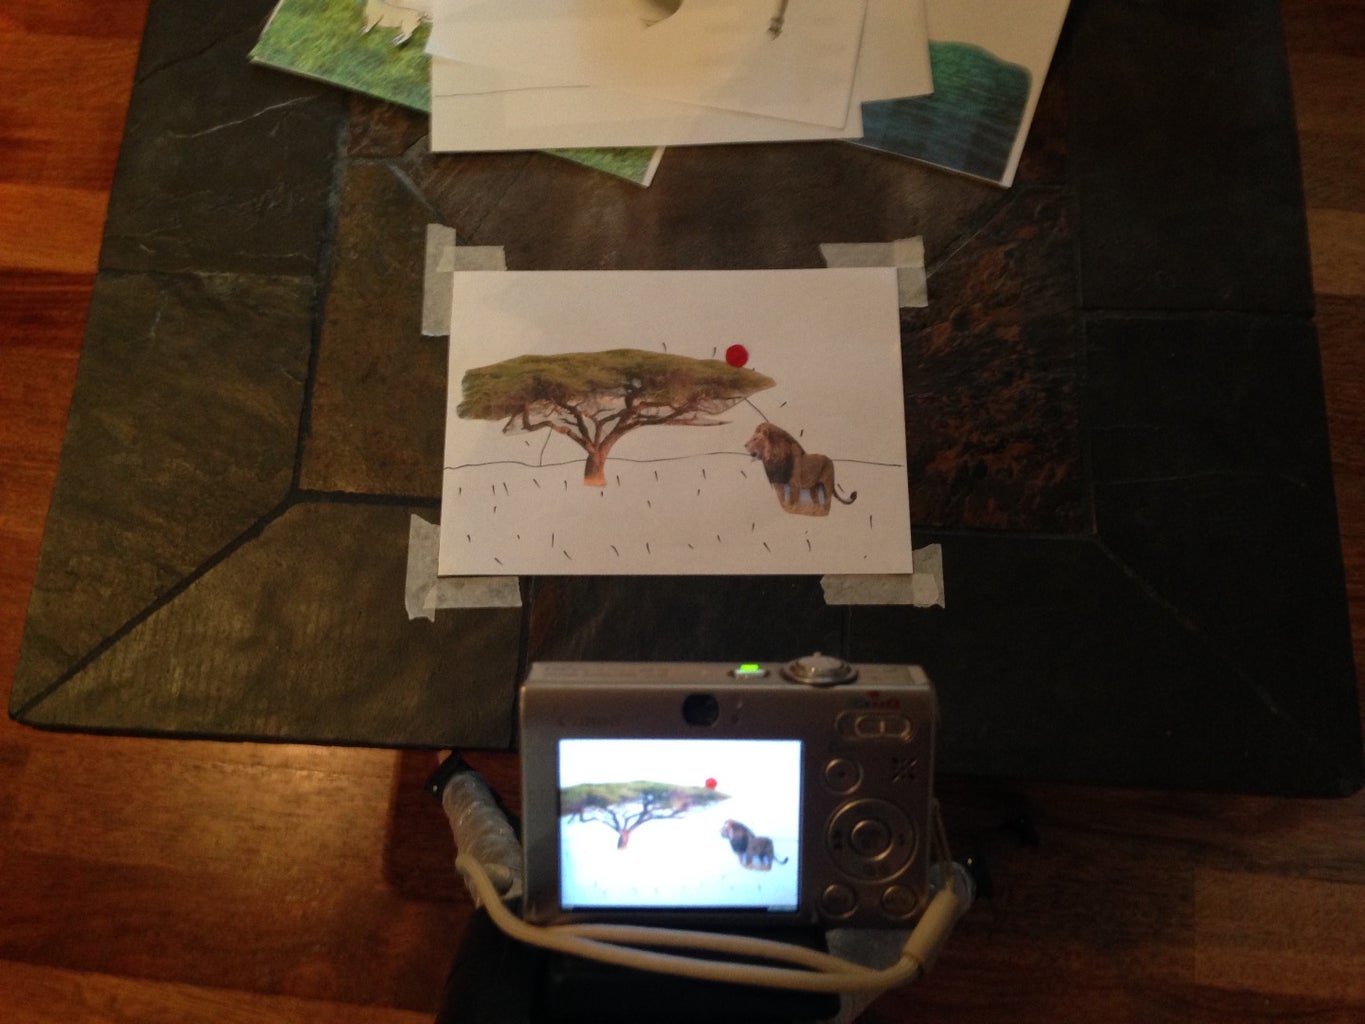
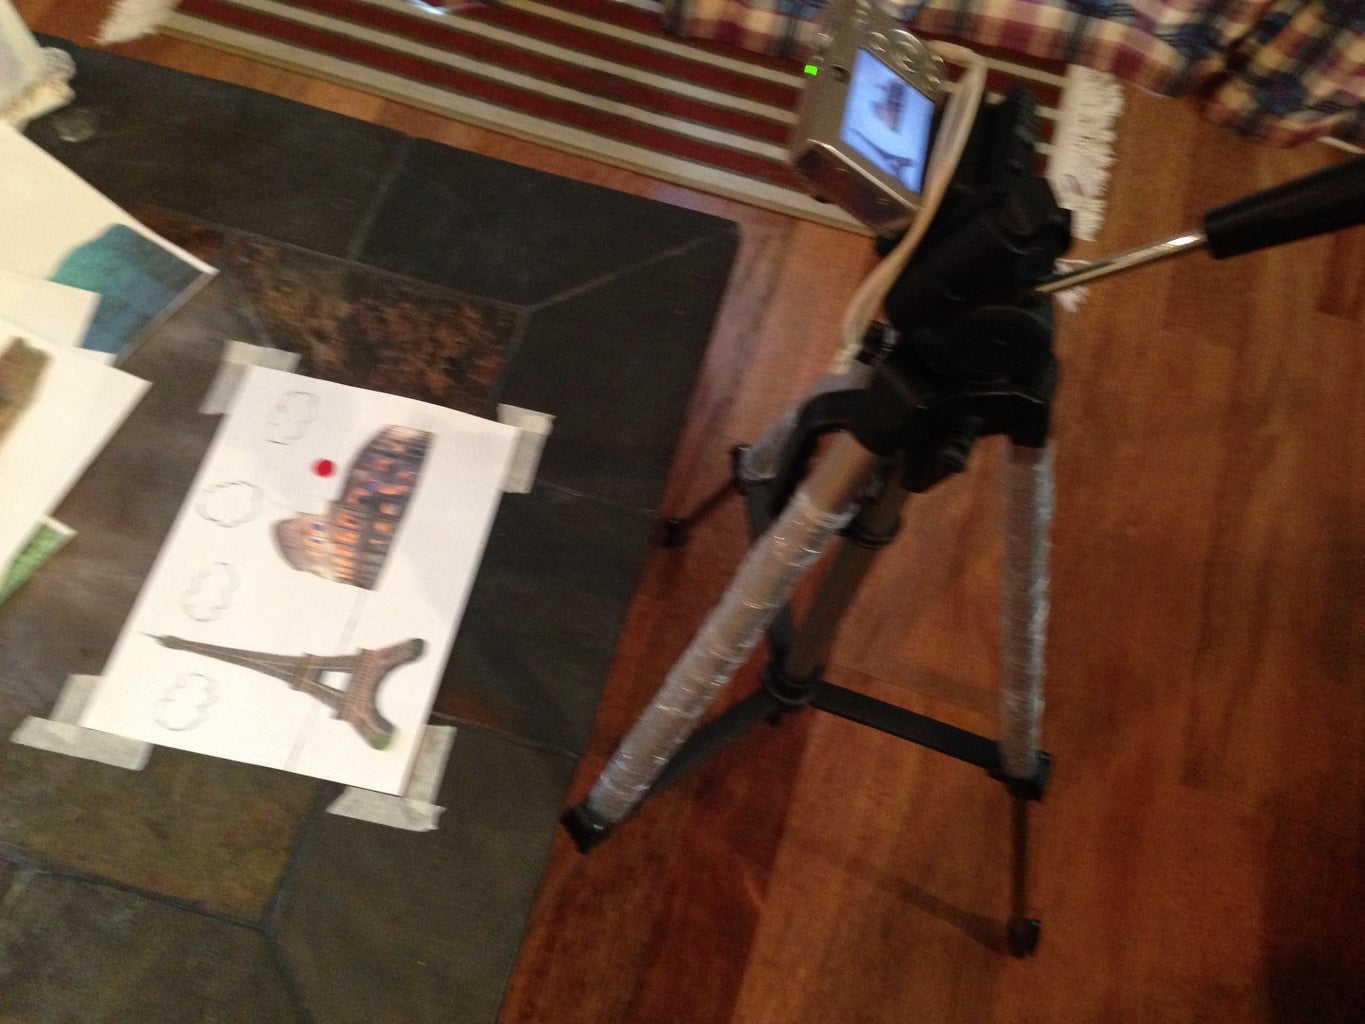


Time to get started! Put your figure in the first position in your scene. Set up a tripod with camera/phone on it, to make sure it doesn't move while you're making the animation (you don't have to use a tripod, just put the camera somewhere where it won't move. You could Blu Tack the camera onto a table, etc.).
Now, you're ready!
Using your storyboard to help you, take a picture of your figure in the first position. Then, move the figure a little bit, and take the next picture. Move it again, and take another picture. Make sure you don't move the camera AT ANY TIME, and only make SUBTLE MOVEMENTS to your scene and figures each time. Carry on moving the figure, taking a picture every time you do. TIP: if you want a certain point in your animation longer, just take lots of pictures of the same moment! If the scene moves a bit, DON'T WORRY, this will give the animation a bit of character and quirkiness!
You can change the scenes, add more characters, and once you get the hang of it, you'll be having fun, and be great at it! The only thing you need is PATIENCE. Stop-motion can require hundreds, if not thousands of pictures. The one at the start needed 700 photos! So, have fun, practice and be patient.
Step 7: Putting It All Together


Once you have all your photos, upload them onto your computer. Make sure you have an animating program, many of which are free (unless you want to be professional), and great for beginners. Here are some examples:
- MonkeyJam
- SAM Animation
- Dragon Animation (professional)
- iMovie
- Windows Movie Maker
There are loads of programs out there, so just put one onto your computer! I am using iMovie. Most programs come with tutorials on how to use them, so go ahead and put the photos onto the program, run the photos together, and play it!
You have made a Stop-Motion Animation!
Many programs allow you to add sound, voice overs, credits, a title sequence, and lots more, so just play around until you're happy.
Step 8: Congratulations!
You have made your own animation! Show your friends and family!
This is just the beginning. Now, you can try different styles, more complex stories, and the list goes on. In animation, anything is possible! In mine, a man throws a ball around the globe!
Remember, just have fun, and be patient.
Here is my finished product, with 154 photos.

Step 9: Thank You!
Thank you for reading my first Instructable, and I hope you made an animation. If you did, hit the 'I Made It!' button, at the top of the page, favourite this Instructable, spread the word about it, and comment below what you thought of it! Share this too! Thanks!
Please comment, as this is part of my Bronze Arts Award, and feedback is greatly appreciated!


