

Introduction: Make Your Own Boxes


I like to make boxes, and have developed a process that is easy to do. Regular tools can be used, and I employ woodworking tools as well. A bandsaw, table saw, sander, etc. can all be used to speed up the process. Why make boxes? To fulfill a specific need, i.e., make a box to hold what you want it to, no more and no less; make boxes that fit exactly the space or shelf available to it and so on. Makes for efficiency in storage of "stuff".
Step 1: Gather Tools and Materials


I use any cardboard I have or can find. It needs to be cut down, so you need box cutters, a craft knife, utility knife, straight edge, ruler, glue, paper, etc. Some clamps to clamp glued pieces help also.
Step 2: Cut Your Pieces


Here, the cardboard is cut to the needed size. It's important to be accurate and the best way I have found to do this is on the bandsaw.
Step 3: Start to Glue All Pieces


All pieces are glued,starting with the bottom and side piece(s). Then the ends are added. See image notes for details.
Step 4: Add Decorative Touches

In this step, you can be very creative. Use paint, paper, cloth, collages of magazine, construction papers, etc.
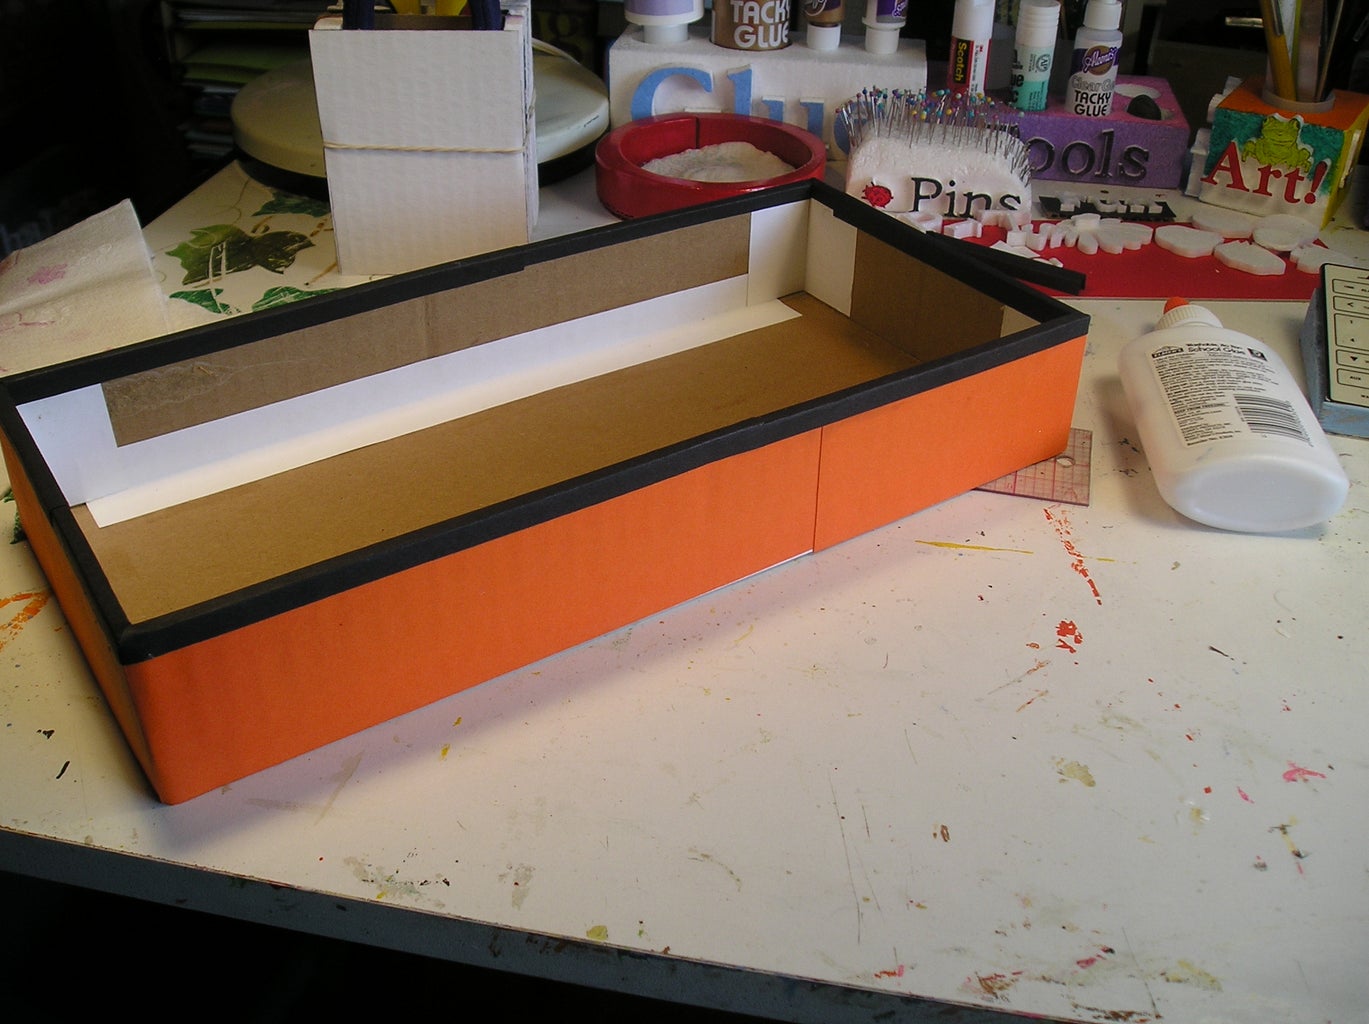
Step 5: Finish Edges With Precut Strips.


Use the narrow black strips to finish the top edges of the exposed cardboard. I cut these strips to 3/4 inch, then score two lines which are exectly the width as your cardboard. The two lines are place in the center of the strip so that when folded, the piece will be the same on the inside and the outside of the box. See photos for corner cutting and folding details.
Step 6: The Finished Box
This last picture is the finished box. I left the inside undone, but can be covered with the same paper, or in any other way you choose. (Paint, cloth, paper, etc.)
Step 7: Further Samples of Box Making 101


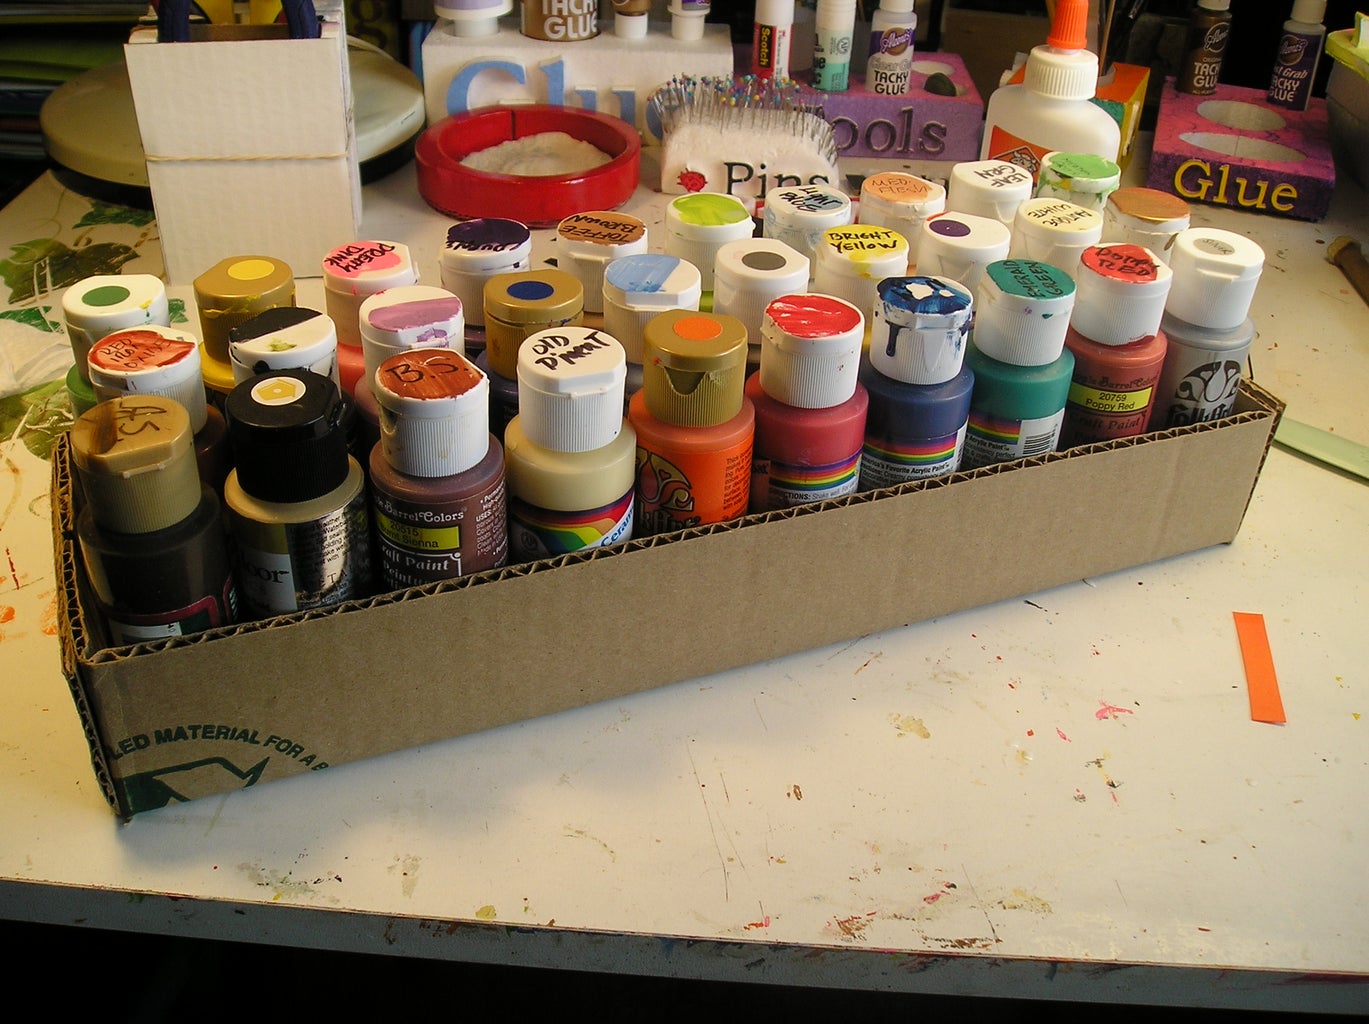
These boxes have been done at other times, as this process can be quite time intensive. But aren't all crafts?


