

Introduction: Make a Roman Fibula Brooch - Without a Torch!


This Instructable will show you how to make a simple pin suitable for hanging whatever you like on it, with just a few tools and some wire. My instructions assume you have some basic experience with jewelry making, but even if you don't, this is still pretty simple. Practice on some thin, cheap craft wire if this is your first project, and if you have any questions, just ask. I'm happy to help!
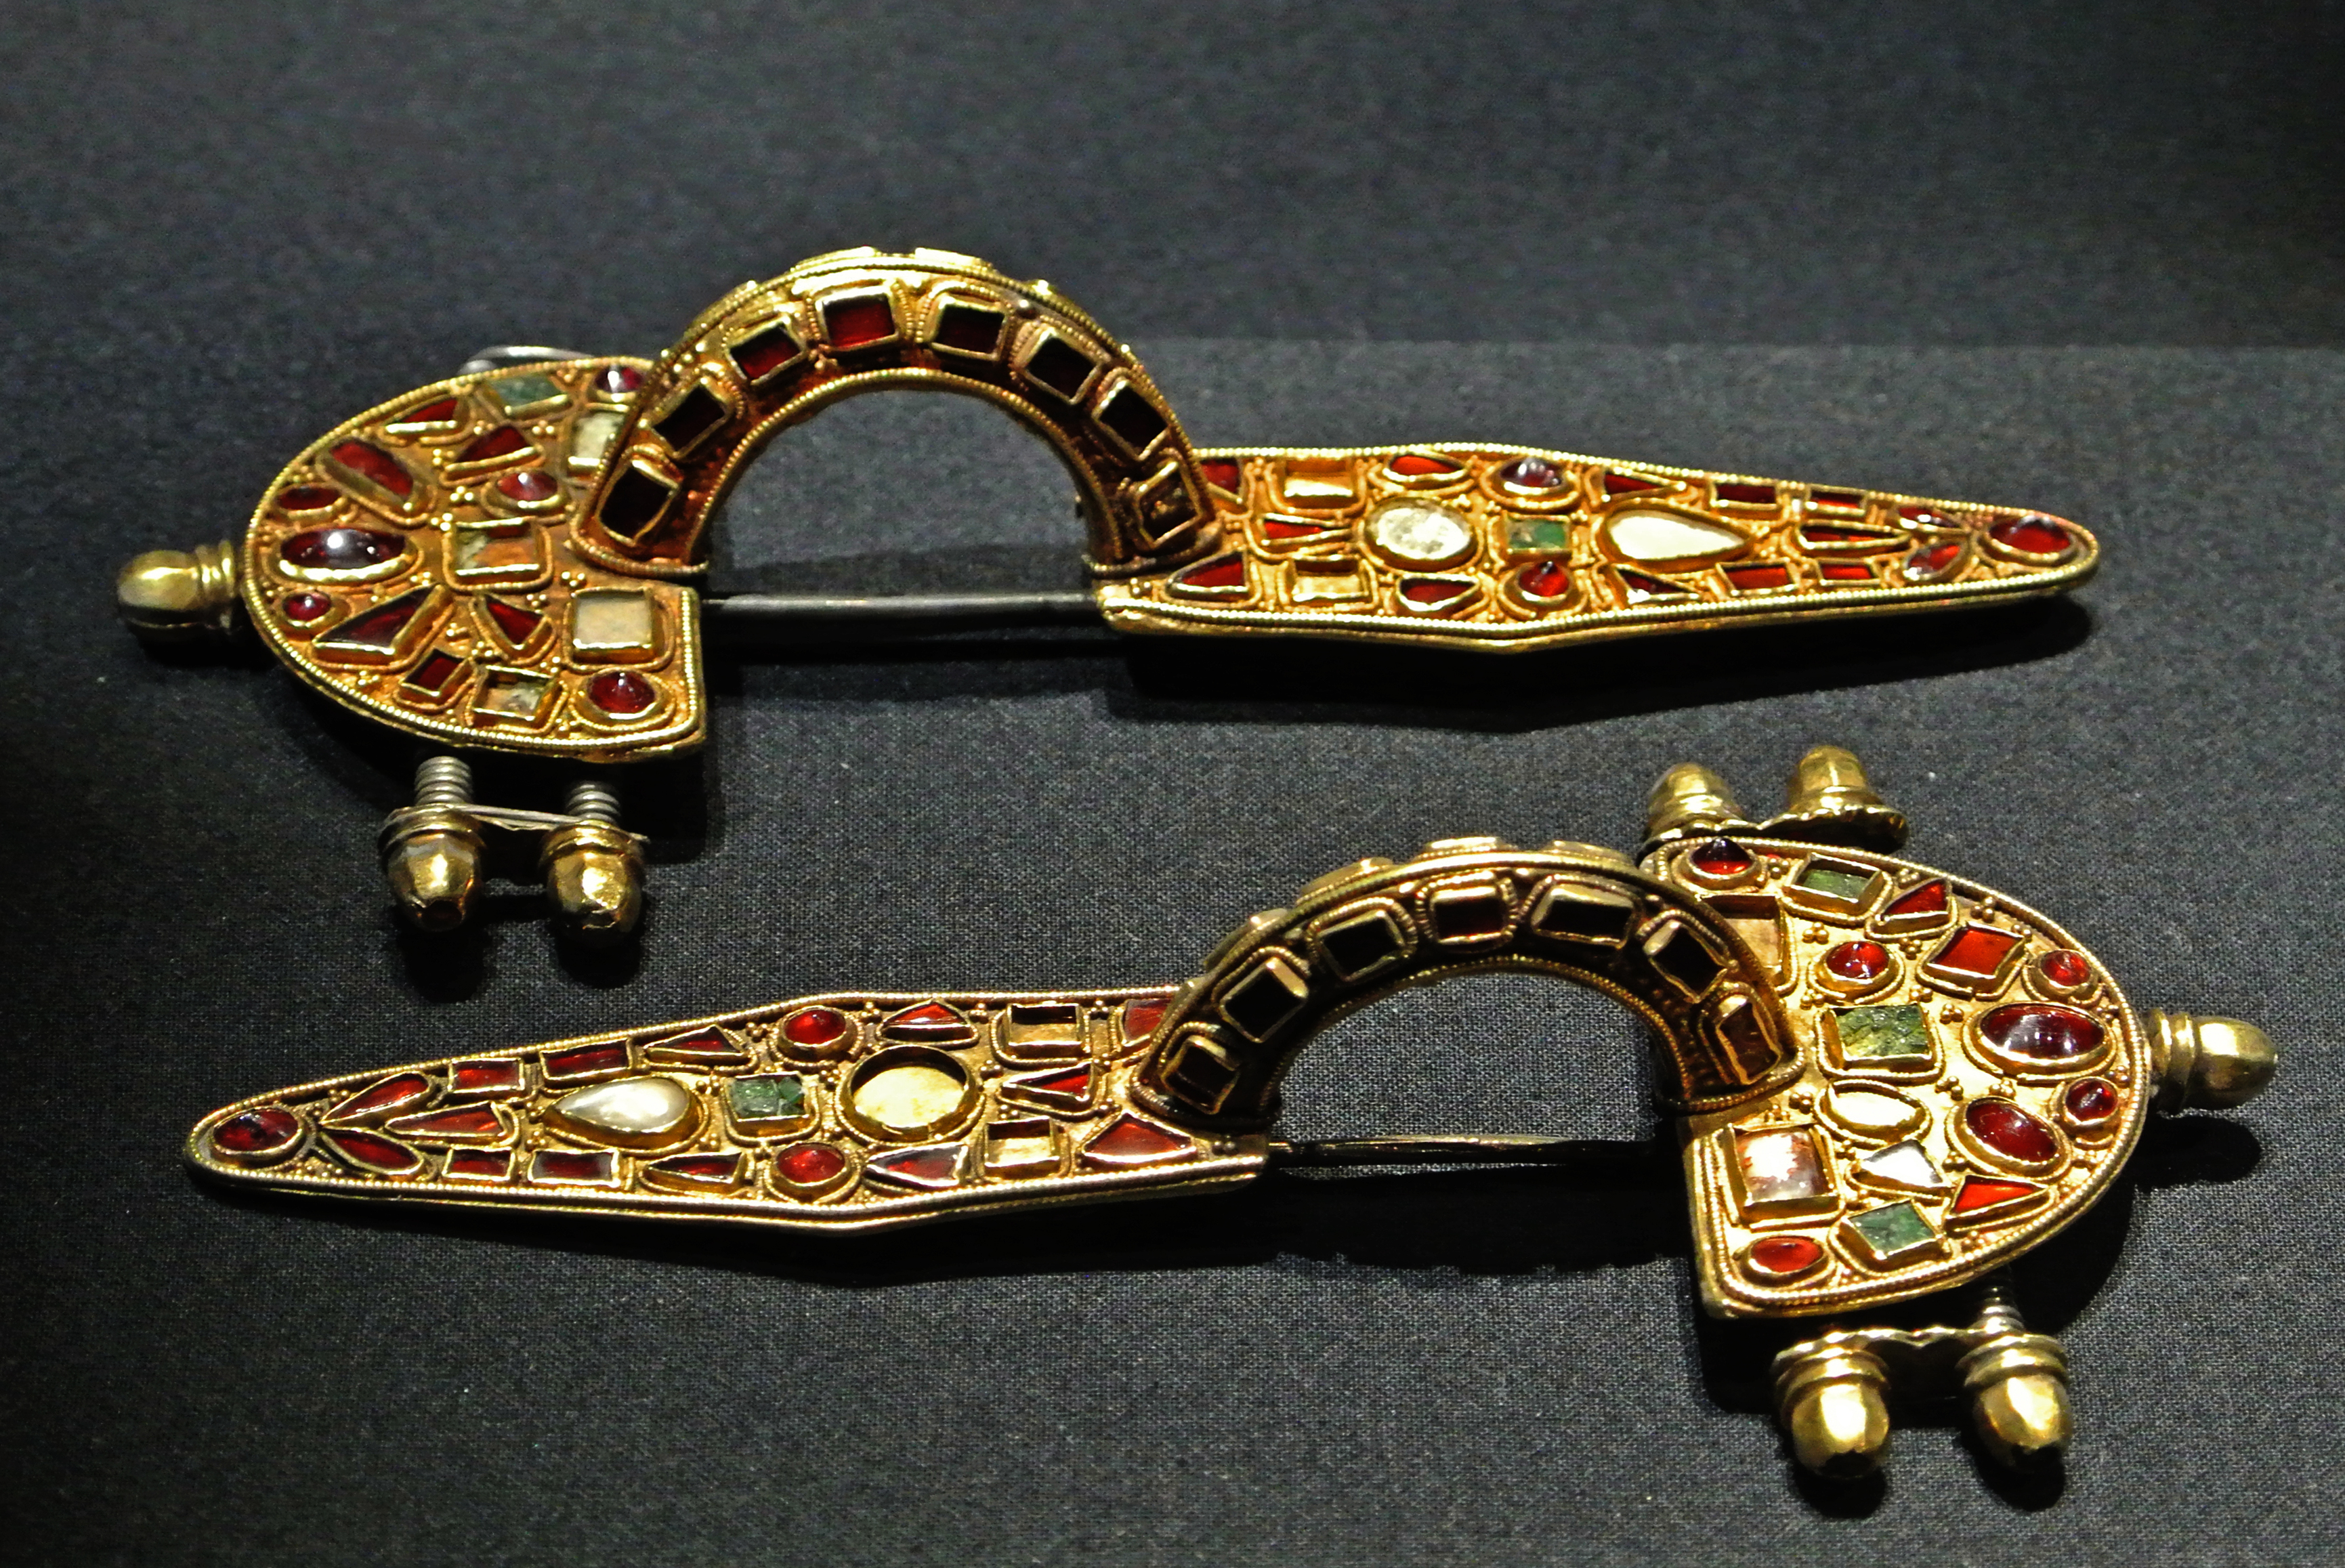
But why do you call it a "fibula"? It looks like a safety pin.
Simple. Because that's what the Romans called it, and yes, they did invent the safety pin. Here's a link to a super-simple example. Roman pins typically had high backs because they used pins like this to keep their clothes on, and the fabric needed room to bunch up. While the first example is dead simple, others were lavishly decorated, like this one. Even the highly decorated fibulae were still intended to be semi-functional.
While this pin is appropriate for light to medium fabrics, I made it specifically for my SCA and Rennie friends to hang favors, bits of largesse, or even small tools on. You could even give these pins as favors with a small starter token already on. These could make great presents for people who make or use beads - There are always a few "orphan" beads laying around they can't bear to part with!
Step 1: Tools and Materials

Tools:
- Round Nose Pliers
- Chain Nose Pliers - These are for holding, so any pliers with smooth, flat jaws will work.
- Wire Cutters
- File
- Ruler
- Marker
- Safety Glasses - Not kidding on this one. I've personally seen people get wire ends flung into their face hard enough to draw blood when they're just nipping the end off a little coil. If you're using tools, use eye protection.
Optional Tools:
- Hammer - I have a chasing hammer, but you can use a normal hardware store ball-pein hammer. It just needs to be flat and relatively smooth so it doesn't mark up the metal.
- Steel block - or similar hard surface to hammer on
- Ear protection. There's not a lot of hammering, but you should still wear ear protection when you do it.
I tried to use tools that most people I know have laying around the house. If you have fancier/higher quality tools than these, feel free to use them.
Materials:
16 gauge Copper Wire - From the local craft store is fine.
~~~~~~~~~~~~~~~~~~~~~~~~~~~~~~
If you want fancier tools than this or square/triangular/thicker/titanium/whatever wire, here's some Suppliers:
Just to be clear, I have no connection to these sites, these are just places where I and/or my jeweler friends buy from. Just be careful of your wallet, especially if you're a tool junkie like me!
Step 2: Measure, Cut and File

- Using the ruler, marker, and wire snips, measure and cut an 11 inch length of wire. If this is your first project, give yourself another inch or two of wiggle room in case you make your loops a bit big. We'll be cutting the excess off at the end.
- Round the end off with your file* so it's smooth. This is the end we'll start working with.
* Most files only work one way - When you "push" the file away from you. This is copper, so there's no reason to go crazy and muscle it. Just move your arm forward and let the file do the work.
Step 3: Make the Catch


The catch is the part of a pin that secures the pin stem, which is the part that goes through your fabric. Some of this might be tricky, but you can do it!
Picture 1: Measure and mark at the 1 inch and 1 1/2 inch points from your just-filed end.
Picture 2 (The Tricky Bit): Using your round nose pliers, make a bend at the 1 inch mark. It won't be a tight fold like you see here, but that's where your flat pliers come in. Squeeze the rounded end carefully until you get it nice and tight, as close to this as possible. If you have a hammer and something to hammer on, you can use those to tap the loop down, too.
Picture 3: Make a 90 degree bend at the 1 1/2 inch mark.
Picture 4: Wrap that end around the wire. I recommend using the flat pliers to hold onto the folded part right above the bend, and using the round nose pliers to wrap. You'll probably need to use the flat pliers to squeeze the end in close to the wire.
Step 4: Make the Hanging Loops


Here's where you'll be making the loops, and where you can go crazy with the design. You loops might turn out bigger or smaller than mine, and that's fine. You might decide you only want three loops, or maybe you have some of those fancy square pliers and want to make diamond-shaped loops. You could even add beads between the loops as you go, or forego the loops all together and add your beads on right now. Go Nuts!
But if you're just starting out, keep following along.
Picture 1: Make a 90-degree bend right under your catch, and make a mark about 1/4" in. This will be the top of your loop. I made my loops at about the midway point on the jaws of my round nose pliers.* You can make them wherever you like, depending on how big you want your loops.
Picture 2: I'm figuring out where I want the top of my next loop to be. For me, it turned out that 3/8" away from the top of my first loop would look the best, so I marked it. You want to keep some space between your loops so you have space for all the cool things you're going to dangle from them. My loops are 1/4" wide, so I put in an extra 1/8" buffer. Alternatively, you could always just make your next loop where you want it and use that as a guide for spacing. Whatever works for you to keep it consistent.
Picture 3: Make the other loops, being sure to keep their size and spacing even. This is the more fiddly part, but congrats! You're almost done!
*Feel free to mark your jaws with your marker so you always bend the wire in the same spot. This keeps your loops nice and even. If you don't want to mark them up, a shred of masking tape wrapped around one of the jaws works just as well.
Step 5: Even It Out


Chances are good that your pin is looking quite loopy and nice, but it's probably a little wobbly. Here's where we fix that.*
Picture 1: Looks a little wavy, doesn't it? That won't lay right when you're wearing it, so let's take care of that.
Picture 2: Put on your ear protection (do it) and give it a few gentle taps with your hammer. You don't want to hammer it, or otherwise you'll flatten the wire and get horrible squash marks where they cross over. You just want to even it out.
Picture 3: Nice and even! Much better, isn't it?
*You could always squish it between some books or carefully bend it straight with your hands if you don't have a hammer. So long as it's flat.
Step 6: Make the Spring & Finish the Catch


Picture 1: Using the lowest point on your round nose pliers, wrap a loop of wire with the end going back over your hanging loops. This is the spring part of your pin.
Picture 2: Looking mighty pin-like, isn't it?
Picture 3: Now you can bend the end of the catch over so it actually "catches" the pinstem.*
Picture 4: Almost done!
*We didn't do this earlier because the wire tends to get caught in it while you're making the hanging loops if you do.
Step 7: Trim & File the Pin Stem


Picture 1: Catch the stem and use your cutters to nip off the extra wire. Don't cut too close, or else it might come undone easily. Keep about 1/4" on the end.
Picture 2: File it sharp. You don't need a long needle point on this, just enough so it can get between the fibers.
Picture 3: Nice and pointy, like a little cone.
Picture 4: You're done! High Five! ^_^
Step 8: Variations & Final Thoughts


As I said earlier, there's a lot of variation to be had here. You can use thinner or thicker wire, square wire, or colored wire. You could hammer the loops for texture or leave them off altogether. You can replace the loops with a fun squiggle or a pattern, or add beads.
I want you to take this Instructable and make something beautiful with it.
Make a couple of these to start, then go nuts! I've got this on my blog, and I'd like you to comment with links back to your creations so we can all see them!
If you'd like some more Roman inspiration, I've got a whole Pinterest board devoted to just that - Click Here.
And if you'd like to look at other jewelry I've made, Click Here to go to my shop. Chances are good you'll see more fibulae.

Participated in the
Jewelry Contest


