

Introduction: Measure Current and Voltage Using a Microcontroller || Voltage Divider || ACS712 || INA219


If you ever felt the need of continuously monitoring the voltage or current or both in a project, of any device or the project itself, you have come to the right place. In this video, I'll show you how you can measure current and voltage with your microcontroller and hence you can perform your said operation according to it. You'll learn what can we do with the mostly unused AREF pin of Arduino, Voltage Divider and how to use ACS712 and INA219.
Step 1: Watch the Video!
The video contains all the steps for calculating voltage and current. There are also more than one method for each, so that you can use what suits your needs.
Step 2: Connections.
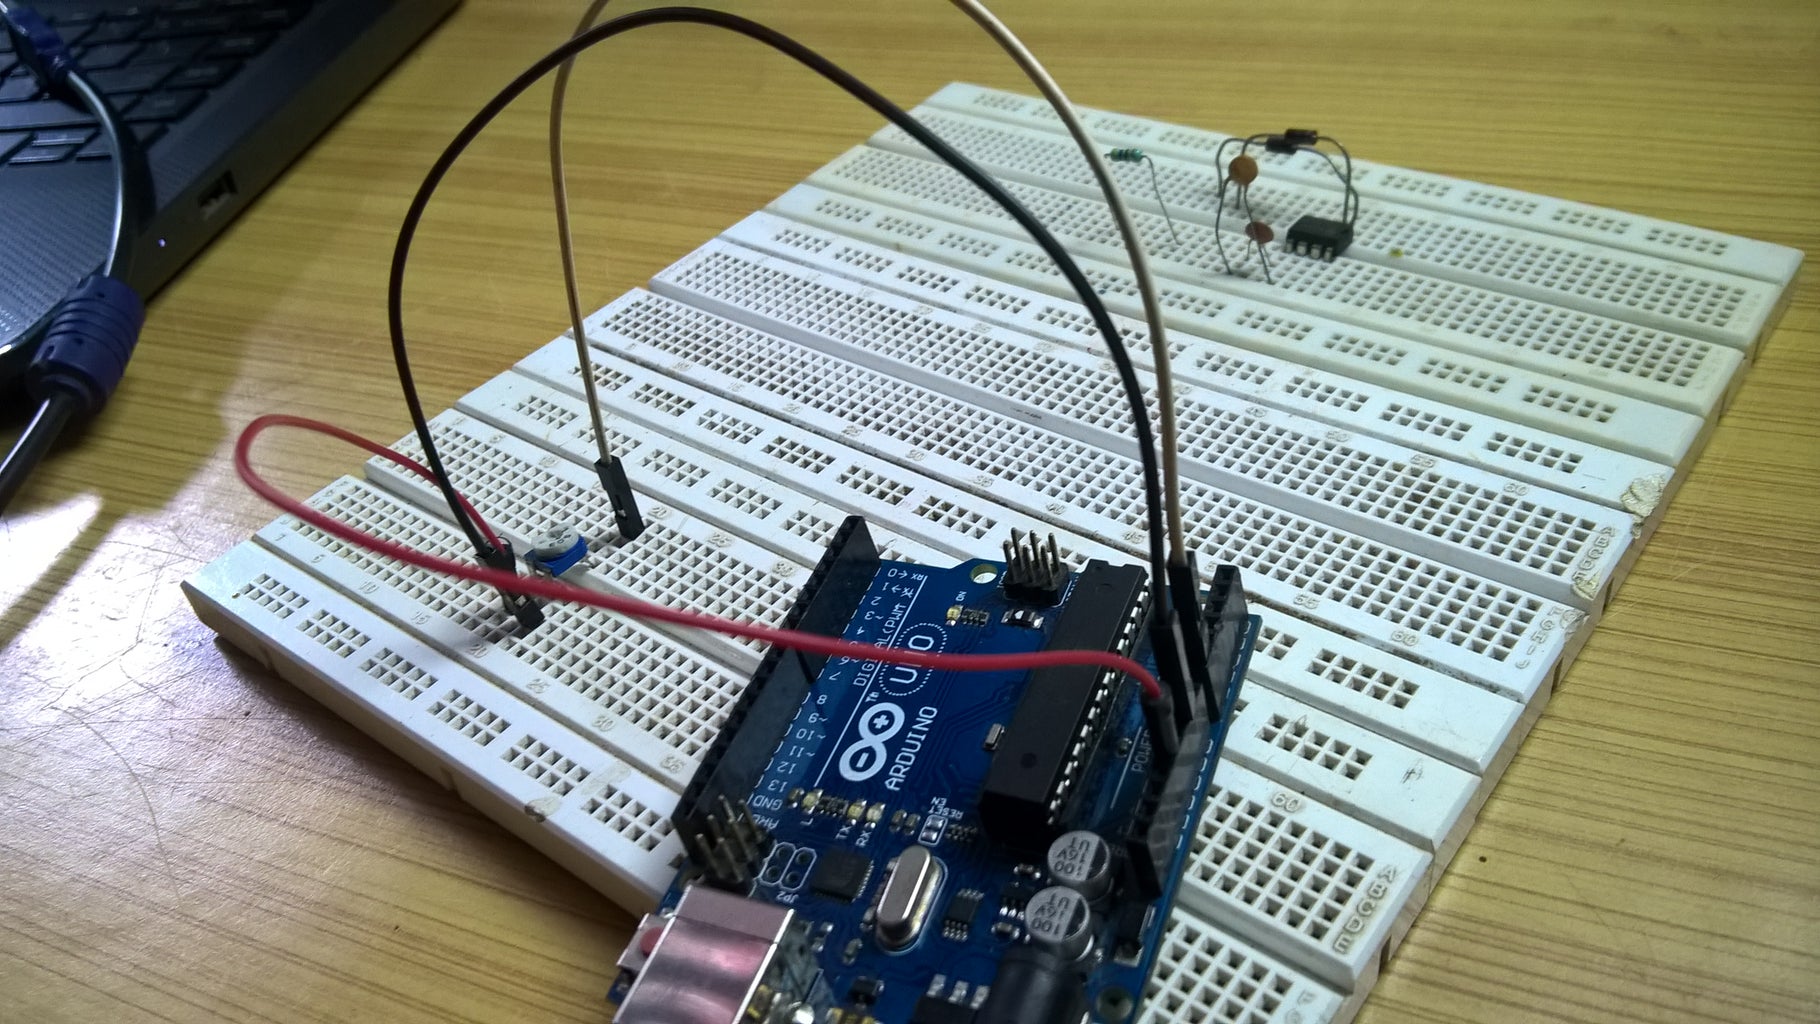
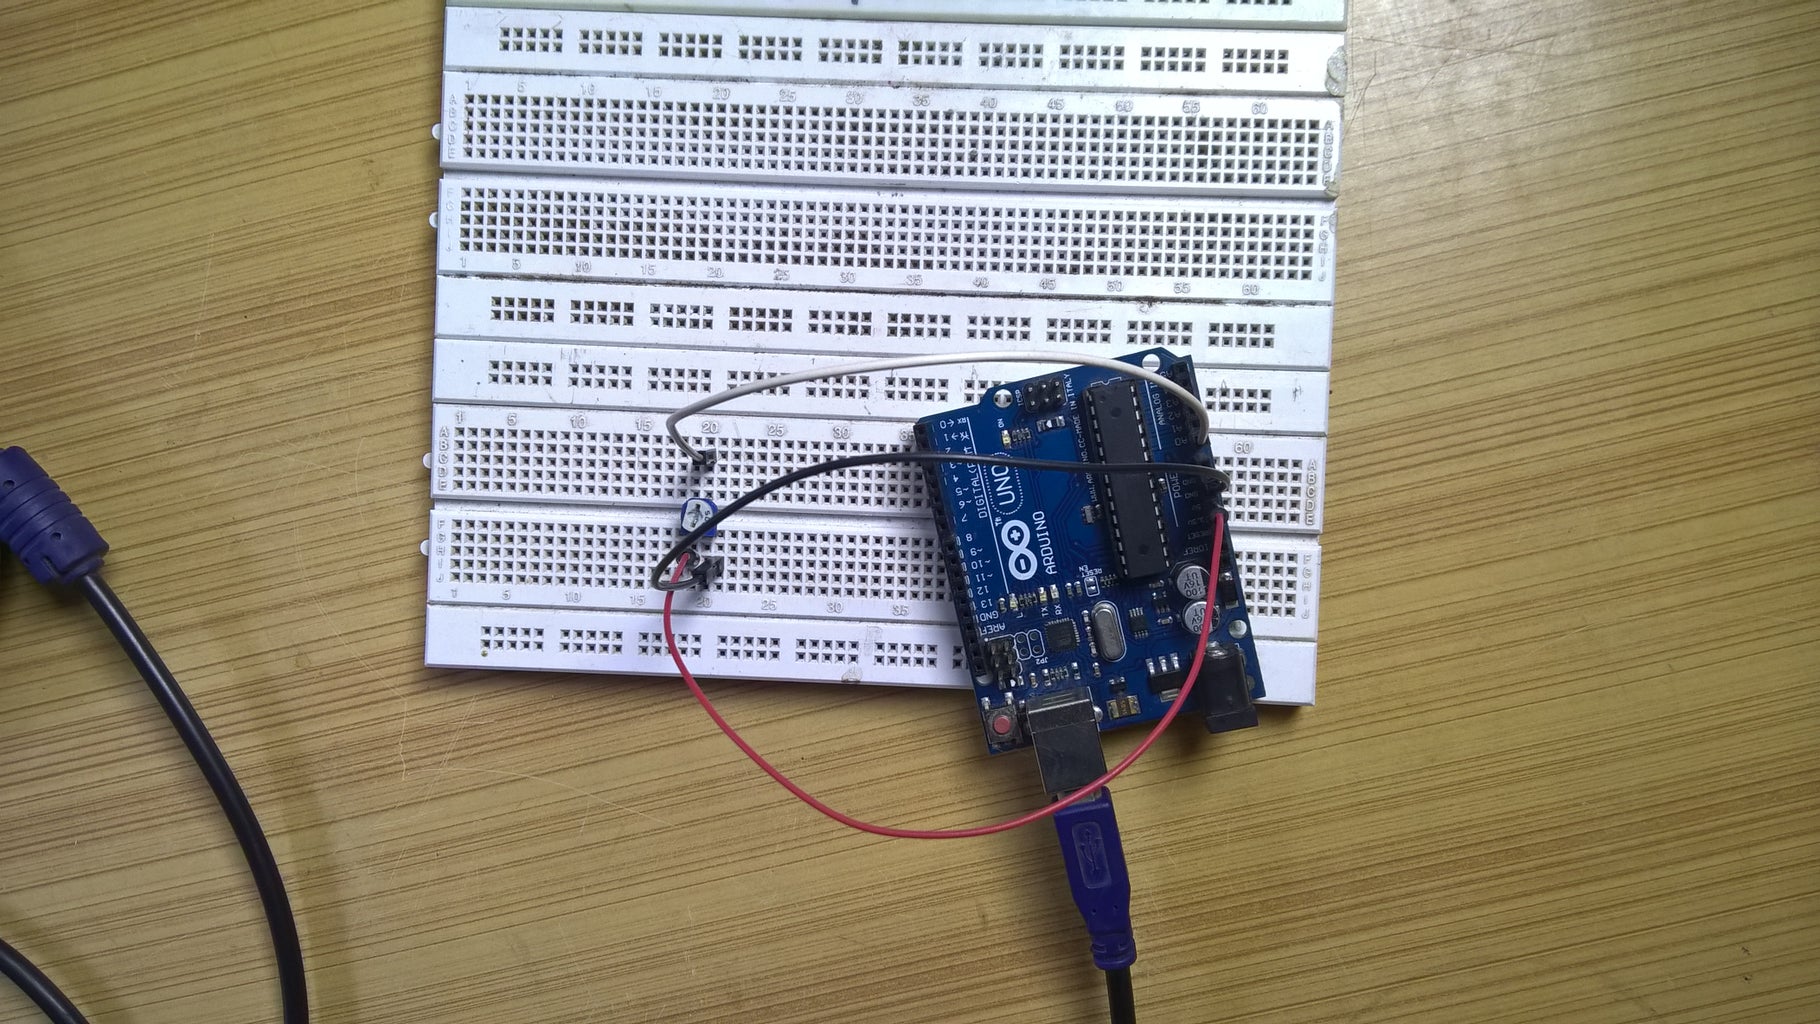

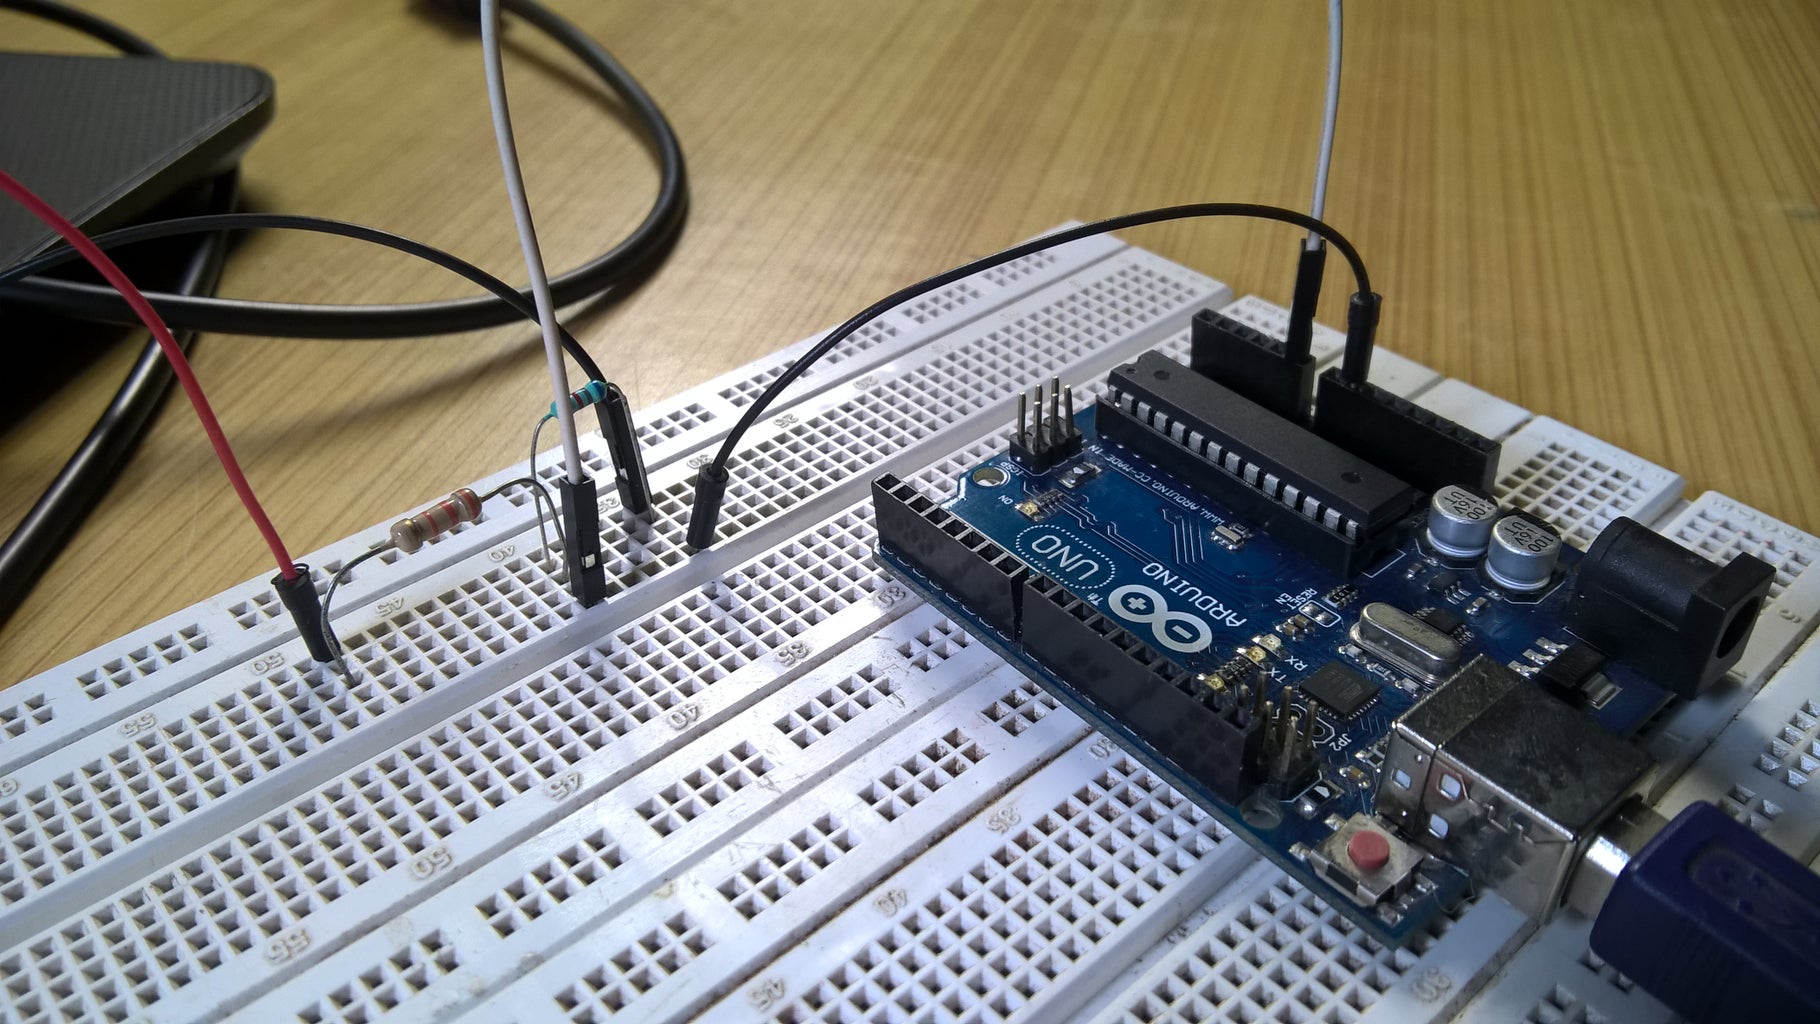
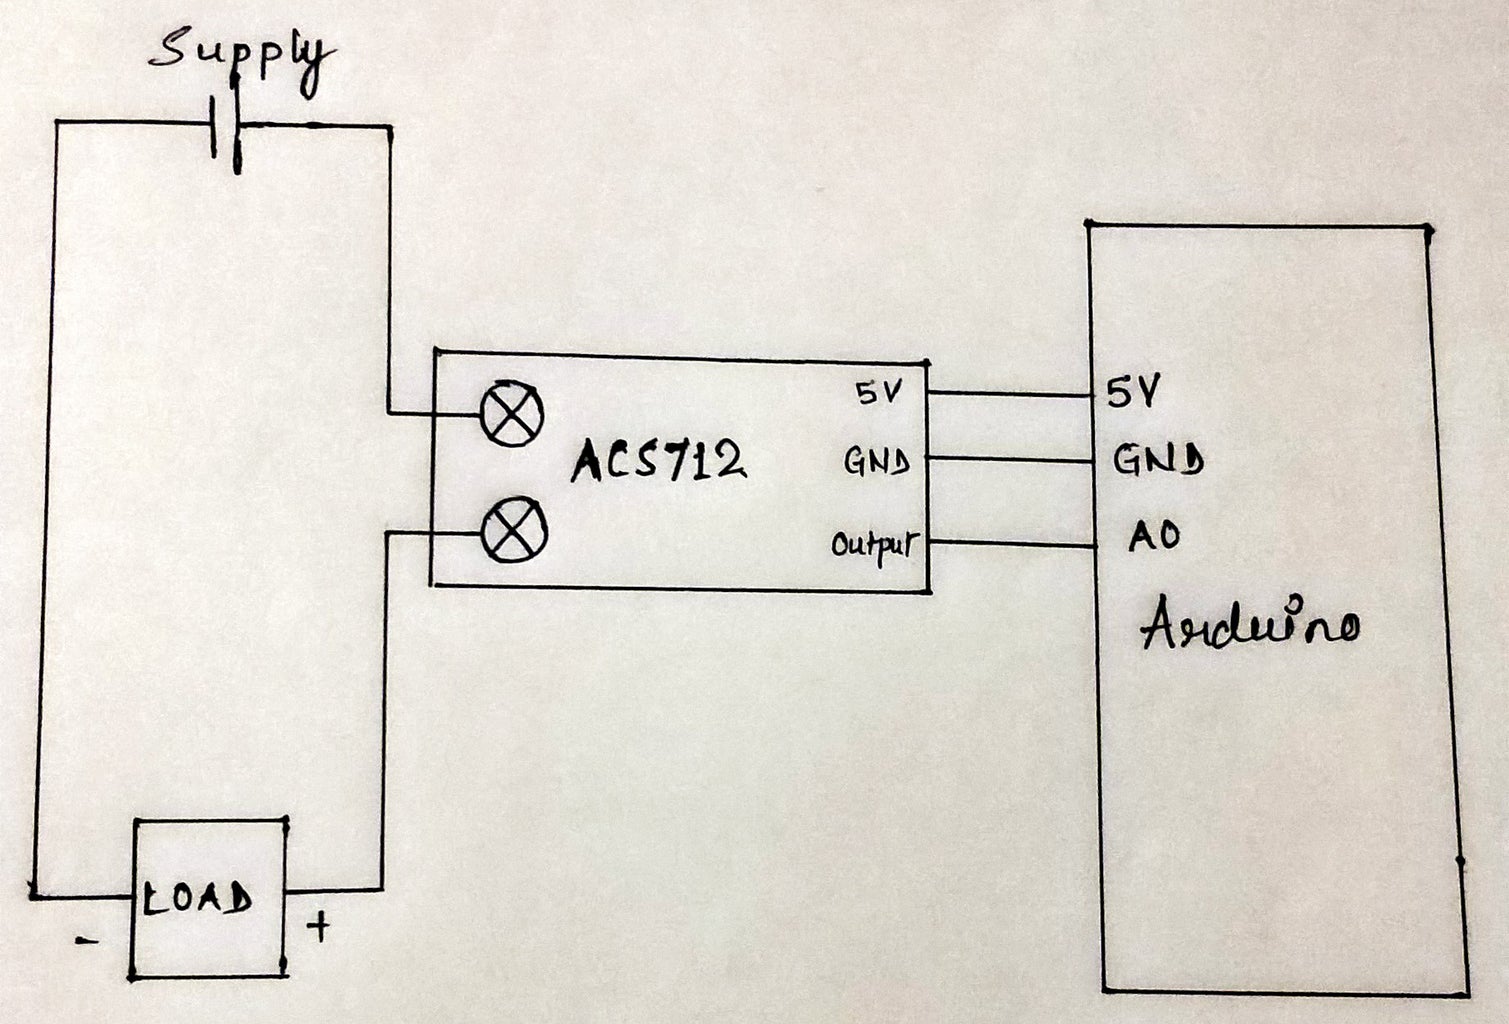
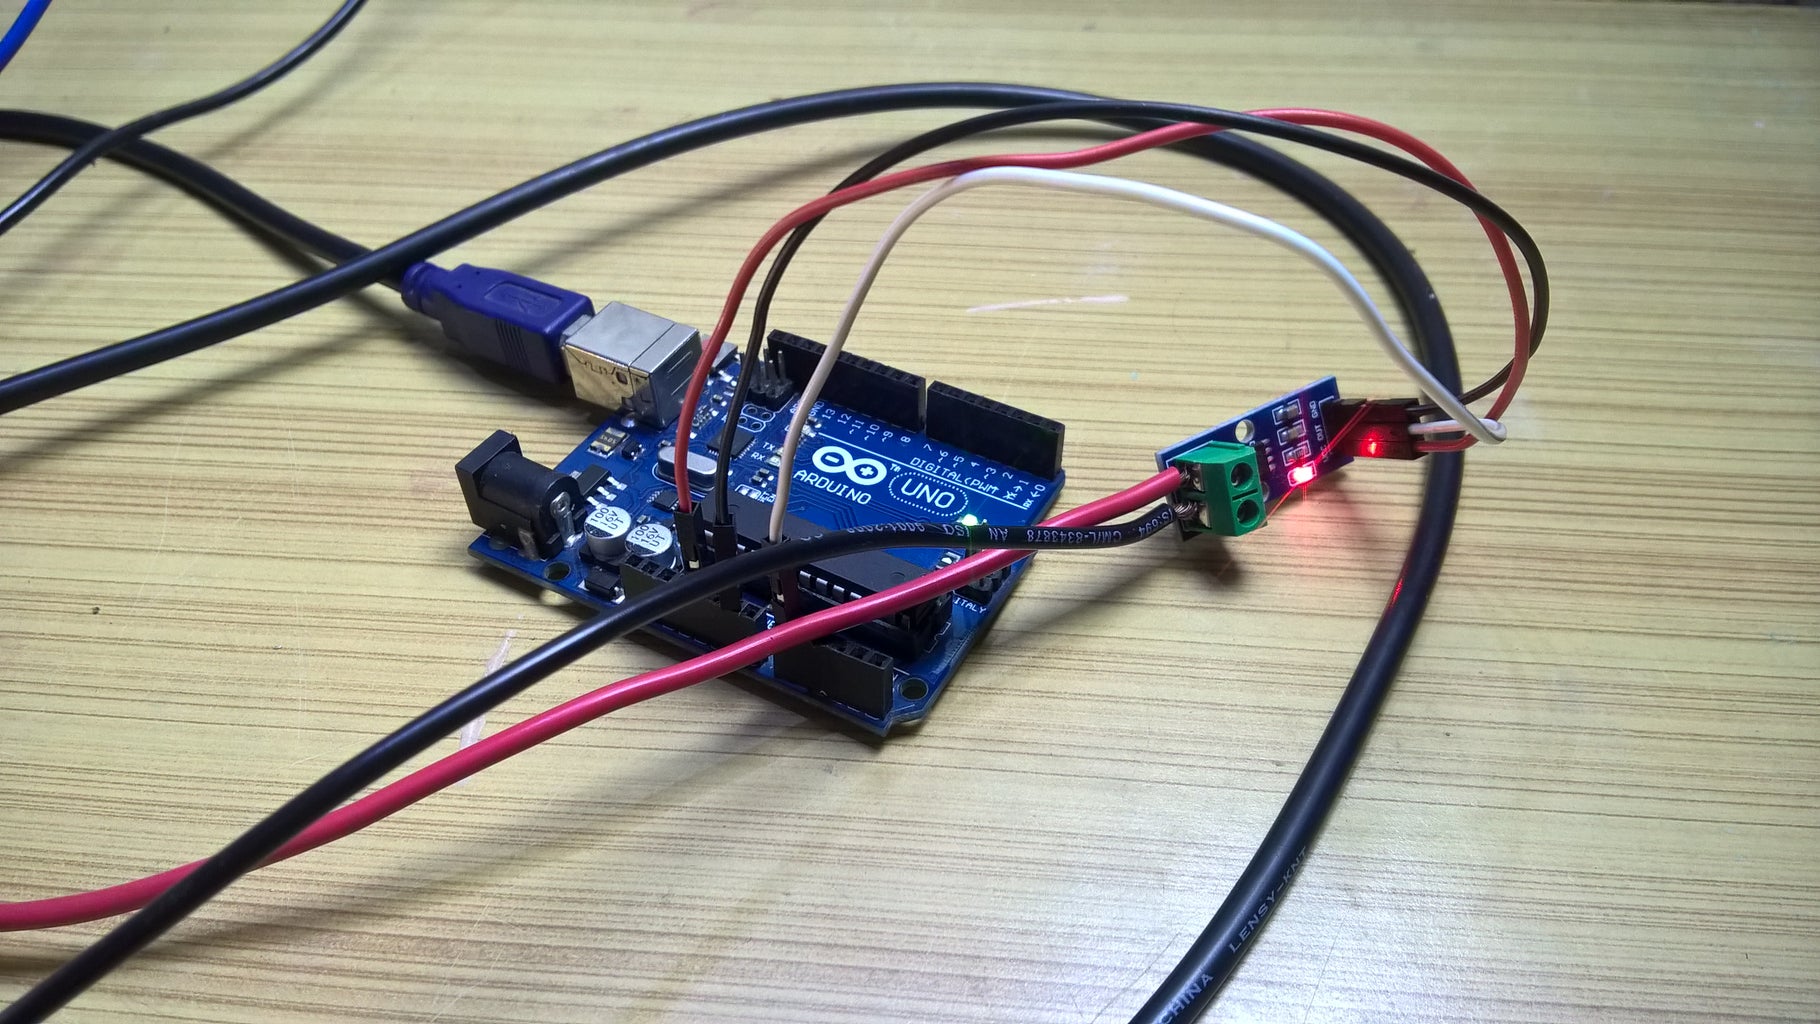

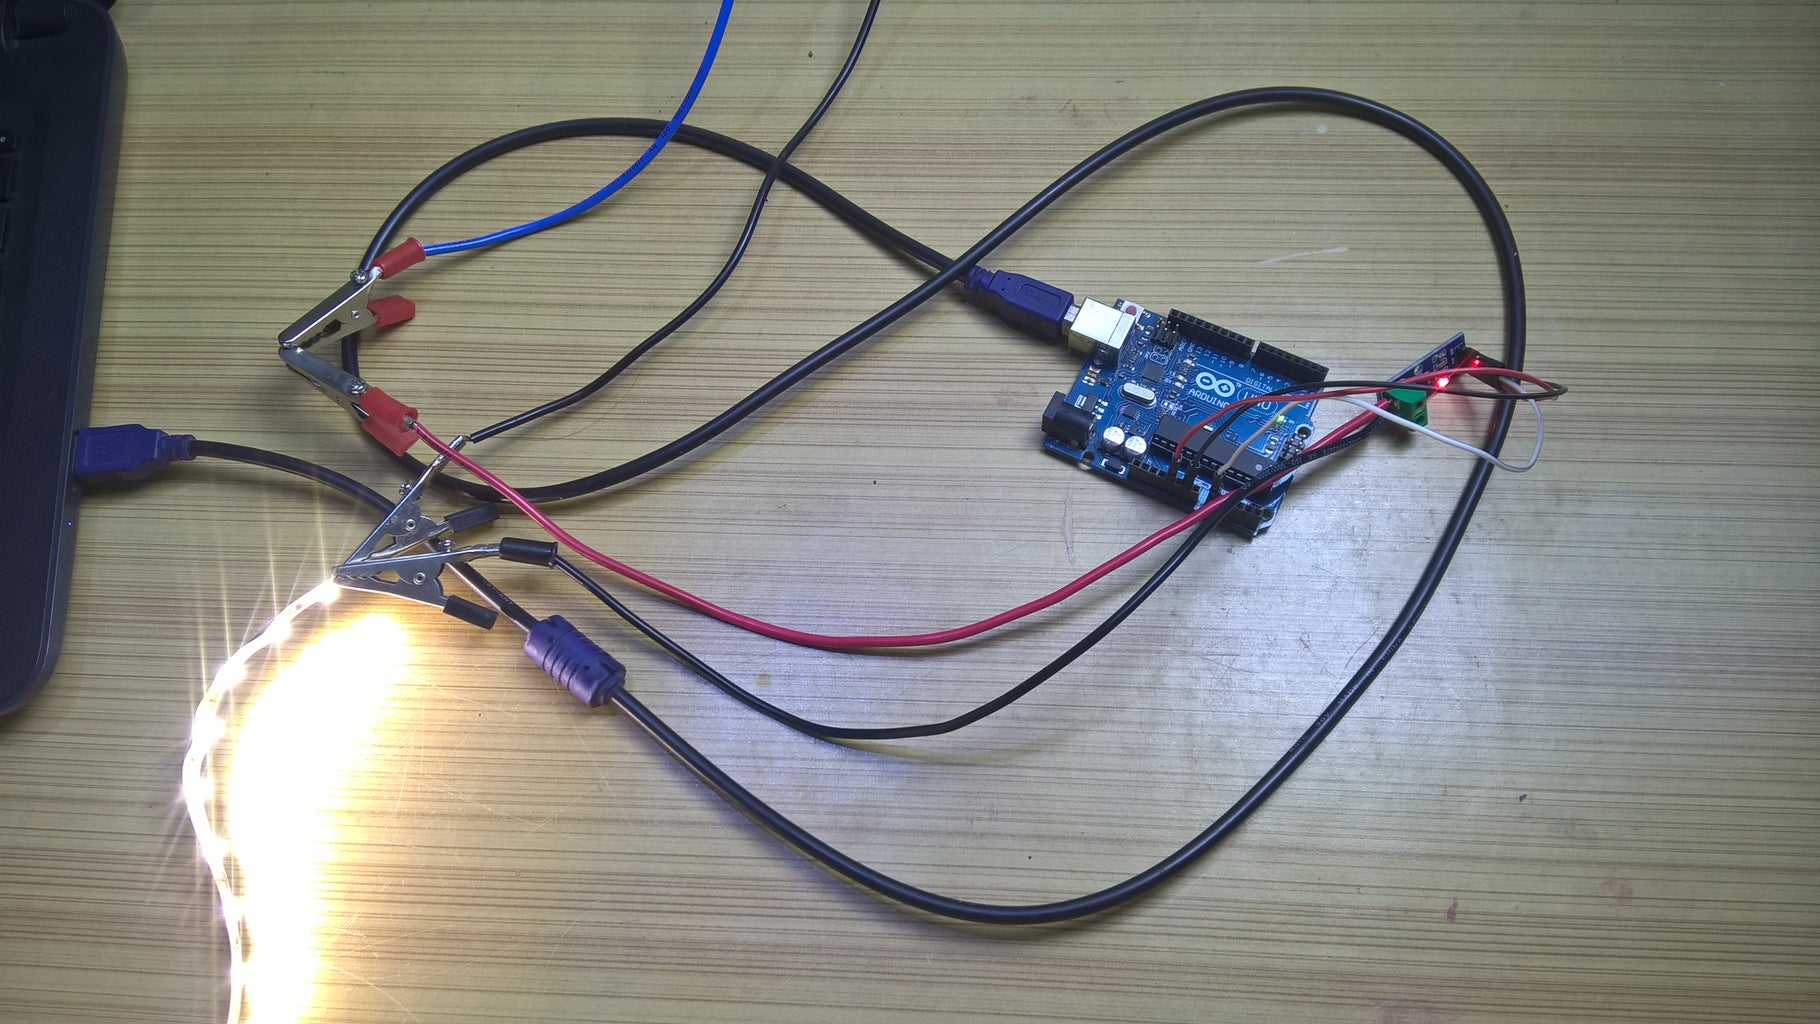

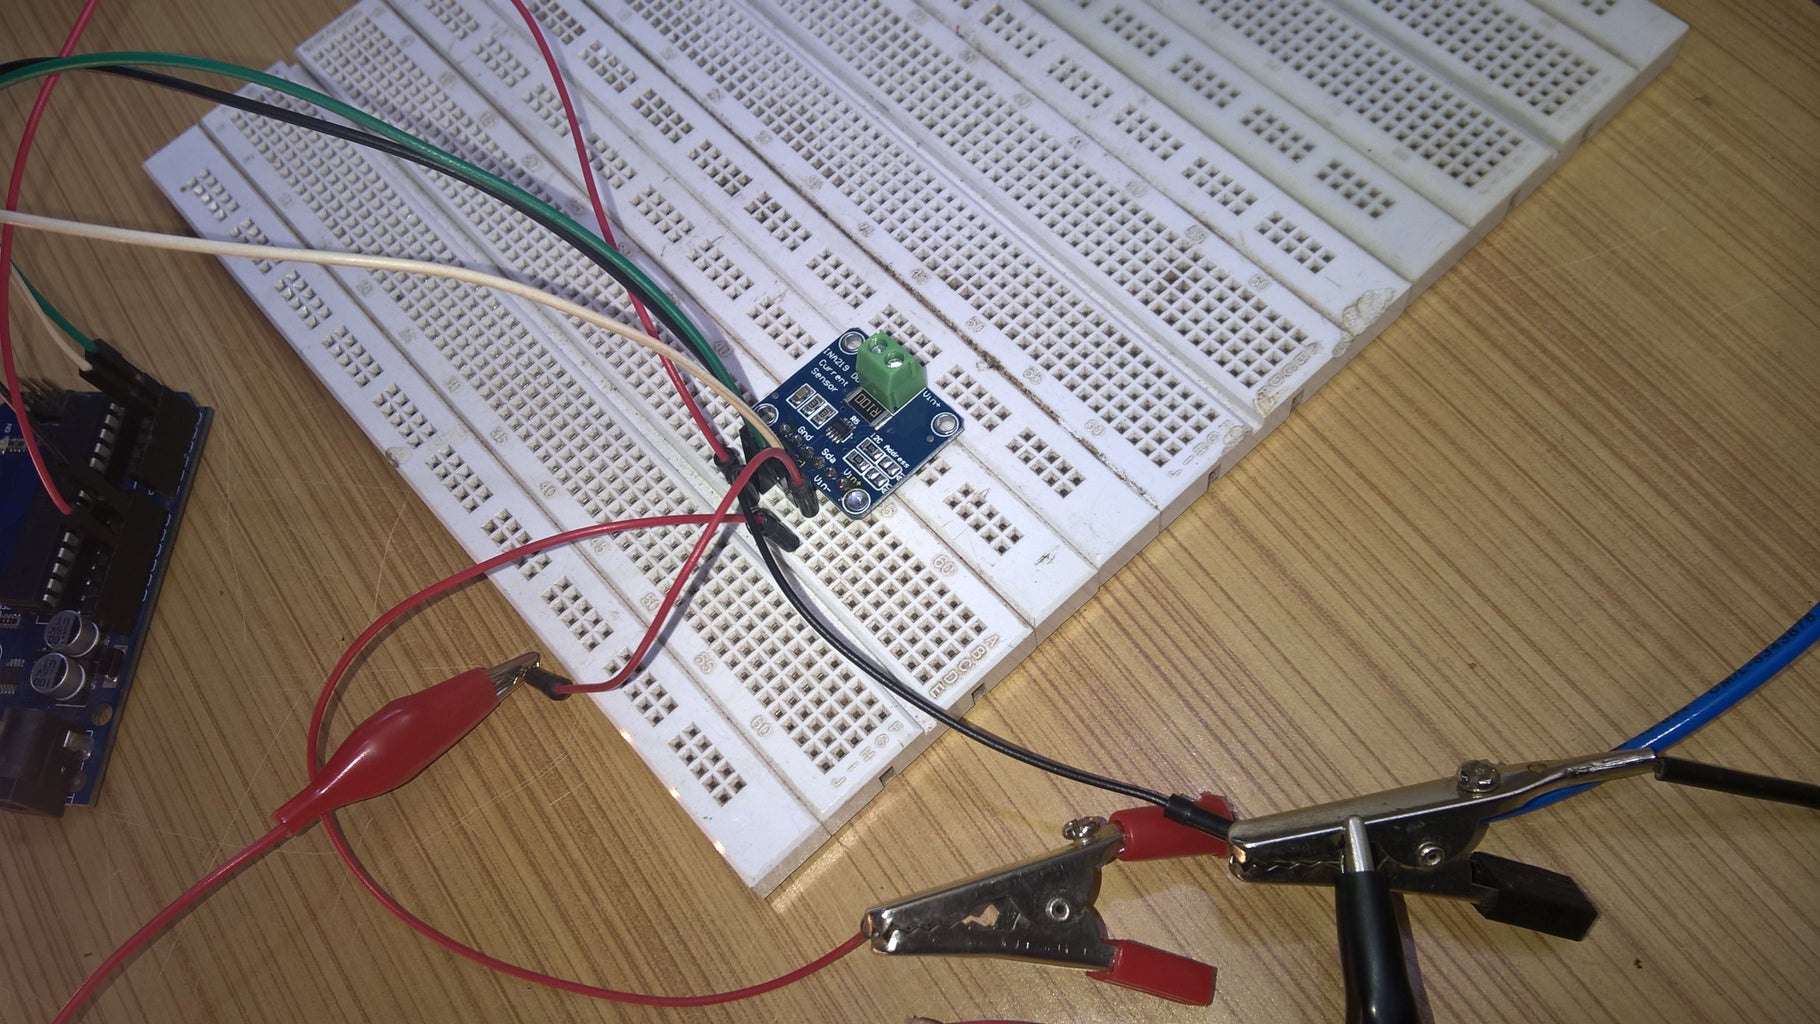
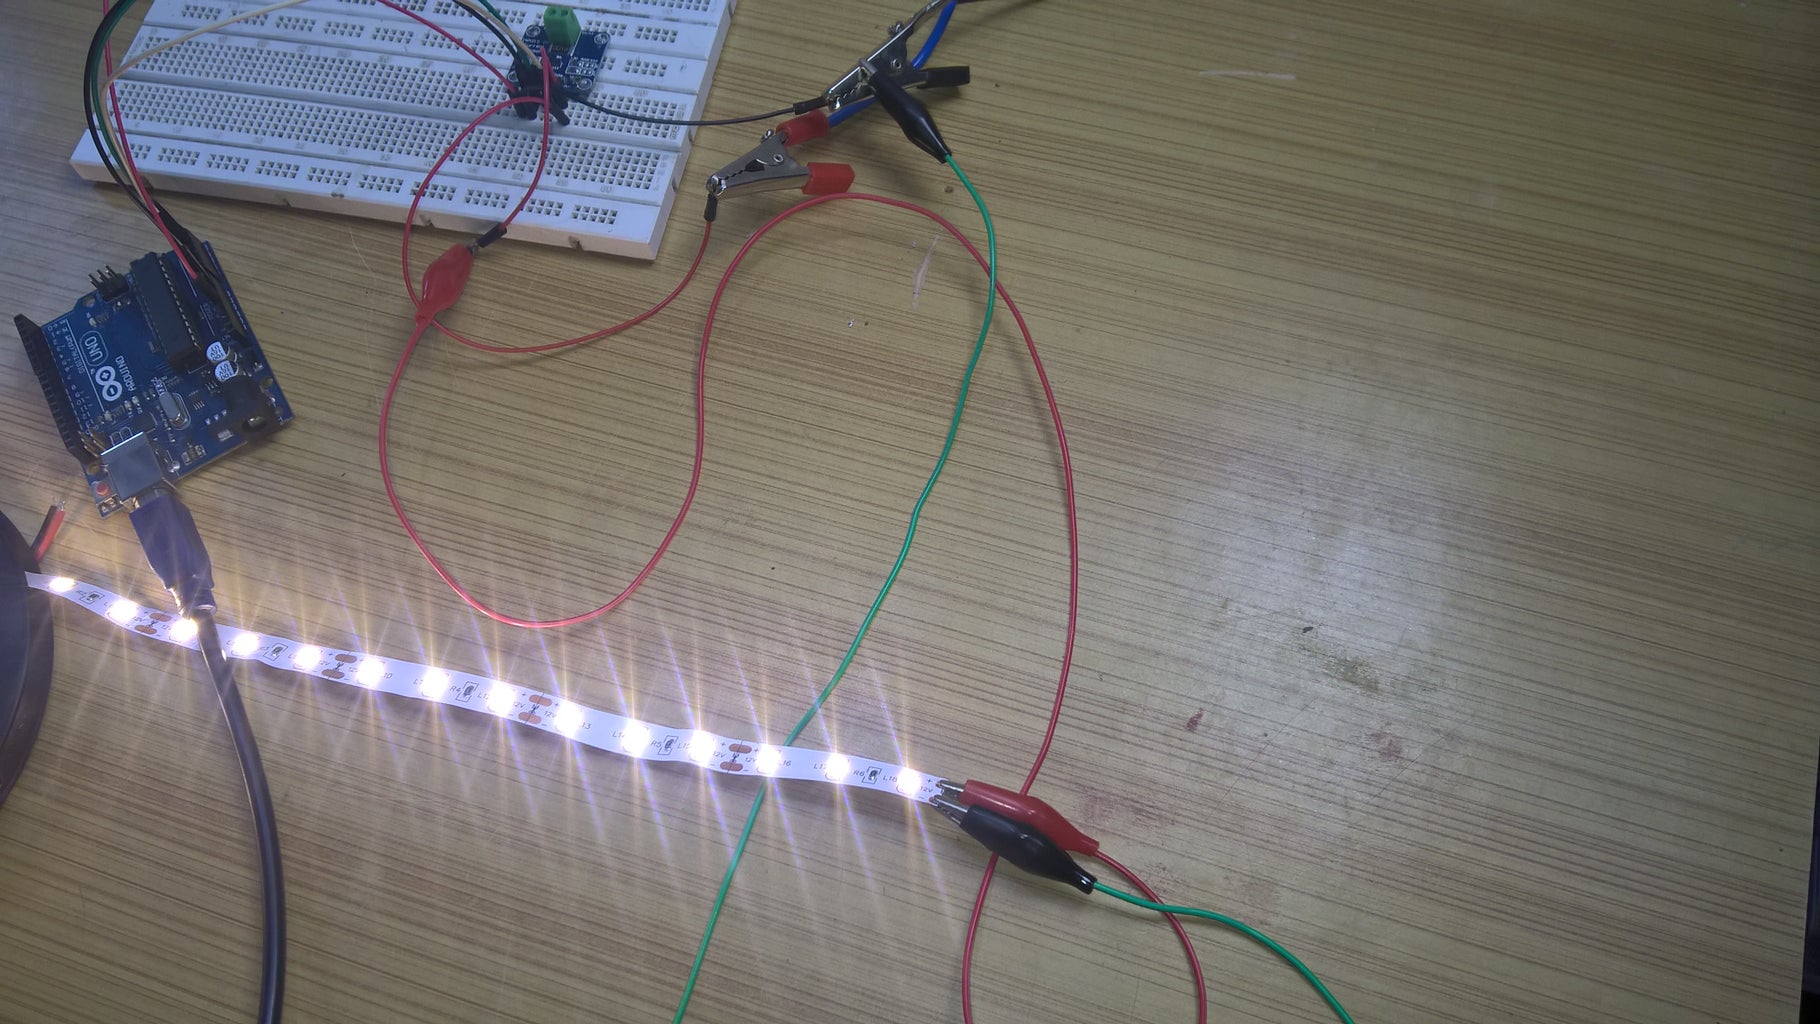
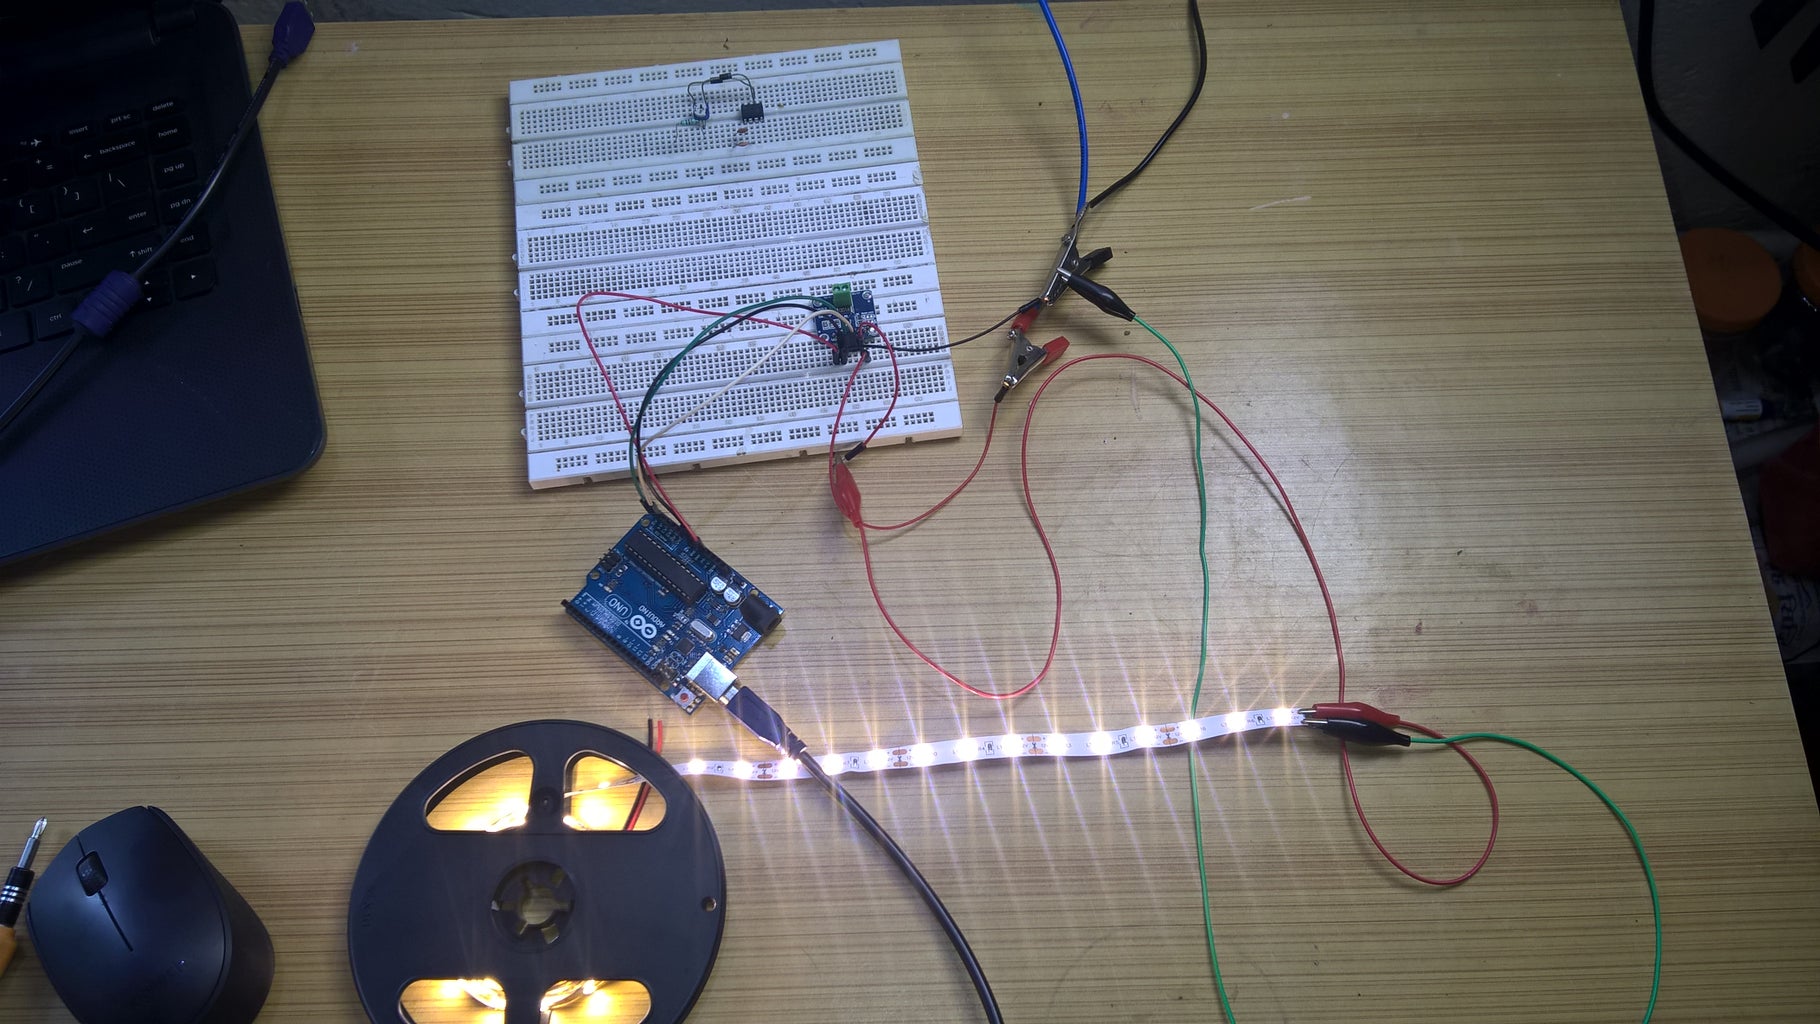

This step contains the images for connection for various methods and also schematic representation of Hall Effect in a semiconductor.
Step 3: Download the Library.
Download the Adafruit Library for INA219 from this link: https://github.com/adafruit/Adafruit_INA219
Step 4: Arduino Sketches.

The sketches for different sensors are attached in this step.
Be sure to change the '5' to you reference voltage in case you are using analog reference (see picture).

Step 5: Voltage Divider and Resolution of ADC.

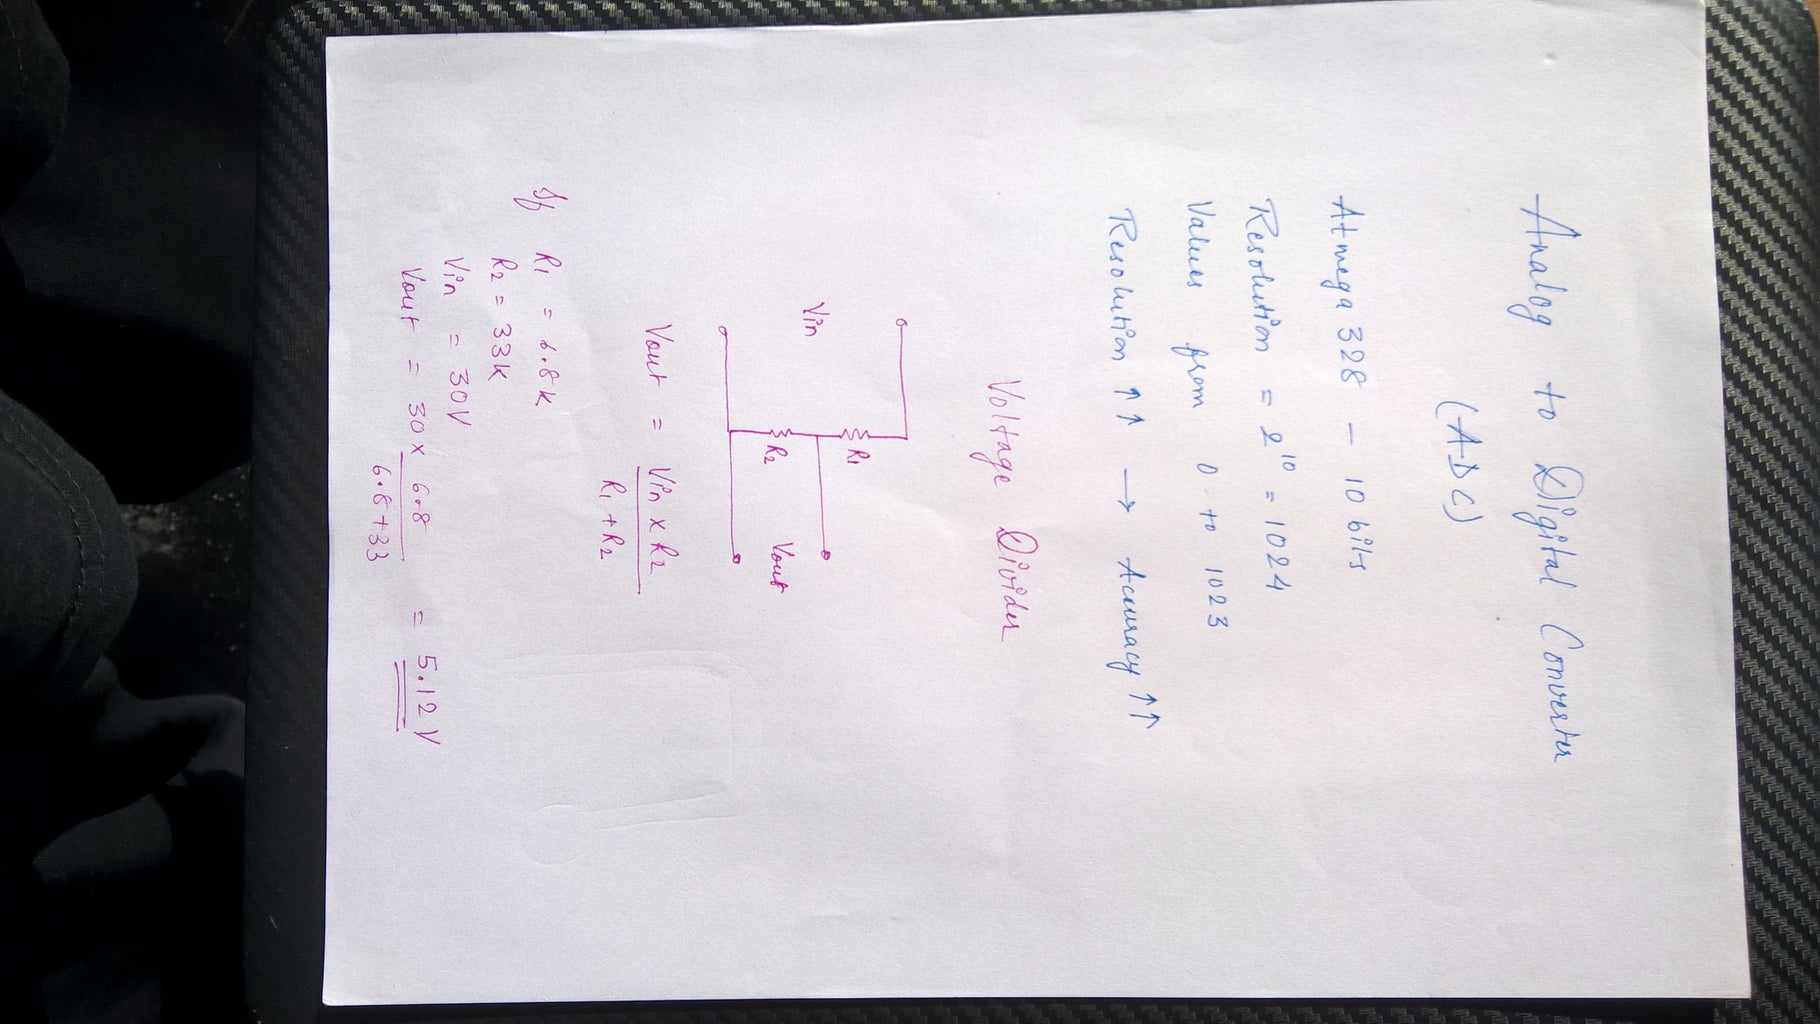
The picture contains formula for voltage divider output voltage and some resolution thingy.
Step 6: Done!

Feel free to ask any questions and leave comments.
Thank you :)


