Introduction: Meshmixer: Layout Models


In this section of the user manual we'll walk you through laying out your models to print.
Meshmixer for Ember User Manual
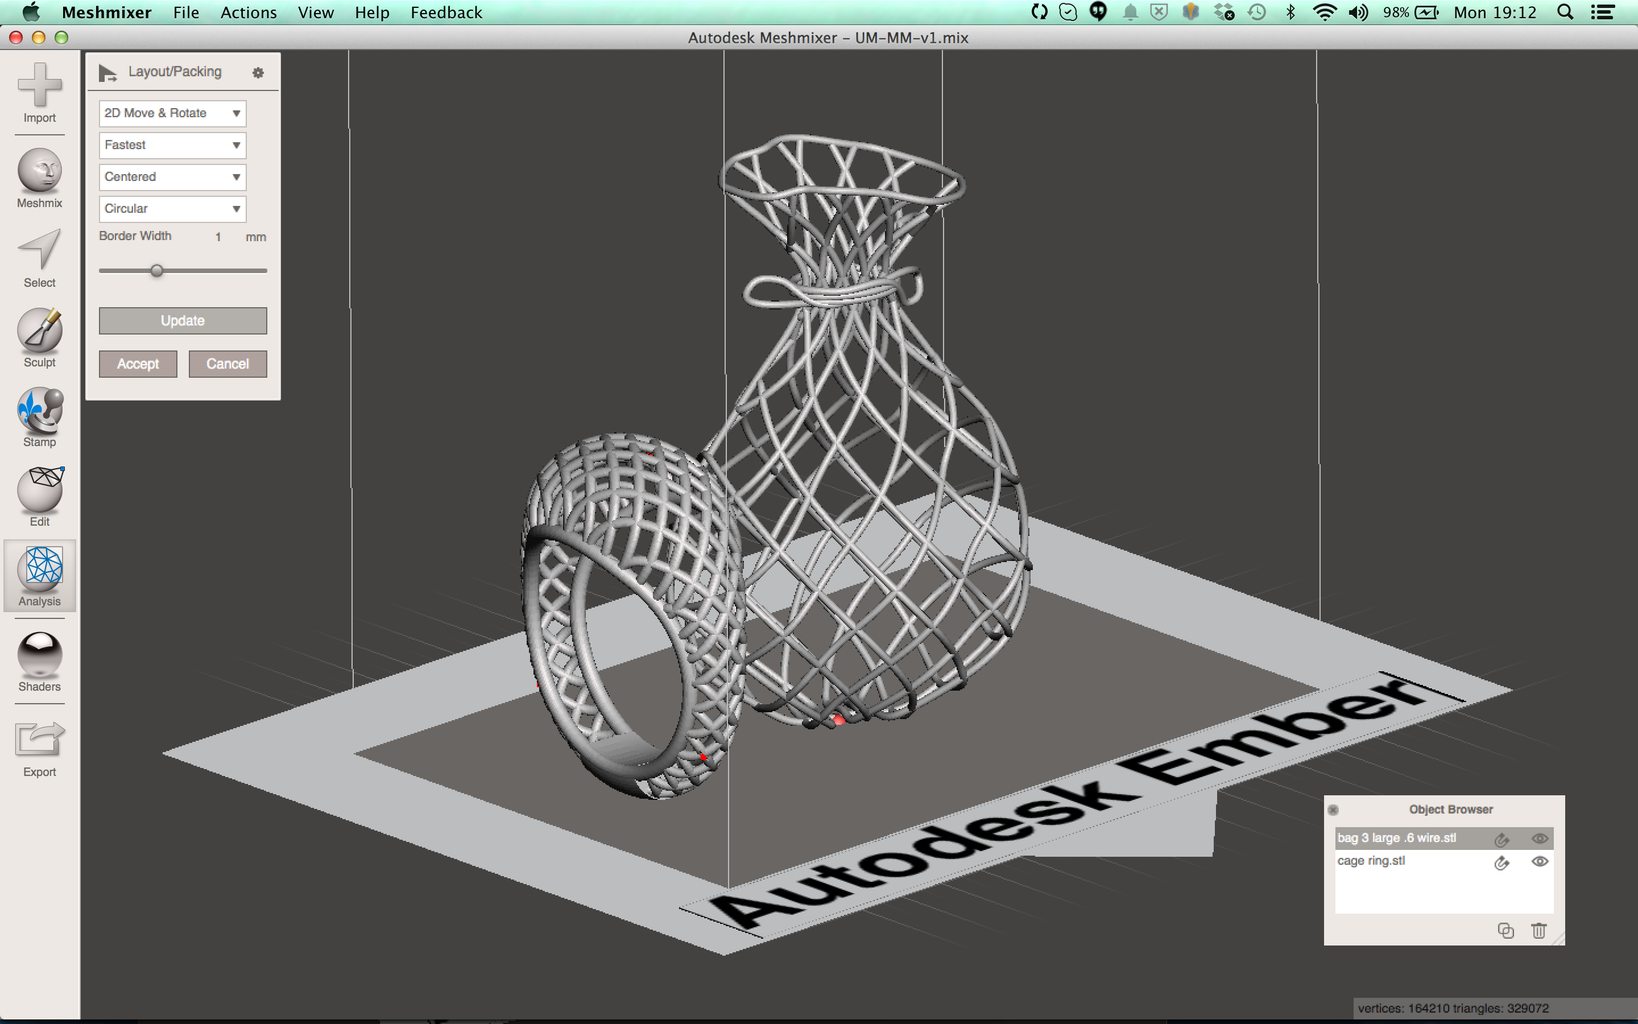
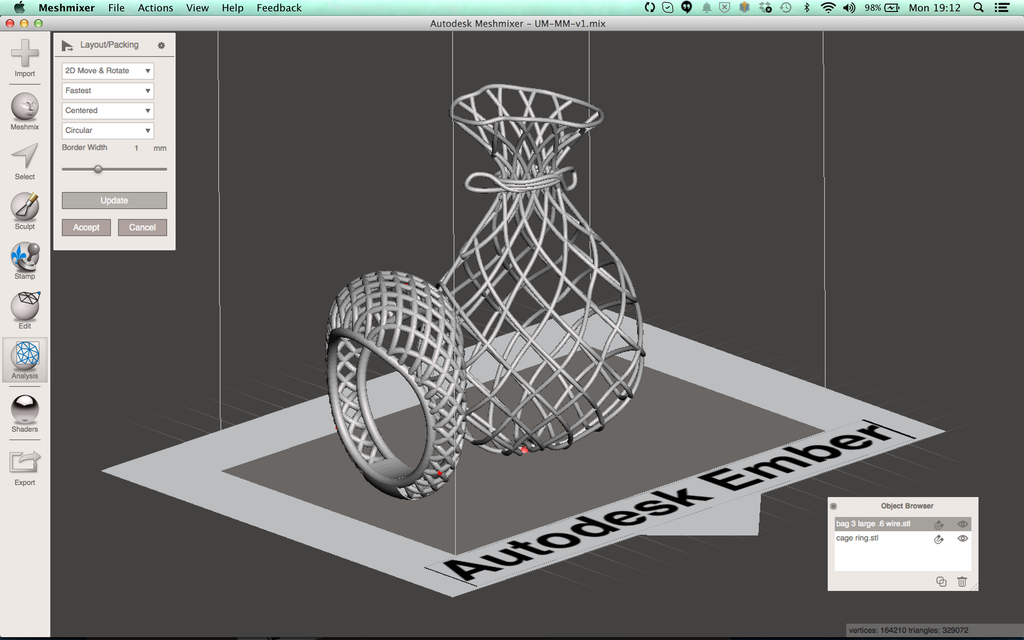
Step 1: Automatic Layout
To automatically layout your models in Meshmixer
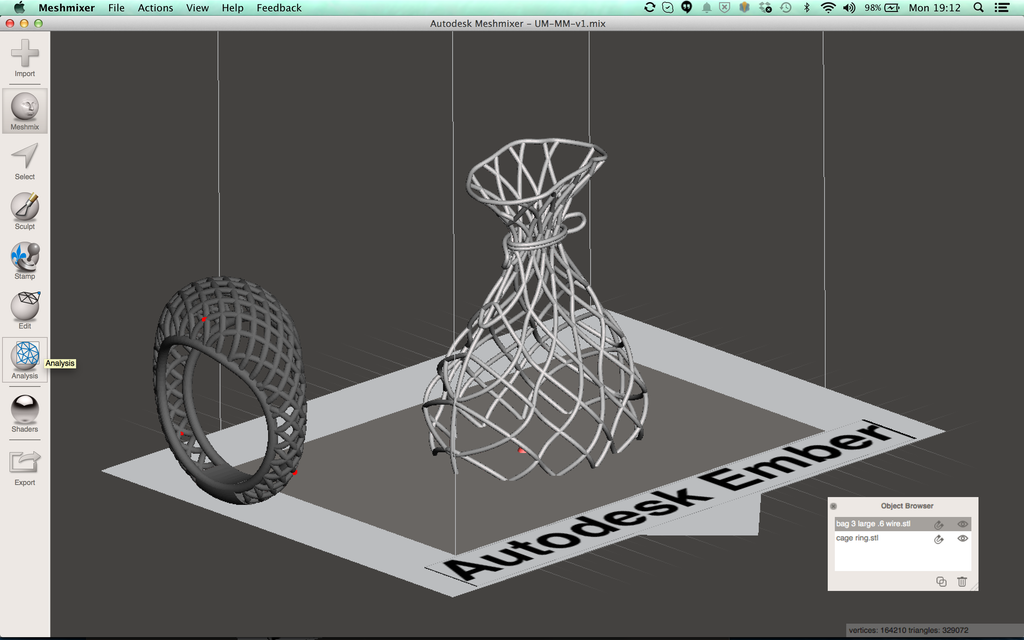
- Click on "Analysis" button on the left toolbar

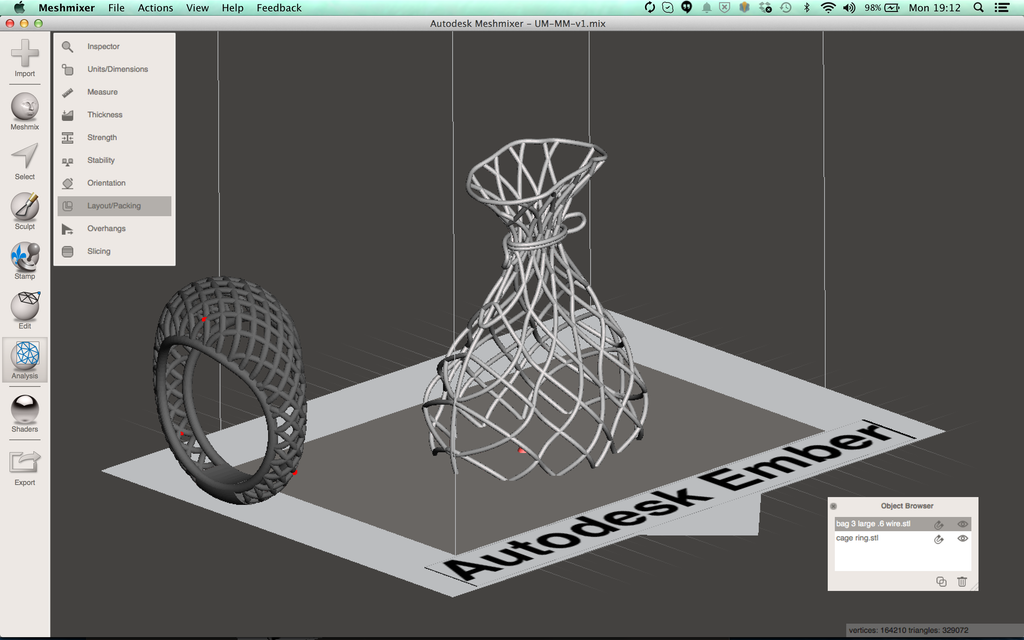
- A menu will open, click on "Layout/Packing"
- The "Layout/Packging" menu will open and the layout of your model will automatically update based on the default settings
Tip:
There are a number of different layout settings in Meshmixer.
Play with the settings to see what effect they have on the layout.
Remember to click "Update" to visualise the changes in the viewer.
- Click "Accept" and the layout will be saved
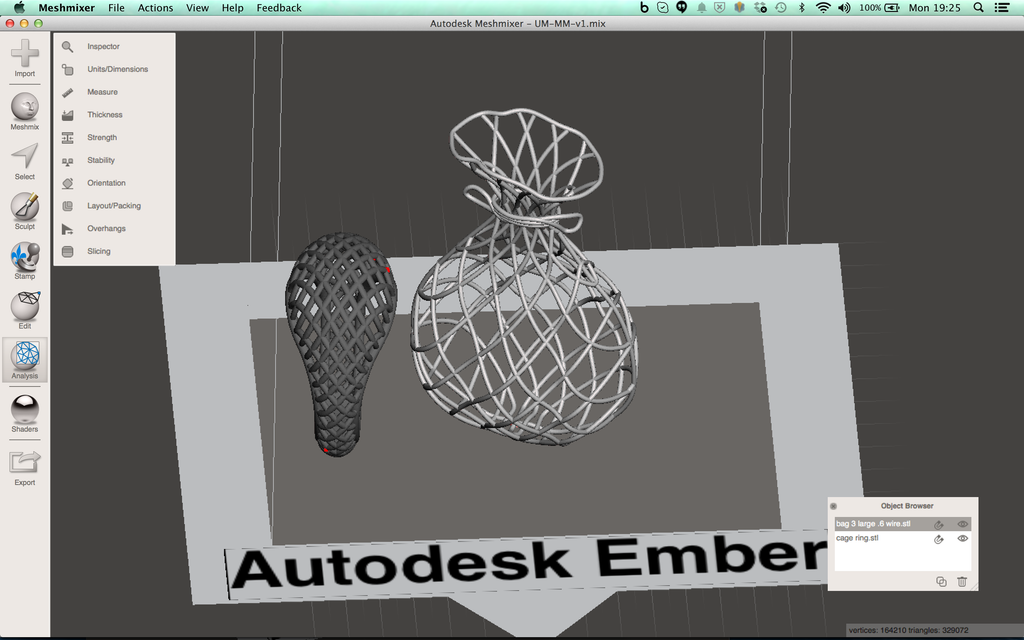
Step 2: Manual Layout: Alignment
You can individually transform and layout models. This is split up into two stages
- Alignment in the build volume
- Transformation
Alignment
- Select the model you want to layout by clicking on it
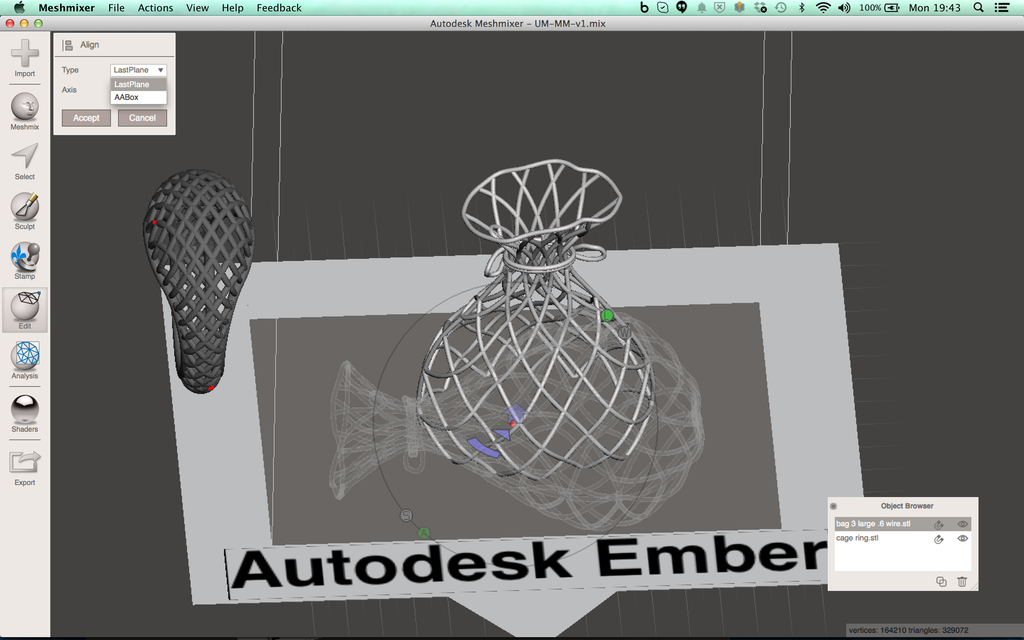
- Click on the "Edit" button on the left toolbar, a menu will pop up
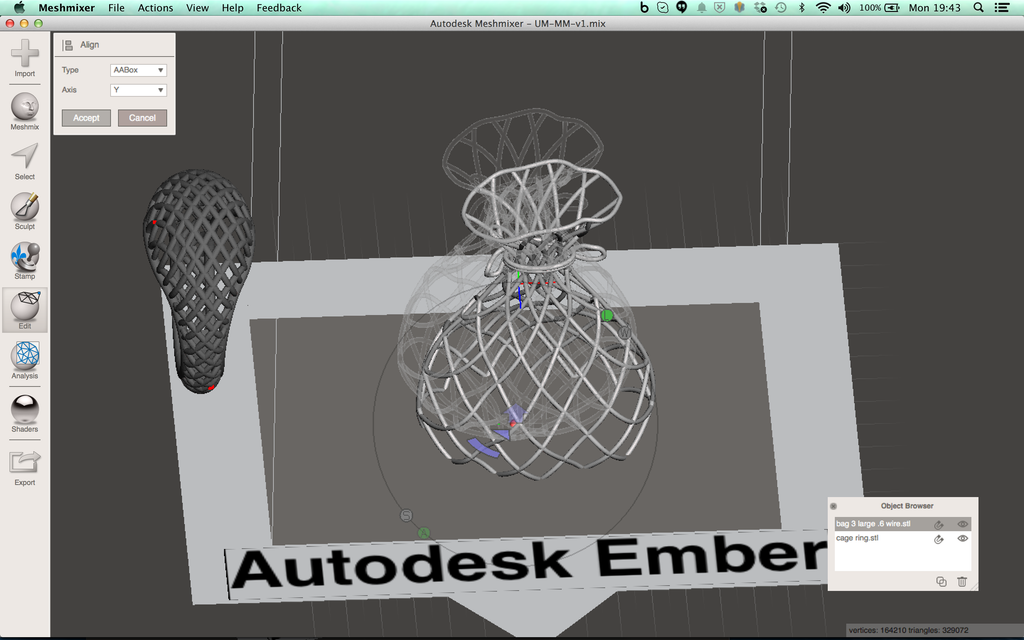
- Click on "Align"
- The Align menu will open
- Select "AABox" for the "Type" and "Y" for the "Axis", a ghost outline will show the pending alignment
- Click "Accept" to implement the alignment
- Repeat for all models in the build volume
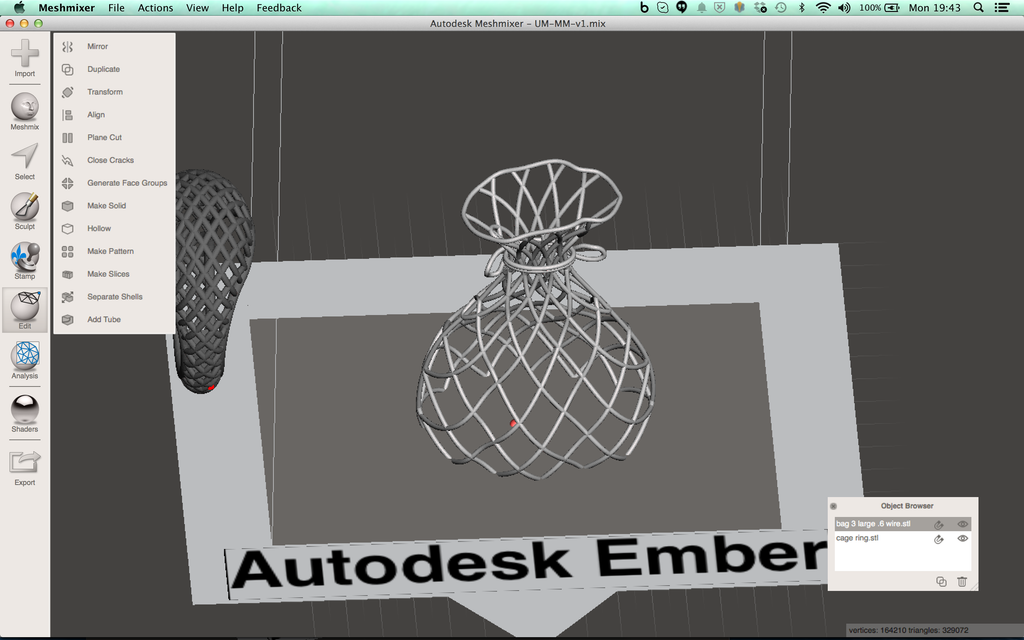
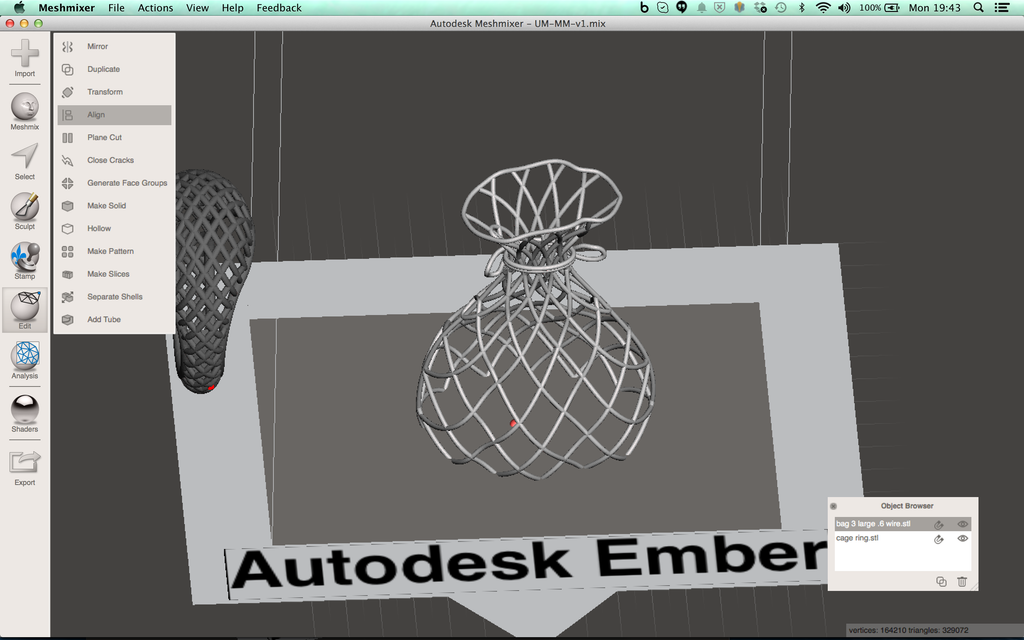

Note: | After manually aligning multiple individual models you will need to transform them as they will be overlaid on top of each other in the centre of the build volume |
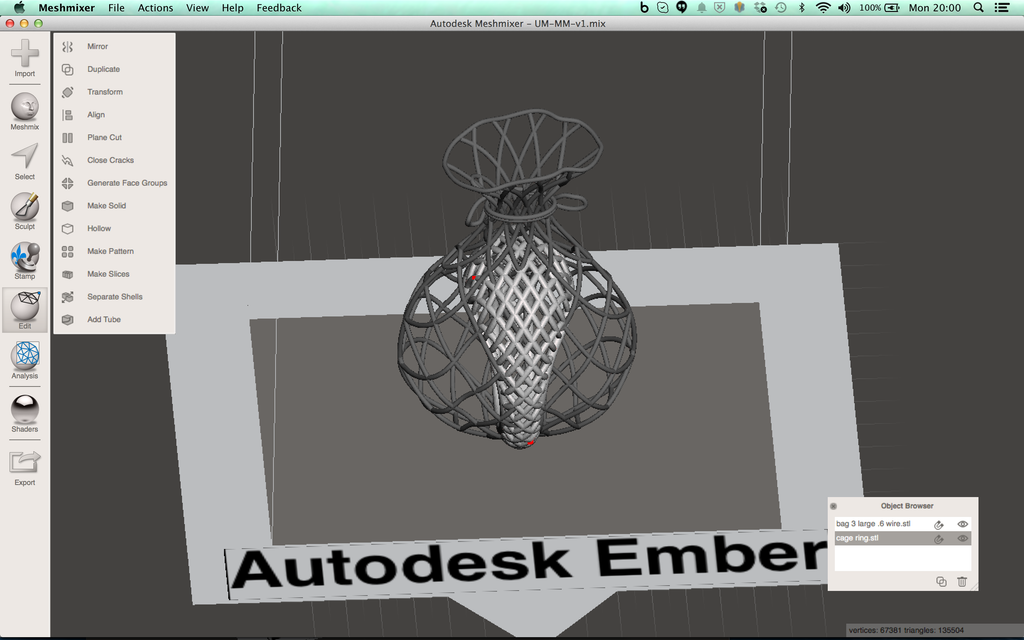
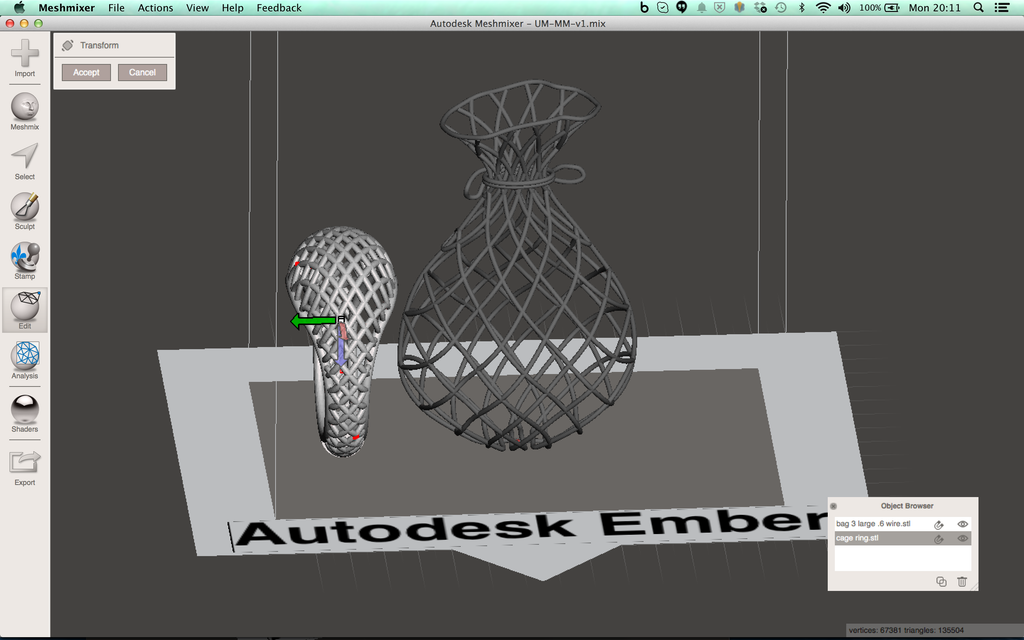
Step 3: Manual Layout: Transformation
The second stage of manual layout is transformation
Transformation
- Click on the model you want to transform (move or rotate)
- Click on the "Edit" button on the left toolbar and then on "Transform"
- You can transform the model in six degrees of freedom
- Move in X direction
- Move in Y direction
- Move in Z direction
- Rotate about the X axis
- Rotate about the Y axis
- Rotate about the Z axis
- To move or rotate the model, click and drag on the axis
- Click "Accept" to implement the transformation
- Repeat for all models in the build volume