

Introduction: Minecraft Paper Snowflakes


Minecraft is awesome and so are paper snowflakes. Why not combine them! These were inspired by those awesomely detailed Star Wars Paper Snowflakes. Enjoy decorating your house this Christmas with these awesome unique snowflakes!
*These designs have also been turned into 2-piece 3D printable ornaments using Tinkercad.
Step 1: Designing and Supplies


- Files (attached)
- Exacto

- Small Scissors - small are nice to get in all the sharp angles
- Paper
- Printer
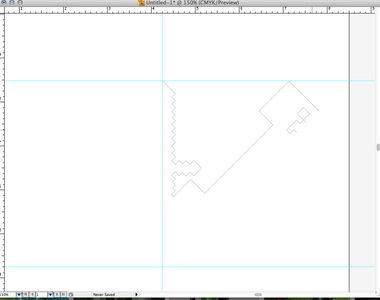
So my snowflakes evolved from my original idea which was a creeper and a sword. I just went for it at first and didn't do any measuring. After I decided to split up the ideas and do one weapon snowflake and one creeper snowflake, I created squares to signify pixels (1 by 1, 2 by 2, etc) so I could get the dimentions right. I had to do some fudging so that the creeper wouldn't just be one tall rectangle. I've attached the Illustrator file, if you want to change it up a bit, and the PDF if you just want to print and cut.
The middle of the original designs were really plain. At first I had nothing and then I just cut it out and then that was too big of a hole. So later I just added extra pixels.


Step 2: Fold


Folding time! If you know what you are doing, go for it. Here is how I folded it to make sure I got good results.
First, fold it diagonally so you can cut off the extra paper and you are just left with a square. Don't cut off the design.
How, fold it into a triangle so the design is on the far right and it is facing up.
Fold the corner with the design to the left opposite corner. Take that corner you just folded over and fold it so the tip meets the top tip, revealing the design again. Flip it over and bring that tip up to the top. Now you have a 8 folded snowflake.
(hope that made sense!)
Step 3: Cutting Time!


Cut everything out! For each design, you are cutting out the background, and then for the creepers, you are cutting out their faces. I added little pixels at the bottom of the snowflake so the middle of the snowflake wouldn't be plain. Feel free to add as many pixels as you want.
I figured out that for the weapons, it helped to make slits/cuts with an exacto knife all in one direction down one side of a weapon, and then do the slits going the other way. It was much easier than trying to cut it like with a scissors. You can see this in image 5 and 6.
Step 4: Done


And you are done! Hang them up!

Participated in the
Holiday Contest


