

Introduction: Mini Pressing Board

I love to have this handy tool right beside me when I am sewing and pressing small quilt pieces.
Step 1: Materials Needed

1. A small wooden carving board with a grooved channel. This is one item to be sure to purchase new so that it is grease free.
2. Batting.
3. Staple gun.
4. Pencil and paper for template.
5. Muslin or other smooth fabric at least six inches longer and wider than the cutting board.
6. Cardboard or felt for base.
7. Glue gun.
8. Scissors.
9. Pins.
Step 2: Prepare Base

Lay the cutting board on the cardboard or felt and trace around it with pencil. Draw a second line 1/8" inside the trace line and cut out base on this line.
Step 3: Make Pattern Template

Lay cutting board on paper, trace around it and cut out.
Step 4: Prepare Batting

1. Layer three pieces of batting. Pin template on stack. Cut.
2. Cut another piece of batting at least six inches longer and wider than the cutting board.
Step 5: Prepare Padding and Cover

Press fabric for cover and lay it right side down on your work surface. Centre the larger piece of batting on top of the muslin. Centre stack of batting on top of these two layers. Lay cutting board, groove side up,on top of all of these layers.
Tip: Remove any errant threads from the batting before layering.
Step 6: Attach Cover


1. First draw up just the larger piece of batting over the sides to the back of the board, easing in the fullness around the corners and pressing the batting into the groove with your fingers. The batting will extend beyond the groove.
2. Next draw up the fabric in the centre on one long side of the board. Holding the fabric gently but firmly in place smooth out any wrinkles and secure with a staple into the side of the groove.
3. Repeat in the centre of the opposite side.
4. Repeat for the centre of both ends.
5. Repeat in the centre of one of the corners, ease in the fullness of the batting and fabric and carefully staple in place.
6. Repeat for the opposite corner and then repeat for the other two corners.
7. Working evenly, continue to ease in the fullness and secure the fabric and batting with staples.
Step 7: Trim Fabric


Keeping scissor blades parallel to the back of the board trim batting and fabric flush with the edge of the groove.
Step 8: Attaching Base
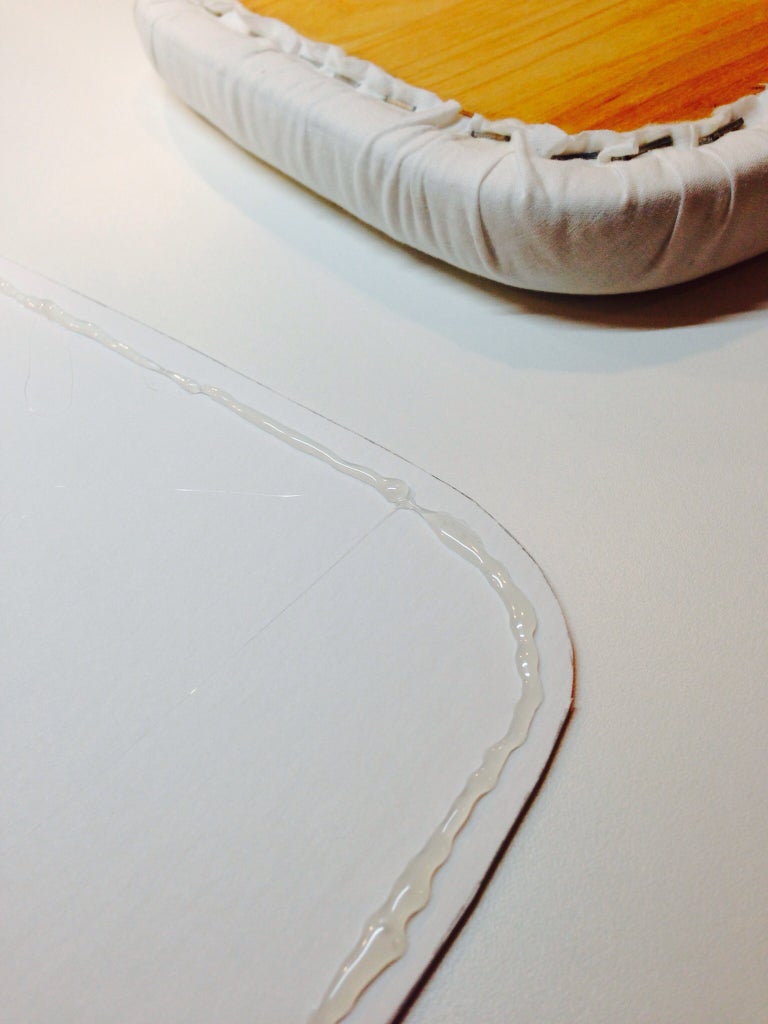

Lay a line of hot glue 1/4" inside the edge of the base and add a flourish of glue to the centre for added security. Carefully centre and attach base to the bottom of the board.


