

Introduction: Mood Lamp With Arduino


Hi! In this tutorial you will learn to make a mood lamp with arduino.
I know that you may have seen a lot of mood lamp projects with arduino, but I wasn't very satisfied with them because they all change the color very abruptly. So, I decided to make a smooth mood lamp and I also made it to turn on only when the room is dark.
This project is good for those who are beginners in the arduino's world.
Step 1: Material

For this instructable you are gonna need:
- Arduino
- Jumper wires
- 1 RGB LED or 1 red LED, 1 green LED and 1 blue LED
- LDR (Light Dependent Resistor)
- Protoboard
- Sheet of paper
Step 2: Time to Code!
Write the code above on the Arduino program.
Darker the ambient light is, the higher is the value read from the LDR.
I used PWM to change led's brightness.
// Smooth RGB mood lamp
// Changes an RGB LED's color smoothly that only turns on
// when it's dark around it.
// Author: Ricardo Ouvina
// Date: 19/07/2012
// Version: 2.0
// ---------------------------------------------------
// The brightness of the leds follows these equations:
// Red = sin(x)
// Green = sin(x + PI/3)
// Blue = sin(x + 2PI/3)
// for x from 0 to PI
// ---------------------------------------------------
float RGB[3];
int ldrPin = 0; // LDR in Analog Input 0 to read the ambient light
int ambientLight; // variable to store the value of the ambient light
int redLed = 11; // red LED in Digital Pin 11 (PWM)
int greenLed = 10; // green LED in Digital Pin 10 (PWM)
int blueLed = 9; // blue LED in Digital Pin 9 (PWM)
void setup(){
pinMode(redLed,OUTPUT); // tell arduino it's an output
pinMode(greenLed,OUTPUT);// tell arduino it's an output
pinMode(blueLed,OUTPUT); // tell arduino it's an output
// set all the outputs to low
digitalWrite(redLed,LOW);
digitalWrite(greenLed,LOW);
digitalWrite(blueLed,LOW);
}
void loop(){
for (float x=0;x<PI;x=x+0.00001){
RGB[0]=255*abs(sin(x*(180/PI))); // calculate the brightness for the red led
RGB[1]=255*abs(sin((x+PI/3)*(180/PI))); // calculate the brightness for the green led
RGB[2]=255*abs(sin((x+(2*PI)/3)*(180/PI)));// calculate the brightness for the blue led
ambientLight=analogRead(ldrPin); // read an store the ambient light
if(ambientLight>600){ // start only if the ambient light is very low
// write the brightness on the leds
analogWrite(redLed,RGB[0]);
analogWrite(greenLed,RGB[1]);
analogWrite(blueLed,RGB[2]);
}
else{
digitalWrite(redLed,LOW);
digitalWrite(greenLed,LOW);
digitalWrite(blueLed,LOW);
}
for(int i=0;i<3;i++){
if(RGB[i]<1){
delay(100);
}
if(RGB[i]<5){
delay(50);
}
if(RGB[i]<10){
delay(10);
}
if(RGB[i]<100){
delay(5);
}
}
delay(1);
}
}
Attachments

Step 3: Connect It!


Connect as it is on the image.
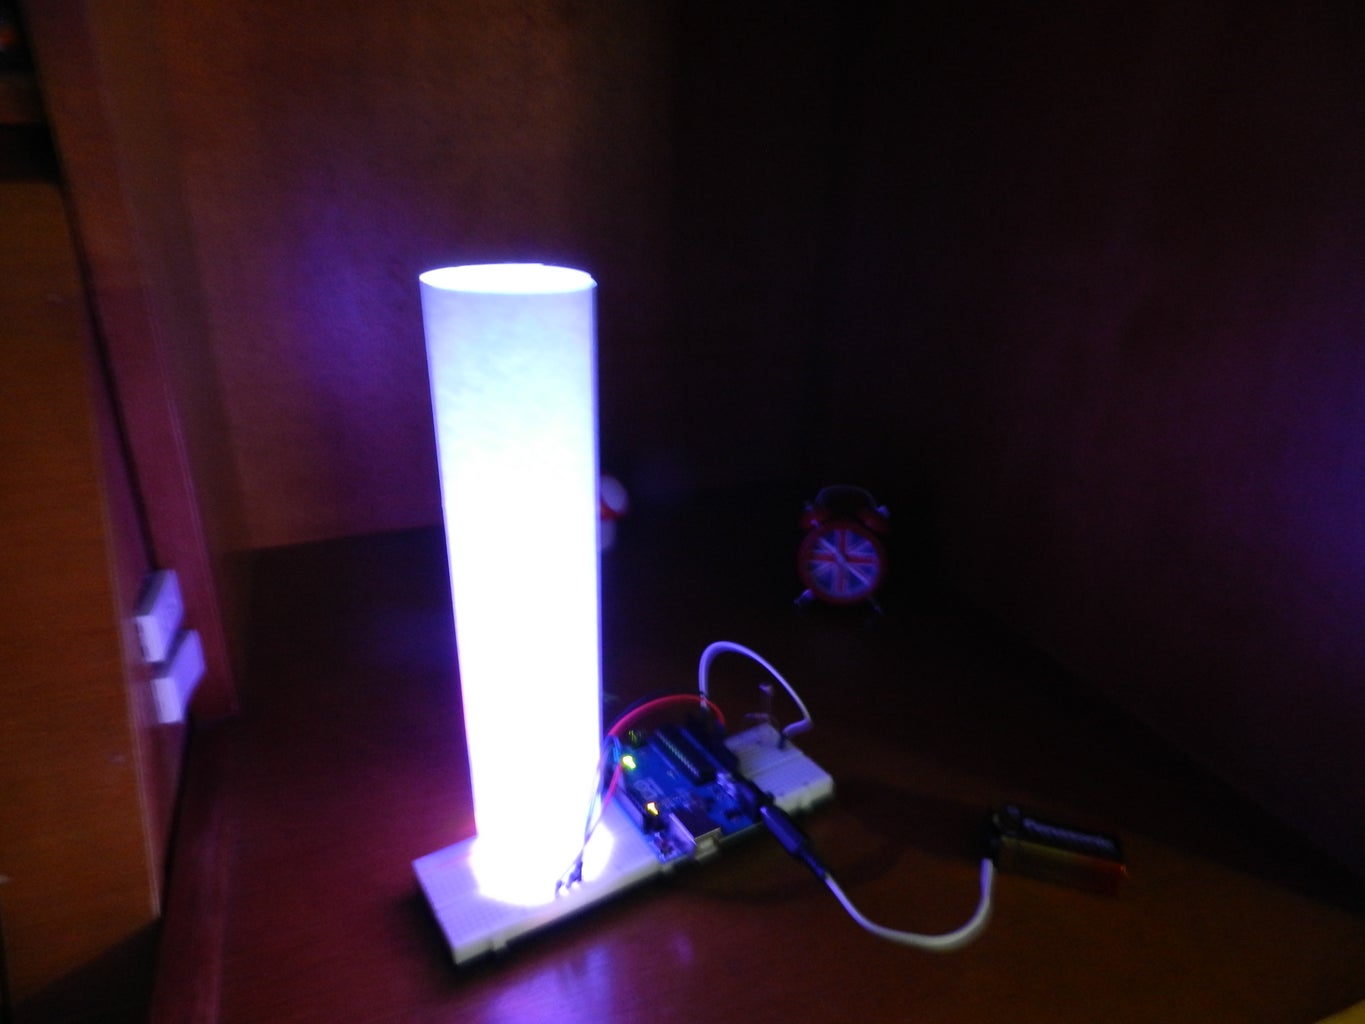
Step 4: Upload and It's Done!
Try to add a sheet of paper around it to see it more smoothly, the paper acts as a diffuser.
Feel free to modify this project to your way, and tell me your progress. Comments are welcome.
Have a look at the video I've made.

Participated in the
LED Contest with Elemental LED


