

Introduction: Mother's Day Brunch for Mom


This instructable was inspired by a Mother's Day experience, I will never forget! I hope it will inspire families to always remember their mother in a special way on this day. Investing a few hours of your time and very little money you can give a mother a very precious gift.
I hope this instructable will help you men find a more suitable solution for a tight pinch this Mother's Day.
It is always a great pleasure to visit my daughter over the Mother's Day holiday. One time when I was visiting her I woke up to my grandson saying Happy Mother's Day Grandma! We are serving you breakfast in bed! I sat up in bed and to my surprise, He stood there with a huge smile on his face, holding a tray with a hot breakfast ready to eat. It was a priceless gift! The sunny side up eggs were carefully placed in the center of a piece of toast, along with turkey bacon and hash browns. Orange juice was not forgotten. I smile every time I think about it. I can't forget to mention the lovely red rose carefully arranged on the tray. I have had the pleasure of enjoying this treat on more than one occasion. Oh, it was not my daughter that made the breakfast. She received the same gift, only she was not surprised like I was, because she receives breakfast in bed every Mother's Day.
Step 1: The Sheet Treatment

The sheet treatment is always a huge winner. The reaction I received everytime I did this was PRICELESS!
See the rest of this instructable before buying your supplies because you might have something at home that you can use in the place of what I have used.
This is what you will need:
Your labor.
1 set of cotton sheets that would fit the receiver's bed . It can be sheets you borrowed from the receiver, new sheets, or sheets purchased at a garage sale. Please note: Silk, flannel, and other types aren't suitable for this instructable.
1 Can of spray starch.
1 Medium size embellishment. You may use almost anything such as a pretty card, sachet, stuffed animal, book, or silk flowers.
1 Roll of clear wrapping paper, tape, scissors, and ribbon.
Home essential oil, perfume, cologne, potpourri, or linen water.
Cotton ball and wax paper.
Iron and ironing board.
Step 2: Getting the Sheets Ready

It is important to wash new sheets before doing this. The instructions for washing the sheets are on a tag on the wrong side of the sheet. If you are borrowing the sheets you don't want to ruin them, so take the time to see what the washing instructions are. It will also help you determine the iron setting.
Step 3: The Treatment Begins


Sheets are washed right?
Next you will spray the sheets and pillow cases with a heavy coat of spray starch. Spray one at a time until they are all very damp. Let them set for about 15 minutes before you iron them.
Set your iron on a low setting slowly turning up the heat if needed, a little at a time. You don't want to scorch them!
You will then spray them with linen water (optional) as you carefully iron them removing the wrinkles and setting the starch.
Mrs. Meyer's ironing water is a wonderful product by the way! For a mom who irons a lot this would make an awesome gift. Mrs. Meyer"s also has an all purpose cleaner, liquid dish washing soap, and hand soap that are totally awesome! The lavender smells so good and the dish washing liquid cleans better than any that I have ever tried!
If you want to do a fantastic job, iron the top sheet as well as the bottom sheet and the pillow cases.
Pay close attention to the top of the top sheet and the pillow cases. These are the areas that are most noticeable.
Okay guys if you want to cheat, iron just the top part about 1/4 way down. But I really recommend ironing the whole sheet set for the full Mother's Day treatment.
When you are finished ironing one sheet or pillow case, try laying it out on a bed so that it does not get wrinkled until you fold them in the next step. You could practice folding them now, by doing this you may fold them as you iron them.
Step 4: Folding the Pillow Cases.


Lay the pillow case flat with the open end at the top.
Fold the bottom half up to the open edge of the pillow case as even as you can.
Repeat folding the bottom up to the top edge.
Fold the left side over to the middle of the pillow case.
Fold it again to meet the edge .
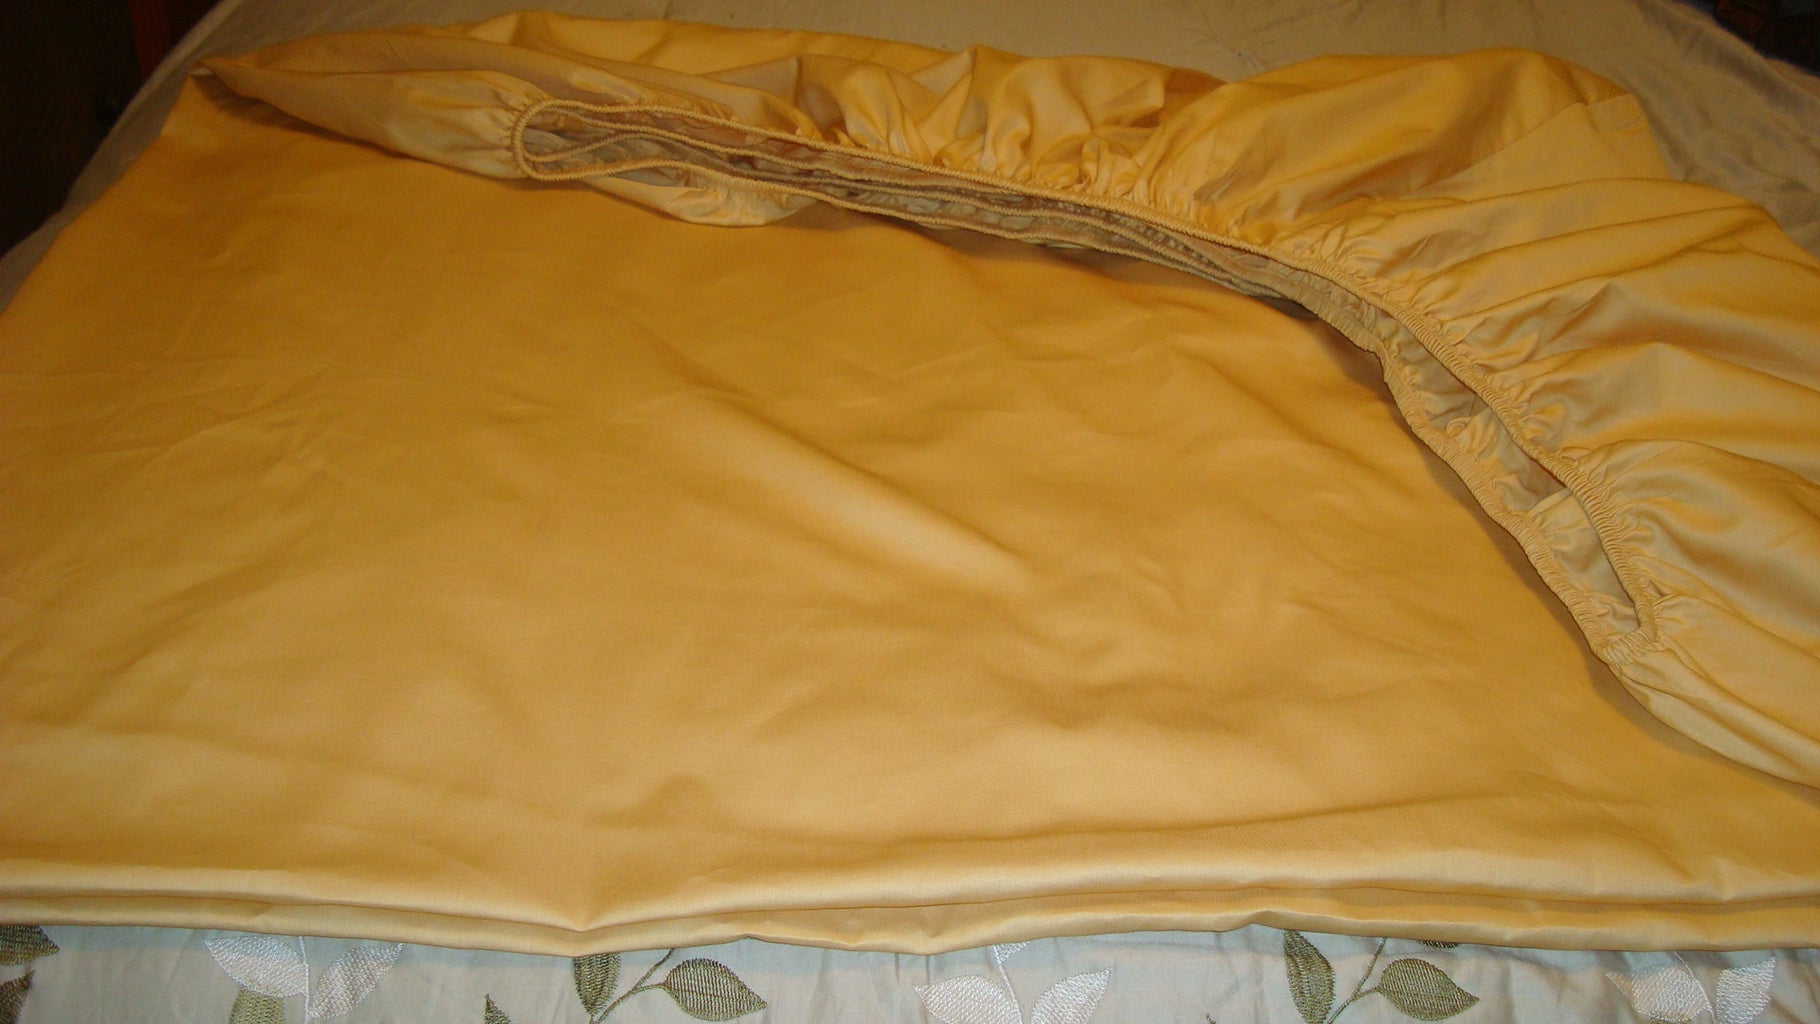
Now fold the bottom sheet so you can figure out how big to fold the top sheet. You want them to be folded about the same size.
Lay the sheet flat on the bed.
Pull the bottom up to the top.
Now you should have the sheet pretty much folded in half.
Next stick your hands into the the pockets ( you should have 2 pockets inside each other)
Fold one side into the remaining side according to the pictures.
Now lay it as flat as you can on the bed and straighten it out as flat as you can.
Fold the most uneven edge toward the middle of the sheet.
Fold the remaining end over the part you just folded making the edges meet as even as possible.
Fold the left edge toward the center.
Fold the right edge just to center of the left edge so that the folds just touch each other.
Fold the 2 ends toward center.
Fold the top sheet to fit the bottom sheet.
Your sheet should look like the pictures.
It takes some practice, so be prepared to do this a few times.
Step 5: Folding the Sheets.
Fold the bottom sheet first so you can figure out how big to fold the top sheet. You want them to be folded about the same size.
Lay the sheet flat on the bed.
Pull the bottom up to the top.
Now you should have the sheet pretty much folded in half.
Next stick your hands into the the pockets ( you should have 2 pockets inside each other).
Kind of shake the sheet a little to help straighten it out so it falls into a fold.
Fold one side into the remaining side according to the pictures.
Lay it as flat as you can on the bed and straighten it out as flat as you can.
Fold the most uneven edge toward the middle of the sheet.
Fold the remaining end over the part you just folded making the edges meet as even as possible.
Fold the left edge toward the center.
Fold the right edge just to center of the left edge so that the folds just touch each other.
Fold the 2 ends toward center.
Fold the top sheet to fit the bottom sheet.
Your sheet should look like the pictures.
It takes some practice, so be prepared to do this a few times.
Step 6: Wrapping


You can use books, small gifts, a calender page of a flower or animal for just about any embelllishment.
Lay the sheets on top of each other as even as possible.
Place the pillow cases on top of the sheets, one on each side as shown.
Place the embellishment where you want it to be.
If you are adding the scent to make the sheets smell nice, spray the oil or cologne on the cotton ball and place the wax paper or plastic wrap on the top of the pillow cases some where not very noticeable. Then lay the cotton ball on top of the paper. This will prevent any oils from leaking out and ruining the sheets.
Place your clear wrapping paper over the sheets allowing plenty of paper to wrap the gift.
Cut it a little extra so you don't come up short.
You may need help flipping the sheets over because the embellishments are not taped into place. The wrapping paper is going to secure them.
Carefully check to see if the embellishments are still in place before folding the back side and taping it.
Now fold the wrapping paper and tape it securely.
Flip it over.
If you are satisfied it is done!
Step 7: The Box


It would add appeal to the receiver to have the sheets placed in a covered box or basket like this picture.
I added gardening gloves which can serve more than one purpose. These make great microwave gloves for removing hot plates from the microwave. They DO NOT MAKE GOOD CONVENTIONAL OVEN GLOVES THOUGH.
The magazine can be purchased at the dollar store for much less than other stores.
I have instructions here to make the pot holder, if someone wants to make a quick and easy gift in about 30 minutes.
The pictured pot holder was a dish towel that I made into a pot holder.
Step 8: The Pot Holder Instructions

Here is a detailed instructable that will show you how to make this pretty pot holder.
https://www.instructables.com/id/Easy-Peasy-Dish-Towel-Pot-Holders/
Step 9: The Brunch Treatment


In the beginning I shared pictures of several themed Mother's Day brunches. It just takes a little bit of thought and time to make a perfect Mother's Day brunch. Have you ever heard a woman say her husband gave her pine cones for Mother's Day? How about hot dogs? Here are pictures that might turn those frowns into tears of joy. However with more thought put into the chair theme it could be pulled off very nicely. I will show how it can be done in another instructable.
Thank you for stopping by!

Participated in the
Chocolate Contest

Participated in the
Unusual Uses: Kitchen Challenge

Participated in the
Le Creuset Brunch Challenge

Participated in the
Bacon Challenge


